
目录:
(1)前台用户系统-手机登录-阿里云短信服务介绍
(2)手机登录-整合短信服务
(3)整合短信发送服务测试
(1)前台用户系统-手机登录-阿里云短信服务介绍
现在使用阿里云完成短信服务:注册登录阿里云网站:
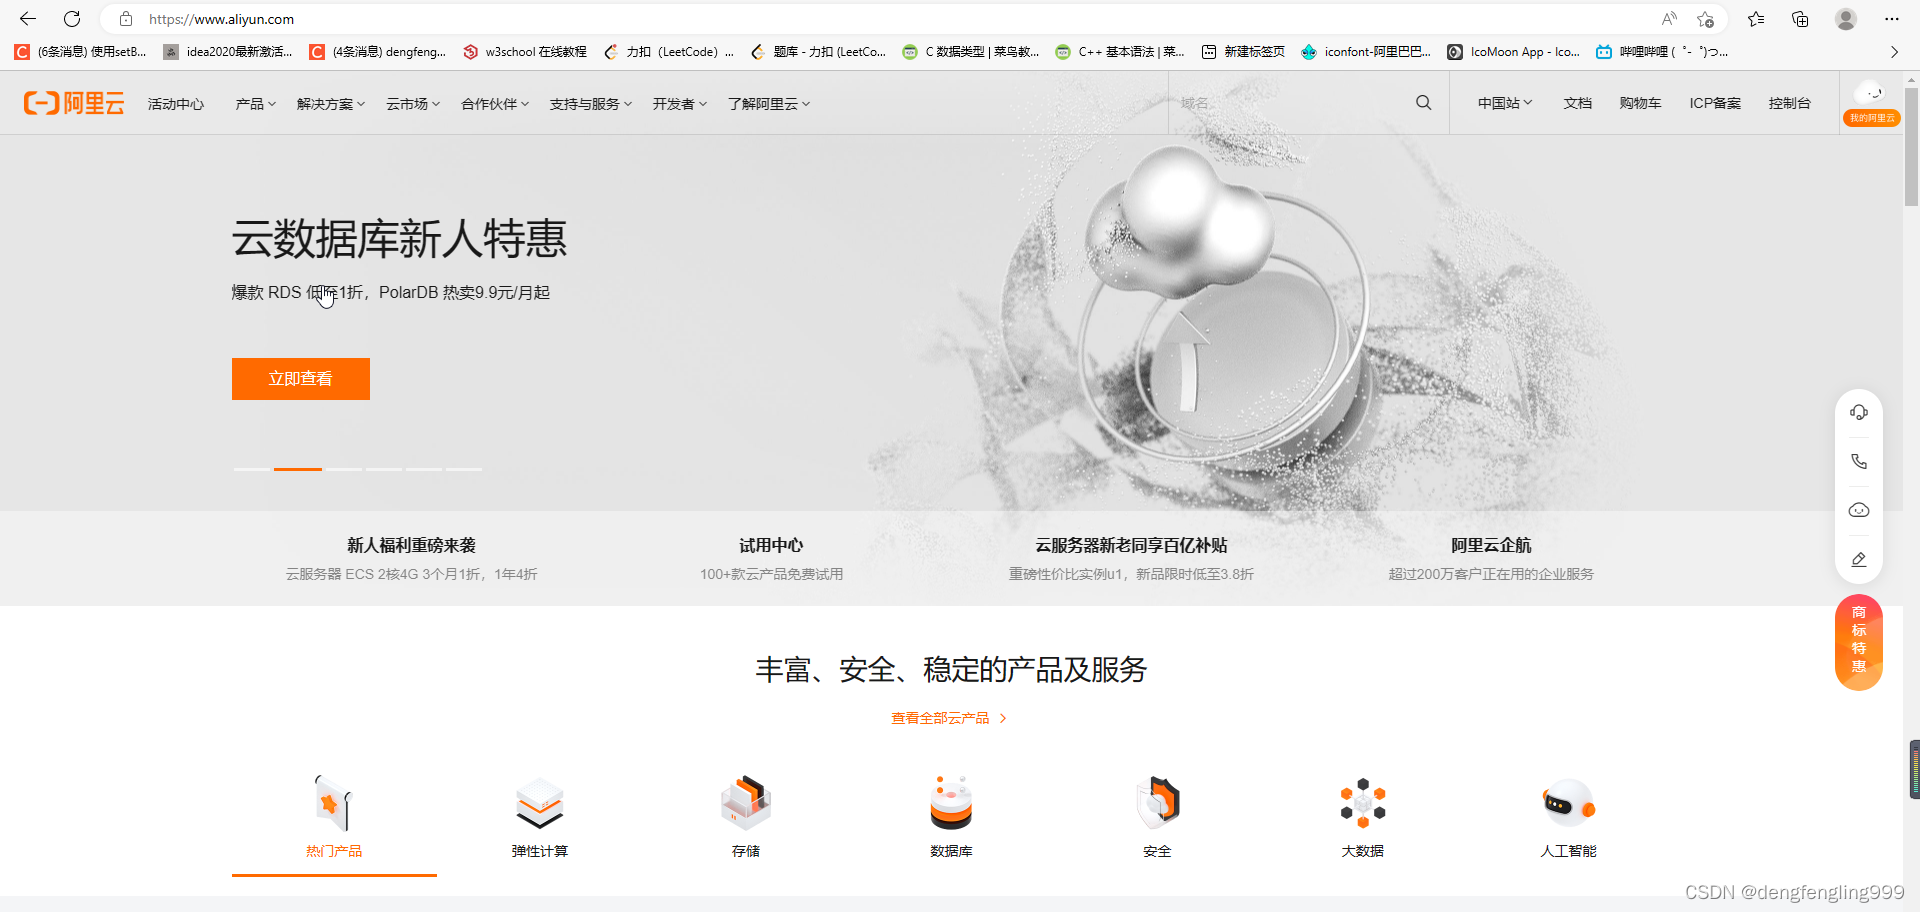
在产品中找短信服务:
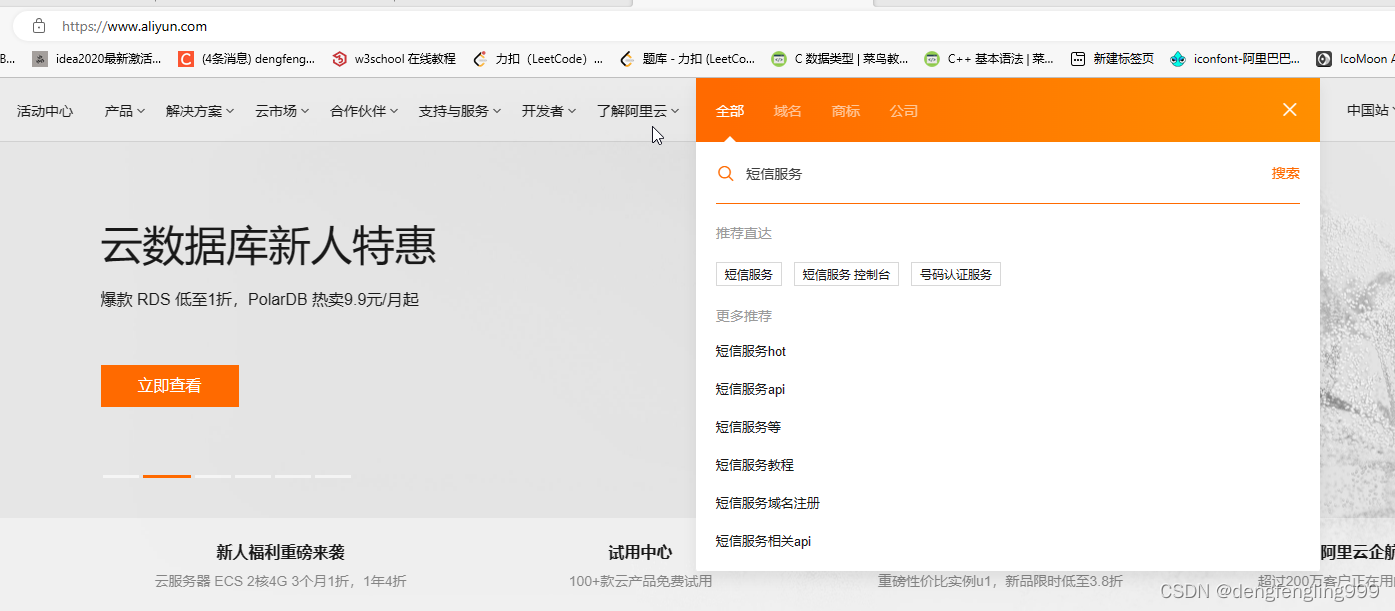
 或者搜索短信服务:
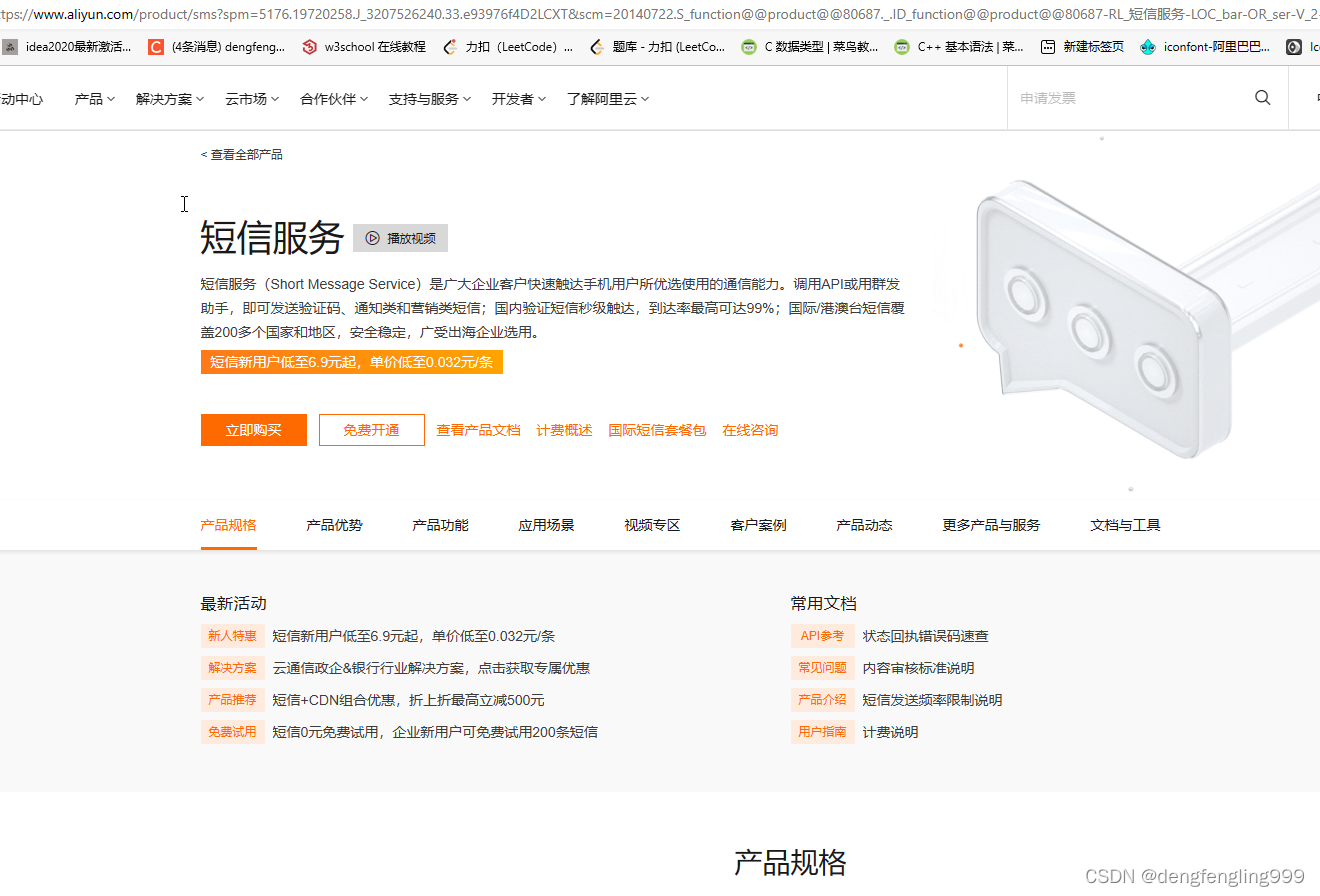
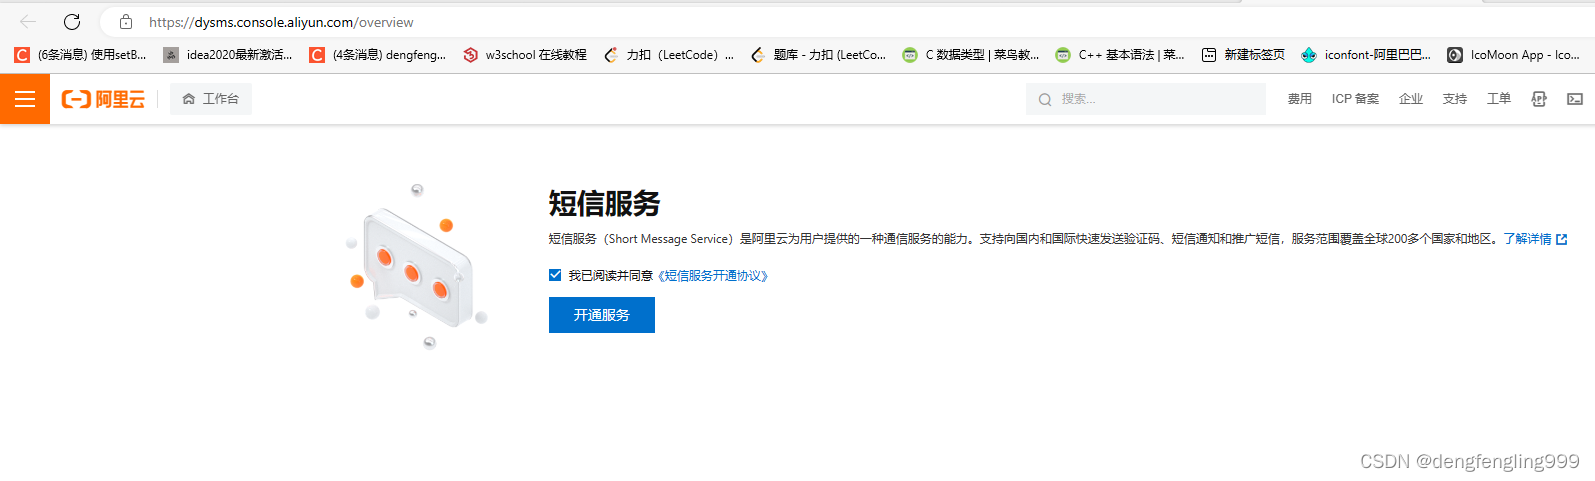
需要免费开通短信服务:
实名注册后:登录
点击国内消息:
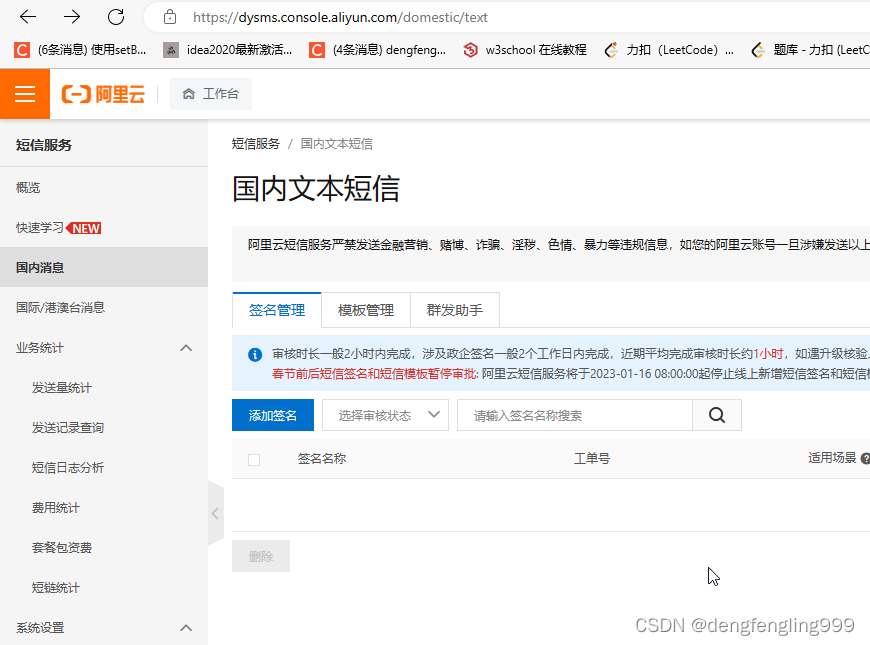
点击添加签名:
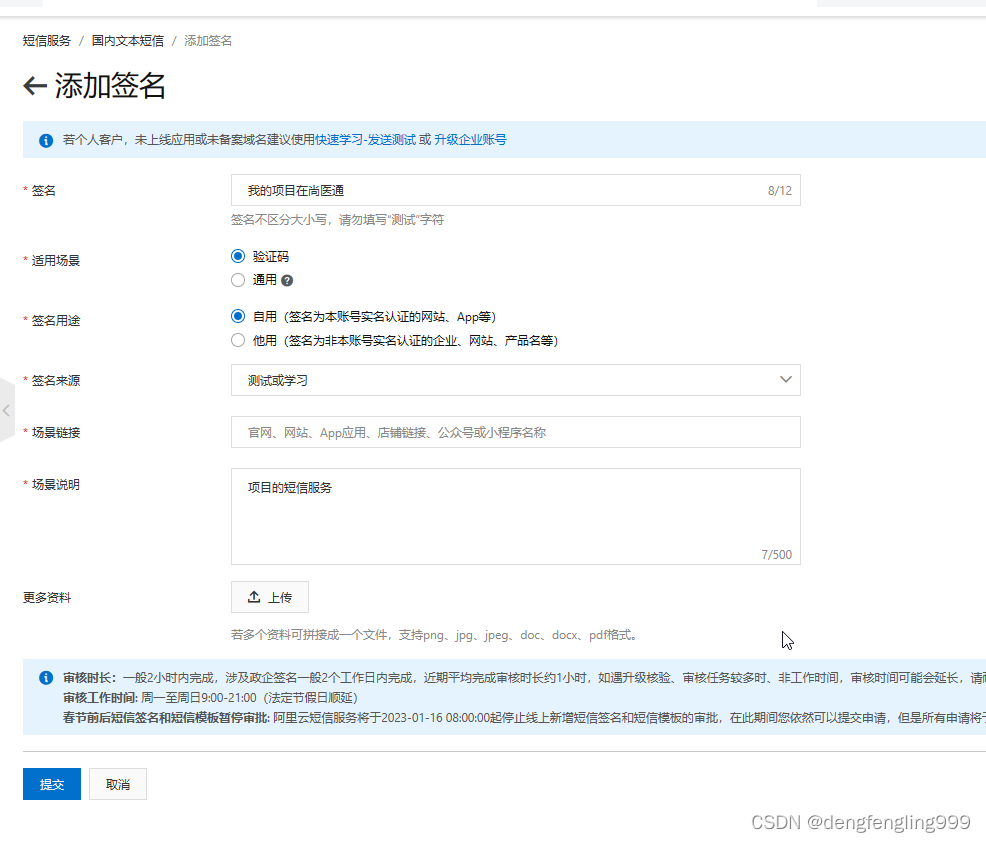
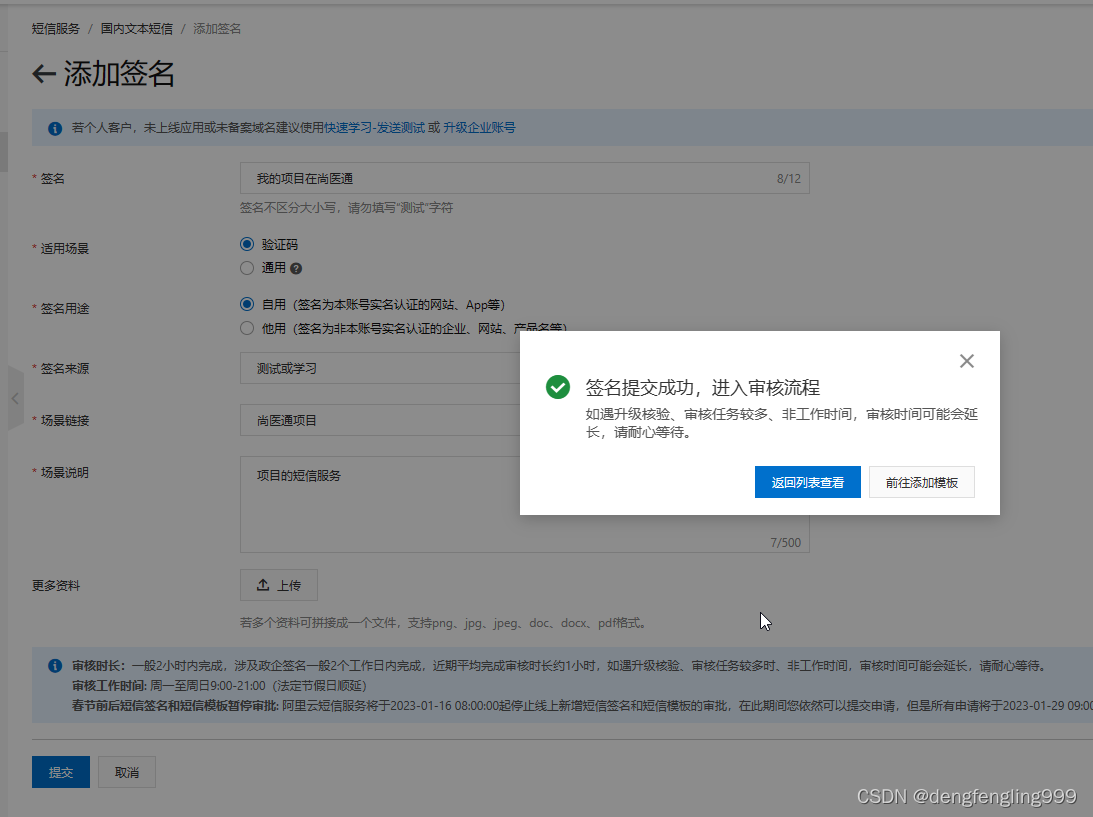
审核通过后才能使用:

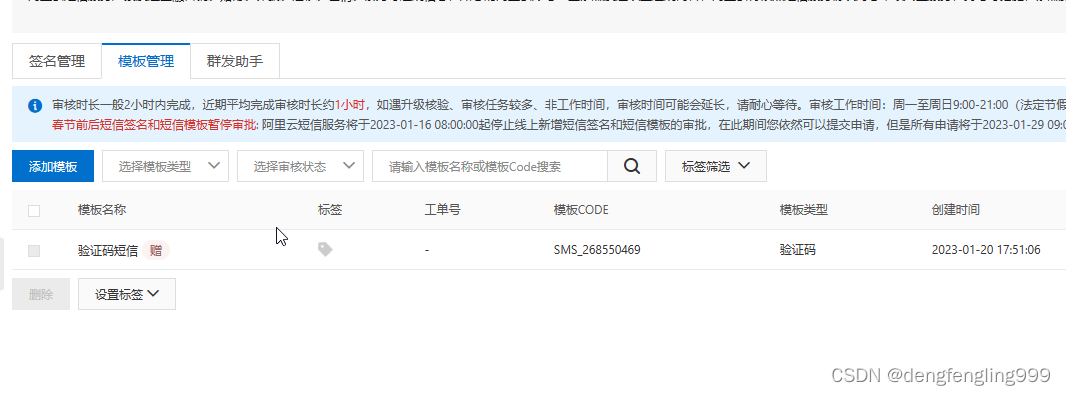
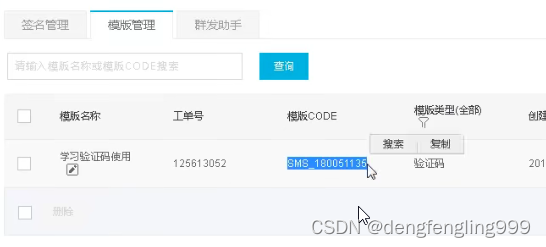
在添加模板:
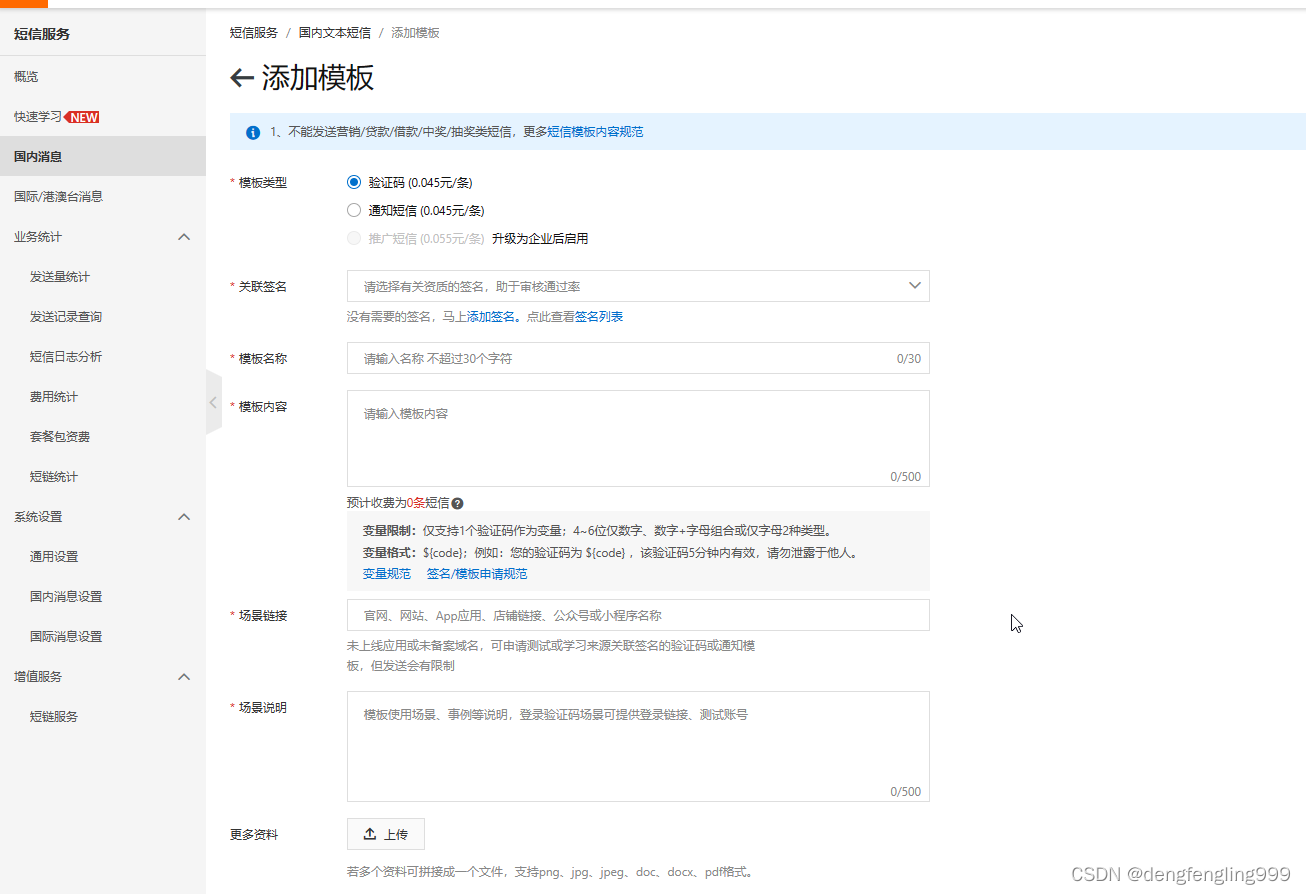
审核通过后才能使用: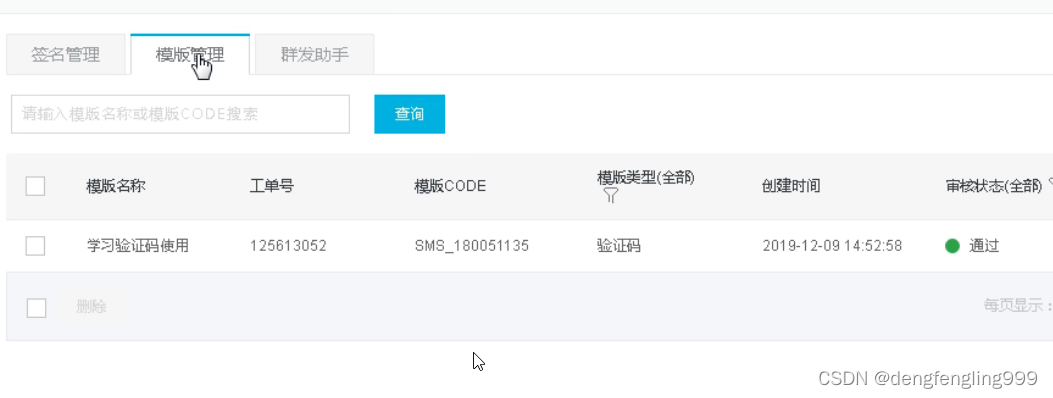
点击右上角头像:找到AccesssKey
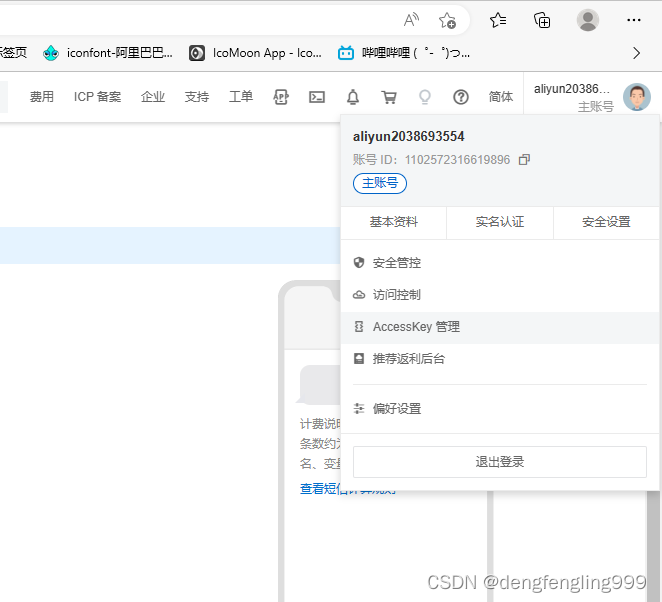
选择第一个: 继续使用AcessKey
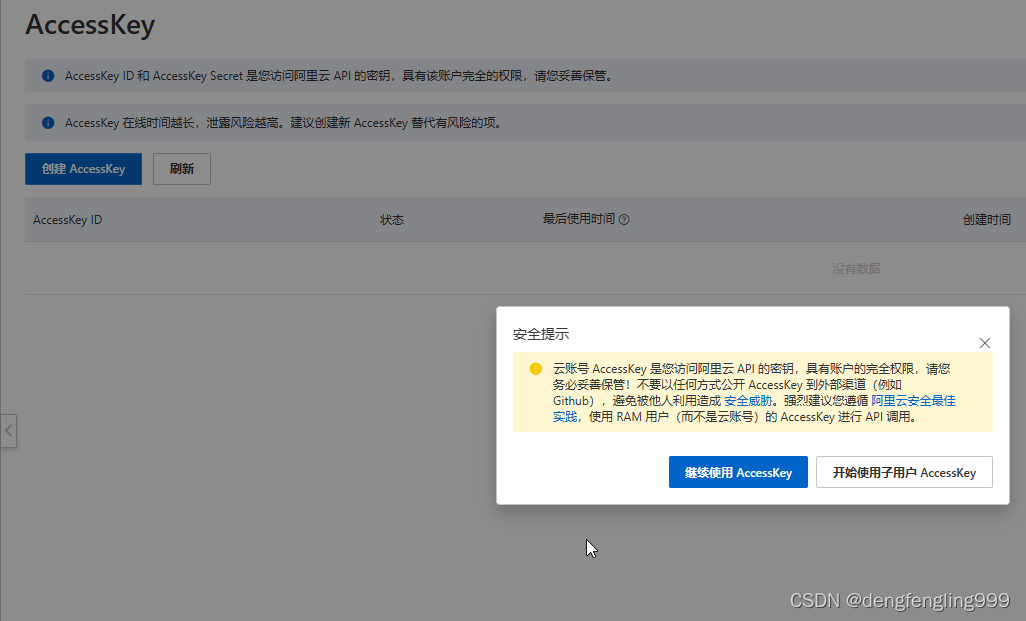
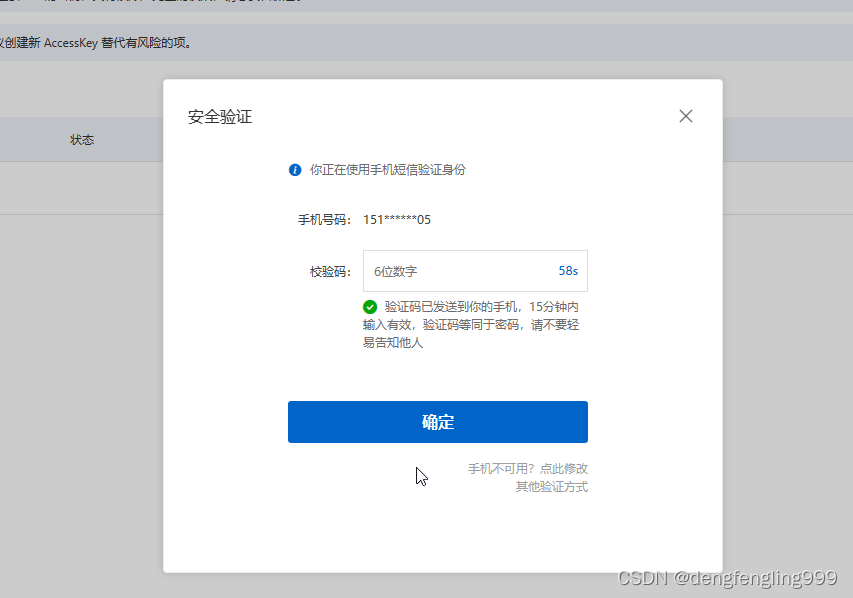
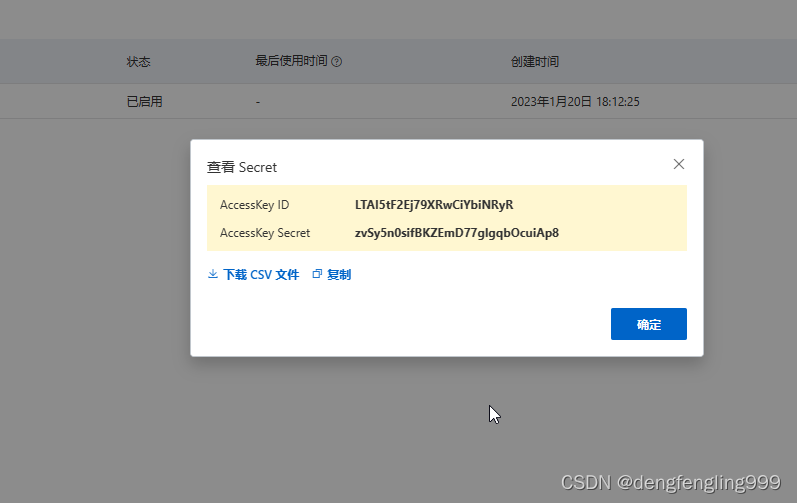
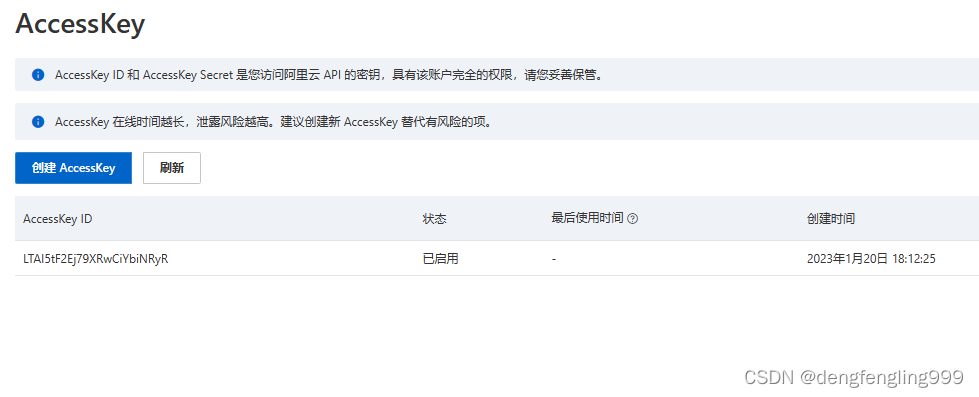
创建AcessKey: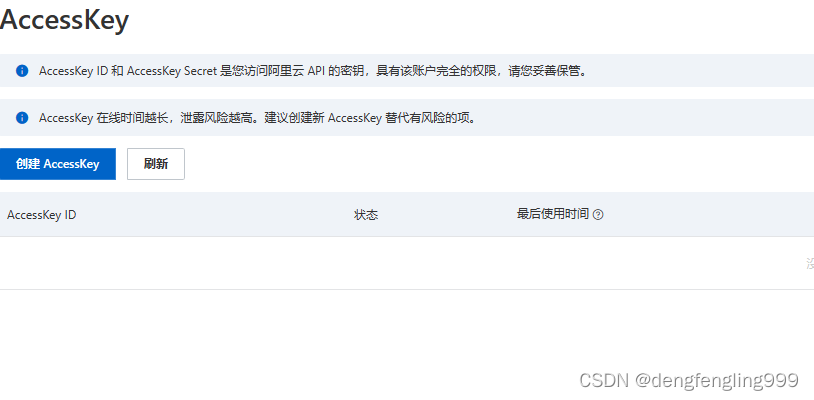
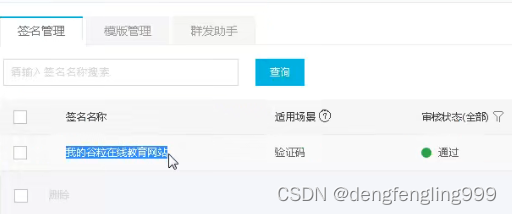
签名和模板如果申请不成功,可以使用提供好的签名:通过绑定手机号:
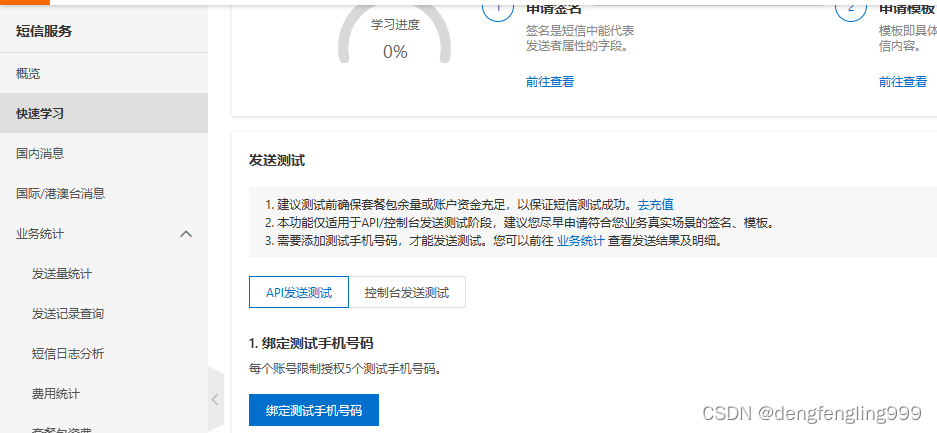
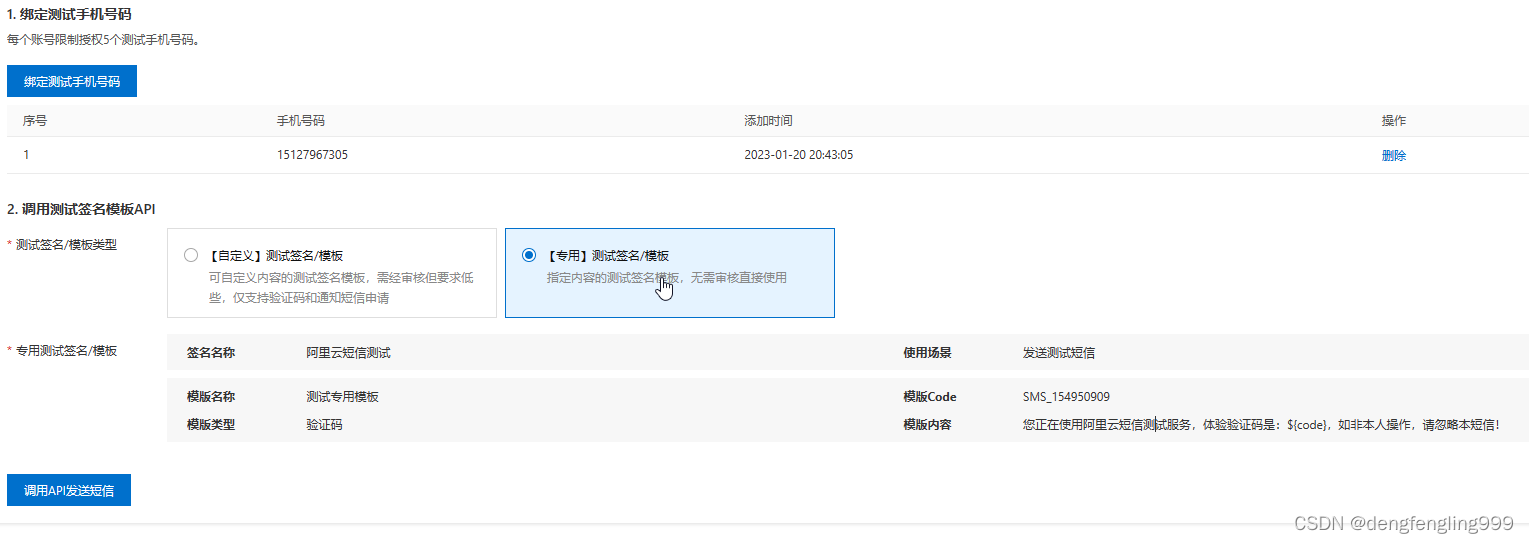
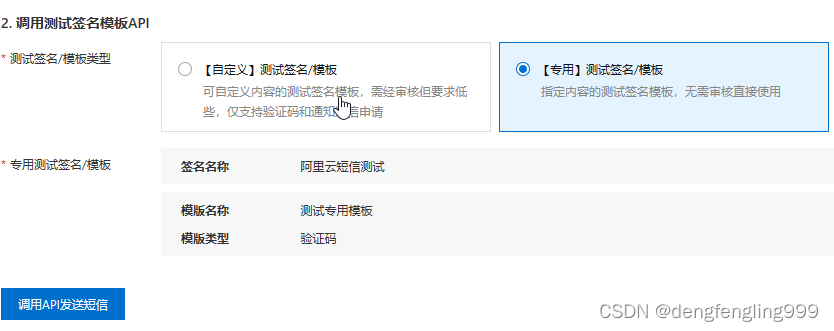
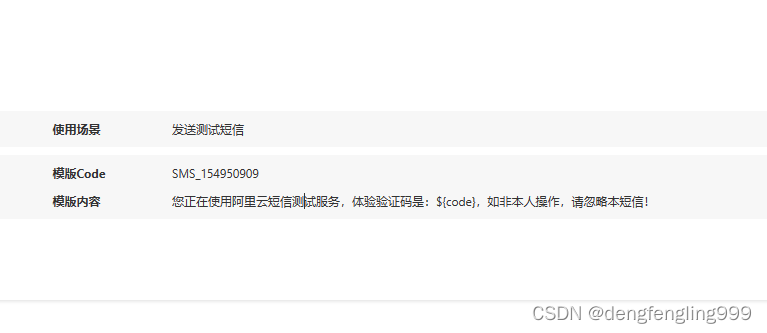
自己注册审核通过:下面使用的是快速学习中的提供签名和模板
签名:我的项目在尚医通
模板:SMS_268550469

** (2)手机登录-整合短信服务**
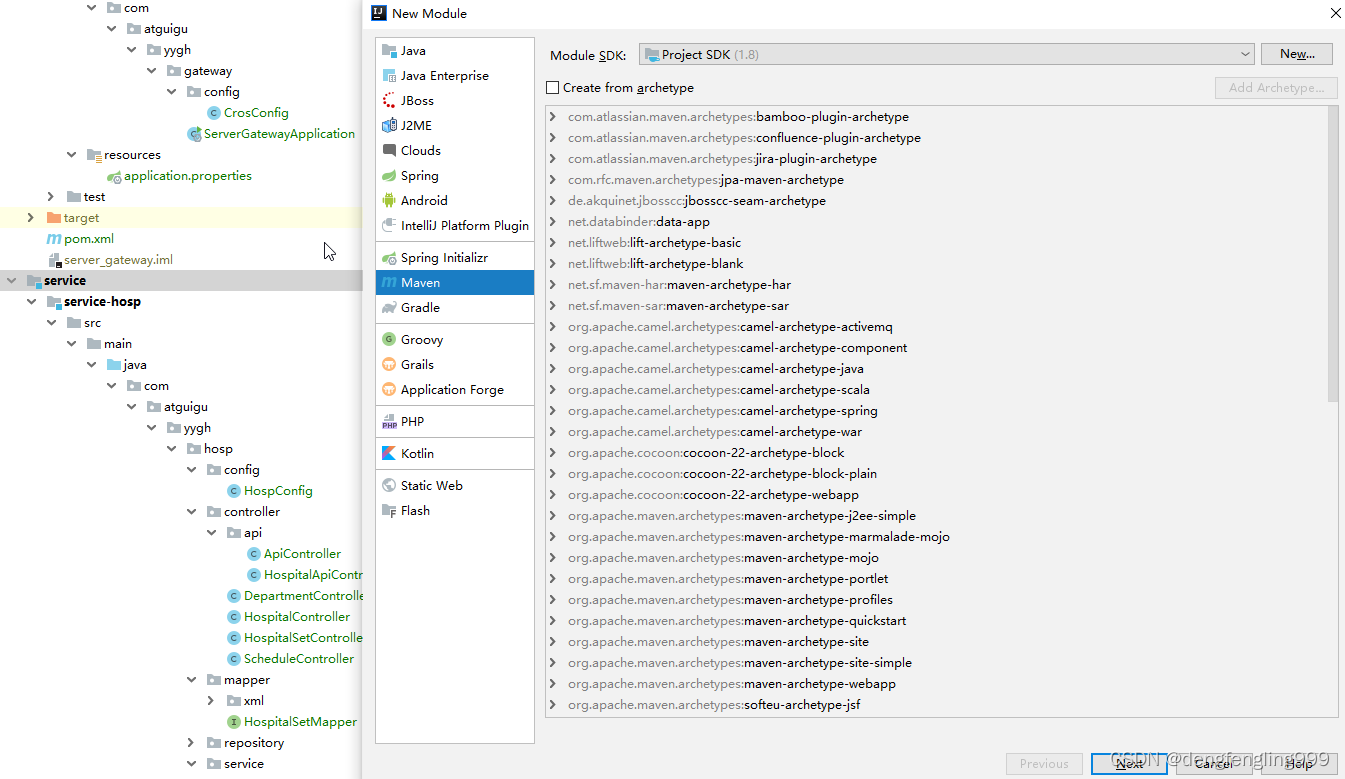
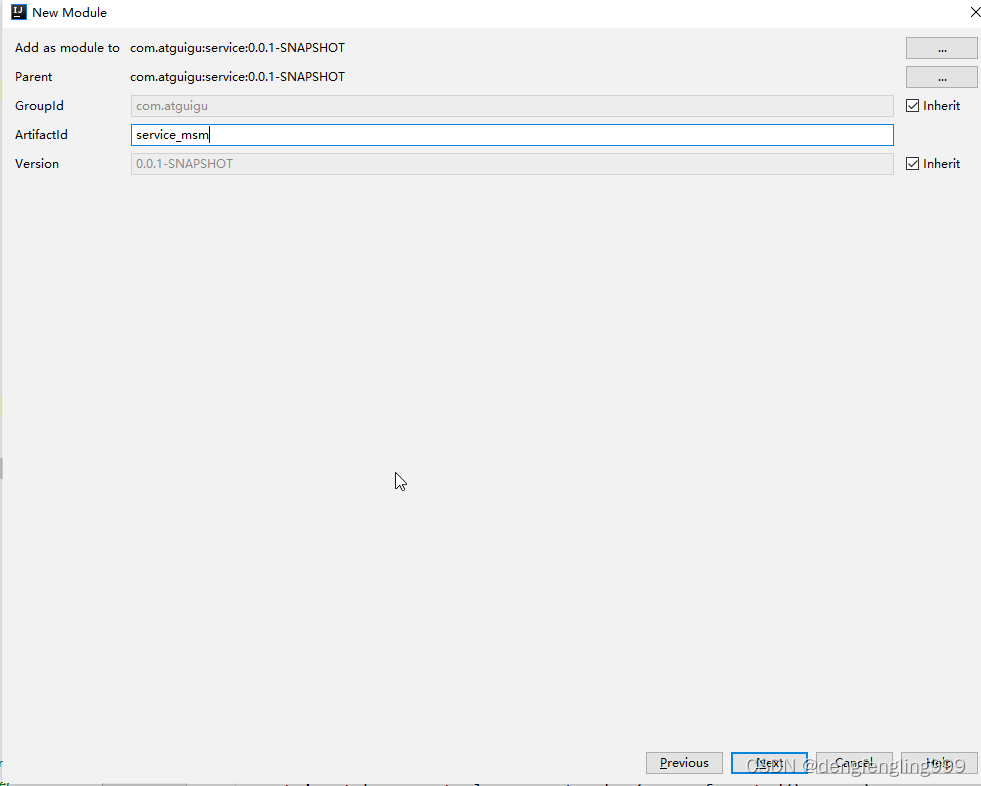
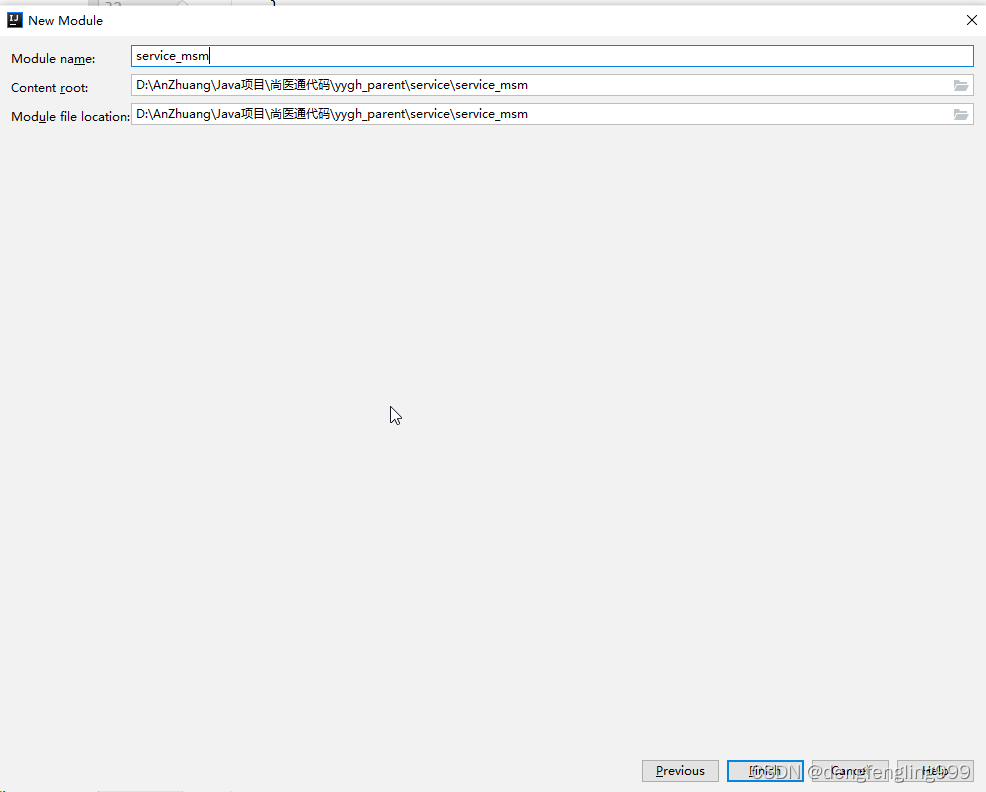
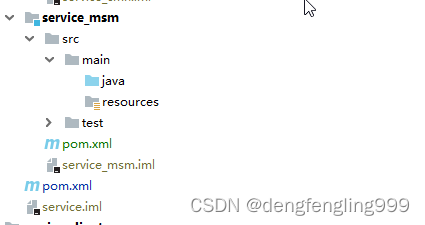
新建一个模块:
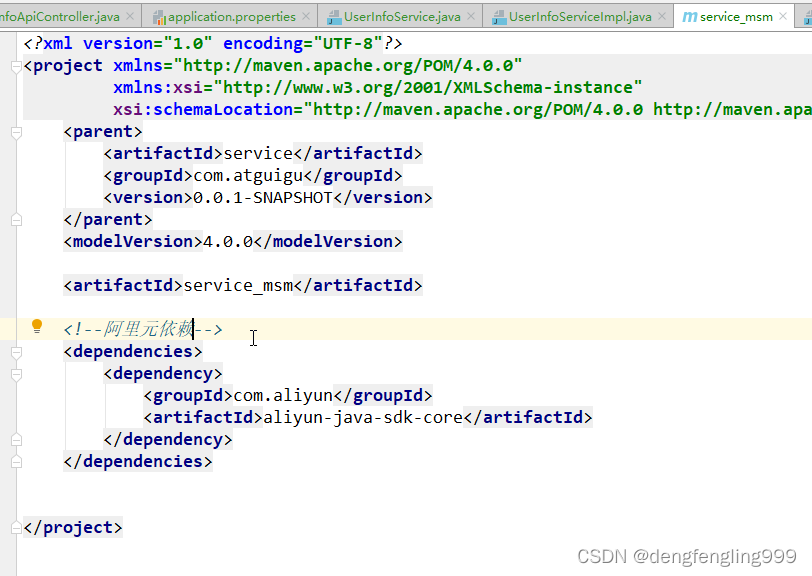
引入阿里云依赖:
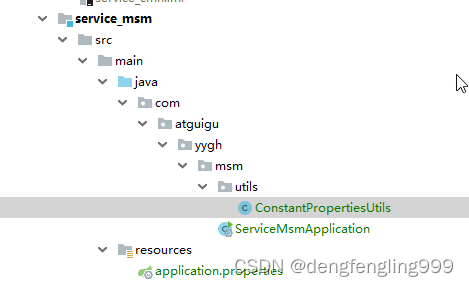
创建一个工具类,让他去读取配置文件中阿里云的配置:
package com.atguigu.yygh.msm.utils;

import org.springframework.beans.factory.InitializingBean;
import org.springframework.beans.factory.annotation.Value;
import org.springframework.stereotype.Component;

@Component
public class ConstantPropertiesUtils implements InitializingBean {

    @Value("${aliyun.sms.regionId}")
    private String regionId;

    @Value("${aliyun.sms.accessKeyId}")
    private String accessKeyId;

    @Value("${aliyun.sms.secret}")
    private String secret;

    public static String REGION_Id;
    public static String ACCESS_KEY_ID;
    public static String SECRECT;

    //初始化方法:做一些初始化操作 spring调用
    @Override
    public void afterPropertiesSet() throws Exception {
        REGION_Id=regionId;//上面都是private进行赋值初始化
        ACCESS_KEY_ID=accessKeyId;
        SECRECT=secret;
    }
}
创建controller:MsmApiController
package com.atguigu.yygh.msm.controller;

import org.springframework.web.bind.annotation.RequestMapping;
import org.springframework.web.bind.annotation.RestController;

@RestController
@RequestMapping("/api/msm")
public class MsmApiController {
}
创建service:MsmService
package com.atguigu.yygh.msm.service;

public interface MsmService {
}
创建实现类:
package com.atguigu.yygh.msm.service.impl;

import com.atguigu.yygh.msm.service.MsmService;
import org.springframework.stereotype.Service;

@Service
public class MsmServiceImpl implements MsmService {
}
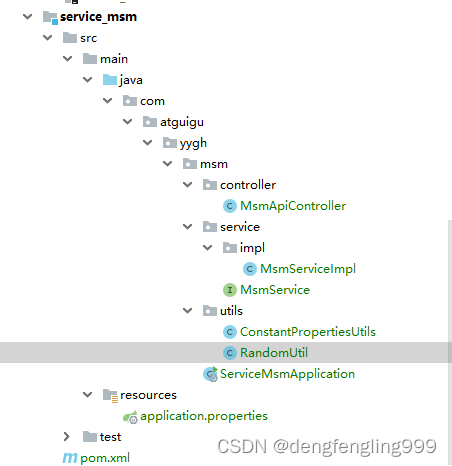
工具类:
package com.atguigu.yygh.msm.utils;

import java.text.DecimalFormat;
import java.util.ArrayList;
import java.util.HashMap;
import java.util.List;
import java.util.Random;

public class RandomUtil {

    private static final Random random = new Random();

    private static final DecimalFormat fourdf = new DecimalFormat("0000");

    private static final DecimalFormat sixdf = new DecimalFormat("000000");

    //生成4位验证码
    public static String getFourBitRandom() {
        return fourdf.format(random.nextInt(10000));
    }

    //生成6位验证码
    public static String getSixBitRandom() {
        return sixdf.format(random.nextInt(1000000));
    }

    /**
     * 给定数组,抽取n个数据
     * @param list
     * @param n
     * @return
     */
    public static ArrayList getRandom(List list, int n) {

        Random random = new Random();

        HashMap<Object, Object> hashMap = new HashMap<Object, Object>();

         // 生成随机数字并存入HashMap
        for (int i = 0; i < list.size(); i++) {

            int number = random.nextInt(100) + 1;

            hashMap.put(number, i);
        }

        // 从HashMap导入数组
        Object[] robjs = hashMap.values().toArray();

        ArrayList r = new ArrayList();

        // 遍历数组并打印数据
        for (int i = 0; i < n; i++) {
            r.add(list.get((int) robjs[i]));
            System.out.print(list.get((int) robjs[i]) + "\t");
        }
        System.out.print("\n");
        return r;
    }
}
首先编写controller:
我们把生成的验证码放到redis中,在redis中设置它的有效时间,比如说5分钟,超过时间在取就取不到了
package com.atguigu.yygh.msm.controller;
import com.atguigu.yygh.common.result.Result;
import com.atguigu.yygh.msm.service.MsmService;
import com.atguigu.yygh.msm.utils.RandomUtil;
import org.springframework.beans.factory.annotation.Autowired;
import org.springframework.data.redis.core.RedisTemplate;
import org.springframework.util.StringUtils;
import org.springframework.web.bind.annotation.GetMapping;
import org.springframework.web.bind.annotation.PathVariable;
import org.springframework.web.bind.annotation.RequestMapping;
import org.springframework.web.bind.annotation.RestController;
import java.util.concurrent.TimeUnit;
@RestController
@RequestMapping("/api/msm")
public class MsmApiController {
@Autowired
private MsmService msmService;
@Autowired
private RedisTemplate<String,String> redisTemplate;
//发送手机验证码
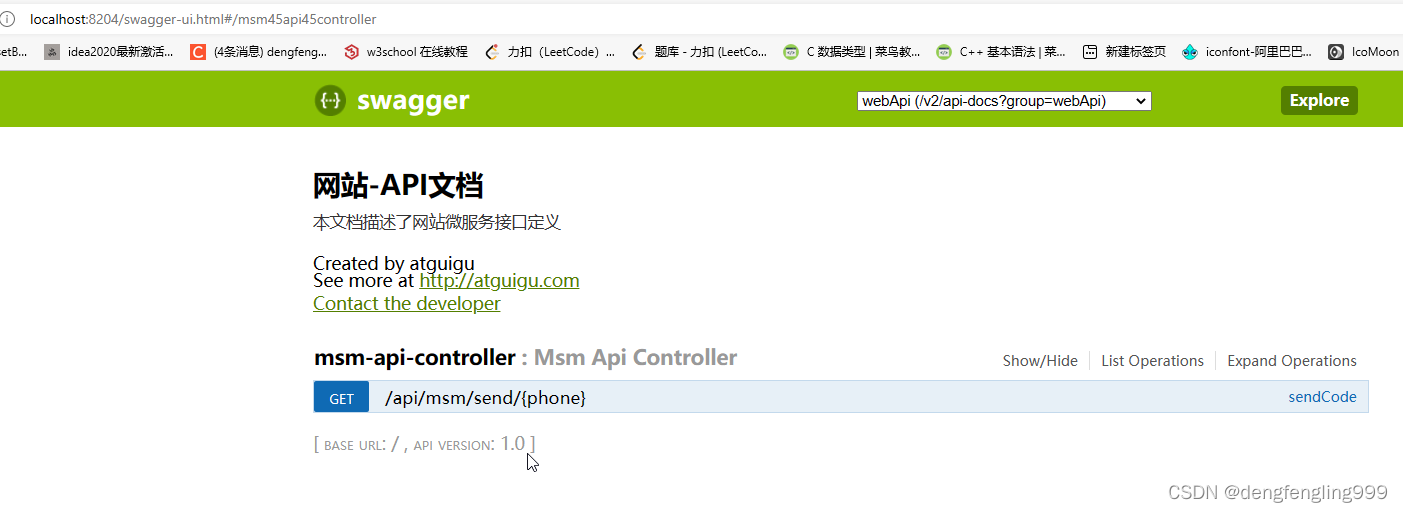
@GetMapping("send/{phone}")
public Result sendCode(@PathVariable String phone) {
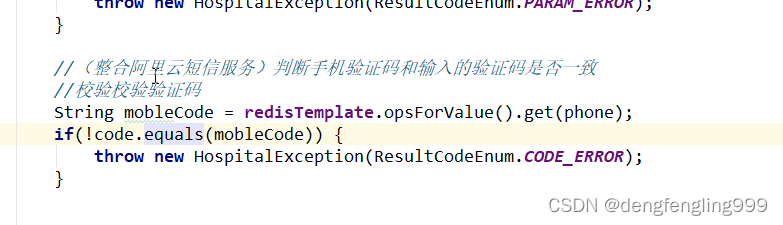
//从redis获取验证码,如果获取获取到,返回ok
// key 手机号 value 验证码
String code = redisTemplate.opsForValue().get(phone);
if(!StringUtils.isEmpty(code)) {
return Result.ok();
}
//如果从redis获取不到,
// 生成验证码,通过整合短信服务发送
code = RandomUtil.getSixBitRandom();
//调用service方法,通过整合短信服务进行发送
boolean isSend = msmService.send(phone,code);
//生成验证码放到redis里面,设置有效时间
if(isSend) {
redisTemplate.opsForValue().set(phone,code,2, TimeUnit.MINUTES);
System.out.println(code);//在控制台输出一下
return Result.ok();
} else {
return Result.fail().message("发送短信失败");
}
}
}
MsmService 接口:
package com.atguigu.yygh.msm.service;

public interface MsmService {
    //整合短信服务进行发送,发送手机验证码
    boolean send(String phone, String code);
}
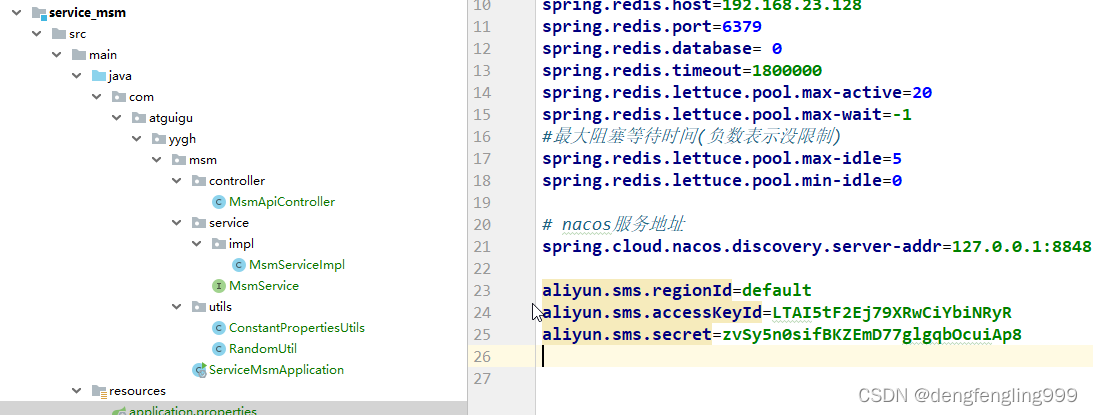
实现类:发送的时候需要设置阿里元的AcessKey 和自己申请的签名和模板:
视频中的签名和模板,我们使用的是快速学习提供的

快速学习提供的:
package com.atguigu.yygh.msm.service.impl;

import com.alibaba.fastjson.JSONObject;
import com.aliyuncs.CommonRequest;
import com.aliyuncs.CommonResponse;
import com.aliyuncs.DefaultAcsClient;
import com.aliyuncs.IAcsClient;
import com.aliyuncs.exceptions.ClientException;
import com.aliyuncs.exceptions.ServerException;
import com.aliyuncs.http.MethodType;
import com.aliyuncs.profile.DefaultProfile;
import com.atguigu.yygh.msm.service.MsmService;
import com.atguigu.yygh.msm.utils.ConstantPropertiesUtils;
import org.springframework.stereotype.Service;
import org.springframework.util.StringUtils;

import java.util.HashMap;
import java.util.Map;

@Service
public class MsmServiceImpl implements MsmService {

    //整合短信服务进行发送,发送手机验证码
    @Override
    public boolean send(String phone, String code) {
        //判断手机号是否为空
        if(StringUtils.isEmpty(phone)) {
            return false;
        }
        //整合阿里云短信服务
        //设置相关参数  AccessKey
        DefaultProfile profile = DefaultProfile.
                getProfile(ConstantPropertiesUtils.REGION_Id,
                        ConstantPropertiesUtils.ACCESS_KEY_ID,
                        ConstantPropertiesUtils.SECRECT);
        IAcsClient client = new DefaultAcsClient(profile);

        //
        CommonRequest request = new CommonRequest();
        //request.setProtocol(ProtocolType.HTTPS);
        //阿里云接口地址
        request.setMethod(MethodType.POST);
        request.setDomain("dysmsapi.aliyuncs.com");
        request.setVersion("2017-05-25");
        request.setAction("SendSms");

        //手机号
        request.putQueryParameter("PhoneNumbers", phone);
        //签名名称
        request.putQueryParameter("SignName", "阿里云短信测试");
        //模板code
        request.putQueryParameter("TemplateCode", "SMS_154950909");

        //验证码  使用json格式   {"code":"123456"}
        Map<String,Object> param = new HashMap();
        param.put("code",code);
        request.putQueryParameter("TemplateParam", JSONObject.toJSONString(param));

        //调用方法进行短信发送
        try {
            CommonResponse response = client.getCommonResponse(request);
            System.out.println(response.getData());
            return response.getHttpResponse().isSuccess();
        } catch (ServerException e) {
            e.printStackTrace();
        } catch (ClientException e) {
            e.printStackTrace();
        }
        return false;

    }
}
(3)整合短信发送服务测试
运行主启动类测试:
package com.atguigu.yygh.msm;

import org.springframework.boot.SpringApplication;
import org.springframework.boot.autoconfigure.SpringBootApplication;
import org.springframework.boot.autoconfigure.jdbc.DataSourceAutoConfiguration;
import org.springframework.cloud.client.discovery.EnableDiscoveryClient;
import org.springframework.context.annotation.ComponentScan;

@SpringBootApplication(exclude = DataSourceAutoConfiguration.class)//取消数据源自动配置,配置文件中没有配置数据库的配置,所以这里需要取消加载数据库的配置
@EnableDiscoveryClient
@ComponentScan(basePackages = {"com.atguigu"})   //配置相同路径可以使用Swagger文档了
public class ServiceMsmApplication {
    public static void main(String[] args) {
        SpringApplication.run(ServiceMsmApplication.class, args);
    }
}
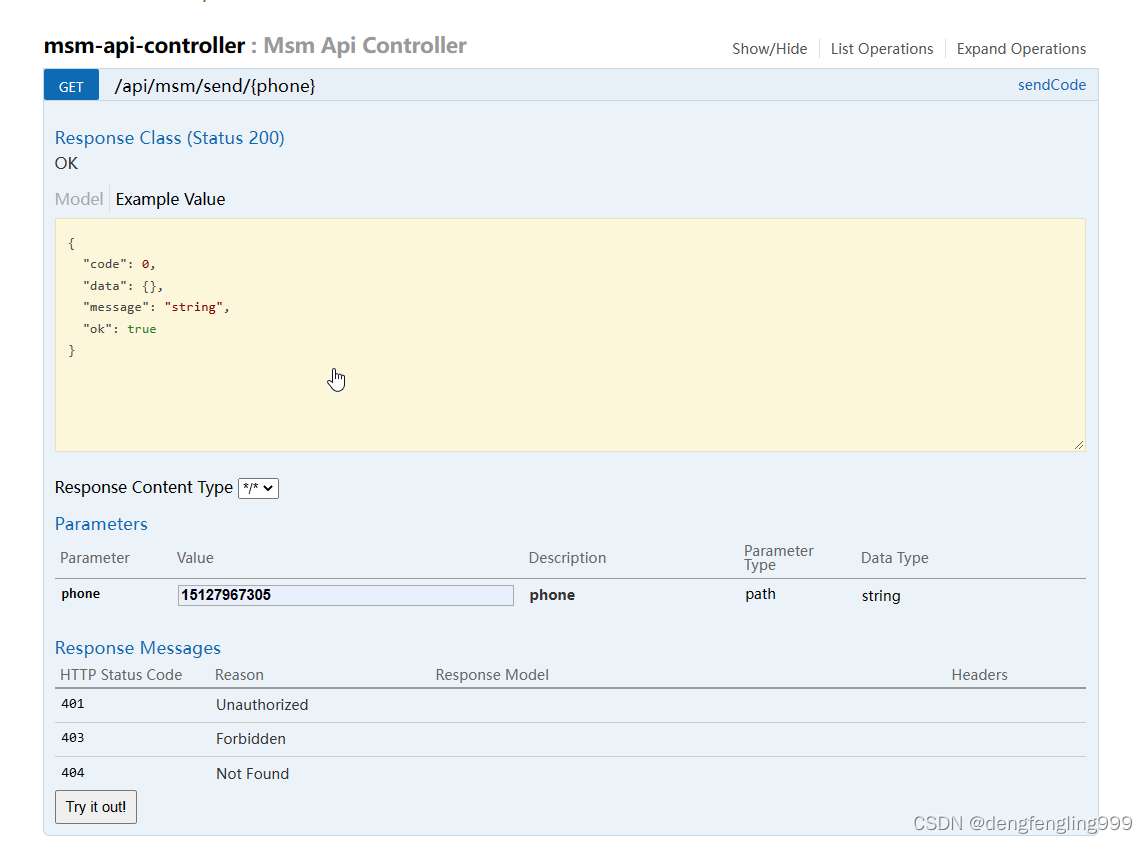
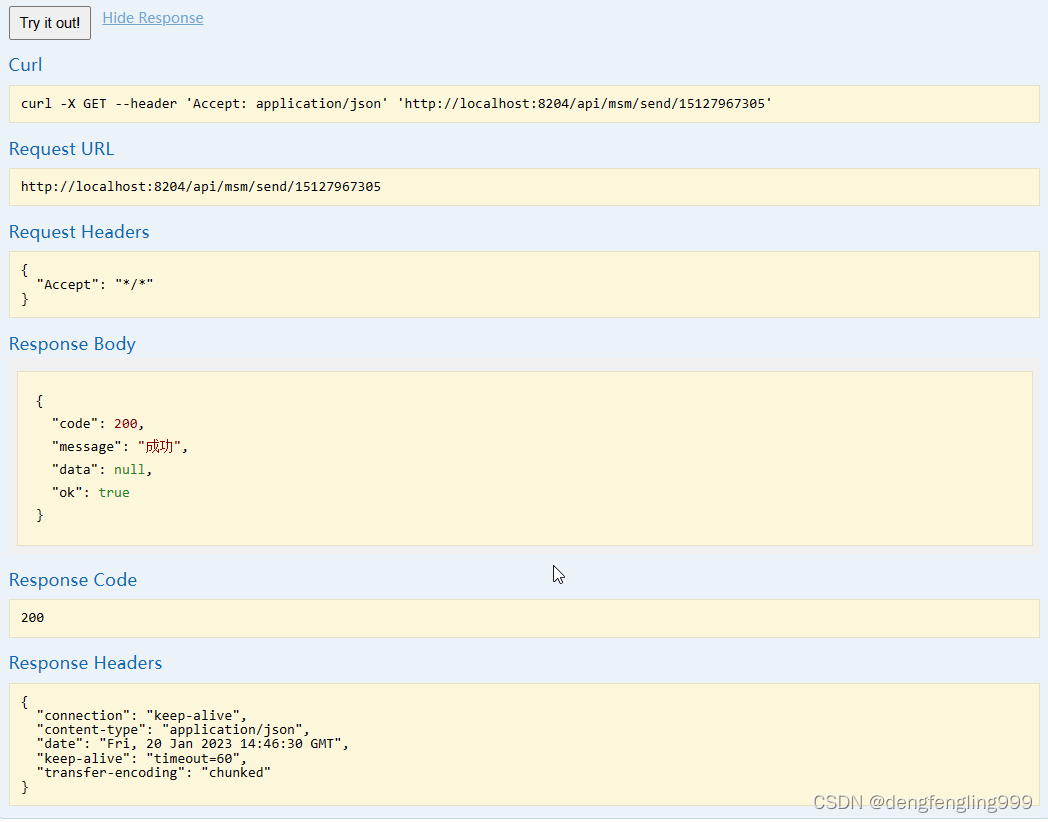
这里我们使用的是免费的,显示信息余额不足:是正常情况 ,但是给手机发送验证码效果没有实现:需要往账户里面充钱

打开redis的客户端,查看有没有新增Key

新增了手机号码:
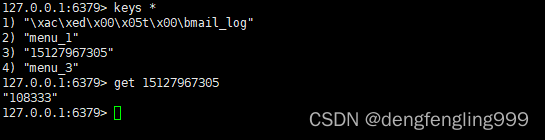
可以把验证码在控制台输出一下:跟redis进行对比是一样的

完善前面的代码,service_user模块显现类上次阿里云未完成的代码:
UserInfoServiceImpl
在网关的配置文件中继续添加这个service_msm这个访问路径:

版权归原作者 dengfengling999 所有, 如有侵权,请联系我们删除。