
linux centos7部署前后端分离项目
1.安装nginx,并且设置开机自启动
1.1一键安装4个依赖
yum -yinstall gcc zlib zlib-devel pcre-devel openssl openssl-devel
1.2下载并解压安装包
wget http://nginx.org/download/nginx-1.13.7.tar.gz
tar-xvf nginx-1.13.7.tar.gz
1.3安装nginx
# 进入安装包目录cd nginx-1.13.7
# 编译,执行配置: 考虑到后续安装ssl证书 添加两个模块
./configure --with-http_stub_status_module --with-http_ssl_module
# 安装make&&makeinstall
1.4启动 nginx 服务
安装好的 nginx 服务在 /usr/local/nginx 下:
进入 /usr/local/nginx/sbin 目录下启动:
# 启动
./nginx

# 重启
./nginx -s reload

# 关闭
./nginx -s stop

# 或者,指定配置文件启动
./nginx -c /usr/local/nginx/conf/nginx.conf
1.5设置开机自启动
#编辑文件vim /etc/rc.d/rc.local

#服务目录
/usr/local/nginx/sbin/nginx
#修改/etc/rc.d/rc.local权限chmod755 rc.local
2.tomcat负载均衡
2.1先复制出另一个tomcat
cp-r apache-tomcat-8.5.20/ apache-tomcat-8.5.20_8081/
2.2修改tomcat的配置文件
#进入conf文件cd /usr/local/java/apache-tomcat-8.5.20_8081/conf
#修改文件vim server.xml
#HTTP端口,默认8080,如下改为8081#远程停服务端口,默认8005,如下改为8006#AJP端口,默认8009,如下改,8010
2.3测试8080和8081端口
1.8081端口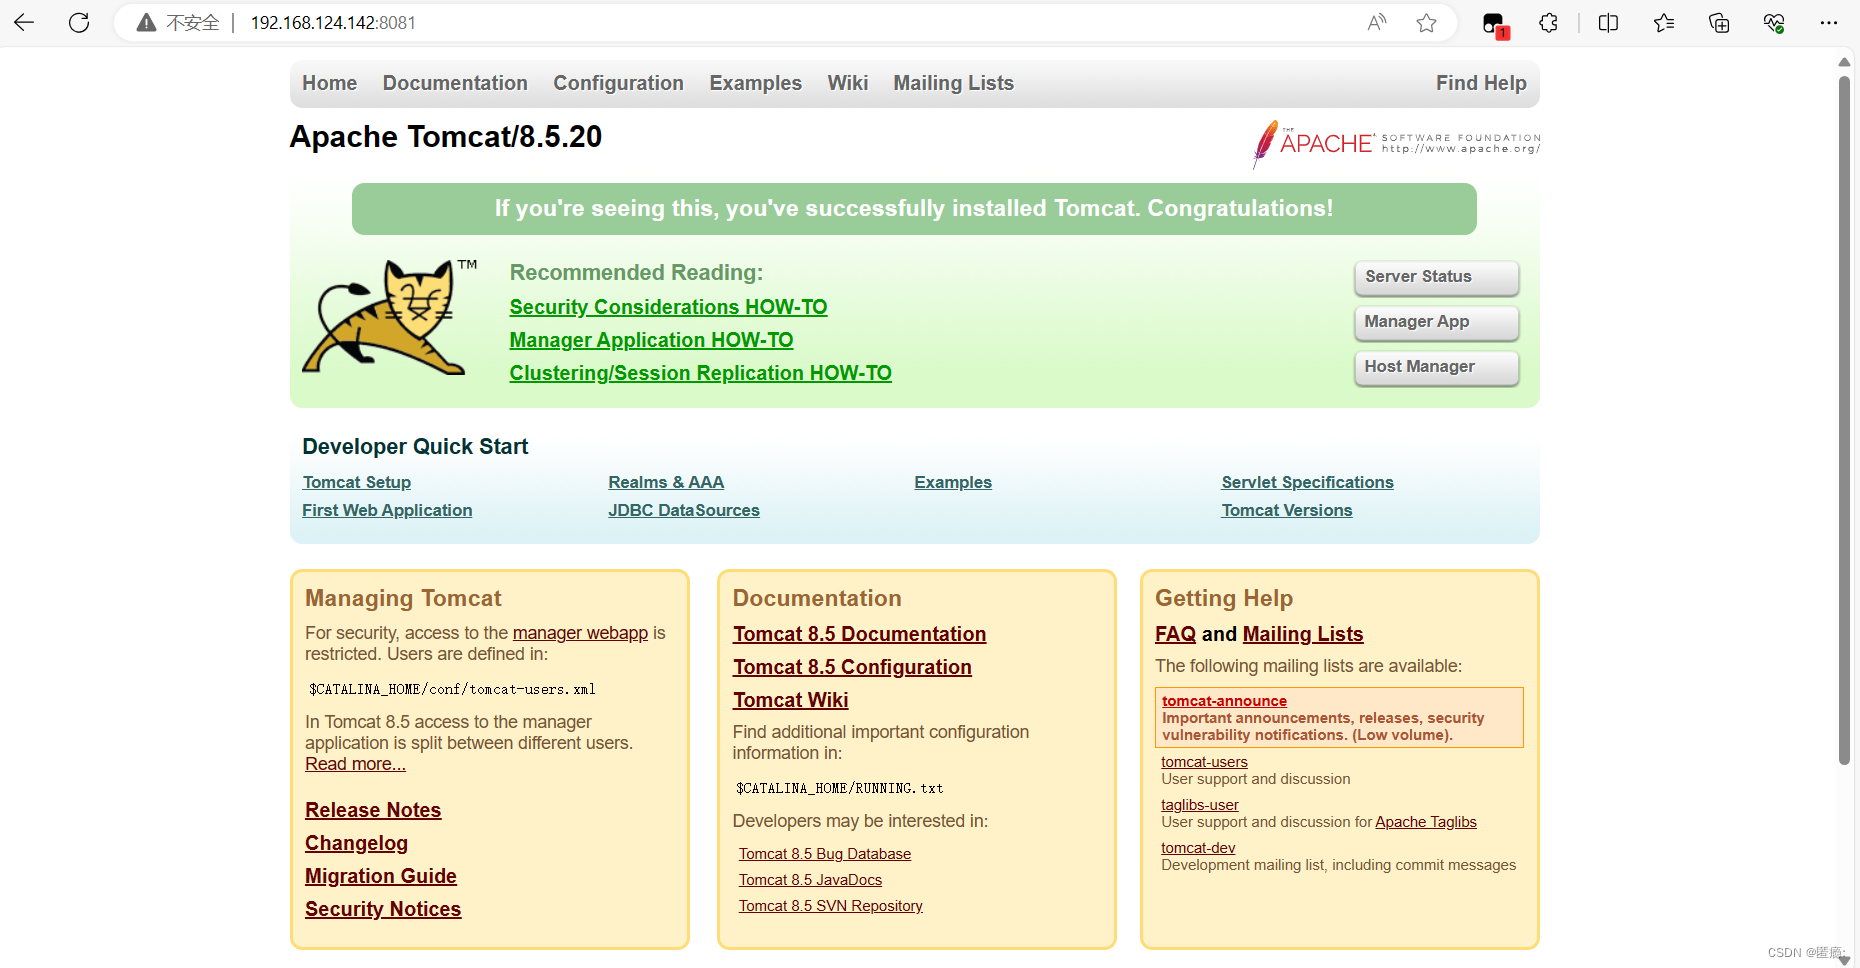
2.8080端口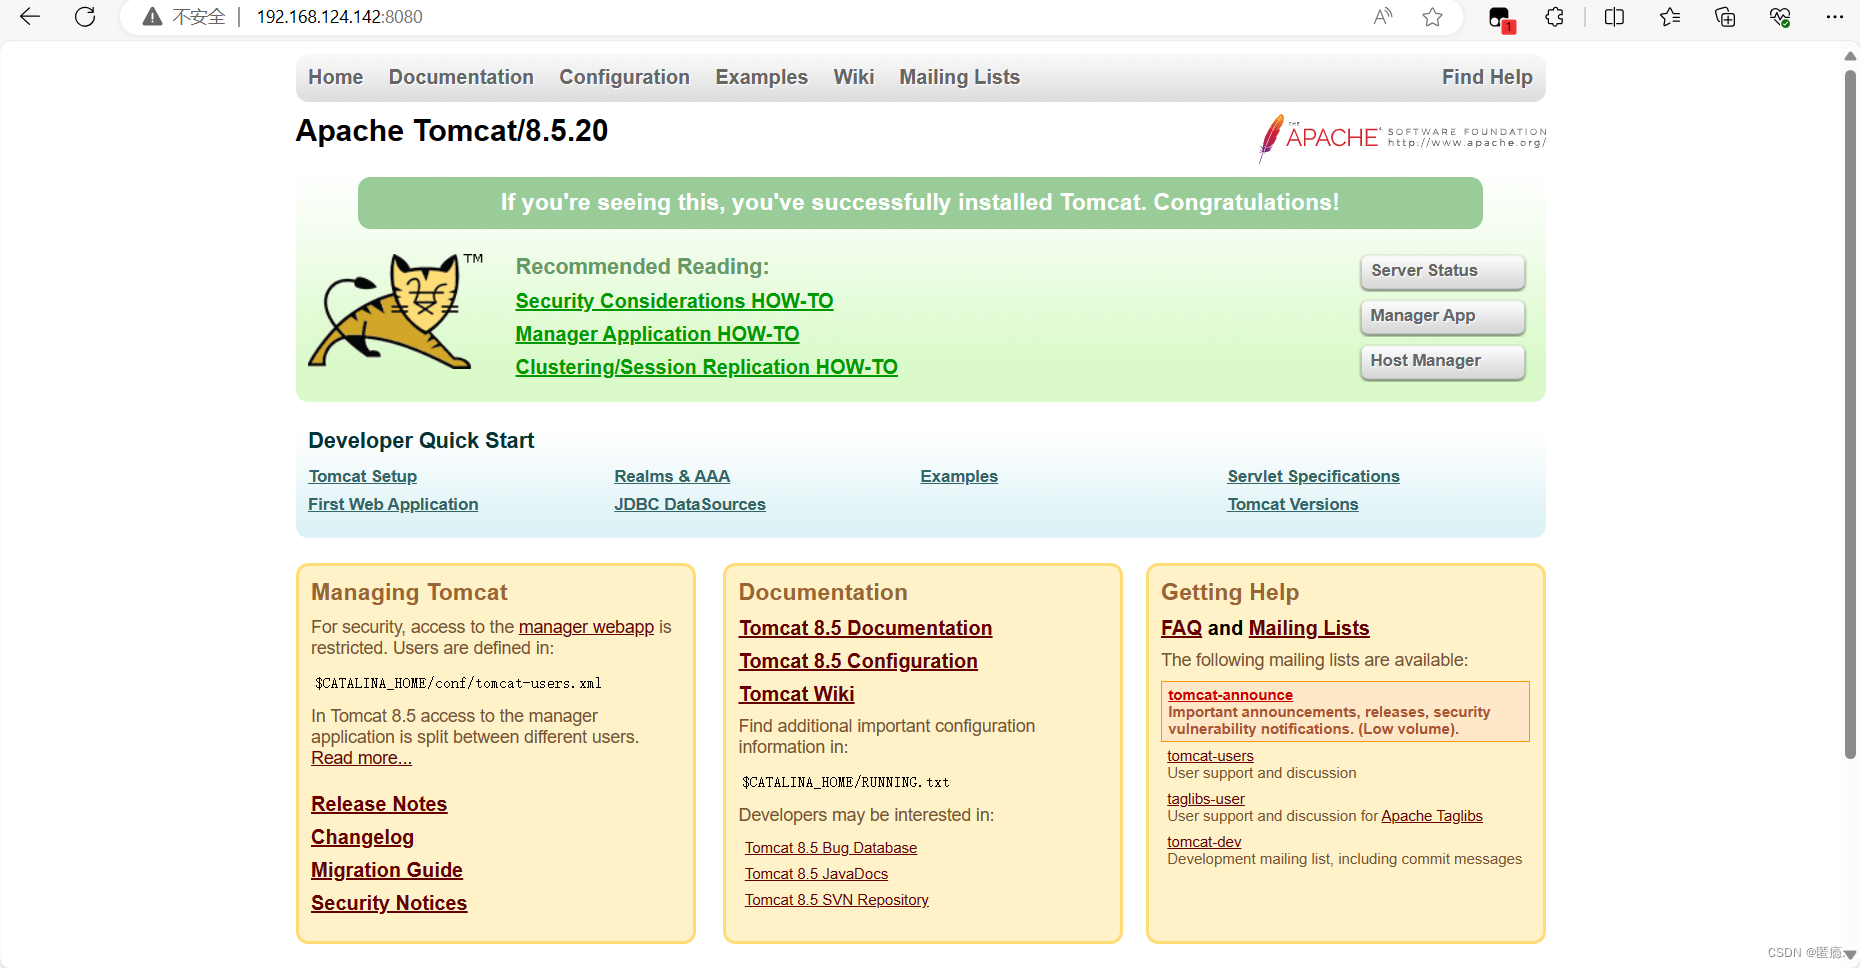
2.4nginx文件配置
最好用工具修改,我用的是MobaXterm,可以在左边边直接修改,用vim可能会有乱码,不太方便。
文件路径: cd /usr/local/nginx/conf/
在nginx.conf添加
upstream  tomcat_list {  #服务器集群名字
    server    127.0.0.1:8080  weight=1;   #服务器1   weight是权重的意思,权重越大,分配的概率越大。
    server    127.0.0.1:8081  weight=1; #服务器2   weight是权重的意思,权重越大,分配的概率越大
}
在default.conf添加
location / {
      #root   /usr/share/nginx/html;
      #proxy_pass   http://172.17.0.3:8080;
      proxy_pass   http://tomcat_list;
      index index.html index.htm;
  }
  主要是加了一个集群: proxy_pass   http://tomcat_list;
这个是模板
#user  nobody;
worker_processes  1;

#error_log  logs/error.log;
#error_log  logs/error.log  notice;
#error_log  logs/error.log  info;

#pid        logs/nginx.pid;

events {
    worker_connections  1024;
}

http {
    include       mime.types;
    default_type  application/octet-stream;

    #log_format  main  '$remote_addr - $remote_user [$time_local] "$request" '
    #                  '$status $body_bytes_sent "$http_referer" '
    #                  '"$http_user_agent" "$http_x_forwarded_for"';

    #access_log  logs/access.log  main;

    sendfile        on;
    #tcp_nopush     on;

    #keepalive_timeout  0;
    keepalive_timeout  65;

    #gzip  on;

    #服务器的集群
    upstream  tomcat_list {  #服务器集群名字
        server    127.0.0.1:8080  weight=1;   #服务器1   weight是权重的意思,权重越大,分配的概率越大。
        #server    172.17.0.4:8080  weight=2; #服务器2   weight是权重的意思,权重越大,分配的概率越大
    }

    server {
        listen       80;            #监听80端口,可以改成其他端口
        #server_name  localhost;    #当前服务的域名
    server_name  www.zking.com; #当前服务的域名(虚拟域名也可以)
    root         html/crm;      #将要访问的网站的根目录,nginx节点会自动继承父节点的配置

        #charset koi8-r;

        #access_log  logs/host.access.log  main;

    location / {
            #该句代码是为解决history路由不能跳转的问题,在vue-router官网有介绍
        try_files $uri $uri/  /index.html;
    }
    location  ^~/api/ {
        #^~/api/表示匹配前缀是api的请求,proxy_pass的结尾有/, 则会把/api/*后面的路径直接拼接到后面,即移除api
        proxy_pass http://tomcat_list/;
    }
        #error_page  404              /404.html;

        # redirect server error pages to the static page /50x.html
        #
        error_page   500 502 503 504  /50x.html;
        location = /50x.html {
            root   html;
        }

        # proxy the PHP scripts to Apache listening on 127.0.0.1:80
        #
        #location ~ \.php$ {
        #    proxy_pass   http://127.0.0.1;
        #}

        # pass the PHP scripts to FastCGI server listening on 127.0.0.1:9000
        #
        #location ~ \.php$ {
        #    root           html;
        #    fastcgi_pass   127.0.0.1:9000;
        #    fastcgi_index  index.php;
        #    fastcgi_param  SCRIPT_FILENAME  /scripts$fastcgi_script_name;
        #    include        fastcgi_params;
        #}

        # deny access to .htaccess files, if Apache's document root
        # concurs with nginx's one
        #
        #location ~ /\.ht {
        #    deny  all;
        #}
    }

    # another virtual host using mix of IP-, name-, and port-based configuration
    #
    #server {
    #    listen       8000;
    #    listen       somename:8080;
    #    server_name  somename  alias  another.alias;

    #    location / {
    #        root   html;
    #        index  index.html index.htm;
    #    }
    #}

    # HTTPS server
    #
    #server {
    #    listen       443 ssl;
    #    server_name  localhost;

    #    ssl_certificate      cert.pem;
    #    ssl_certificate_key  cert.key;

    #    ssl_session_cache    shared:SSL:1m;
    #    ssl_session_timeout  5m;

    #    ssl_ciphers  HIGH:!aNULL:!MD5;
    #    ssl_prefer_server_ciphers  on;

    #    location / {
    #        root   html;
    #        index  index.html index.htm;
    #    }
    #}

}
2.5重启nginx即可
./nginx -s reload
3.tomcat部署后端
3.1数据库脚本导入数据库,要是不会看我上一篇博客。
3.2把war包丢入webapps中
两个都要丢进去。
/usr/local/java/apache-tomcat-8.5.20-8081/webapps/
这个是我的安装目录,视情况而定。
重启两个服务器,后端即可部署完成。
4.项目的前端部署
4.1先建好一个文件夹存放前端项目的架包
#先进入这个目录
cd /usr/local/
#创建文件夹
mkdir mypro
4.2修改nginx配置文件
#进入目录
cd /usr/local/nginx/conf/
修改nginx.conf文件
4.1修改default.conf
server {
    listen       80;            #监听80端口,可以改成其他端口
    #server_name  localhost;    #当前服务的域名
    server_name  www.zking.com; #当前服务的域名(虚拟域名也可以)
    root         /usr/local/mypro/dist;      #将要访问的网站的根目录,nginx节点会自动继承父节点的配置;这里放到/usr/local/*,放到其他路径下会有权限相关问题;必要的时候配置Nginx.conf的user为root
4.2代理配置
location / {
            #该句代码是为解决history路由不能跳转的问题,在vue-router官网有介绍
        try_files $uri $uri/  /index.html;
    }
    location  ^~/api/ {
        #^~/api/表示匹配前缀是api的请求,proxy_pass的结尾有/, 则会把/api/*后面的路径直接拼接到后面,即移除api
        proxy_pass http://tomcat_list/;
    }
#user  nobody;
worker_processes  1;

#error_log  logs/error.log;
#error_log  logs/error.log  notice;
#error_log  logs/error.log  info;

#pid        logs/nginx.pid;

events {
    worker_connections  1024;
}

http {
    include       mime.types;
    default_type  application/octet-stream;

    #log_format  main  '$remote_addr - $remote_user [$time_local] "$request" '
    #                  '$status $body_bytes_sent "$http_referer" '
    #                  '"$http_user_agent" "$http_x_forwarded_for"';

    #access_log  logs/access.log  main;

    sendfile        on;
    #tcp_nopush     on;

    #keepalive_timeout  0;
    keepalive_timeout  65;

    #gzip  on;

    upstream  tomcat_list {  #服务器集群名字
    server    127.0.0.1:8080  weight=1;   #服务器1   weight是权重的意思,权重越大,分配的概率越大。
    server    127.0.0.1:8081  weight=1; #服务器2   weight是权重的意思,权重越大,分配的概率越大
}


    server {
        listen       80;
        server_name  www.niyin.com; #当前服务的域名(虚拟域名也可以)
        root         /usr/local/mypro/dist;

        #charset koi8-r;

        #access_log  logs/host.access.log  main;

        # 代理配置
        location / {
            #该句代码是为解决history路由不能跳转的问题,在vue-router官网有介绍
           try_files $uri $uri/  /index.html;
    }
       location  ^~/api/ {
         #^~/api/表示匹配前缀是api的请求,proxy_pass的结尾有/, 则会把/api/*后面的路径直接拼接到后面,即移除api
         proxy_pass http://tomcat_list/;
    }

        #error_page  404              /404.html;

        # redirect server error pages to the static page /50x.html
        #
        error_page   500 502 503 504  /50x.html;
        location = /50x.html {
            root   html;
        }

        # proxy the PHP scripts to Apache listening on 127.0.0.1:80
        #
        #location ~ \.php$ {
        #    proxy_pass   http://127.0.0.1;
        #}

        # pass the PHP scripts to FastCGI server listening on 127.0.0.1:9000
        #
        #location ~ \.php$ {
        #    root           html;
        #    fastcgi_pass   127.0.0.1:9000;
        #    fastcgi_index  index.php;
        #    fastcgi_param  SCRIPT_FILENAME  /scripts$fastcgi_script_name;
        #    include        fastcgi_params;
        #}

        # deny access to .htaccess files, if Apache's document root
        # concurs with nginx's one
        #
        #location ~ /\.ht {
        #    deny  all;
        #}
    }

    # another virtual host using mix of IP-, name-, and port-based configuration
    #
    #server {
    #    listen       8000;
    #    listen       somename:8080;
    #    server_name  somename  alias  another.alias;

    #    location / {
    #        root   html;
    #        index  index.html index.htm;
    #    }
    #}

    # HTTPS server
    #
    #server {
    #    listen       443 ssl;
    #    server_name  localhost;

    #    ssl_certificate      cert.pem;
    #    ssl_certificate_key  cert.key;

    #    ssl_session_cache    shared:SSL:1m;
    #    ssl_session_timeout  5m;

    #    ssl_ciphers  HIGH:!aNULL:!MD5;
    #    ssl_prefer_server_ciphers  on;

    #    location / {
    #        root   html;
    #        index  index.html index.htm;
    #    }
    #}

}
修改的地方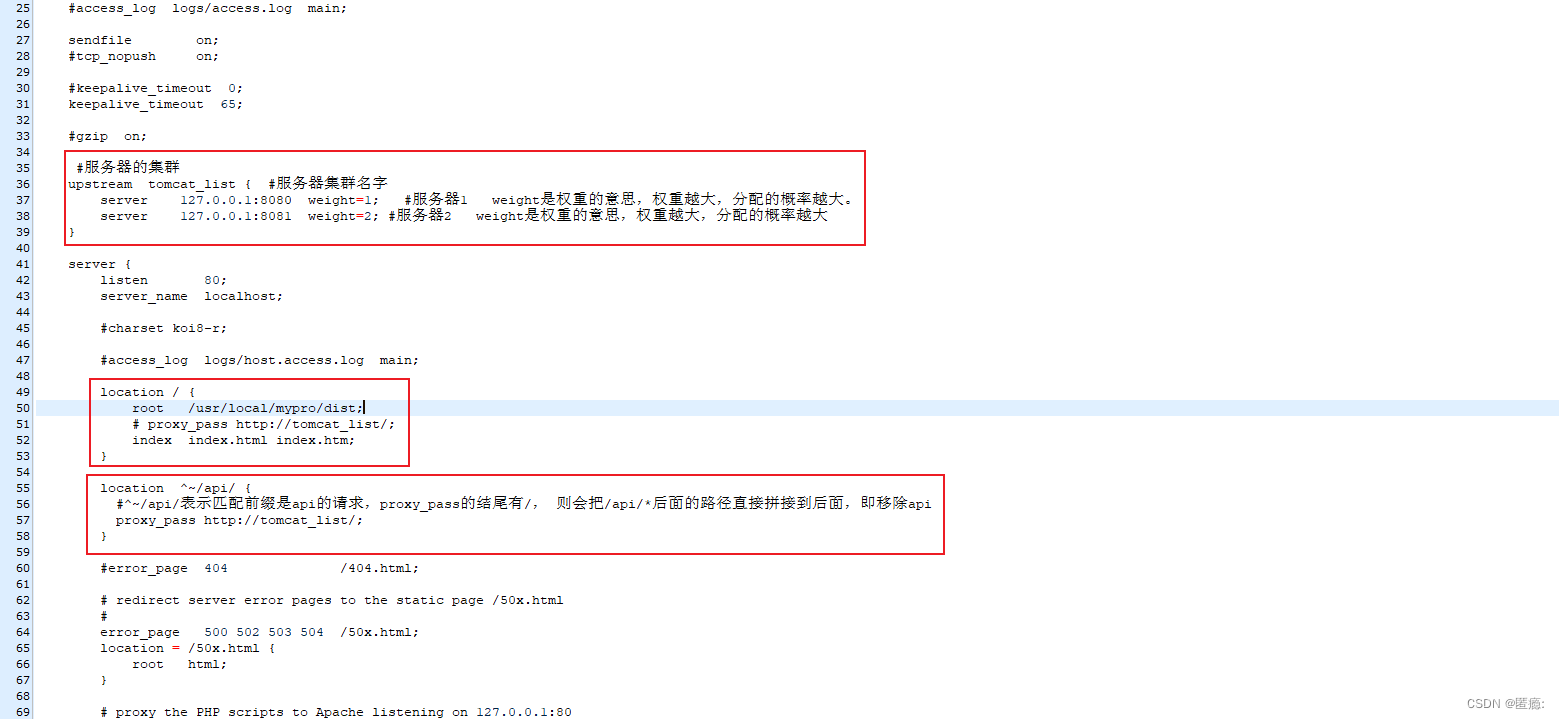
4.3可以设置虚拟域名
win +r C:\Windows\System32\drivers\etc
找到hosts然后配置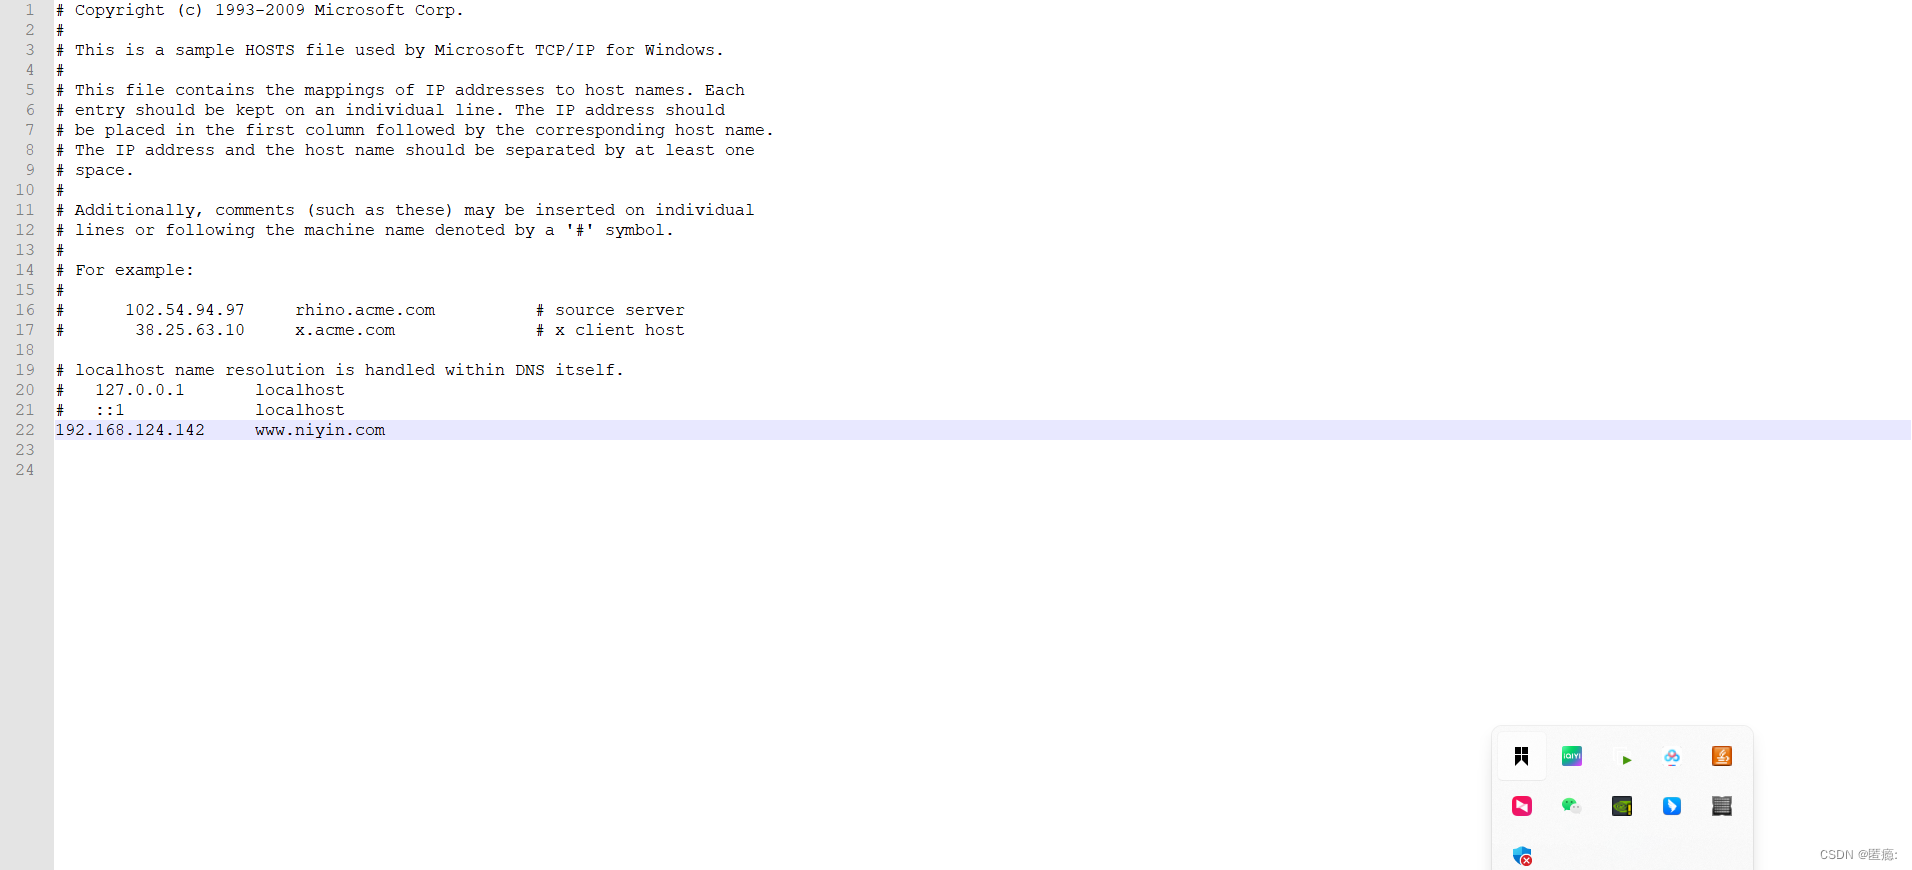
结合上面在nginx配置的域名即可使用。
4.4结果演示

前端项目部署成功。
本文转载自: https://blog.csdn.net/m0_74018330/article/details/136288864
版权归原作者 匿瘾: 所有, 如有侵权,请联系我们删除。
版权归原作者 匿瘾: 所有, 如有侵权,请联系我们删除。