1.添加vue-router依赖
    进入项目路径的cmd下,执行命令

    npm install vue-router@4

    或者yarn add vue-router@4

    推荐使用yarn命令,比npm安装更快
2.执行npm install重新加载依赖
3.在src文件夹下创建一个router文件夹
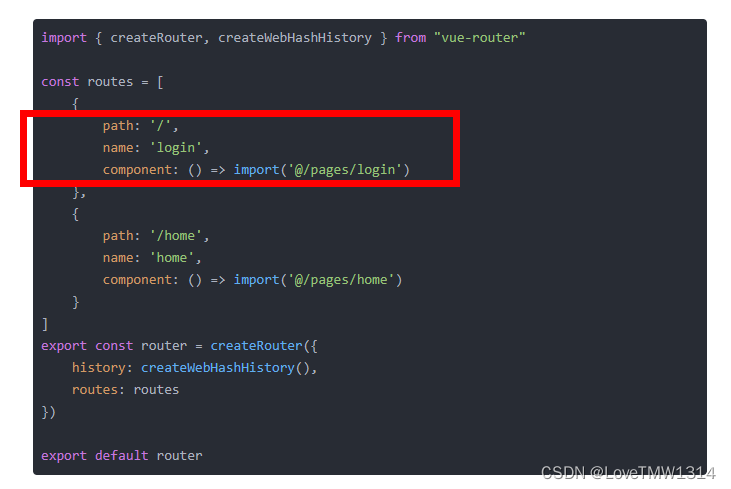
4.在router文件夹下创建index.js文件,内容如下:

import { createRouter, createWebHashHistory } from "vue-router"

const routes = [
    {
        path: '/',
        name: 'login',
        component: () => import('@/pages/login')
    },
    {
        path: '/home',
        name: 'home',
        component: () => import('@/pages/home')
    }
]
export const router = createRouter({
    history: createWebHashHistory(),
    routes: routes
})

export default router
其中 path是访问路径,name时路由名称,component: () => import('@/pages/home')是对应vue组件所在目录。
5.在main.js中引入router文件
import { createApp } from 'vue'
import App from './App.vue'
import router from './router'

const app = createApp(App)
app.use(router)
app.mount('#app')
6.设置路由首页
在App.vue文件中加入路由标签
<template>
  <router-view></router-view>
</template>

<script>

export default {
  name: 'App',
  components: {
  }
}
</script>

<style>
#app {
  font-family: Avenir, Helvetica, Arial, sans-serif;
  -webkit-font-smoothing: antialiased;
  -moz-osx-font-smoothing: grayscale;
  text-align: center;
  color: #2c3e50;
  margin-top: 60px;
}
</style>
此时启动项目后,访问项目根路径就会默认显示路由文件里面配置了路径为“/”的login页面,

7.路由跳转
    假设现在编写两个vue页面,一个是login一个是home,路由配置如上图,那么从login页面跳转到home页面可以使用如下方法:

    在方法中使用this.$router.push('/home')即可跳转至home页面
本文转载自: https://blog.csdn.net/LoveTMW1314/article/details/128420240
版权归原作者 @一只码农@ 所有, 如有侵权,请联系我们删除。
版权归原作者 @一只码农@ 所有, 如有侵权,请联系我们删除。