
本来打算做一个全部都是前端完成的资源上传到七牛云的demo,但是需要获取token,经历了九九八十一难,最终还是选择放弃,token从后端获取(springboot)。如果你们有前端直接能解决的麻烦记得私我哦!!!
效果展示

先看看文档:
element ui :https://element.eleme.cn/#/zh-CN/component/upload
七牛云:https://developer.qiniu.com/kodo/1283/javascript
前端
- 首先安装七牛云的JS的sdk
npminstall qiniu-js
- 此处域名是指向你自己的七牛云域名,目的是让照片回显。如何在七牛云中找到自己的域名请看下面。
 3 .七牛云中找到自己的域名
<template><div><el-uploadclass="upload-demo"action="https://upload.qiniup.com":on-remove="handleRemove":file-list="fileList"list-type="picture":http-request="customUpload"accept="image/jpeg,image/gif,image/png"><el-buttonsize="small"type="primary">点击上传</el-button><divslot="tip"class="el-upload__tip">只能上传jpg/png/gif文件,且不超过2M</div></el-upload></div></template><script>//这里我下面会提供给,其实就是一个后端接口,后面会说怎么获取tonken的,根据自己的需求来import{ qiniuTonken }from"@/js/qiniu_token"exportdefault{name:"photoList",data(){return{fileList:[],}},created(){this.getQiniuToken()},methods:{getQiniuToken(){qiniuTonken().then(res=>{this.yourQiniuUploadToken = res.data.data
})},//移除图片的处理handleRemove(file, fileList){
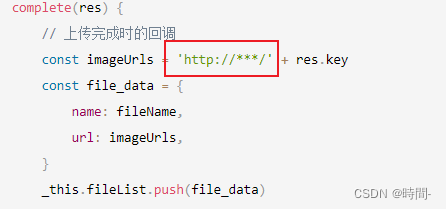
console.log(file, fileList);},beforeUpload(file){// 在上传之前的逻辑,可以做一些检查或者其他处理returntrue;// 返回true允许上传,返回false阻止上传},customUpload(file){const qiniu =require('qiniu-js');// 自定义上传方法,使用qiniu-js库进行上传const date =newDate();const year = date.getFullYear();const month = date.getMonth()+1;const directory ='sm-frontend/'+ year +'/'+ month +'/';const fileName = file.file.name;const key = directory + fileName;const observable = qiniu.upload(file.file, key,this.yourQiniuUploadToken);return observable.subscribe({complete(res){// 上传完成时的回调const imageUrls ='http://***/'+ res.key
const file_data ={name: fileName,url: imageUrls,}
_this.fileList.push(file_data)// 将成功状态标记添加到文件对象中。后续测试发现不加也可以,哈哈哈。是之前直接使用this的原因。这里就不去掉了。const uploadedFileIndex = _this.fileList.findIndex(file=> file.url === imageUrls);//使用了 findIndex 方法来找到对应文件的索引,然后将状态标记为成功。请尝试修改代码并重新测试上传功能if(uploadedFileIndex !==-1){
console.log(uploadedFileIndex)this.fileList[uploadedFileIndex].status ='success';}},next(res){// 上传过程中的回调,如果需要可以在这里处理上传进度等信息},error(err){// 上传出错时的回调},});}}}</script>
JS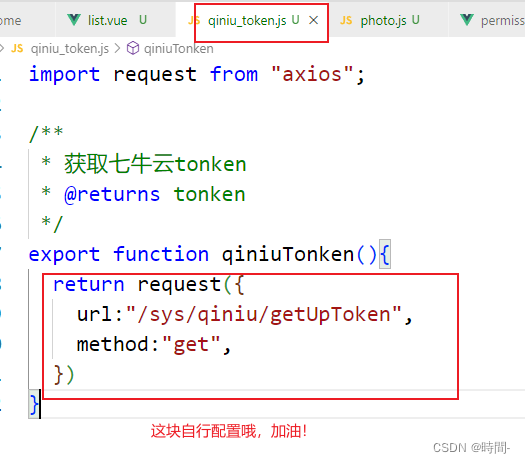
后端
技术:springboot、maven…
- 引入maven
<!-- 七牛云 --><dependency><groupId>com.qiniu</groupId><artifactId>qiniu-java-sdk</artifactId><version>7.2.7</version></dependency>
- 编写controller代码
packagecom.admin.controller.admin.email;importcom.common.util.QiniuUtil;importcom.system.constant.HTTPStatus;importcom.system.response.Result;importorg.springframework.web.bind.annotation.GetMapping;importorg.springframework.web.bind.annotation.RequestMapping;importorg.springframework.web.bind.annotation.RequestParam;importorg.springframework.web.bind.annotation.RestController;/**
 * @Classname QiniuController
 * @Date 2023/8/8 13:32
 * @Created ZFC
 */@RestController@RequestMapping("/sys/qiniu")publicclassQiniuController{@GetMapping("/getUpToken")publicResultgetUpToken(@RequestParam(value ="key", required =false)String key){returnnewResult().setCode(HTTPStatus.SUCCESS).setData(QiniuUtil.getToken(key));}}
- util代码
importcom.qiniu.util.Auth;importlombok.extern.slf4j.Slf4j;@Slf4jpublicclassQiniuUtil{publicstaticStringgetToken(String key){Auth auth =Auth.create(***ACCESS_KEY***,***SECRET_KEY***);return auth.uploadToken(***BUCKET***, key);}}
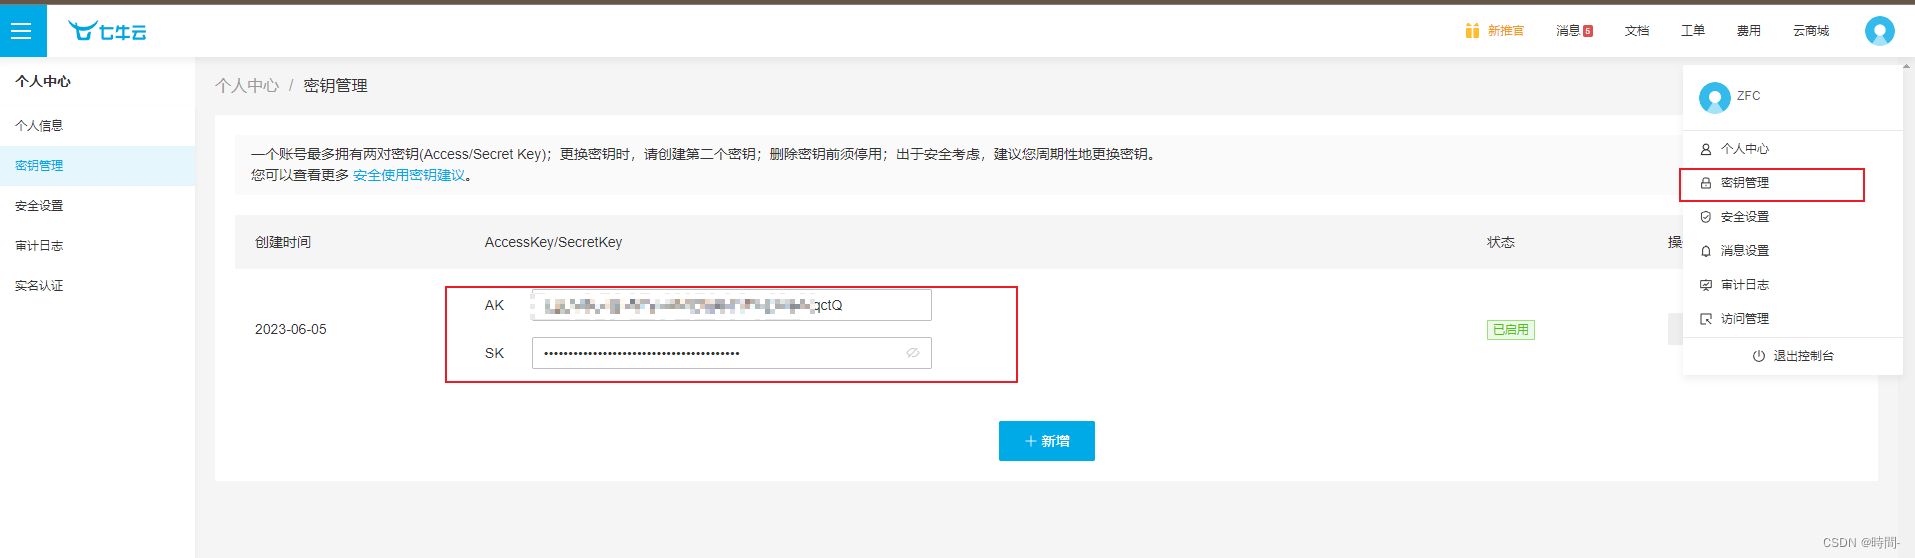
- 获取相关参数 ACCESS_KEY、SECRET_KEY
 BUCKET
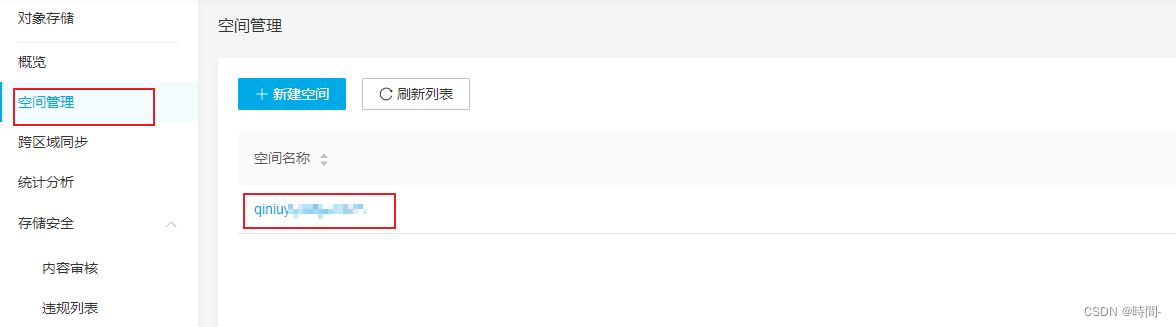
本文转载自: https://blog.csdn.net/qq_54027065/article/details/136365114
版权归原作者 時間- 所有, 如有侵权,请联系我们删除。
版权归原作者 時間- 所有, 如有侵权,请联系我们删除。