
如何将pytorch模型部署到安卓上
这篇文章演示如何将训练好的pytorch模型部署到安卓设备上。我也是刚开始学安卓,代码写的简单。
环境:
pytorch版本:1.10.0
模型转化
pytorch_android支持的模型是.pt模型,我们训练出来的模型是.pth。所以需要转化才可以用。先看官网上给的转化方式:
import torch
import torchvision
from torch.utils.mobile_optimizer import optimize_for_mobile

model = torchvision.models.mobilenet_v3_small(pretrained=True)
model.eval()
example = torch.rand(1,3,224,224)
traced_script_module = torch.jit.trace(model, example)
optimized_traced_model = optimize_for_mobile(traced_script_module)
optimized_traced_model._save_for_lite_interpreter("app/src/main/assets/model.ptl")
这个模型在安卓对应的包:
repositories {
    jcenter()}

dependencies {
    implementation 'org.pytorch:pytorch_android_lite:1.9.0'
    implementation 'org.pytorch:pytorch_android_torchvision:1.9.0'}
注:pytorch_android_lite版本和转化模型用的版本要一致,不一致就会报各种错误。
目前用这种方法有点问题,我采用的另一种方法。
转化代码如下:
import torch
import torch.utils.data.distributed

# pytorch环境中
model_pth = 'model_31_0.96.pth' #模型的参数文件
mobile_pt ='model.pt' # 将模型保存为Android可以调用的文件

model = torch.load(model_pth)
model.eval() # 模型设为评估模式
device = torch.device('cpu')
model.to(device)
# 1张3通道224*224的图片
input_tensor = torch.rand(1, 3, 224, 224) # 设定输入数据格式

mobile = torch.jit.trace(model, input_tensor) # 模型转化
mobile.save(mobile_pt) # 保存文件
对应的包:
//pytorch
implementation 'org.pytorch:pytorch_android:1.10.0'
implementation 'org.pytorch:pytorch_android_torchvision:1.10.0'
定义模型文件和转化后的文件路径。
load模型。这里要注意,如果保存模型
torch.save(model,'models.pth')
加载模型则是
model=torch.load('models.pth')
如果保存模型是
torch.save(model.state_dict(),"models.pth")
加载模型则是
model.load_state_dict(torch.load('models.pth'))
定义输入数据格式。
模型转化,然后再保存模型。
安卓部署
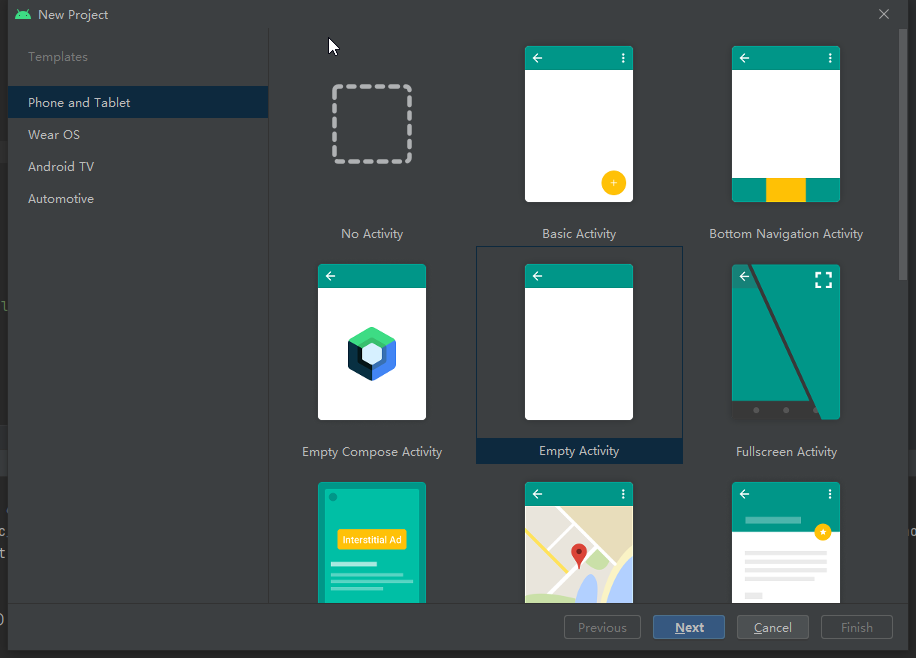
新建项目
新建安卓项目,选择Empy Activity,然后选择Next
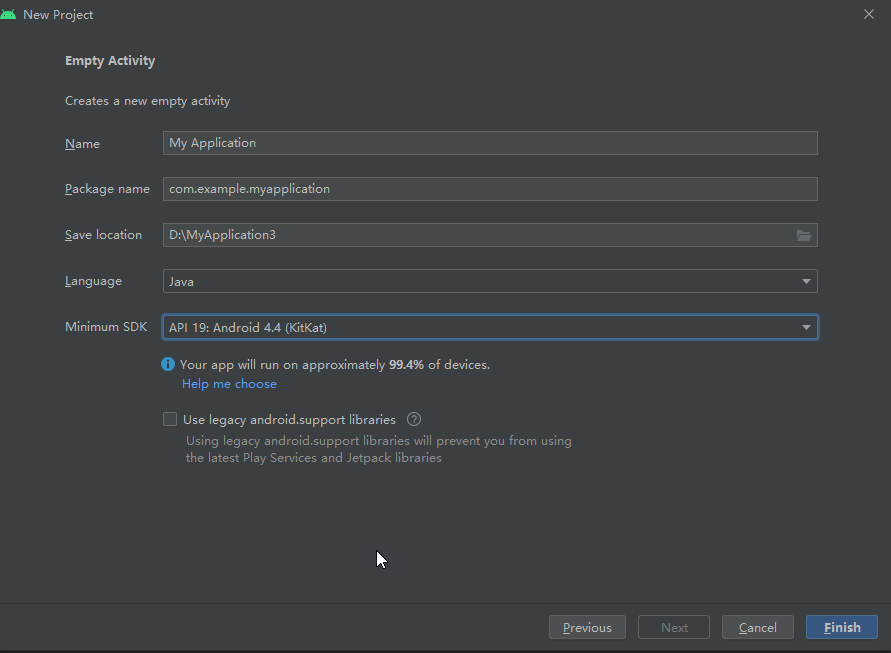
然后,填写项目信息,选择安卓版本,我用的4.4,点击完成
导入包
导入pytorch_android的包
//pytorch
implementation 'org.pytorch:pytorch_android:1.10.0'
implementation 'org.pytorch:pytorch_android_torchvision:1.10.0'
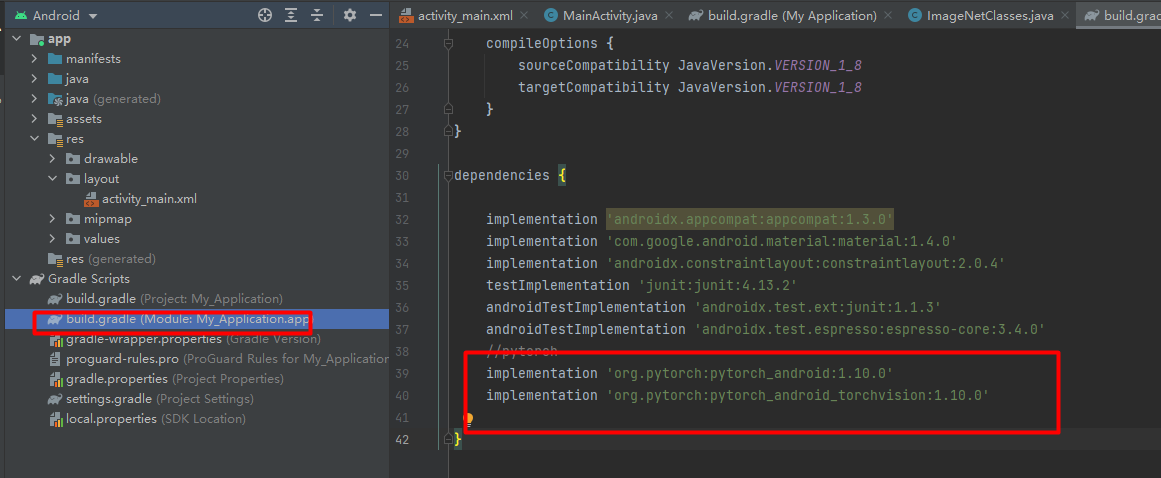
如果有参数报错请参照我的完整的配置,代码如下:
plugins {
    id 'com.android.application'}

android {
    compileSdk 32

    defaultConfig {
        applicationId "com.example.myapplication"
        minSdk 21
        targetSdk 32
        versionCode 1
        versionName "1.0"

        testInstrumentationRunner "androidx.test.runner.AndroidJUnitRunner"}

    buildTypes {
        release {
            minifyEnabled false
            proguardFiles getDefaultProguardFile('proguard-android-optimize.txt'),'proguard-rules.pro'}}
    compileOptions {
        sourceCompatibility JavaVersion.VERSION_1_8
        targetCompatibility JavaVersion.VERSION_1_8
    }}

dependencies {

    implementation 'androidx.appcompat:appcompat:1.3.0'
    implementation 'com.google.android.material:material:1.4.0'
    implementation 'androidx.constraintlayout:constraintlayout:2.0.4'
    testImplementation 'junit:junit:4.13.2'
    androidTestImplementation 'androidx.test.ext:junit:1.1.3'
    androidTestImplementation 'androidx.test.espresso:espresso-core:3.4.0'//pytorch
    implementation 'org.pytorch:pytorch_android:1.10.0'
    implementation 'org.pytorch:pytorch_android_torchvision:1.10.0'}
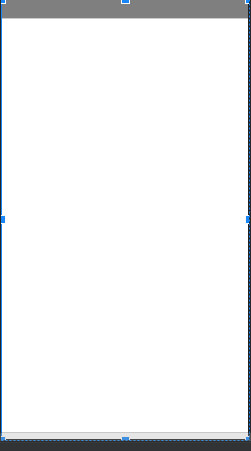
页面文件
页面的配置如下:
<?xml version="1.0" encoding="utf-8"?>
<FrameLayout xmlns:android="http://schemas.android.com/apk/res/android"
    xmlns:tools="http://schemas.android.com/tools"
    android:layout_width="match_parent"
    android:layout_height="match_parent"
    tools:context=".MainActivity">

    <ImageView
        android:id="@+id/image"
        android:layout_width="match_parent"
        android:layout_height="match_parent"
        android:scaleType="fitCenter" />

    <TextView
        android:id="@+id/text"
        android:layout_width="match_parent"
        android:layout_height="wrap_content"
        android:layout_gravity="top"
        android:textSize="24sp"
        android:background="#80000000"
        android:textColor="@android:color/holo_red_light" />

</FrameLayout>
这个页面只有两个空间,一个展示图片,一个显示文字。
模型推理
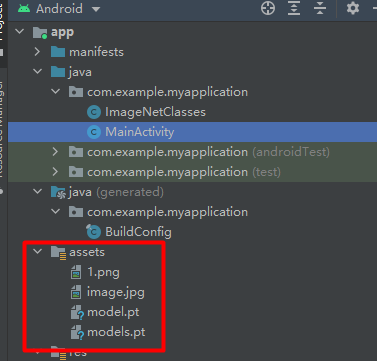
新增assets文件夹,然后将转化的模型和待测试的图片放进去。
新增ImageNetClasses类,这个类存放类别名字。
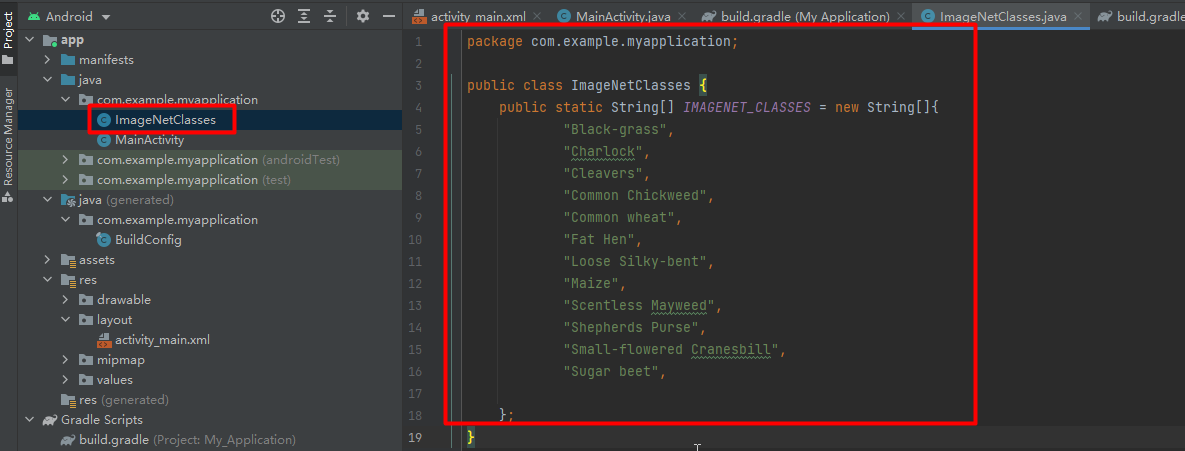
代码如下:
package com.example.myapplication;

public classImageNetClasses{
    public static String[] IMAGENET_CLASSES = new String[]{"Black-grass","Charlock","Cleavers","Common Chickweed","Common wheat","Fat Hen","Loose Silky-bent","Maize","Scentless Mayweed","Shepherds Purse","Small-flowered Cranesbill","Sugar beet",};}
在MainActivity类中,增加模型推理的逻辑。完成代码如下:
package com.example.myapplication;

import android.content.Context;
import android.graphics.Bitmap;
import android.graphics.BitmapFactory;
import android.os.Bundle;
import android.util.Log;
import android.widget.ImageView;
import android.widget.TextView;

import org.pytorch.IValue;

import org.pytorch.Module;
import org.pytorch.Tensor;
import org.pytorch.torchvision.TensorImageUtils;
import org.pytorch.MemoryFormat;
import java.io.File;
import java.io.FileOutputStream;
import java.io.IOException;
import java.io.InputStream;
import java.io.OutputStream;

import androidx.appcompat.app.AppCompatActivity;

public class MainActivity extends AppCompatActivity {

    @Override
    protected void onCreate(Bundle savedInstanceState) {
        super.onCreate(savedInstanceState);
        setContentView(R.layout.activity_main);

        Bitmap bitmap = null;
        Module module = null;
        try {
            // creating bitmap from packaged into app android asset 'image.jpg',
            // app/src/main/assets/image.jpg
            bitmap = BitmapFactory.decodeStream(getAssets().open("1.png"));
            // loading serialized torchscript module from packaged into app android asset model.pt,
            // app/src/model/assets/model.pt
            module = Module.load(assetFilePath(this, "models.pt"));
        } catch (IOException e) {
            Log.e("PytorchHelloWorld", "Error reading assets", e);
            finish();
        }

        // showing image on UI
        ImageView imageView = findViewById(R.id.image);
        imageView.setImageBitmap(bitmap);

        // preparing input tensor
        final Tensor inputTensor = TensorImageUtils.bitmapToFloat32Tensor(bitmap,
                TensorImageUtils.TORCHVISION_NORM_MEAN_RGB, TensorImageUtils.TORCHVISION_NORM_STD_RGB, MemoryFormat.CHANNELS_LAST);

        // running the model
        final Tensor outputTensor = module.forward(IValue.from(inputTensor)).toTensor();

        // getting tensor content as java array of floats
        final float[] scores = outputTensor.getDataAsFloatArray();

        // searching for the index with maximum score
        float maxScore = -Float.MAX_VALUE;
        int maxScoreIdx = -1;
        for (int i = 0; i < scores.length; i++) {
            if (scores[i] > maxScore) {
                maxScore = scores[i];
                maxScoreIdx = i;
            }
        }
        System.out.println(maxScoreIdx);
        String className = ImageNetClasses.IMAGENET_CLASSES[maxScoreIdx];

        // showing className on UI
        TextView textView = findViewById(R.id.text);
        textView.setText(className);
    }

    /**
     * Copies specified asset to the file in /files app directory and returns this file absolute path.
     *
     * @return absolute file path
     */
    public static String assetFilePath(Context context, String assetName) throws IOException {
        File file = new File(context.getFilesDir(), assetName);
        if (file.exists() && file.length() > 0) {
            return file.getAbsolutePath();
        }

        try (InputStream is = context.getAssets().open(assetName)) {
            try (OutputStream os = new FileOutputStream(file)) {
                byte[] buffer = new byte[4 * 1024];
                int read;
                while ((read = is.read(buffer)) != -1) {
                    os.write(buffer, 0, read);
                }
                os.flush();
            }
            return file.getAbsolutePath();
        }
    }
}
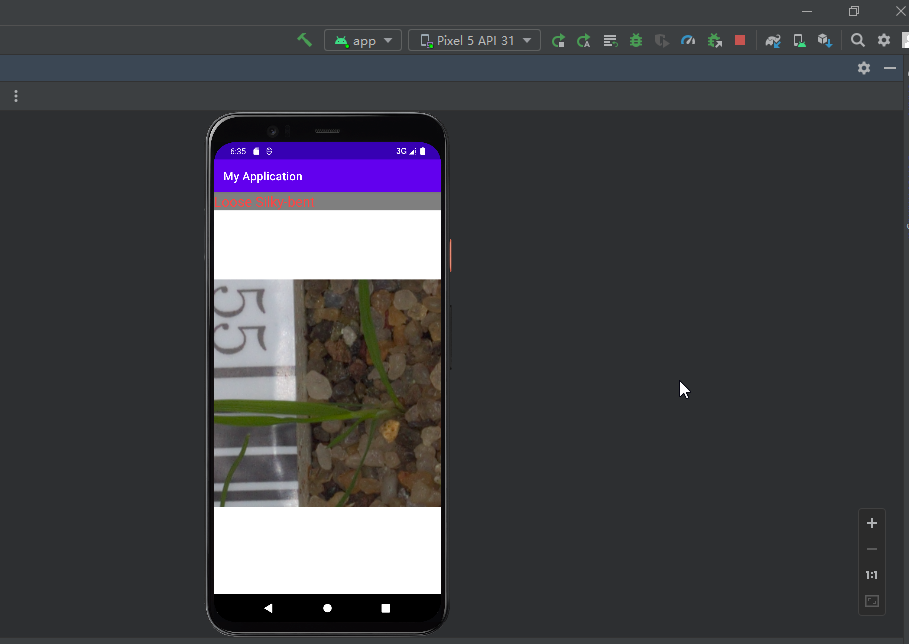
然后运行。
本文转载自: https://blog.csdn.net/hhhhhhhhhhwwwwwwwwww/article/details/122860445
版权归原作者 AI浩 所有, 如有侵权,请联系我们删除。
版权归原作者 AI浩 所有, 如有侵权,请联系我们删除。