
1、前言
在《Springboot admin集成Actuator(一)》一文中简单演示了Actuator的初步使用,但是可以发现都是json形式返回的结构,那么是否有能够可视化的方式来展示这些指标呢?当然有,就是接下来要说的Springboot Admin。Spring Boot Admin能够将 Actuator 中的信息进行界面化的展示,也可以监控所有 Spring Boot 应用的健康状况,提供实时警报功能。
注:虽然名叫Springboot Admin,但却不是Spring团队研发的。而是由Codecentric公司创建的,代码在Github: spring-boot-admin在新窗口打开上。
2、快速使用
springboot admin分为服务端(spring-boot-admin-server)和客户端(spring-boot-admin-client)。服务端和客户端之间采用 http 通讯方式实现数据交互;单体项目中需要整合 spring-boot-admin-client 才能让应用被监控。在 SpringCloud 项目中,spring-boot-admin-server 是直接从注册中心抓取应用信息,不需要每个微服务应用整合 spring-boot-admin-client 就可以实现应用的管理和监控。
2.1、服务端集成
2.1.1、添加依赖
<dependency>
    <groupId>org.springframework.boot</groupId>
    <artifactId>spring-boot-starter-web</artifactId>
</dependency>
<!-- 添加security模块,可以对spring boot admin设置登录账号密码,添加安全性 -->
<dependency>
    <groupId>org.springframework.boot</groupId>
    <artifactId>spring-boot-starter-security</artifactId>
</dependency>
<dependency>
    <groupId>de.codecentric</groupId>
    <artifactId>spring-boot-admin-starter-server</artifactId>
    <version>${spring.boot.admin.version}</version>
</dependency>
2.1.2、配置启动类
启动类需要添加注解@EnableAdminServer。
@EnableAdminServer
@SpringBootApplication
public class SbaServerLauncher {
    public static void main(String[] args) {
        SpringApplication.run(SbaServerLauncher.class, args);
    }
}
2.1.3、配置application.yml
server:
  port: 9001

spring:
  application:
    name: sba-server
  # 配置登录springboot admin管理端的账号密码
  security:
    user:
      name: admin
      password: 123456

# 启动actuator端点
management:
  endpoints:
    web:
      exposure:
        include: '*'
  endpoint:
    health:
      show-details: always
2.1.4、定制security config
@Configuration
public class SecuritySecureConfig extends WebSecurityConfigurerAdapter {

    private final String adminContextPath;

    public SecuritySecureConfig(AdminServerProperties adminServerProperties) {
        this.adminContextPath = adminServerProperties.getContextPath();
    }

    @Override
    protected void configure(HttpSecurity http) throws Exception {
        // 登录成功处理类
        SavedRequestAwareAuthenticationSuccessHandler successHandler = new SavedRequestAwareAuthenticationSuccessHandler();
        successHandler.setTargetUrlParameter("redirectTo");
        successHandler.setDefaultTargetUrl(adminContextPath + "/");

        http.authorizeRequests()
                //静态文件允许访问
                .antMatchers(adminContextPath + "/assets/**").permitAll()
                //登录页面允许访问
                .antMatchers(adminContextPath + "/login", "/css/**", "/js/**", "/image/*").permitAll()
                //其他所有请求需要登录
                .anyRequest().authenticated()
                .and()
                //登录页面配置,用于替换security默认页面
                .formLogin().loginPage(adminContextPath + "/login").successHandler(successHandler).and()
                //登出页面配置,用于替换security默认页面
                .logout().logoutUrl(adminContextPath + "/logout").and()
                .httpBasic().and()
                .csrf()
                .csrfTokenRepository(CookieCsrfTokenRepository.withHttpOnlyFalse())
                .ignoringAntMatchers(
                        "/instances",
                        "/actuator/**"
                );
    }
}
2.1.5、启动程序
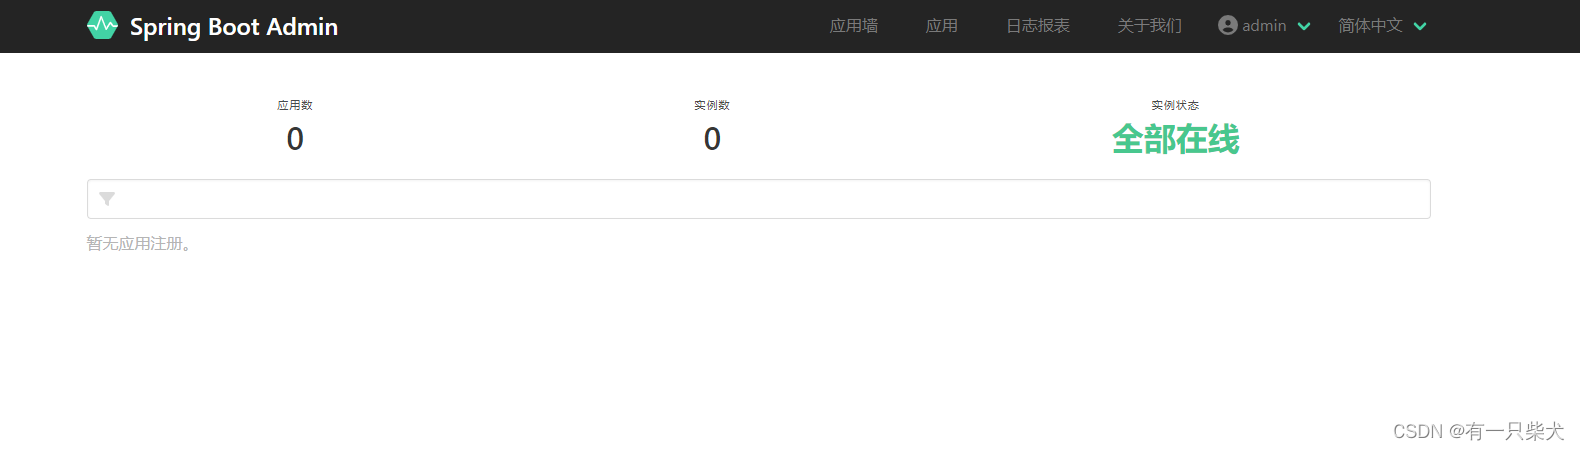
接下来就可以启动程序。访问地址http://localhost:9001

输入账号密码admin/123456,进入控制台首页,服务端集成到此就好了。
2.2、客户端集成
服务端集成后,我们发现其应用数为0。这里的应用就是需要我们客户端集成后注册进去。
2.2.1、添加依赖
<dependency>
    <groupId>de.codecentric</groupId>
    <artifactId>spring-boot-admin-starter-client</artifactId>
    <version>${spring.boot.admin.version}</version>
</dependency>
2.2.2、配置application.yml
server:
  port: 9001

spring:
  boot:
    admin:
      client:
        # 这里就是注册服务端的地址
        url: http://localhost:9001
        username: ${spring.security.user.name}
        password: ${spring.security.user.password}
        instance:
          service-host-type: ip
          metadata:
            user.name: ${spring.security.user.name}
            user.password: ${spring.security.user.password}
2.2.3、启动程序
启动程序,访问下控制台地址:http://localhost:9001,可以发现我们的服务已经注册上去了。因为我这边服务端和客户端是在同一套工程上,因此可以看到我们自己的应用服务。

点击sba-server应用,可以进去详情查看各个端点信息:

这些信息其实就是前面介绍的actuator各个端点的数据以可视化方式呈现。到此我们的集成就算是完成了。
除此之外,我们还可以自定义springboot admin的导航菜单,通过view-setting配置。以及其他一些可扩展的东西,这里就不赘述,需要感兴趣的小伙伴们慢慢探索。
2.3、告警通知
当检测到状态发生变化时, 我们需要发送一些消息通知。sba-server中内置了如email、消息等通知。
2.3.1、邮件通知
我们以为发送email为例,需要添加如下配置:
添加依赖:
<dependency>
    <groupId>org.springframework.boot</groupId>
    <artifactId>spring-boot-starter-mail</artifactId>
</dependency>
添加email配置:
spring:
  mail:
    host: ${MAIL_HOST:邮箱服务器地址}
    port:
    username: ${MAIL_USERNAME:邮箱服务器用户名}
    password: ${MAIL_PWD:邮箱服务器密码}
    protocol: ${MAIL_PROTOCOL:smtp}
    default-encoding: UTF-8
    properties:
      mail.smtp.auth: true
      mail.smtp.starttls.enable: true
      mail.smtp.starttls.required: true
      mail.smtp.socketFactory.port: ${MAIL_SMTP_SOCKETFACTORY_PORT:465}
      mail.smtp.socketFactory.class: javax.net.ssl.SSLSocketFactory
      mail.smtp.socketFactory.fallback: false
      mail.smtp.ssl.protocols: ${MAIL_SMTP_SSL_PROTOCOLS:TLSv1}
添加spring boot admin邮件告警配置:
spring:
  boot:
    admin:
      notify:
        mail:
          to: ${NOTIFY_MAIL_TO:邮箱接收人,多个用,隔开}
          from: ${NOTIFY_MAIL_FROM:邮箱发送人}
配置完,当客户端出现异常时,就会收到邮件告警。
2.3.2、Notifier 接口
除了内置的一些通知类型外,还可以自定义通知功能。自定义的通知可以实现 AbstractStatusChangeNotifier 抽象类,或者 Notifier 接口。我们以继承AbstractStatusChangeNotifier类为例,使用Notifier接口类似:
public class CustomNotifier extends AbstractStatusChangeNotifier {
    }
版权归原作者 有一只柴犬 所有, 如有侵权,请联系我们删除。