4.7、漏洞利用-SMTP
1、SMTP环境搭建
1.1、邮件发送和接收模型
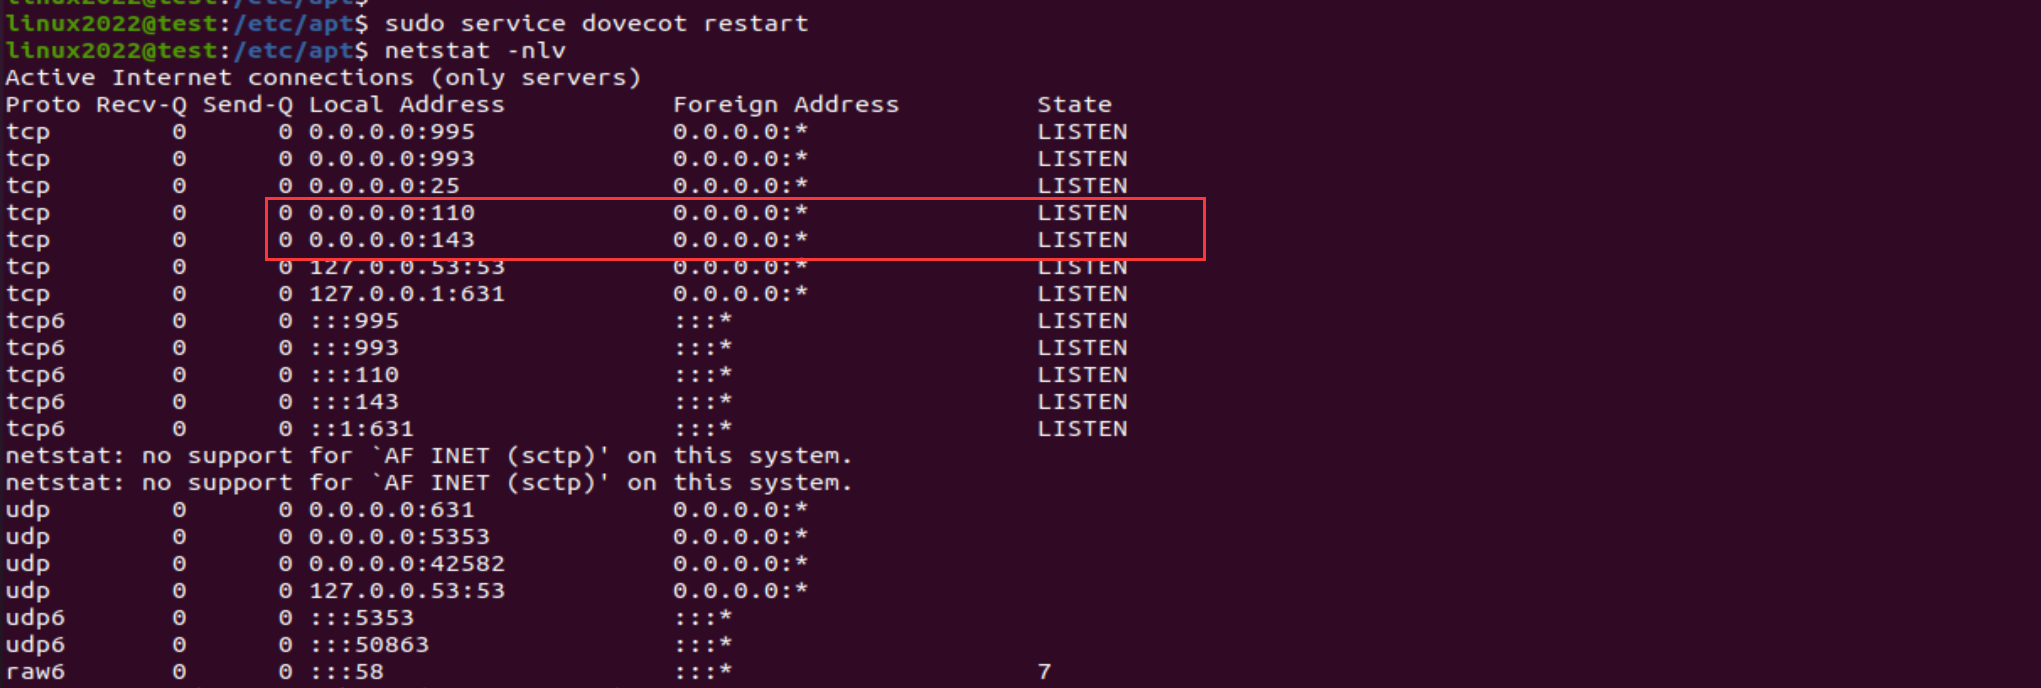
邮件发送使用SMTP协议,占用25号端口。而邮件接收使用pop3或IMAP协议,分别使用110和143端口
使用postfix+dovecot的模式搭建邮件服务器,一个邮件服务器通常包含两个组件
Mail Transfer Agent (MTA):邮件传输代理,用于向收件人的目标 agent 发送邮件和接收来自其他 agent 的邮件,这里使用 Postfix 作为 MTA。
Mail Delivery Agent (MDA):邮件递送代理,用于用户到服务器上访问自己的邮件,我们使用 Dovecot 作为 MDA。
1.2、添加主机名和域名
添加主机名和域名
linux2022@ubuntu:~/Desktop$ sudo gedit /etc/hosts

127.0.0.1 mail.test.lab test

linux2022@ubuntu:~/Desktop$ sudo gedit /etc/hostname

test


linux2022@test:~/Desktop$ reboot    重启使修改生效
linux2022@test:~/Desktop$ hostname
linux2022@test:~/Desktop$ hostname -f

1.3、Ubuntu下安装postfix
(1)安装
如果没有更换镜像源,则先更换,再安装postfix,Ubuntu中集成了postfix
linux2022@test:~/Desktop$ sudo cp /etc/apt/sources.list /etc/apt/sources.init.list
#备份镜像源设置文件

linux2022@test:/etc/apt$ sudo gedit /etc/apt/sources.list
#覆盖官方源,换成国内的源(自行百度)

linux2022@test:/etc/apt$ sudo apt-get update
linux2022@test:/etc/apt$ sudo apt-get upgrade
#更新缓存

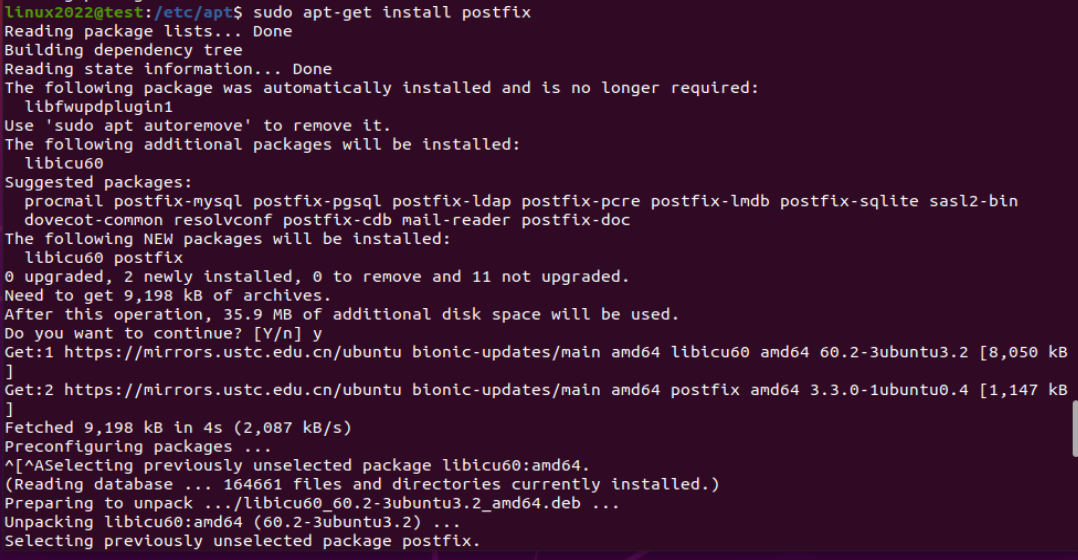
linux2022@test:/etc/apt$ sudo apt-get install postfix
#安装postfix

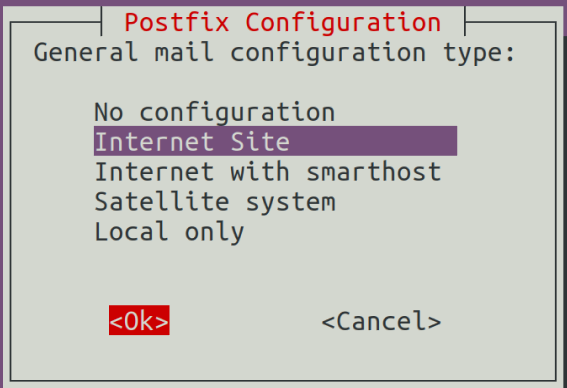
选择Internet site
#默认的,回车就行

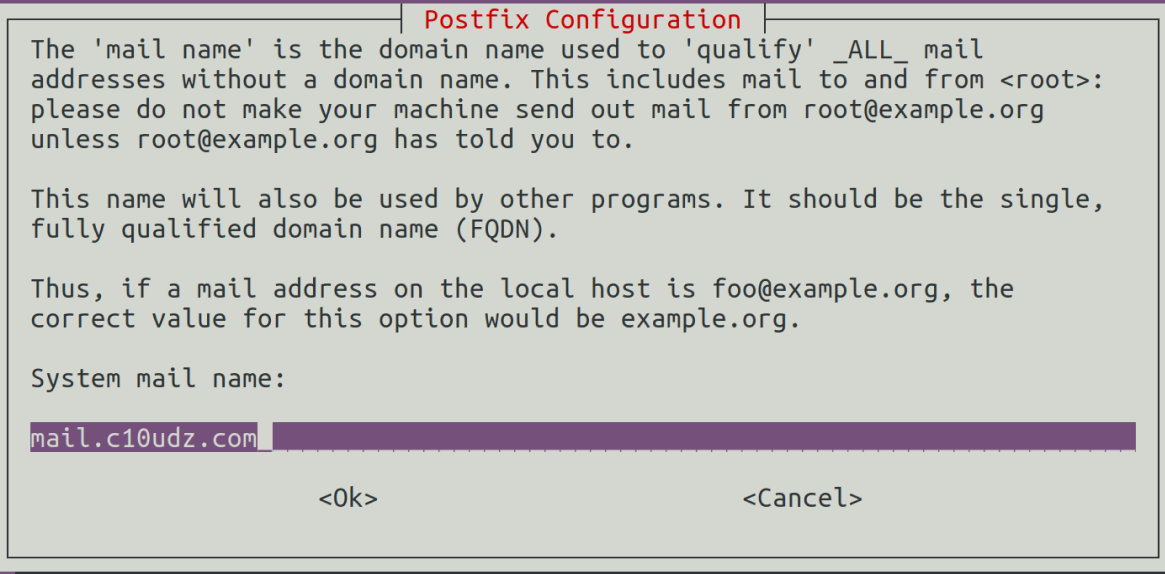
mail.test.lab > 确定

(2)配置
修改配置文件
linux2022@test:/etc/apt$ sudo gedit /etc/postfix/main.cf
#配置文件路径

inet_protocols = all
#添加网络协议

inet_interfaces = all
#侦听所有端口

home_mailbox = Maildir/
#使用Maildir格式存放数据

(3)验证postfix
linux2022@test:/etc/apt$ sudo service postfix restart
#修改后重新启动服务postfix

linux2022@test:/etc/apt$ netstat -nlv
#查看25端口

linux2022@c10udz:~$ telnet localhost smtp


1.4、安装dovcot
(1)安装
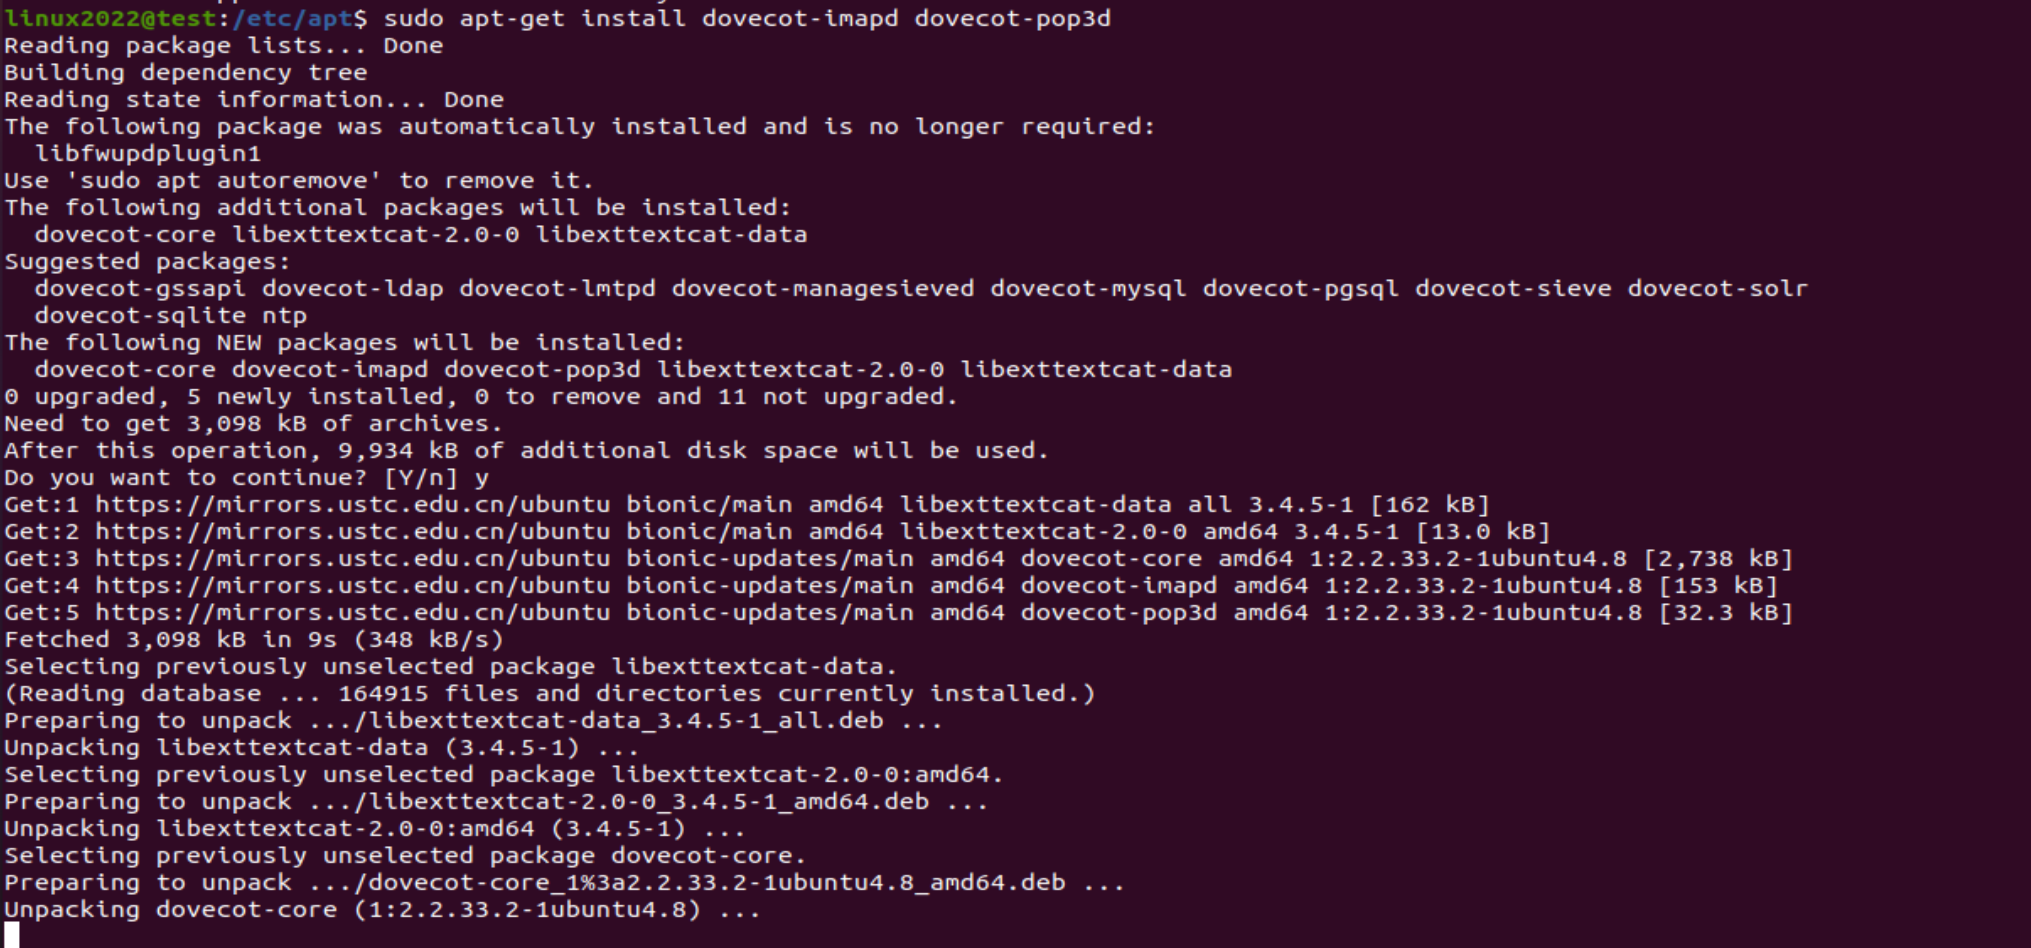
linux2022@test:/etc/apt$ sudo apt-get install dovecot-imapd dovecot-pop3d
(2)修改参数
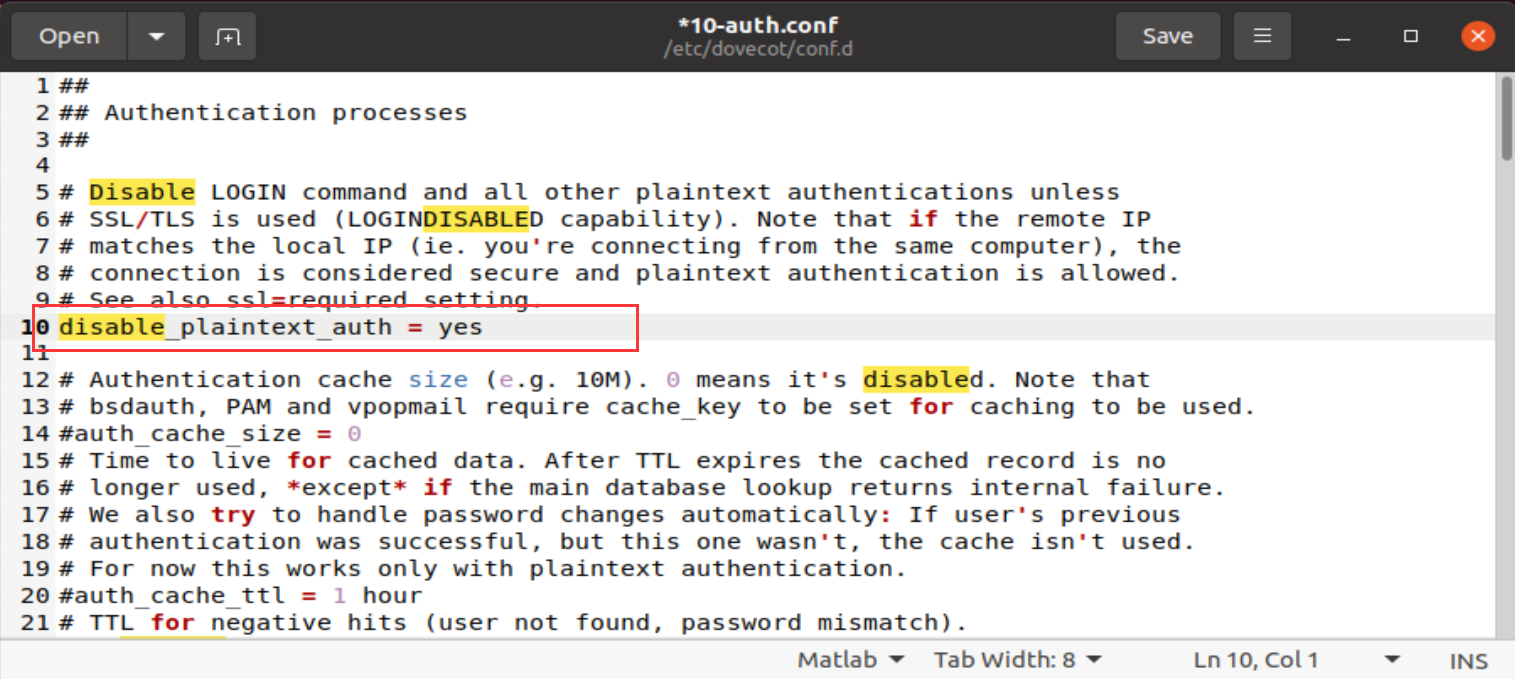
linux2022@test:/etc/apt$ sudo gedit /etc/dovecot/conf.d/10-auth.conf

disable_plaintext_auth = yes

auth_mechanisms = plain login

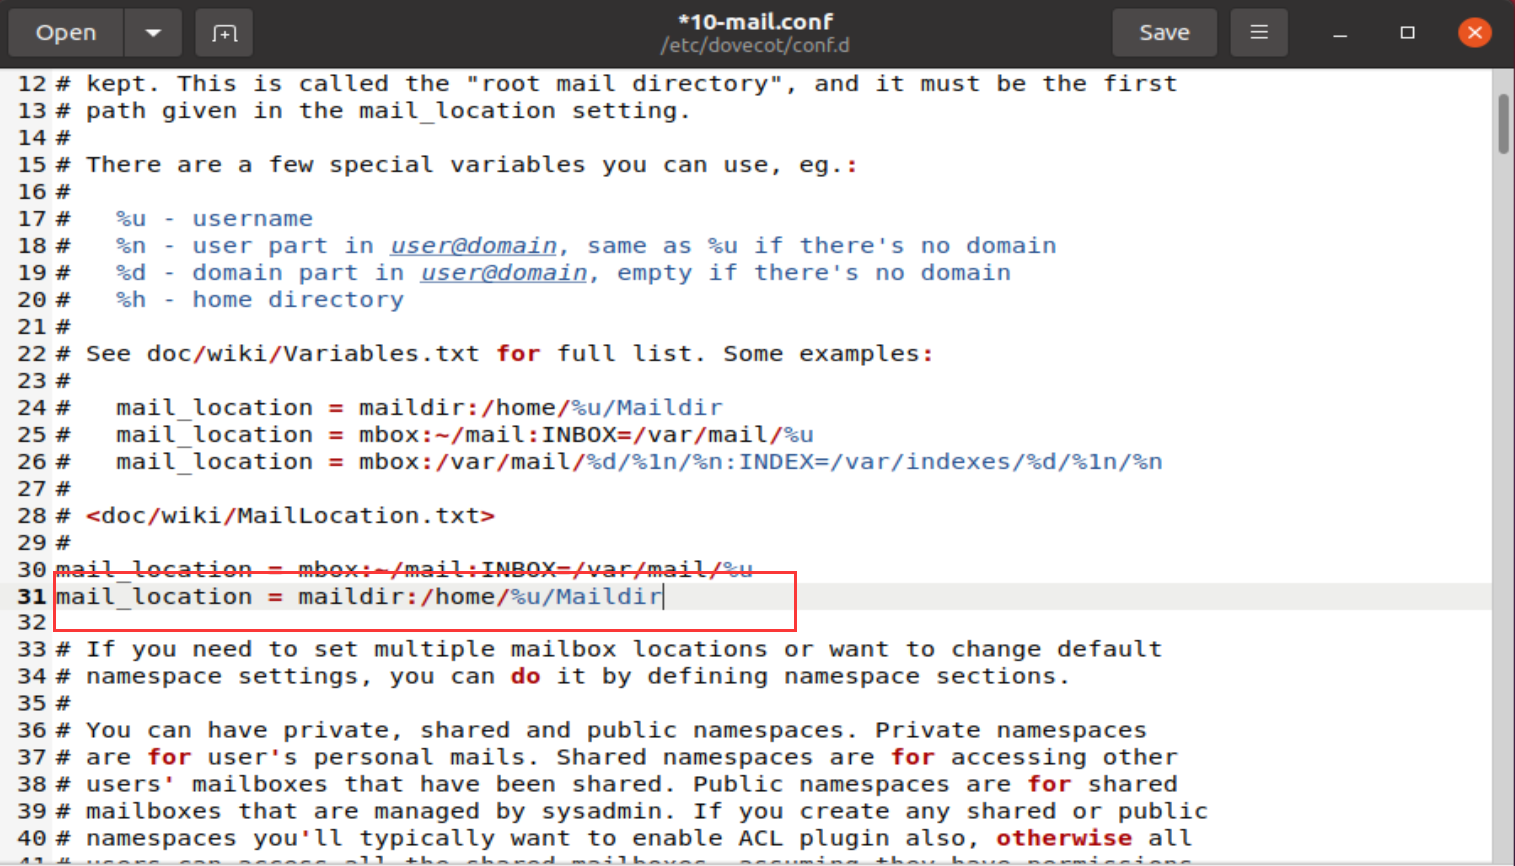
linux2022@test:/etc/apt$ sudo gedit /etc/dovecot/conf.d/10-mail.conf

mail_location = maildir:/home/%u/Maildir
(3)设置端口
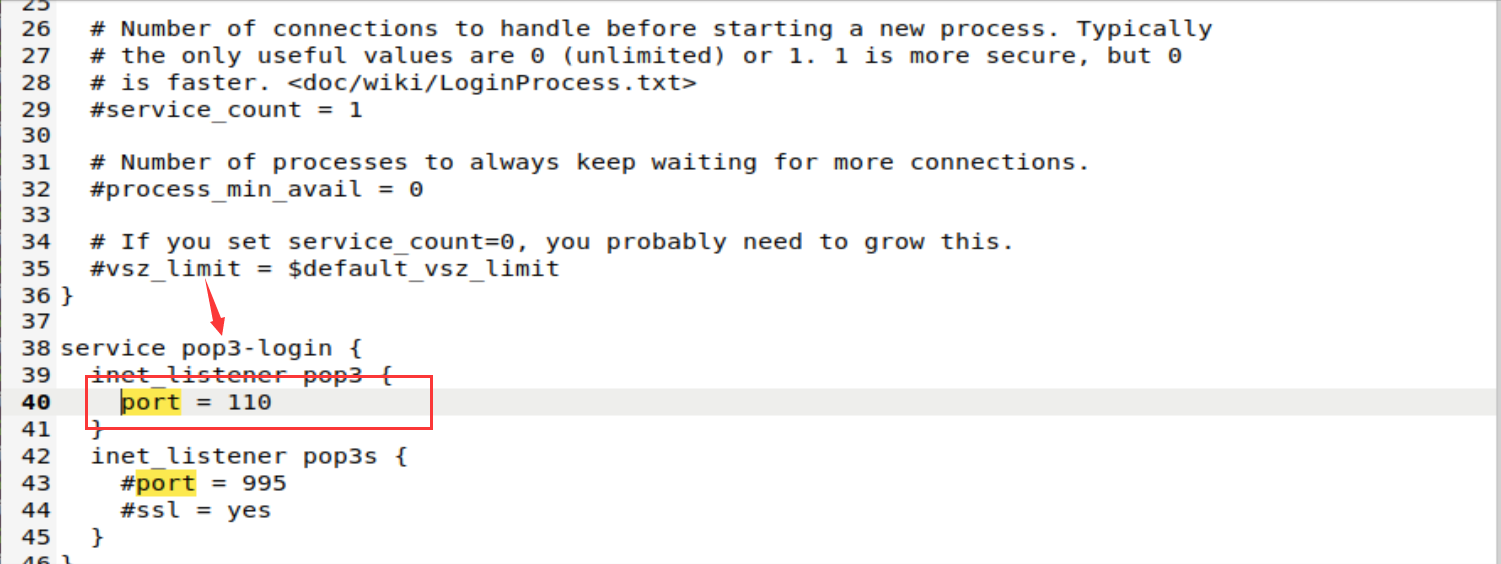
linux2022@test:/etc/apt$ sudo gedit /etc/dovecot/conf.d/10-master.conf
#imap端口设置为143,pop3端口为110
service imap-login {
  inet_listener imap {
    port = 143
  }

service pop3-login {
  inet_listener pop3 {
    port = 110
  }

(4)修改权限
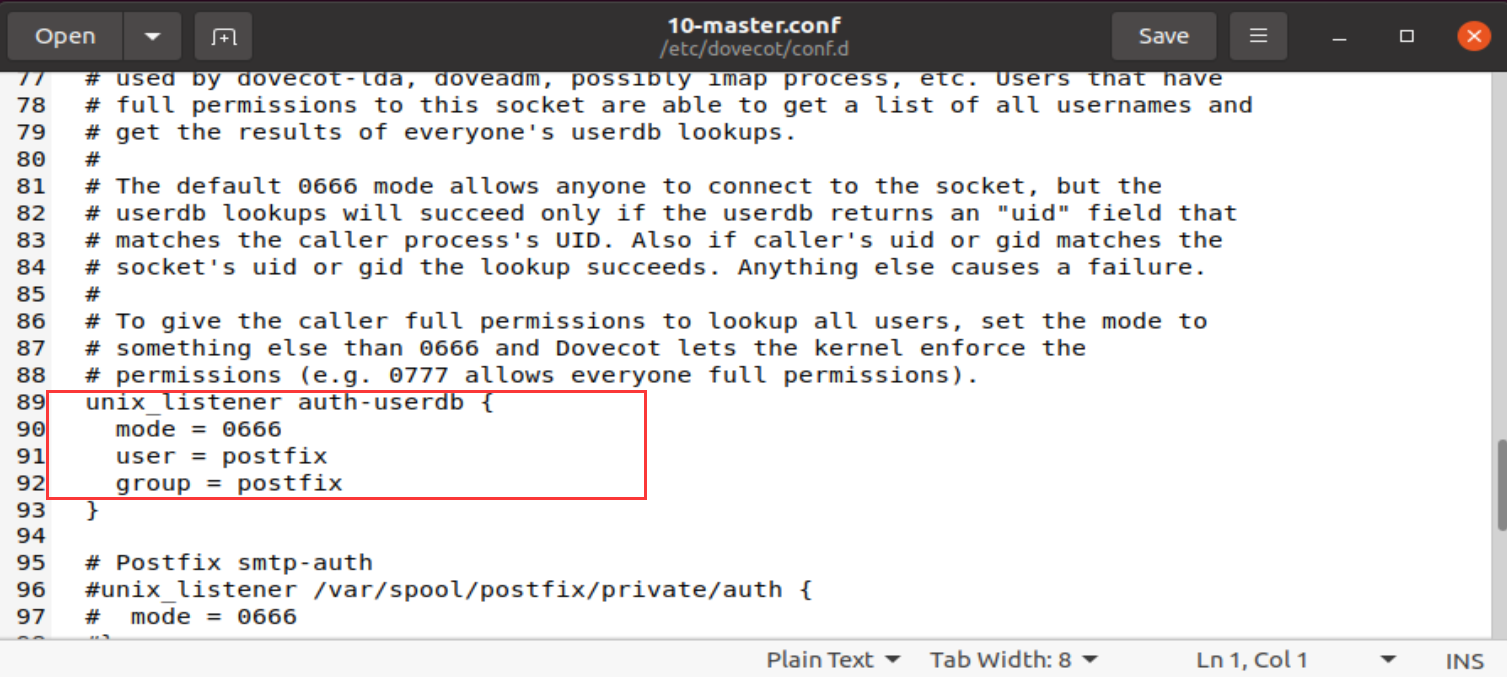
linux2022@test:/etc/apt$ sudo gedit /etc/dovecot/conf.d/10-master.conf
#设置权限
 unix_listener auth-userdb {
    mode = 0666
    user = postfix
    group = postfix
  }
(5)重启服务
linux2022@test:/etc/apt$ sudo service dovecot restart
#重启dovecot服务

linux2022@test:/etc/apt$ netstat -nlv
#查看110、143端口是否开启
(6)添加邮件用户
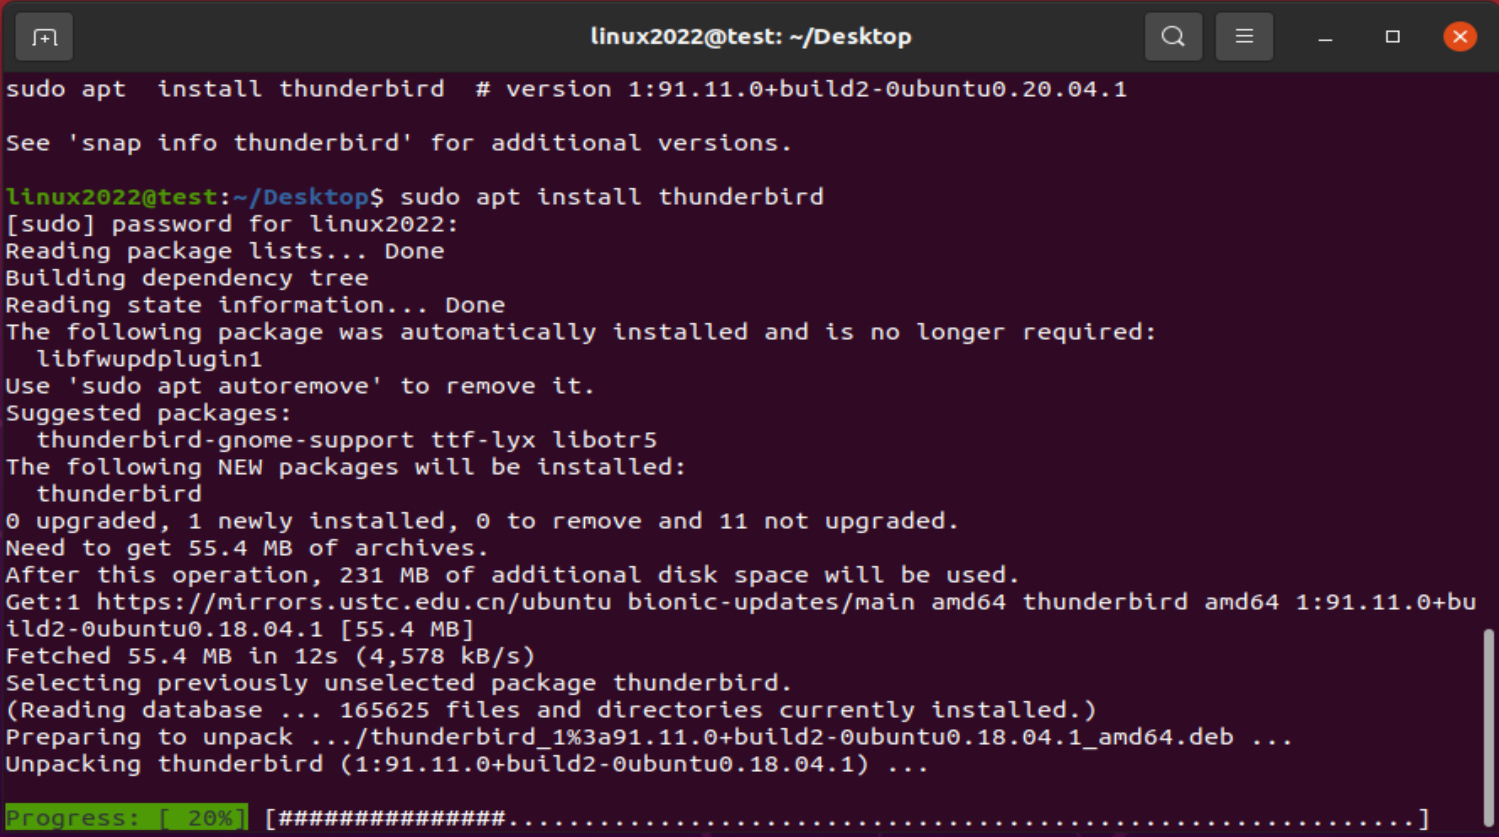
linux2022@test:~/Desktop$ sudo apt install thunderbird
#安装雷鸟邮件客户端
>>>实验做到这里,发现home目录下老是没有mail的目录,看了好多博文,整了一久解决不了,摆烂了,,,过几天再完善。
2、利用搭建环境发送和接收邮件
3、枚举smtp用户名
3.1、telnet测试用户名
Telnet IP 端口(25)

输入vrfy 用户名,若返回220,则用户存在;若返回550,则用户不存在
3.2、metasploit测试用户名
在metasploit中有smtp-enum可以对smtp上用户进行枚举
use auxiliary/scanner/smtp/smtp_enum

Show options
3.3、smtp-user-enum测试用户名
是一款专门用来进行smtp用户枚举的工具
Smtp-user-enum -M VRFY -U 用户字典路径 -t 目标IP地址
3.4、ismtp测试用户名
ismtp -h IP地址:25 -e 用户字典路径
4、smtp暴力破解
4.1、smtp版本信息获取
use auxiliary/scanner/smtp/smtp_version
4.2、medusa工具介绍
medusa是一款用来破解不同协议用户名和密码的专用软件
4.3、medusa 破解smtp
Medusa -h 目标ip -u 用户名 -P 密码字典文件 -M 协议模块

Medusa -h 目标ip -u 用户名 -P 密码字典文件 -M smtp
Wireshark抓包分析
版权归原作者 c10udy_ 所有, 如有侵权,请联系我们删除。