
前言
系列文章目录:
[Vue]目录
老师的课件笔记,不含视频 https://www.aliyundrive.com/s/B8sDe5u56BU笔记在线版: https://note.youdao.com/s/5vP46EPC
视频:尚硅谷Vue2.0+Vue3.0全套教程丨vuejs从入门到精通
文章目录
1. 全局事件总线
全局事件总线是一种组件间通信的方式,能够实现任意组件间的通信。
原理图:
在全局事件总线中,X需要满足的条件:
1.所有的组件都可以看见X
2.X能够调用
$on() $off() $emit()
2. $on() $off() $emit() 存放位置
$on() $off() $emit()
三个方法被挂载在Vue的原型对象上。
import Vue from'vue'import App from'./App.vue'//关闭vue的生产提示
Vue.config.productionTip =false// 查看Vue的原型对象
console.log(Vue.prototype)newVue({render:h=>h(App),}).$mount('#app')

在Vue中,VueComponent()的原型对象的原型对象为Vue()的原型对象。即组件的原型对象的原型对象为Vue()的原型对象。
VueComponent.prototype.__proto__ ===Vue.prototype
所以能够作为全局事件总线的可以是Vue的实例对象,或者是组件实例对象。
3. 组件实例对象作为全局事件总线
创建组件,需要先创建组件的构造函数:
// {} 为组件的配置对象const XVueComponent = Vue.extend({})
使用组件的构造函数,创建对应的组件:
constX=newXVueComponent()
新创建的组件实例对象,要能够被所有的组件看见,需要将其挂载到Vue的原型对象上。
Vue.prototype.X=X
main.js
import Vue from'vue'import App from'./App.vue'//关闭vue的生产提示
Vue.config.productionTip =false// 创建 VueComponent// 由于新创建的组件只需要作为数据的中转站,所以不需要任何配置项const XVueComponent = Vue.extend({})// 创建组件实例对象constX=newXVueComponent()// 将组件实例对象挂载到Vue上Vue.prototype.X=XnewVue({render:h=>h(App),}).$mount('#app')
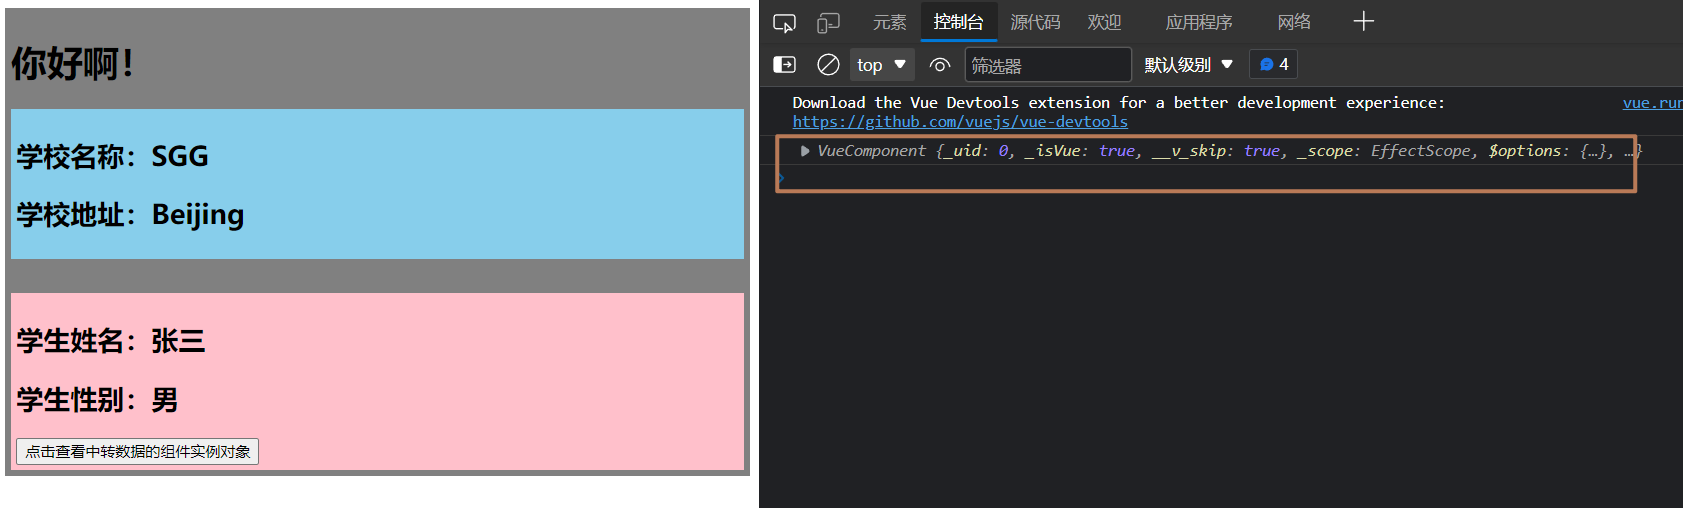
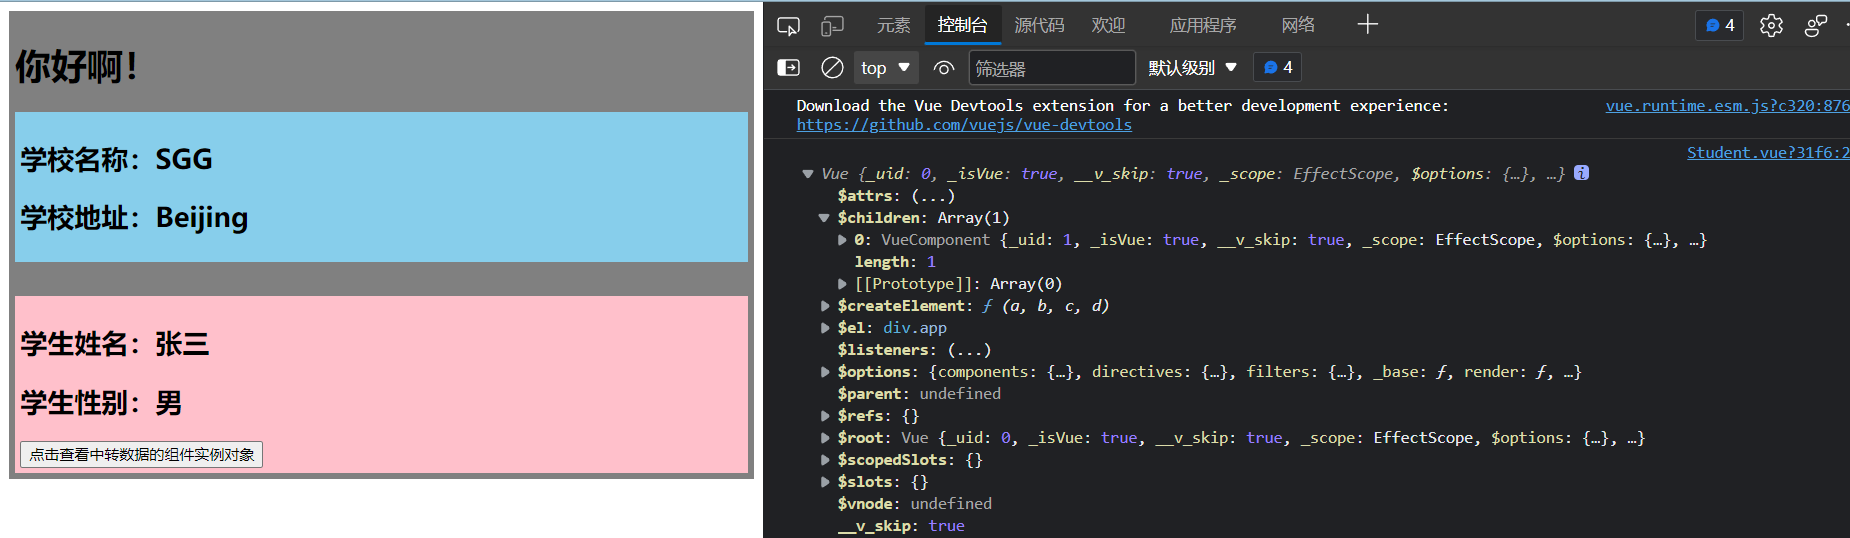
Student.vue
<template><divclass="student"><h2>学生姓名:{{name}}</h2><h2>学生性别:{{sex}}</h2><button@click="show">点击查看中转数据的组件实例对象</button></div></template><script>exportdefault{name:'Student',data(){return{name:'张三',sex:'男'}},methods:{show(){
            console.log(this.X)}},}</script><stylescoped>.student{background-color: pink;padding: 5px;margin-top: 30px;}</style>
4. Vue实例对象作为全局事件总线
main.js
import Vue from'vue'import App from'./App.vue'//关闭vue的生产提示
Vue.config.productionTip =falsenewVue({render:h=>h(App),// 将 Vue 实例对象挂载到 Vue 的原型对象上// 可以在 beforeCreate 中进行// 此时刚创建好 vue 实例对象beforeCreate(){// bus 总线// $ 为了迎合 vue 的命名习惯// 安装全局事件总线,$bus就是当前应用的vmVue.prototype.$bus =this}}).$mount('#app')
Student.vue
<template><divclass="student"><h2>学生姓名:{{name}}</h2><h2>学生性别:{{sex}}</h2><button@click="show">点击查看中转数据的组件实例对象</button></div></template><script>exportdefault{name:'Student',data(){return{name:'张三',sex:'男'}},methods:{show(){
            console.log(this.$bus)}},}</script><stylescoped>.student{background-color: pink;padding: 5px;margin-top: 30px;}</style>
5. 事件总线实现组件数据互传
注意:
由于充当事件总线的组件只有一个,所以在为其绑定自定义事件时,自定义事件的名不能重复。
在为事件总线绑定自定义事件的组件被销毁时,进行自定义事件的解绑。
实现将组件Student中的学生姓名传递给组件School:
School.vue
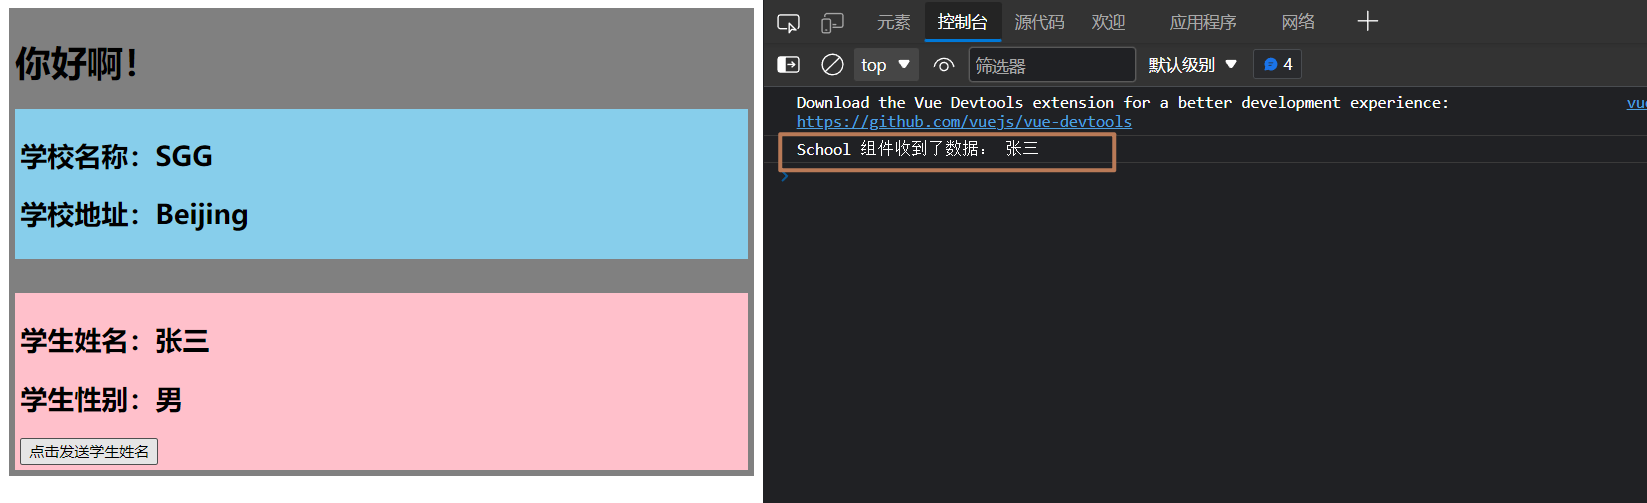
<template><divclass="school"><h2>学校名称:{{name}}</h2><h2>学校地址:{{address}}</h2></div></template><script>exportdefault{name:'School',data(){return{name:'SGG',address:'Beijing'}},mounted(){// 为全局事件总线绑定自定义事件this.$bus.$on('getStudentName',(name)=>{
            console.log('School 组件收到了数据:', name)})},beforeDestroy(){// 组件被销毁了,不能进行数据传输// 解绑事件this.$bus.$off('getStudentName')}}</script><stylescoped>.school{background-color: skyblue;padding: 5px;}</style>
Student.vue
<template><divclass="student"><h2>学生姓名:{{name}}</h2><h2>学生性别:{{sex}}</h2><button@click="sendStudentName">点击发送学生姓名</button></div></template><script>exportdefault{name:'Student',data(){return{name:'张三',sex:'男'}},methods:{sendStudentName(){// 激活事件,发送数据this.$bus.$emit('getStudentName',this.name)}},}</script><stylescoped>.student{background-color: pink;padding: 5px;margin-top: 30px;}</style>
6. 全局事件总线(GlobalEventBus)总结
- 一种组件间通信的方式,适用于任意组件间通信。
- 安装全局事件总线:
newVue({......beforeCreate(){Vue.prototype.$bus =this//安装全局事件总线,$bus就是当前应用的vm},......}) - 使用事件总线:1. 接收数据:A组件想接收数据,则在A组件中给$bus绑定自定义事件,事件的回调留在A组件自身。
methods(){demo(data){......}}......mounted(){this.$bus.$on('xxxx',this.demo)}2. 提供数据:this.$bus.$emit('xxxx',数据) - 最好在beforeDestroy钩子中,用$off去解绑当前组件所用到的事件。
本文转载自: https://blog.csdn.net/m0_53022813/article/details/127378731
版权归原作者 萤火虫的小尾巴 所有, 如有侵权,请联系我们删除。
版权归原作者 萤火虫的小尾巴 所有, 如有侵权,请联系我们删除。