
- 环境搭建JeecgBoot搭建、Linux安装Nginx、Linux安装JDK8、Linux安装MySql8、Linux安装Redis、Linux安装Tomcat9
- 前端打包
1.进入目录:cd D:\win11\git_data\jeecg_3.4.4\jeecgboot-vue32.安装依赖:pnpm install-->node_modules3.打包编译:pnpm run build-->dist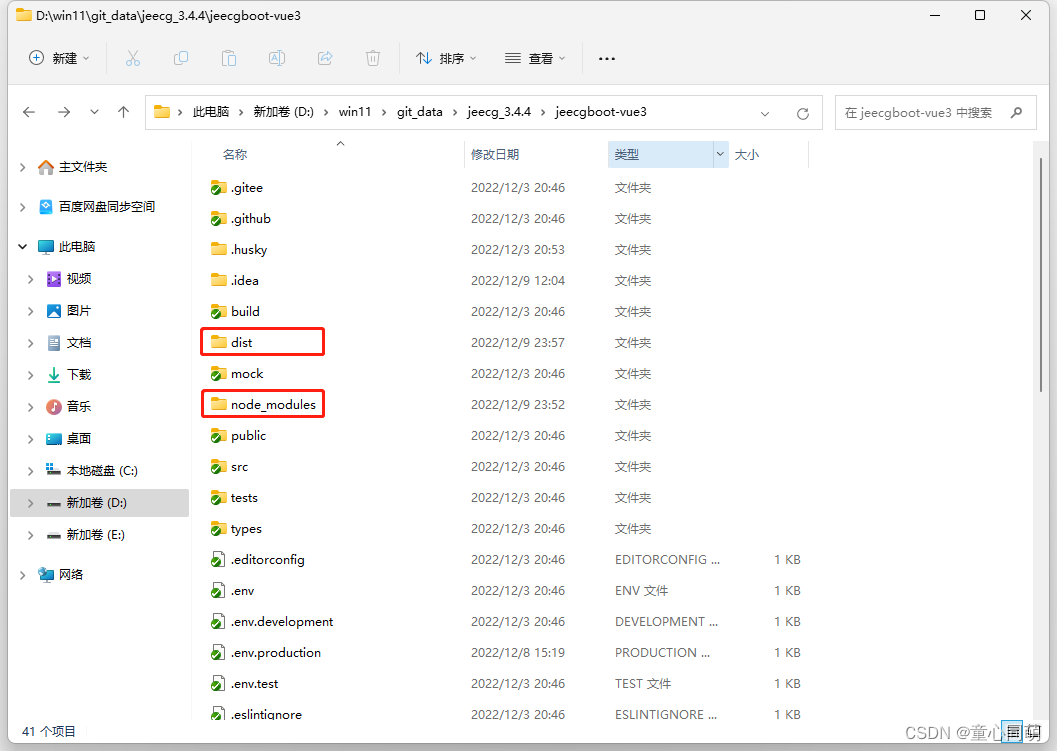
- 前端部署
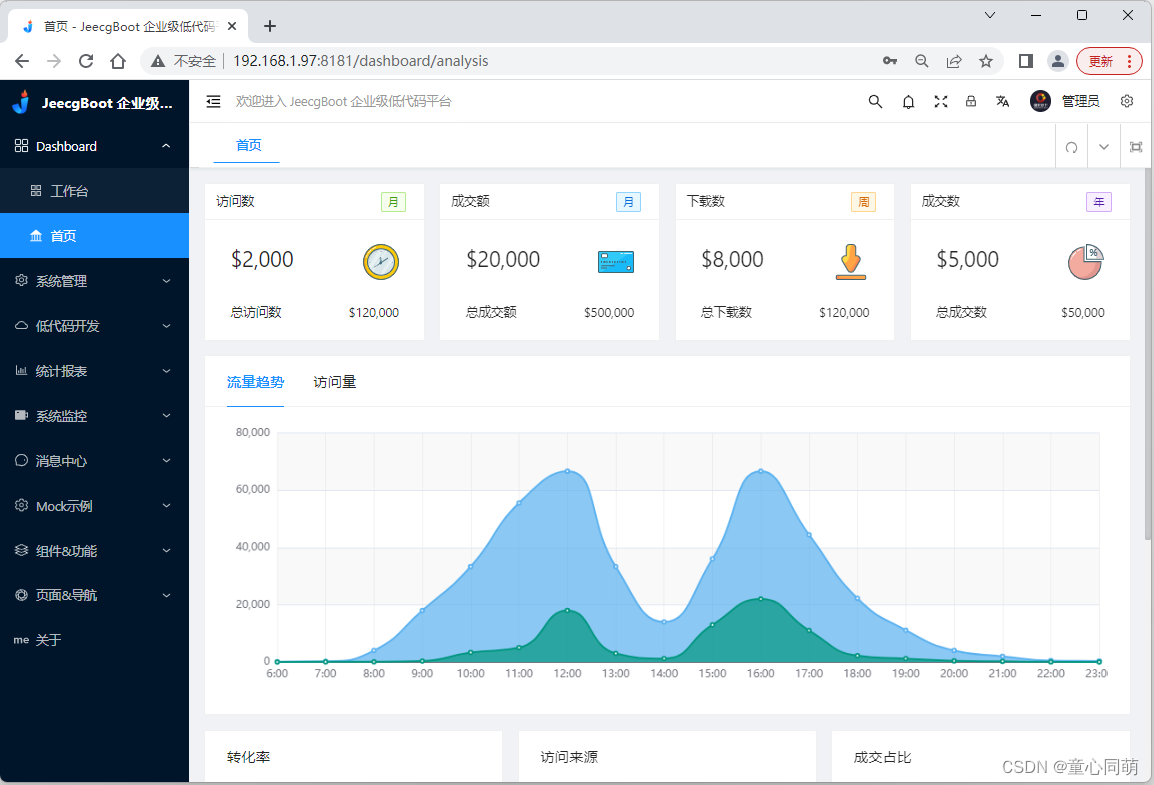
1.将D:\win11\git_data\jeecg_3.4.4\jeecgboot-vue3\dist下所有文件复制到/opt/nginx/nginx_install/html2.编辑:/opt/nginx/nginx_install/conf/nginx.confserver { listen 8181; server_name 192.168.1.97; #前端打的dist资源存放目录 root /opt/nginx/nginx_install/html; location / { # 用于配合 browserHistory使用 try_files $uri $uri/ /index.html; }}3.Nginx常用命令(重载配置需要在启动状态下执行)启动/查看/关闭/重载-->nginx/ps -ef | grep -i nginx/nginx -s stop/nginx -s reload4.放开端口:firewall-cmd --zone=public --add-port=8181/tcp --permanent && firewall-cmd --reload5.前端访问:192.168.1.97:8181用户名:admin 密码:123456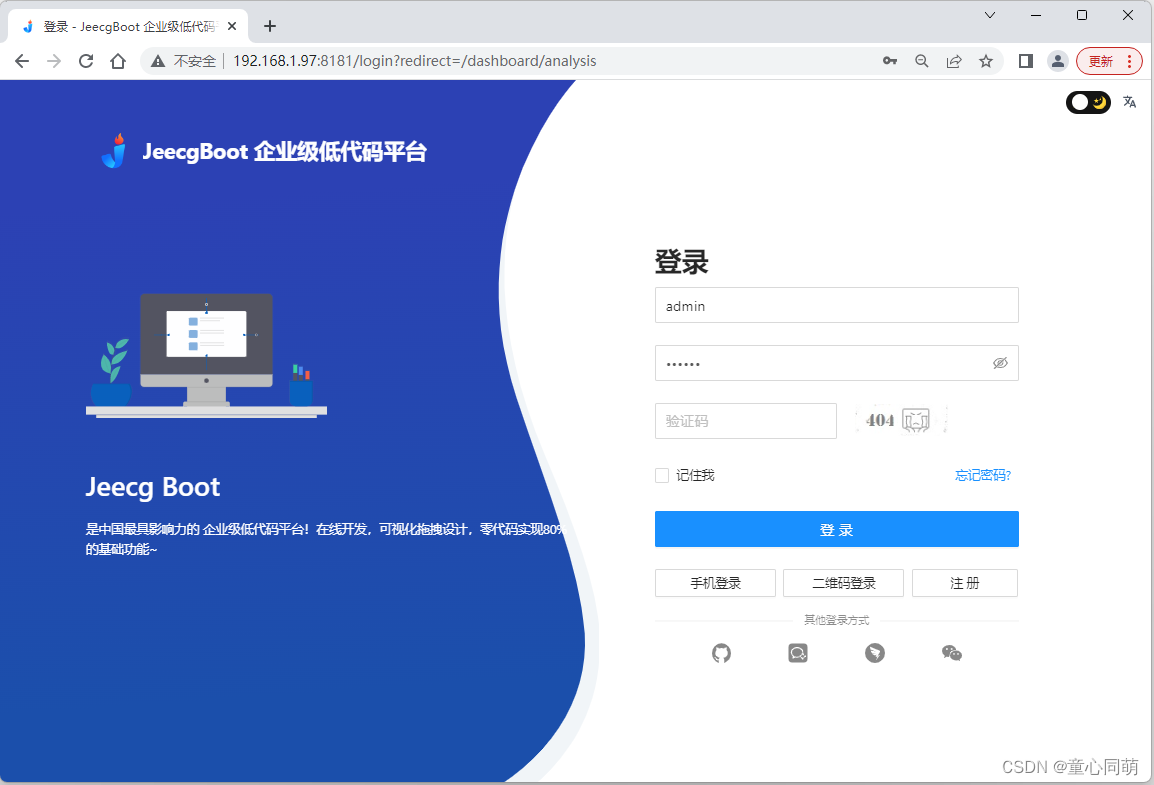
- 后端打包
1.编辑:jeecg-boot\jeecg-module-system\jeecg-system-start\pom.xml<artifactId>jeecg-system-start</artifactId><packaging>war</packaging><!-- <build>--><!-- <plugins>--><!-- <plugin>--><!-- <groupId>org.springframework.boot</groupId>--><!-- <artifactId>spring-boot-maven-plugin</artifactId>--><!-- </plugin>--><!-- </plugins>--><!-- </build>--> 2.编辑:jeecg-boot\jeecg-boot-base-core\src\main\java\org\jeecg\config\WebSocketConfig.java// @Bean// public ServerEndpointExporter serverEndpointExporter() {// return new ServerEndpointExporter();// } 3.编辑:jeecg-boot\jeecg-module-system\jeecg-system-start\src\main\resources\application-prod.ymldatasource: master: url: jdbc:mysql://192.168.1.97:3306/jeecg-boot?characterEncoding=UTF-8&useUnicode=true&useSSL=false&tinyInt1isBit=false&allowPublicKeyRetrieval=true&serverTimezone=Asia/Shanghai username: mysql password: 123456 driver-class-name: com.mysql.cj.jdbc.Driver #redis 配置 redis: database: 0 host: 192.168.1.97 port: 6379 password: '123456' #swagger knife4j: #开启增强配置 enable: true #开启生产环境屏蔽 production: false basic: enable: true username: jeecg password: jeecg1314注意:MySQL创建用户(用户名:mysql 密码:123456),创建数据库(库名:jeecg-boot 脚本:jeecg-boot\db\jeecgboot-mysql-5.7.sql),Redis设置的密码为123456 4.IDEA切换生产模式配置文件(prod)-->parent项目clean、install、package-->jeecg-boot\jeecg-module-system\jeecg-system-start\target\jeecg-system-start-3.4.4.war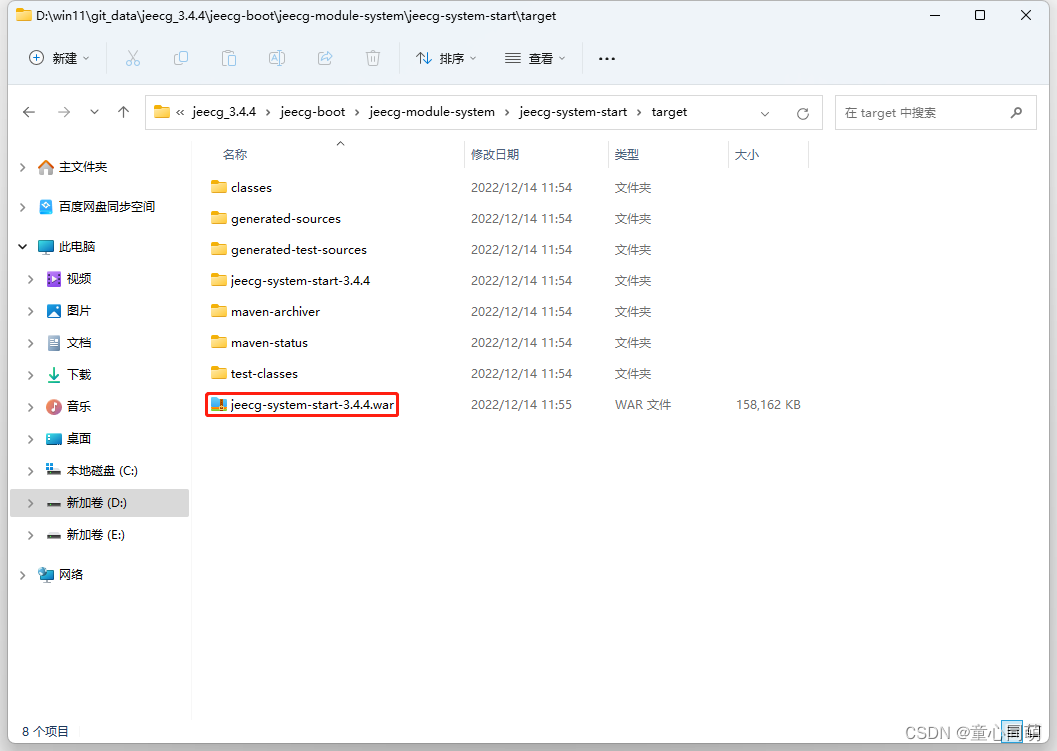
- 后端部署
1.编辑:/opt/tomcat/apache-tomcat-9.0.70/conf/server.xml<Connector port="8282" protocol="HTTP/1.1" connectionTimeout="20000" redirectPort="8443" URIEncoding="UTF-8"/>2.将jeecg-system-start-3.4.4.war放入/opt/tomcat/apache-tomcat-9.0.70/webapps-->重命名为jeecg-boot.war 3.Tomcat常用命令启动/关闭/查看-->startup.sh/shutdown.sh/ps -ef | grep -i tomcat 4.放开端口:firewall-cmd --zone=public --add-port=8282/tcp --permanent && firewall-cmd --reload5.后端访问:http://192.168.1.97:8282/jeecg-boot用户名:jeecg 密码:jeecg1314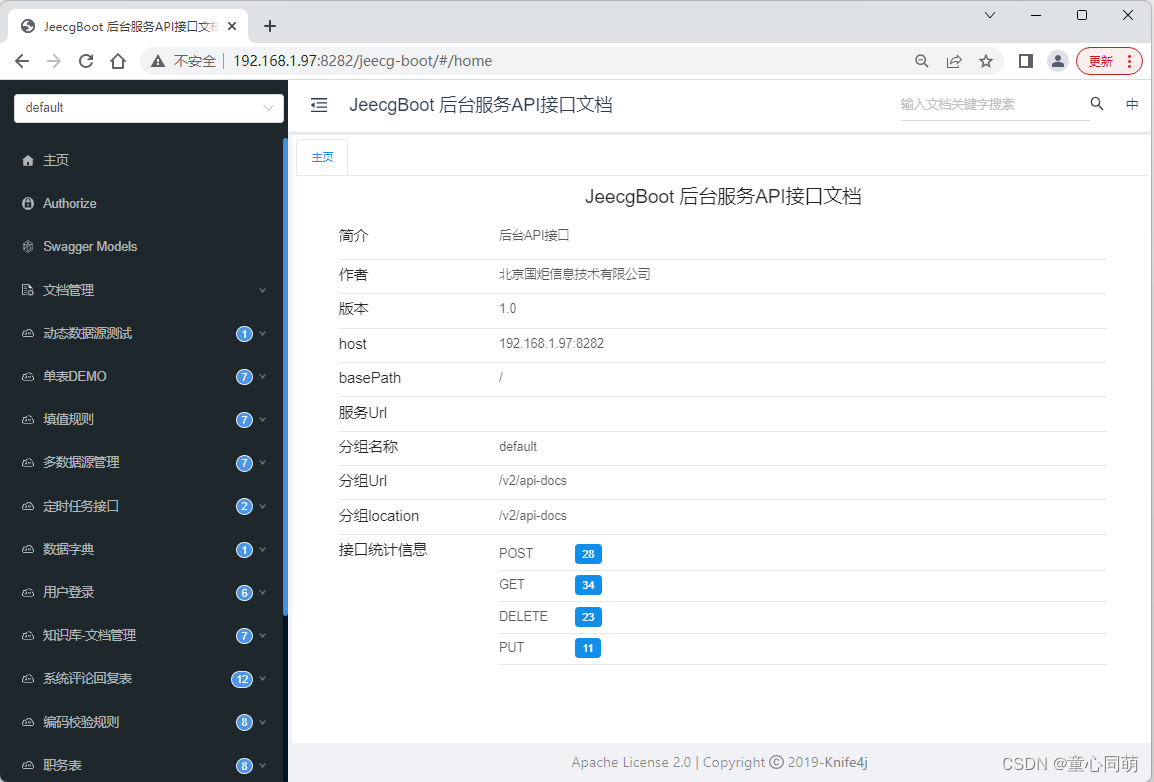
- Nginx动静分离
1.JeecgBoot为典型前后端分离项目,Nginx作为静态服务器部署前端项目(处理静态资源请求),Tomcat作为动态服务器部署后端项目(处理动态资源请求),同时Nginx作为反向代理服务器,接收到静态资源请求后交由Nginx处理,接收到动态资源请求后交由Tomcat处理2.验证码请求http://192.168.1.97:8181/jeecgboot/sys/randomImage/xxxx为动态请求,反向代理服务器Nginx接收到请求后需要将请求转给Tomcat处理,转到http://192.168.1.97:8282/jeecg-boot/sys/randomImage/xxxx3.实现验证码请求转发,Nginx需要将http://192.168.1.97:8181/jeecgboot/开头的请求转到http://192.168.1.97:8282/jeecg-boot/,编辑/opt/nginx/nginx_install/conf/nginx.confserver { listen 8181; server_name 192.168.1.97; #前端打的dist资源存放目录 root /opt/nginx/nginx_install/html; location / { # 用于配合 browserHistory使用 try_files $uri $uri/ /index.html; } location /jeecgboot/ { # 反向代理,将/jeecgboot/匹配的请求路径转发到指定服务器 proxy_pass http://192.168.1.97:8282/jeecg-boot/; }}4.前端访问:192.168.1.97:8181-->验证码成功加载
- Nginx虚拟主机
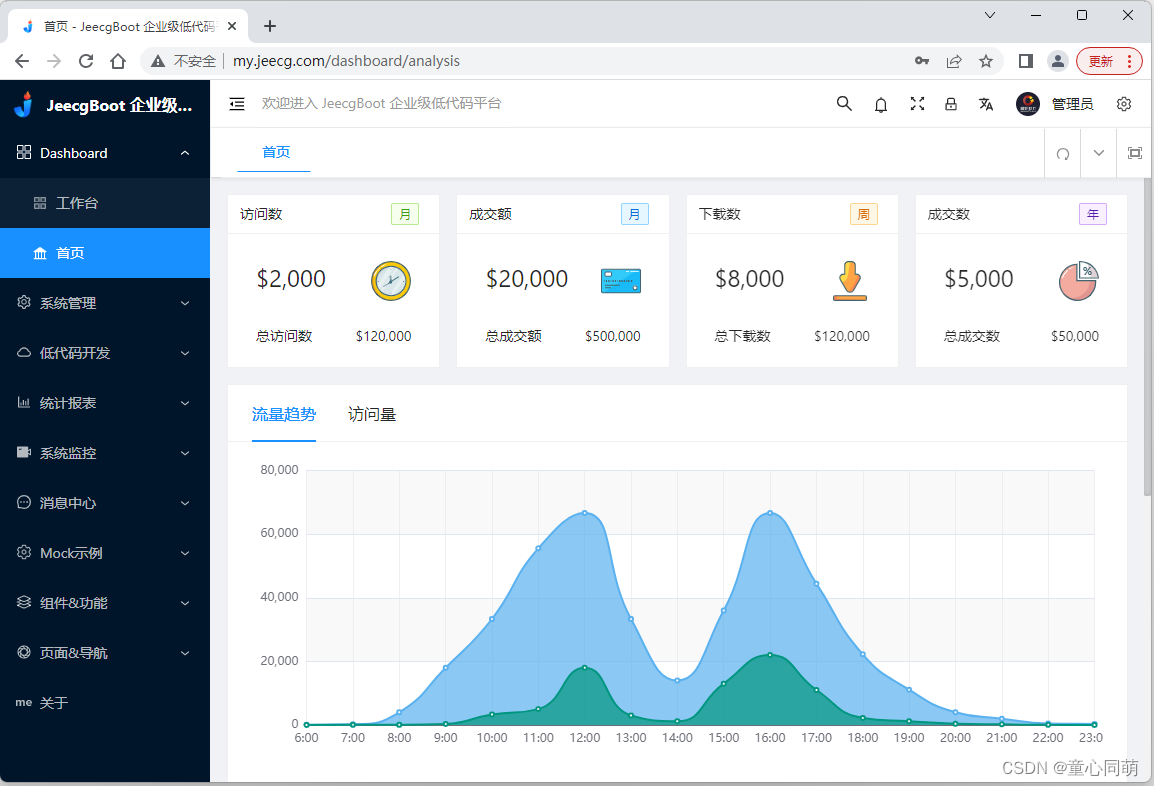
1.目前为止,项目通过IP直接访问,接下来通过Nginx虚拟主机模拟域名访问2.编辑:C:\Windows\System32\drivers\etc\hosts192.168.1.97 my.jeecg.com3.编辑/opt/nginx/nginx_install/conf/nginx.confserver { listen 80; server_name my.jeecg.com; #前端打的dist资源存放目录 root /opt/nginx/nginx_install/html; location / { # 用于配合 browserHistory使用 try_files $uri $uri/ /index.html; } location /jeecgboot/ { # 反向代理,将/jeecgboot/匹配的请求路径转发到指定服务器 proxy_pass http://192.168.1.97:8282/jeecg-boot/; }}4.放开端口:firewall-cmd --zone=public --add-port=80/tcp --permanent && firewall-cmd --reload5.项目访问:my.jeecg.com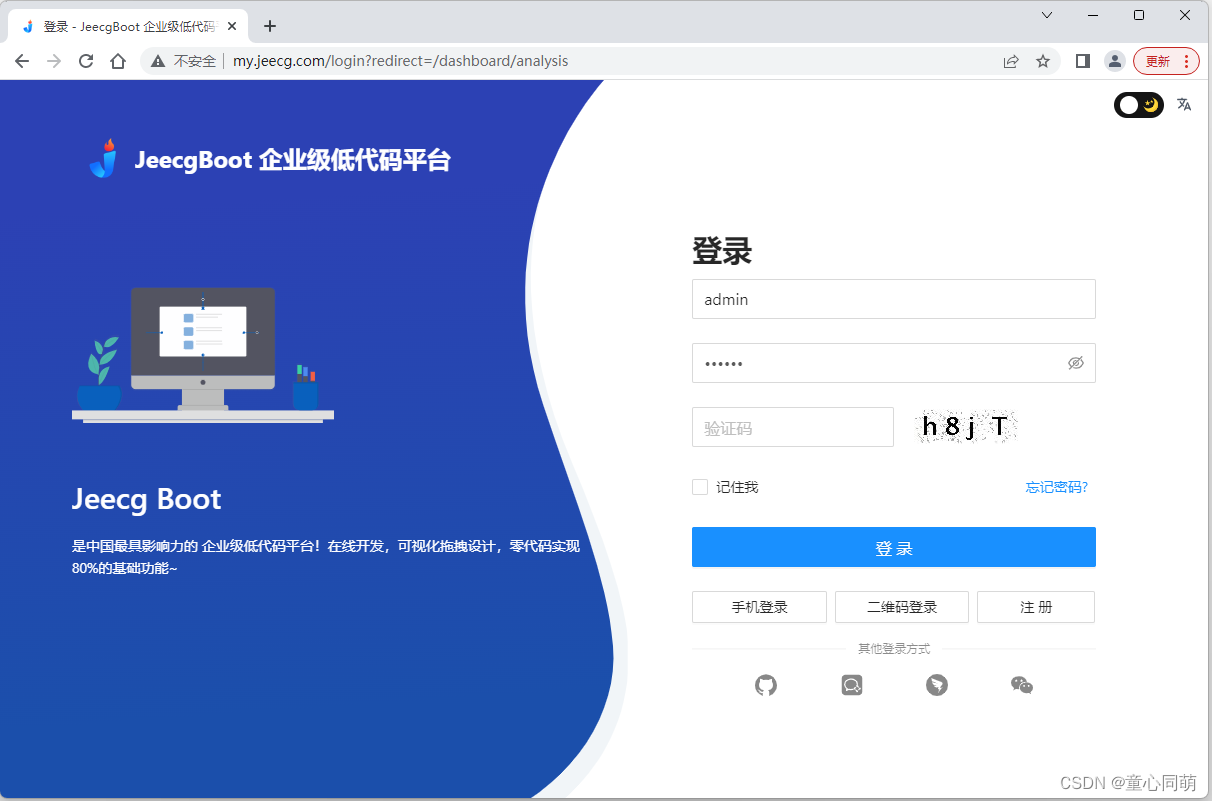
本文转载自: https://blog.csdn.net/tongxin_tongmeng/article/details/128260402
版权归原作者 童心同萌 所有, 如有侵权,请联系我们删除。
版权归原作者 童心同萌 所有, 如有侵权,请联系我们删除。