
使用element-ui的图片上传组件实现图片上传,并在前台显示
实现思路:
- 图片上传到后端,后端接收图片,保存到本地,返回本地的存储路径
- 前端根据路径做图片回显,使用springboot配置资源映射规则
步骤:
- 前端el-upload组件 直接在element的官网找到upload组件
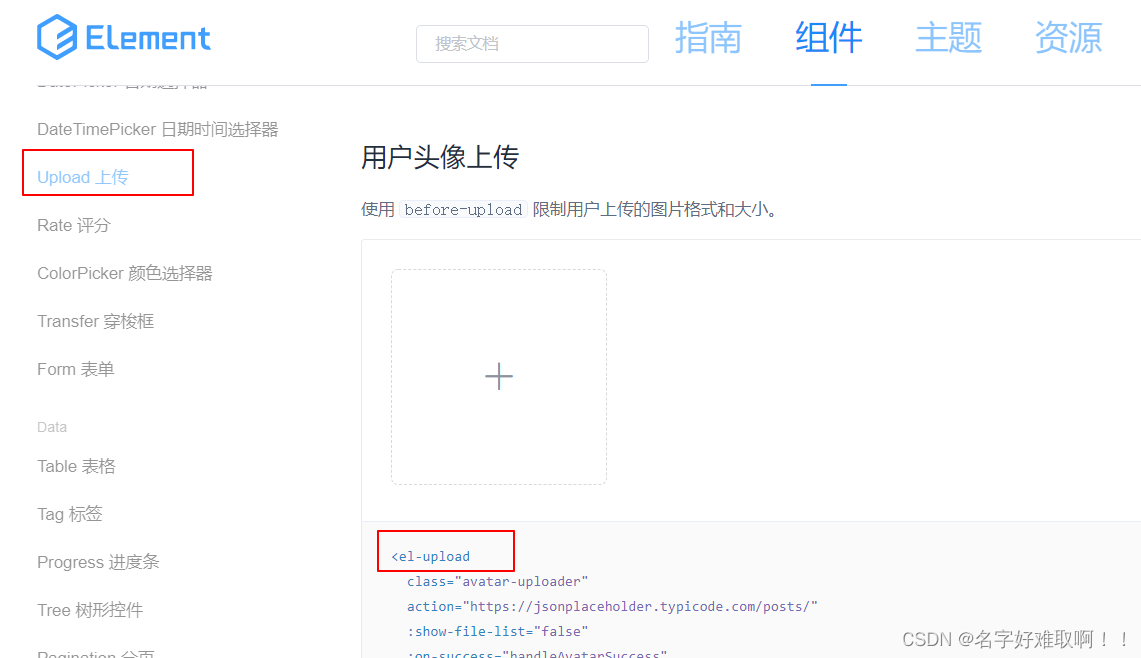
<el-uploadclass="avatar-uploader"action="https://localhost:9202/file/addFile":show-file-list="false":on-success="onSuccess":before-upload="beforeUpload"><imgv-if="imageUrl":src="imageUrl"class="avatar"><iv-elseclass="el-icon-plus avatar-uploader-icon"></i></el-upload><script>exportdefault{data(){return{file_baseApi:'http://localhost:9202/file'imageUrl:''// 图片url,在上面双向绑定了}}method:{// 文件上传成功后回调函数onSuccess(response){// response 就是图片上传成功后返回的信息,名字可以任意,例如res,还有其他参数,具体使用可以查阅element的官网el-upload组件的介绍this.imageUrl =this.file_api + response.data.fileUrl
        }}}</script>
其中:
:on-success绑定的是图片上传成功后的事件,:before-upload绑定的是图片上传前调用的事件,可以进行一下图片大小判断等。这里就直接用组件中的回调函数了,是判断了一下文件类型和大小action写上传后端的接口,例如:我这里直接写死到这里了,也可以用:action进行双向绑定,调取data中定义的数据
- 后端接口实现 后端代码 1)controller层
@ApiOperation(value ="上传文件,添加到本地目录")@PostMapping("/file/addFile")publicResultaddFile(MultipartFile file){Map<String,Object> map = fileService.addFile(file);returnResult.ok().data(map);}
2)service层(具体文件保存在这里实现)
@OverridepublicMap<String,Object>addFile(MultipartFile file){FileEntity fileEntity =newFileEntity();//把文件保存的方法抽离出来了Map<String,Object> map =uploadFile(file);String fileOriginalName = file.getOriginalFilename();String fileName =(String) map.get("fileName");String fileUrl =(String) map.get("fileUrl");Long fileSize = file.getSize();
fileEntity.setFileOriginalName(fileOriginalName);
fileEntity.setFileName(fileName);
fileEntity.setFileUrl(fileUrl);
fileEntity.setFileSize(fileSize);
baseMapper.insert(fileEntity);
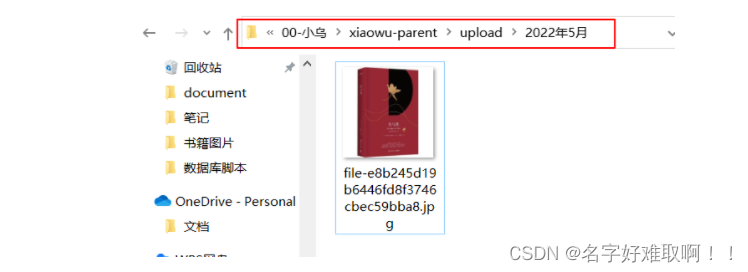
map.put("fileId",fileEntity.getId());return map;}// 文件上传,保存到本地,如果需要直接修改本方法进行文件上传privateMap<String,Object>uploadFile(MultipartFile file){// 这个map用于返回imageUrl,imageId之类的数据Map<String,Object> map =newHashMap<>();try{// 1)设置文件的目录//按照月份进行分类:Calendar calendar =Calendar.getInstance();
calendar.get(Calendar.YEAR);String yearMonth = calendar.get(Calendar.YEAR)+"年"+(calendar.get(Calendar.MONTH)+1)+"月";String filePath ="E:\\图片保存\\upload\\"+ yearMonth ;//项目路径+年月份// 创建文件目录File realPath =newFile(filePath);//上传文件保存地址:realPath = "E:\\图片保存\\upload\\2022年5月"if(!realPath.exists()){boolean mkdirs = realPath.mkdirs();//创建文件目录,可以创建多层目录}//2)设置文件名字String fileRealName=file.getOriginalFilename();String suffix = fileRealName.substring(fileRealName.lastIndexOf(".")+1);//后缀 jpg png//解决文件名字问题:使用uuid的方式;String fileName ="file-"+ UUID.randomUUID().toString().replaceAll("-","")+"."+ suffix;//3)进行文件保存,通过CommonsMultipartFile的方法直接写文件
file.transferTo(newFile(realPath +"/"+ fileName));//4)返回图片的名字,url,如果只是保存文件,下面的语句可以不写String fileUrl ="/upload/"+ yearMonth +"/"+fileName;//前端的FILE_API为http://localhost:9222/file
map.put("fileName",fileName);
map.put("fileUrl",fileUrl);//传到前端的url,例如: /upload/2022年5月/xxx.jpg}catch(IOException e){
e.printStackTrace();}return map;}
- 后端设置资源映射 后端的资源映射规则配置:创建一个类实现WebMvcConfigurer
@ConfigurationpublicclassMyMvcConfigimplementsWebMvcConfigurer{@Value("${file.uploadPath}")privateString uploadPath;@OverridepublicvoidaddResourceHandlers(ResourceHandlerRegistry registry){//添加资源映射规则,默认的前缀是:http://localhost:port
        registry.addResourceHandler("/file/upload/**").addResourceLocations("file:E:/图片保存/upload/");//这里就相等于设,http://localhost:port/file/upload/**// ** 默认掉用本地的 E:/图片保存/upload/**}}
即调用
http://loaclhost:9202/upload/2022年5月/xxx.jpg
显示浏览器找的资源是
file:///E:/图片保存/upload/xxx.jpg
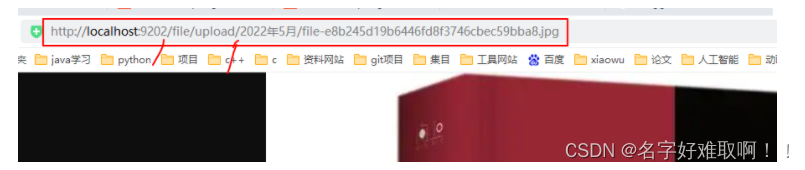
- 前端回显 传到前端的路径为:
/upload/2022年5月/xxx.jpg前端拼凑的完整imageUrl路径为http://loaclhost:9202/upload/2022年5月/xxx.jpg即可回显
本文转载自: https://blog.csdn.net/qq_35708970/article/details/125070203
版权归原作者 重生六道 所有, 如有侵权,请联系我们删除。
版权归原作者 重生六道 所有, 如有侵权,请联系我们删除。