

✅作者简介:大家好,我是Leo,热爱Java后端开发者,一个想要与大家共同进步的男人😉😉
🍎个人主页:Leo的博客
💞当前专栏: Java从入门到精通
✨特色专栏: MySQL学习
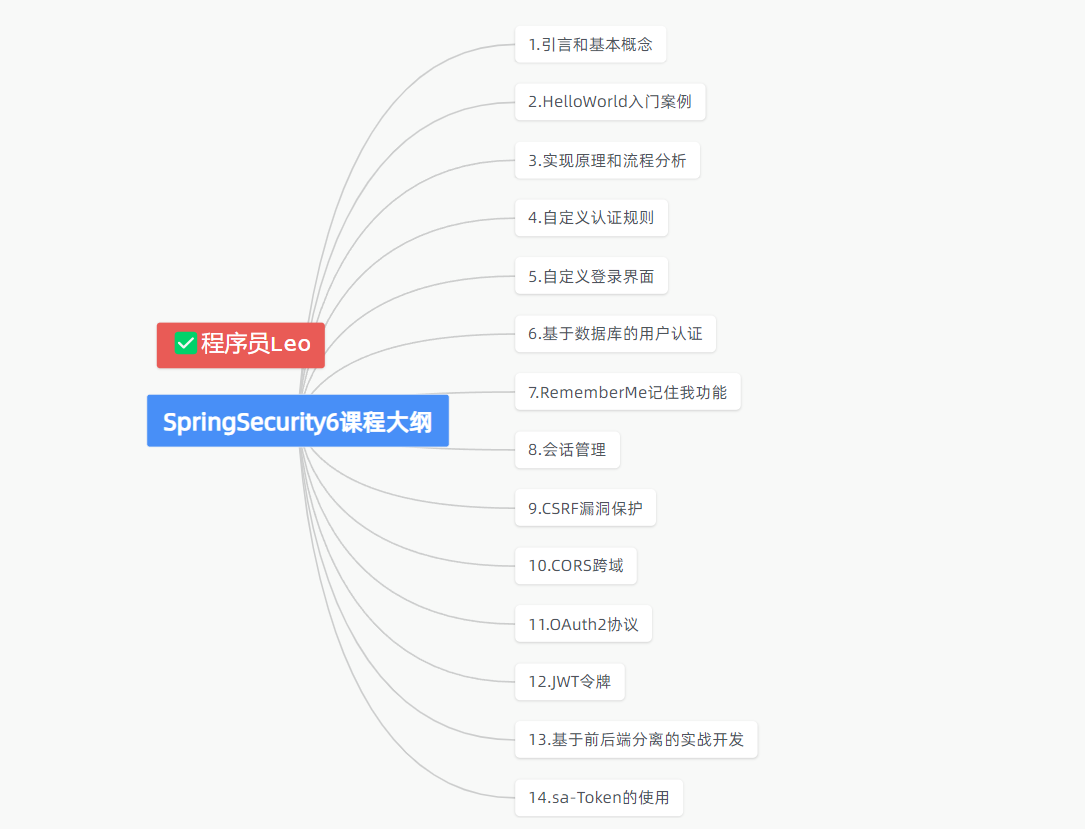
🥭本文内容:SpringSecurity6 | HelloWorld入门案例
🖥️个人小站 :个人博客,欢迎大家访问
📚个人知识库: Leo知识库,欢迎大家访问
初始SpringSecurity
学习参考 :
- 讲师:孙帅老师
- 课程:孙哥说SpringSecurity6
1.前言
大家好,我是Leo哥🫣🫣🫣,第一节我们认识了SpringSecurity相关的概念以及相关的的历史,这一节我们就直接上手SpringSecurity,通过一个简单的案例的方式在我们的代码中集成SpringSecurity。好了,话不多说让我们开始动手写代码吧😎😎😎。
2.开发环境
注意:此次SpringSecurity的项目案例的环境如下
- JDK17
- IntelliJ IDEA 2023.22
- SpringSecurity6.0
- MySQL8.0+
- Maven3.8+
- MyBatis3.5+
以上版本均为笔者的本地环境,大家可以进行横向参考,大致跟我保持一致即可。
3.环境搭建
在搭建我们第一个SpringSecurity的HelloWorld的案例之前,我们首先复习一下在IDEA中搭建一个基础的SprignBoot环境,我们的案例也是基于SpringBoot基础环境之上进行开发以及代码的编写。
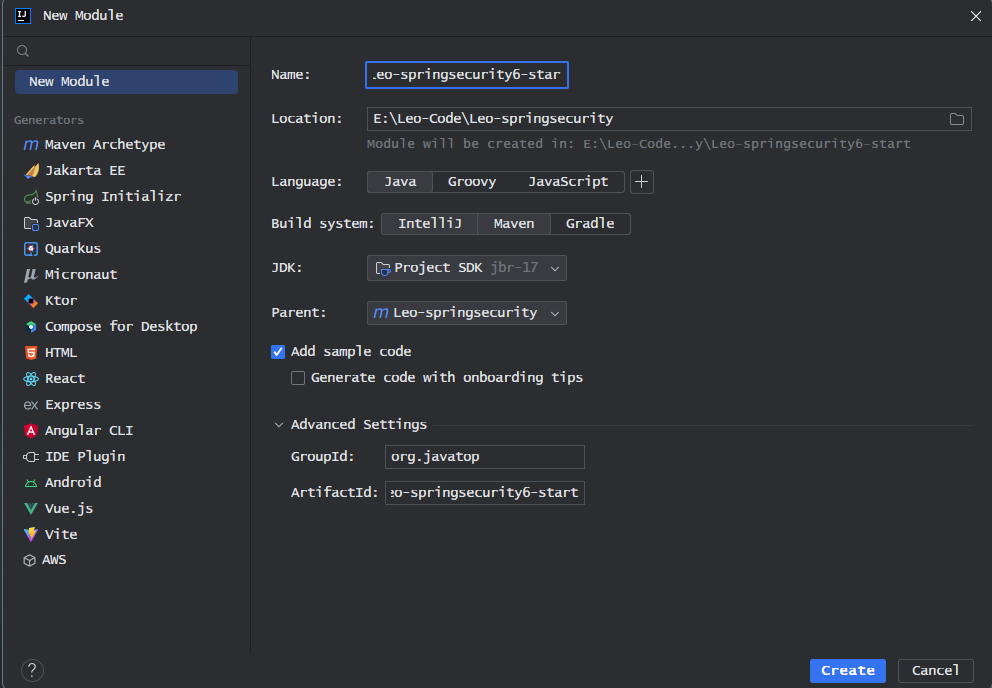
3.1使用Maven创建工程
使用Maven父子工程进行创建项目。
3.2添加依赖信息
<?xml version="1.0" encoding="UTF-8"?><projectxmlns="http://maven.apache.org/POM/4.0.0"xmlns:xsi="http://www.w3.org/2001/XMLSchema-instance"xsi:schemaLocation="http://maven.apache.org/POM/4.0.0 http://maven.apache.org/xsd/maven-4.0.0.xsd"><modelVersion>4.0.0</modelVersion><groupId>org.javatop</groupId><artifactId>Leo-springsecurity6-start</artifactId><version>1.0-SNAPSHOT</version><parent><groupId>org.springframework.boot</groupId><artifactId>spring-boot-starter-parent</artifactId><version>3.0.12</version><relativePath/></parent><properties><maven.compiler.source>17</maven.compiler.source><maven.compiler.target>17</maven.compiler.target><project.build.sourceEncoding>UTF-8</project.build.sourceEncoding></properties><dependencies><dependency><groupId>org.springframework.boot</groupId><artifactId>spring-boot-starter-web</artifactId></dependency><dependency><groupId>org.springframework.boot</groupId><artifactId>spring-boot-starter-test</artifactId></dependency></dependencies></project>
3.3配置YAML配置文件
server:port:8500
3.4添加主启动类
package org.javatop;

import org.springframework.boot.SpringApplication;
import org.springframework.boot.autoconfigure.SpringBootApplication;
import org.springframework.boot.autoconfigure.jdbc.DataSourceAutoConfiguration;
import org.springframework.context.ConfigurableApplicationContext;
import org.springframework.core.env.Environment;

/**
 * @author : Leo
 * @version 1.0
 * @date 2023-10-31 15:05
 * @description : 启动类
 */
@SpringBootApplication(exclude = { DataSourceAutoConfiguration.class })
public class Application
{
    public static void main(String[] args)
    {
        ConfigurableApplicationContext context = SpringApplication.run(Application.class, args);
        Environment environment = context.getBean(Environment.class);

        System.out.println("访问链接:http://localhost:" + environment.getProperty("server.port"));
        System.out.println("(♥◠‿◠)ノ゙  项目启动成功   ლ(´ڡ`ლ)゙  \n" +
                " .-------.       ____     __        \n" +
                " |  _ _   \\      \\   \\   /  /    \n" +
                " | ( ' )  |       \\  _. /  '       \n" +
                " |(_ o _) /        _( )_ .'         \n" +
                " | (_,_).' __  ___(_ o _)'          \n" +
                " |  |\\ \\  |  ||   |(_,_)'         \n" +
                " |  | \\ `'   /|   `-'  /           \n" +
                " |  |  \\    /  \\      /           \n" +
                " ''-'   `'-'    `-..-'              ");
    }
}
3.5编写接口测试
1.编写Hello接口
importorg.springframework.web.bind.annotation.RequestMapping;importorg.springframework.web.bind.annotation.RestController;/**
* @author : Leo
* @version 1.0
* @date 2023-10-31 15:02
* @description :
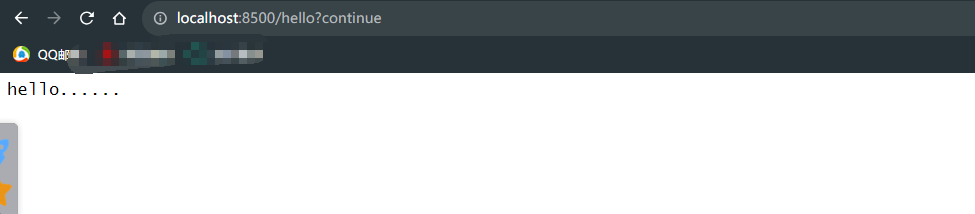
*/@RestControllerpublicclassHelloController{@RequestMapping("/hello")publicStringhello(){return"hello......";}}
2.启动测试

打开浏览器,访问ip + 端口号: http://localhost:8500/hello

至此,到这里,我们的SpringBoot的基础开发环境就已经搭建完成。
3.6添加SpringSecurity依赖
添加依赖
<!--SpringSecurity启动器--><dependency><groupId>org.springframework.boot</groupId><artifactId>spring-boot-starter-security</artifactId></dependency>
3.7重启项目进行测试
再次打开打开浏览器,访问ip + 端口号: http://localhost:8500/hello
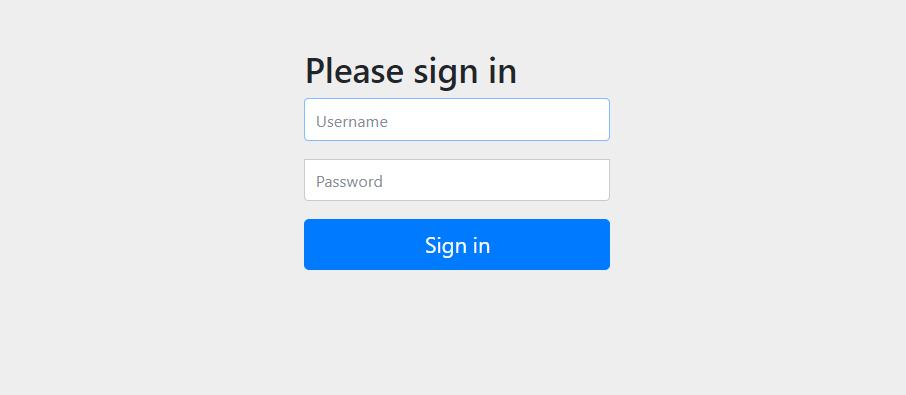
此时发现,我们就直接访问到我们的hello接口了,而是需要我们进行登录认证。
但是我们并不知道用户名跟密码是什么,我们也只是添加了一个SpringSecurity的依赖而是,怎么就给我直接跳出了一个登录框呢。
在 Spring Security 中,默认的登录页面和登录接口,都是
/login
,只不过一个是 get 请求(登录页面),另一个是 post 请求(登录接口)。
「大家可以看到,非常方便,一个依赖就保护了所有接口。」
带着疑问我们继续往下看,此时发现我们的IDEA控制台和第一次有一些不一样。

第一行的内容就是security给我们提供的一个uuid生成的密码,用户名默认为user。第二行的内容大概的意思,这个生成的密码只适合于生产环境,如果需要线上投入使用的话,需要你进行配置。
有人说,你怎么知道知道生成的默认密码是一个 UUID 呢?
这个其实很好判断。
和用户相关的自动化配置类在
UserDetailsServiceAutoConfiguration
里边,在该类的
getOrDeducePassword
方法中,我们看到如下一行日志:

毫无疑问,我们在控制台看到的日志就是从这里打印出来的。打印的条件是 isPasswordGenerated 方法返回 true,即密码是默认生成的。
进而我们发现,user.getPassword 出现在 SecurityProperties 中,在 SecurityProperties 中我们看到如下定义:
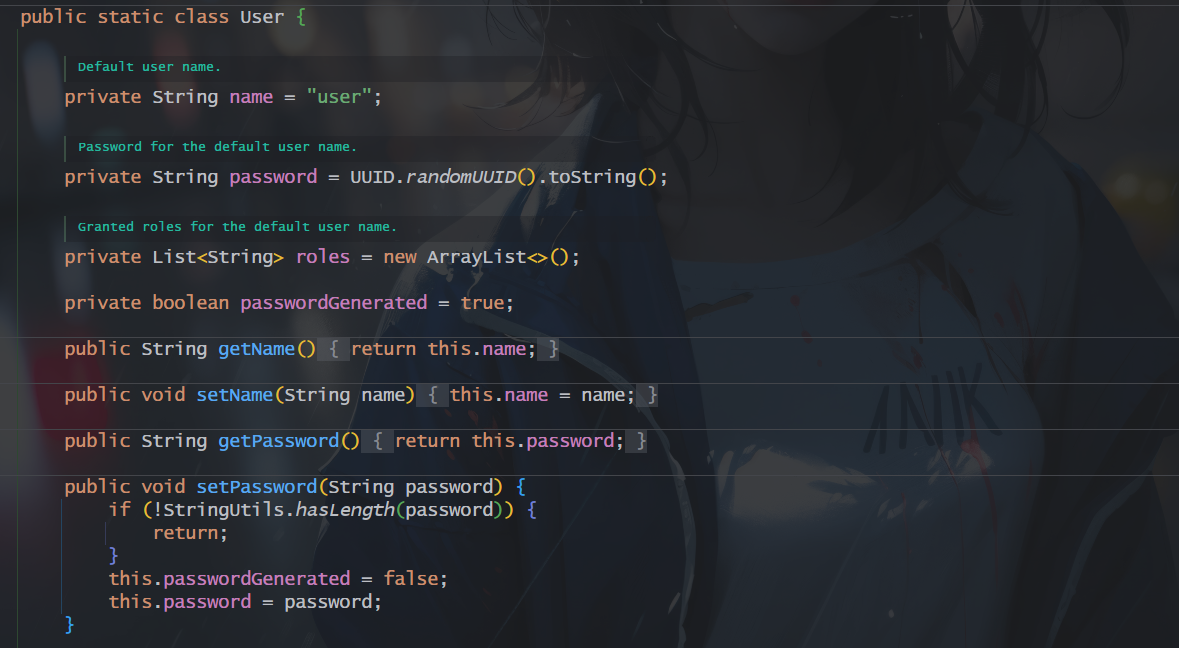
可以看到,默认的用户名就是 user,默认的密码则是 UUID,而默认情况下,passwordGenerated 也为 true。
好了,接下来我们就使用security给提供的用户名和密码来进行登录认证。
可以看到,我们成功登录,并直接跳转到我们的hello接口,至此,我们的HelloWorld入门案例完结。
4.自定义配置
虽然通过security自带的密码可以让我们进行登录并访问到我们的接口,但是你每次项目重启,系统所生成的UUID都不一样,这样会不会太麻烦了。
能不能通过手动配置的方式来进行配置自定义用户的密码呢。当然可以,下面Leo哥带你通过配置文件来对他进行自定义配置。
4.1配置文件
我们可以在 application.properties 中配置默认的用户名密码。
怎么配置呢?大家还记得上一小节我们说的 SecurityProperties,默认的用户就定义在它里边,是一个静态内部类,我们如果要定义自己的用户名密码,必然是要去覆盖默认配置,我们先来看下 SecurityProperties 的定义:
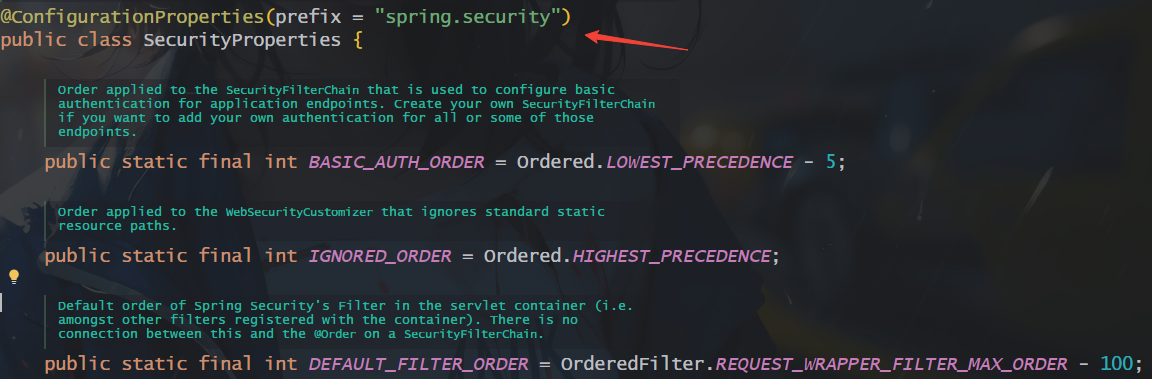
可以看出来,我们可以通过yml配置文件来对SecurityProperties的默认配置进行覆盖,好了,接下来我们通过配置application.yml来进行配置。
spring:security:user:name: javatop
      password:123456
这就是我们新定义的用户名密码。
在 properties 中定义的用户名密码最终是通过set 方法注入到属性中去的,这里我们顺便来看下 SecurityProperties.User#setPassword 方法:
publicvoidsetPassword(String password){if(!StringUtils.hasLength(password)){return;}this.passwordGenerated =false;this.password = password;}
从这里我们可以看到,application.yml 中定义的密码在注入进来之后,还顺便设置了 passwordGenerated 属性为 false,这个属性设置为 false 之后,控制台就不会打印默认的密码了。

此时重启项目,我们就可以使用自己定义的用户名/密码登录了。
4.总结
以上便是本文的全部内容,本人才疏学浅,文章有什么错误的地方,欢迎大佬们批评指正!我是Leo,一个在互联网行业的小白,立志成为更好的自己。
如果你想了解更多关于Leo,可以关注公众号-程序员Leo,后面文章会首先同步至公众号。
版权归原作者 LeoToJavaer 所有, 如有侵权,请联系我们删除。