
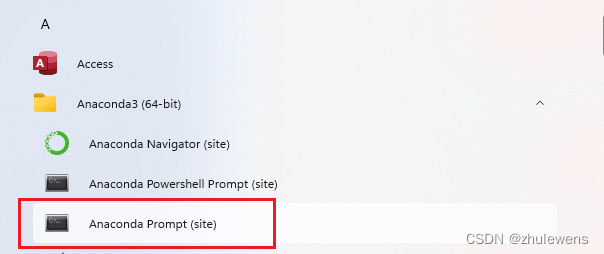
首先确保自己的电脑已经安装了anaconda管理器,anaconda安装完成后会在开始出现以下图标:
 、
、
接着先打开Anaconda prompt,在base环境下创建一个环境,
我这里使用tensoflow作为环境名字,我这里创建的环境使用的python是python3.8,(理论上3.6-3.9)都行,下面为创建环境命令:
conda create -n tensorflow python=3.8
接着激活tensorflow环境,命令为:
conda activate tensorflow
然后配置清华源(记住只可以配置清华源,下面会说明原因)
#添加镜像源
conda config --add channels https://mirrors.tuna.tsinghua.edu.cn/anaconda/pkgs/main
conda config --add channels https://mirrors.tuna.tsinghua.edu.cn/anaconda/pkgs/free
conda config --add channels https://mirrors.tuna.tsinghua.edu.cn/anaconda/pkgs/r
conda config --add channels https://mirrors.tuna.tsinghua.edu.cn/anaconda/pkgs/pro
conda config --add channels https://mirrors.tuna.tsinghua.edu.cn/anaconda/pkgs/msys2

#显示检索路径
conda config --set show_channel_urls yes

#显示镜像通道
conda config --show channels
接下来就可以安装tensorflow2.6.0了,命令如下:
# 或者使用pip安装
pip install tensorflow-gpu==2.6.0 -i https://pypi.douban.com/simple/
**conda **
但是conda 命令安装tensorflow,就不会安装keras了(一般来说2.0版本以后的tensorflow会集成了keras),此时需要单独安装keras。命令如下:
pip install pandas matplotlib notebook-i https://pypi.douban.com/simple/
至此,tensorflow2.6.0gpu版本安装完成。
可以输入以下命令检验tensorflow gpu版本是否安装成功:
import tensorflow as tf
print(tf.__version__)
tf.test.is_gpu_available()
返回ture即表示安装成功。
最后,在激活的环境里输入
conda install cudnn=8.2.1
,见下图情况,表明已经安装成功!
本文转载自: https://blog.csdn.net/zhulewen/article/details/125517733
版权归原作者 新池坡南 所有, 如有侵权,请联系我们删除。
版权归原作者 新池坡南 所有, 如有侵权,请联系我们删除。