
使用凭证访问 Elasticsearch 集群。 凭证可以是存储在 Elasticsearch 内部的标准用户/密码,也可以使用更复杂的解决方案,例如 Active Directory 和轻量级目录访问协议 (LDAP)。
你可以将 Elastic Stack 安全功能配置为与轻量级目录访问协议 (LDAP) 服务器通信以对用户进行身份验证。LDAP 分层存储用户和组,类似于在文件系统中对文件夹进行分组的方式。 LDAP 目录的层次结构由组织单元 ( organization unit, ou)、组织 ( organization, o) 和域组件 ( domain component, dc) 等容器构建而成。
条目的路径是唯一标识用户或组的专有名称 (distiguished name, DN)。 用户名和组名通常具有通用名称 (common name, cn) 或唯一 ID ( unique ID, uid) 等属性。 DN 指定为字符串,例如 “cn=admin,dc=example,dc=com”(忽略空格)。
ldap 领域支持两种操作模式,一种是用户搜索模式,另一种是为用户 DN 提供特定模板的模式。
LDAP 简介
LDAP 全称为 Lightweight Directory Access Protocol, 轻量目录访问协议。简单地说, LDAP 就是用来访问目录数据库的一个协议。目录服务数据也是一种数据库,这种数据库相对于我们熟知的关系型数据库,比如 MySQL, Oracle,只有一下的几个方面的特点:
- 它成树状结构组织数据,类似文件目录一样
- 它是为查询,浏览和搜索而优化的数据库,也就是说 LDAP 的可读性特别强,但是写性能差,而且不支持事务处理,回滚等负责功能
举个例子:
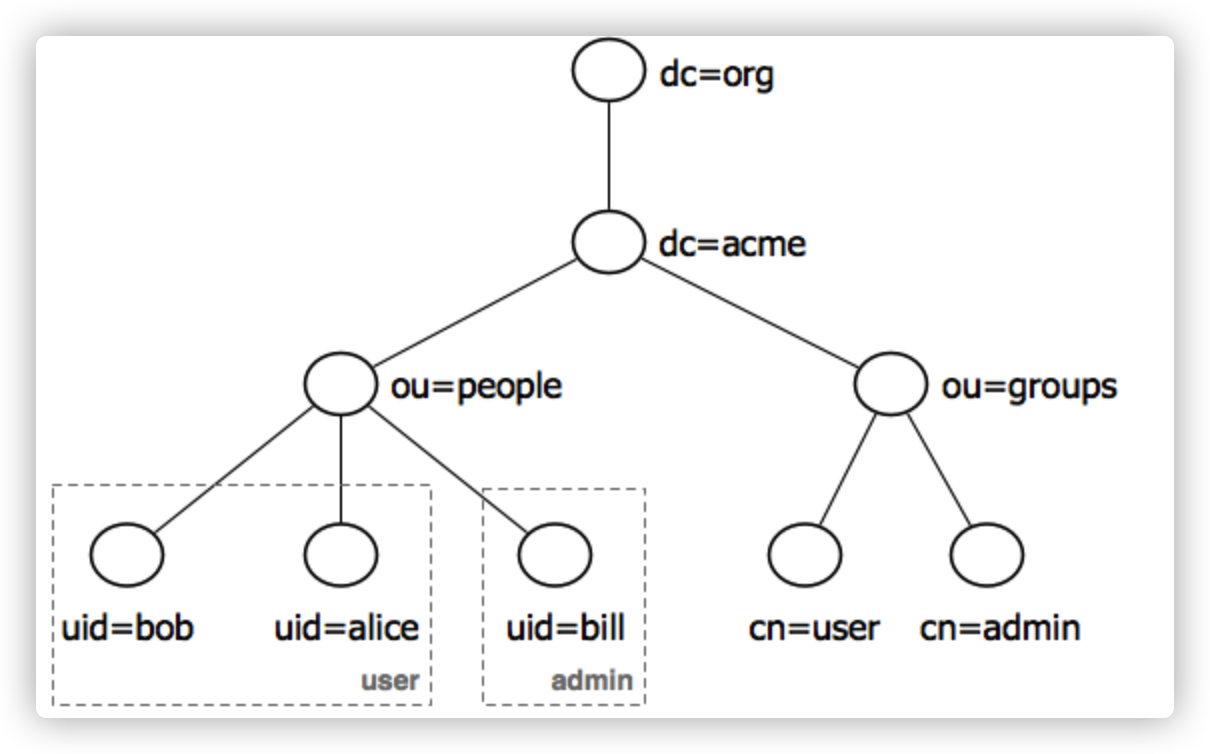
1)目标树:如上图所示,在一个目录服务器中,整个目录信息集可以表述为一个目录信息树,树中的每个节点是一个条目。
2)条目:每个条目就是一条记录,每个条目有自己唯一可去呗的名称(DN)。比如图中的每个圆圈都是一条记录。
3)DN,RDN:比如上图中的第一个叶子条目,它有一个唯一可区分的名称 DN:uid=bob,ou=people,dc=acme,dc=org。类似于文件目录的相对路径绝对路径。它除了 DN 之外,它还具有 RDN。RDN 与目录结构无关,比如之前提过的 uid=bob,ou=people,dc=acme,dc=org,他的 RDN 就是 uid=bob.
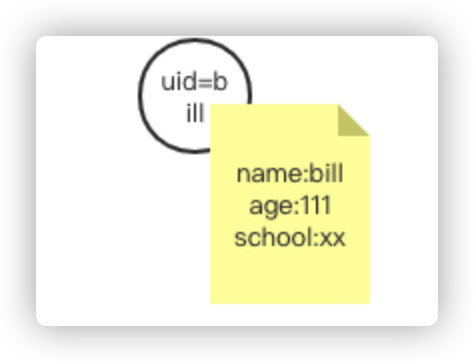
4)属性:描述条目具体信息。比如 ’uid=bill,ou=people,dc=acme,dc=org‘,它有属性 name 为 bill,属性 age 为11,属性 school 为 xx:
在接下来的练习中,我将使用最新的 Elastic Stack 8.3.3 来进行展示。我将使用的系统架构如下:

在上面,我使用两个机器。它们分别安装 Elastic Stack 及 Apache Directory。它们的 IP 地址如上所示。
安装
Elastic Stack
我们必须安装好 Elasticsearch 及 Kibana。我们可以参考之前的文章:
- 如何在 Linux,MacOS 及 Windows 上进行安装 Elasticsearch
- Elastic:使用 Docker 安装 Elastic Stack 8.0 并开始使用
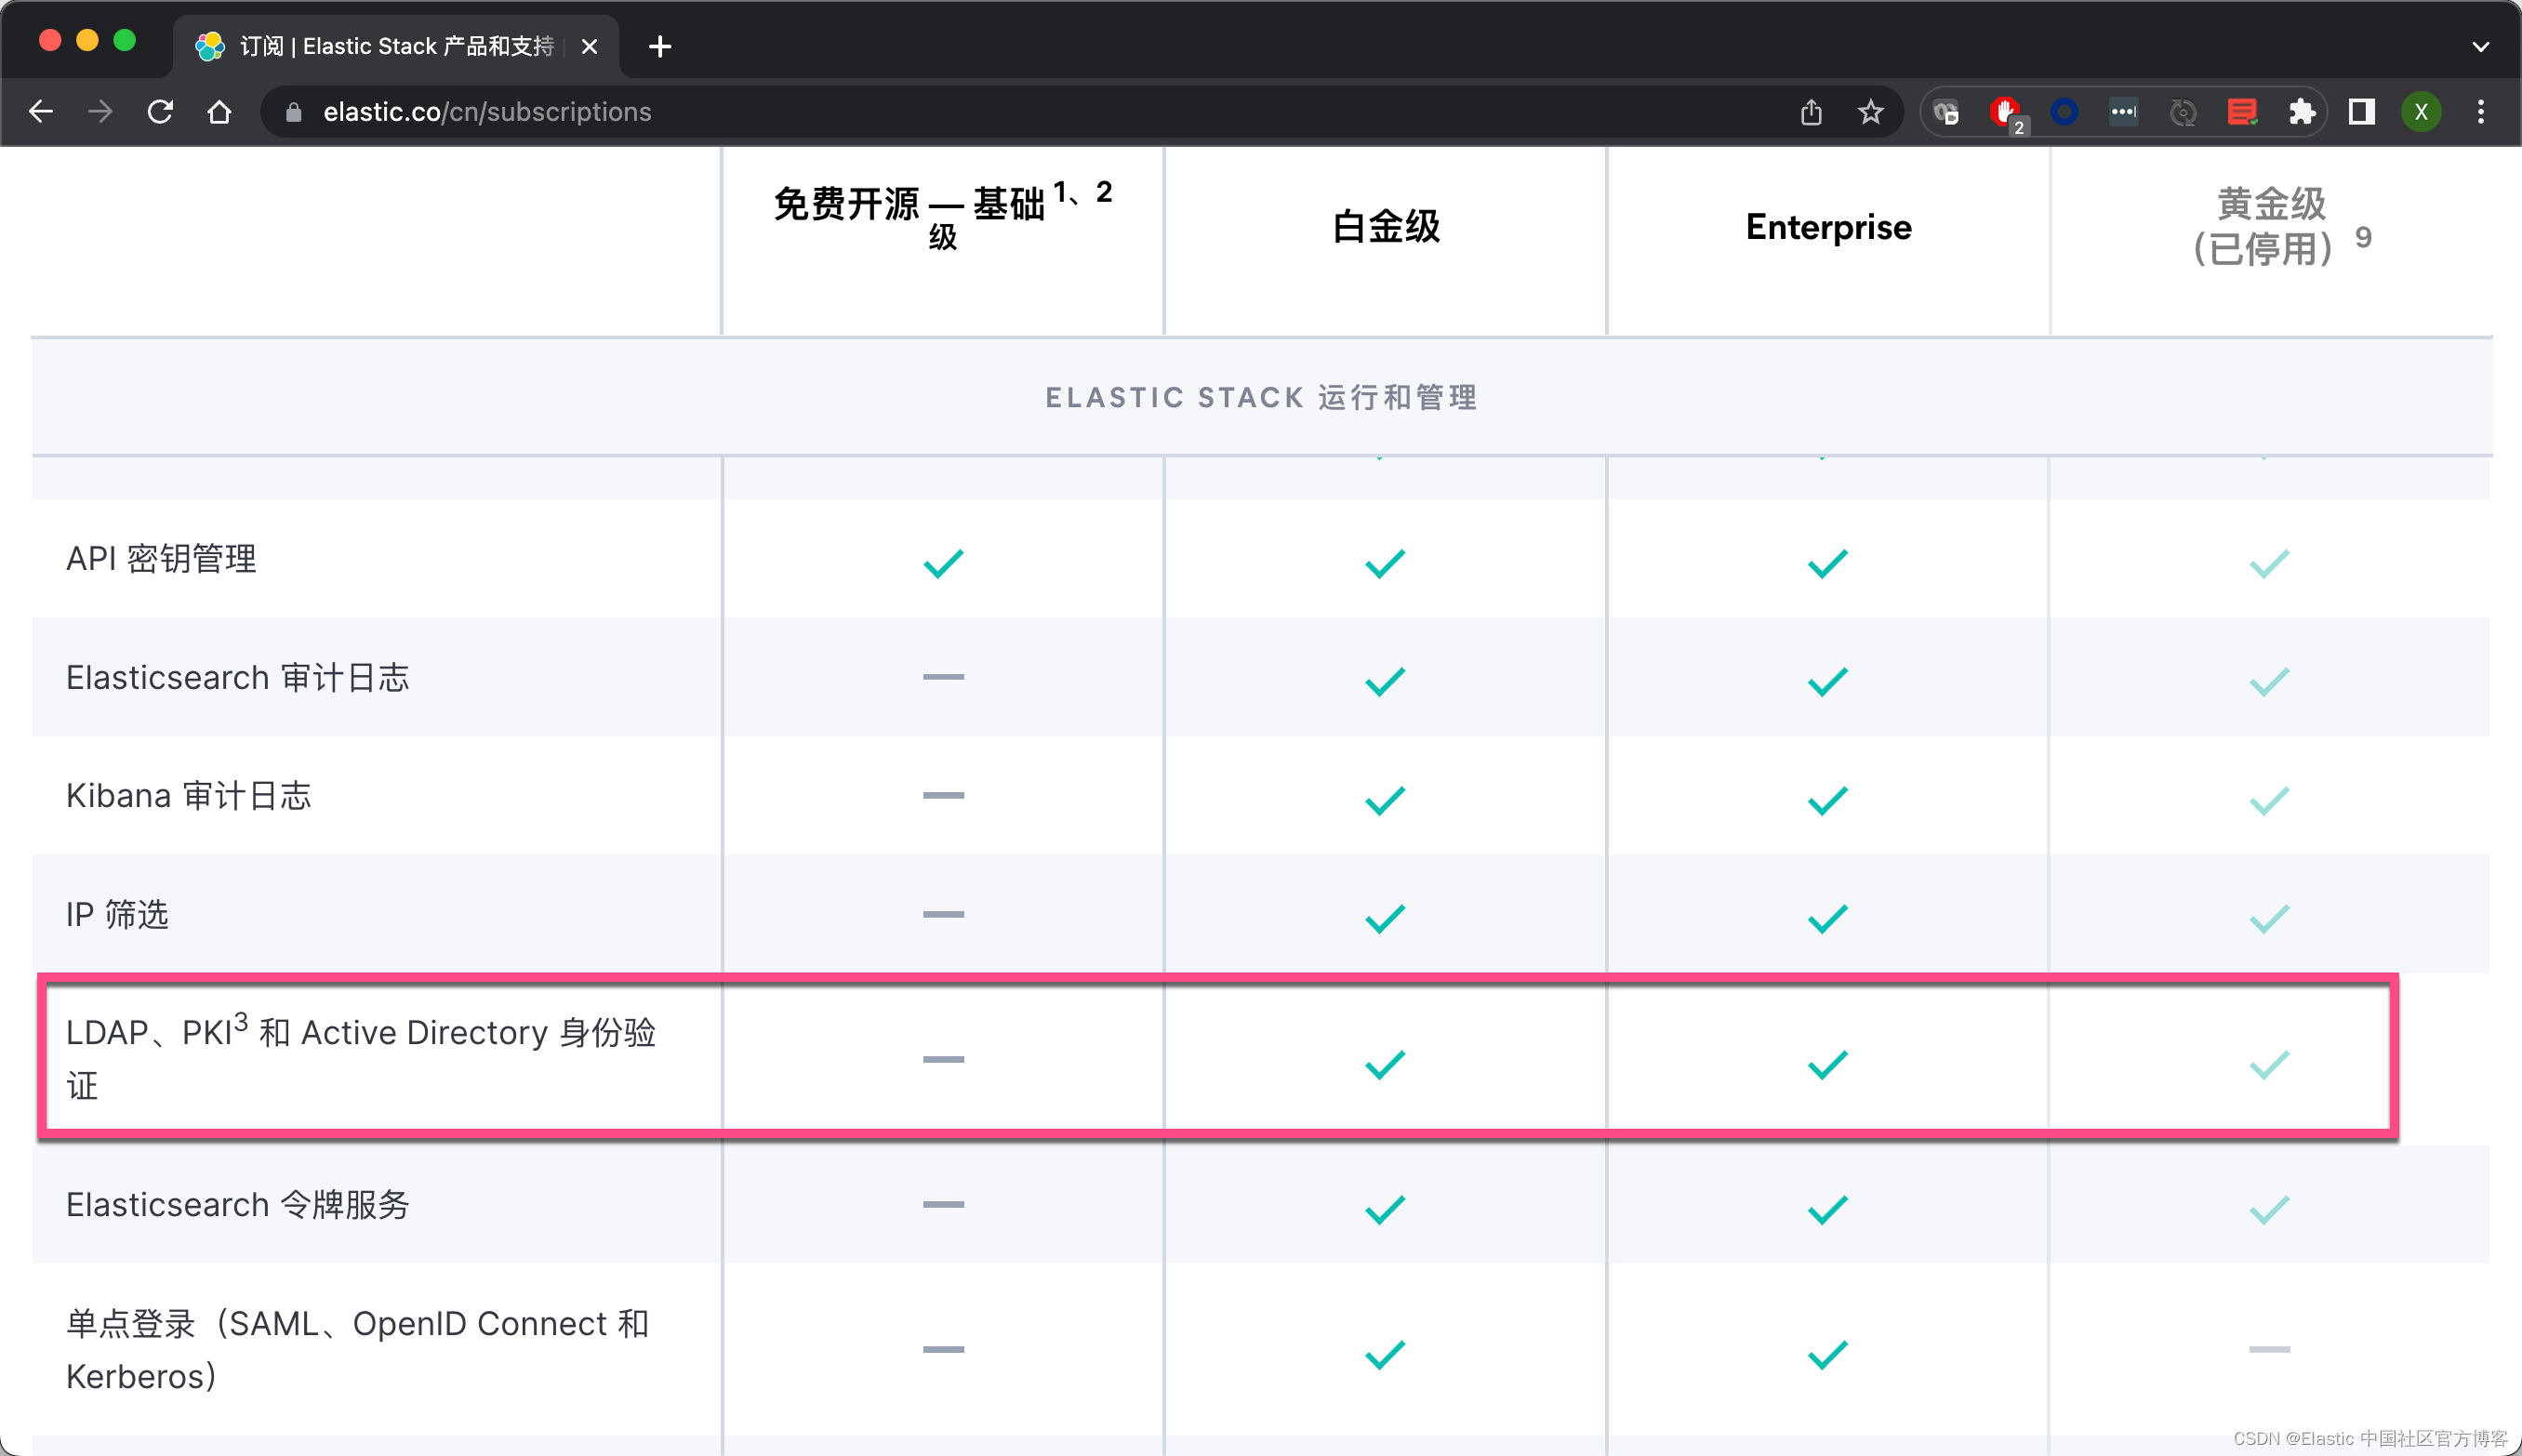
根据 Elastic 的订阅 订阅 | Elastic Stack 产品和支持 | Elastic,我们知道 LDAP 是一个需要购买的功能:
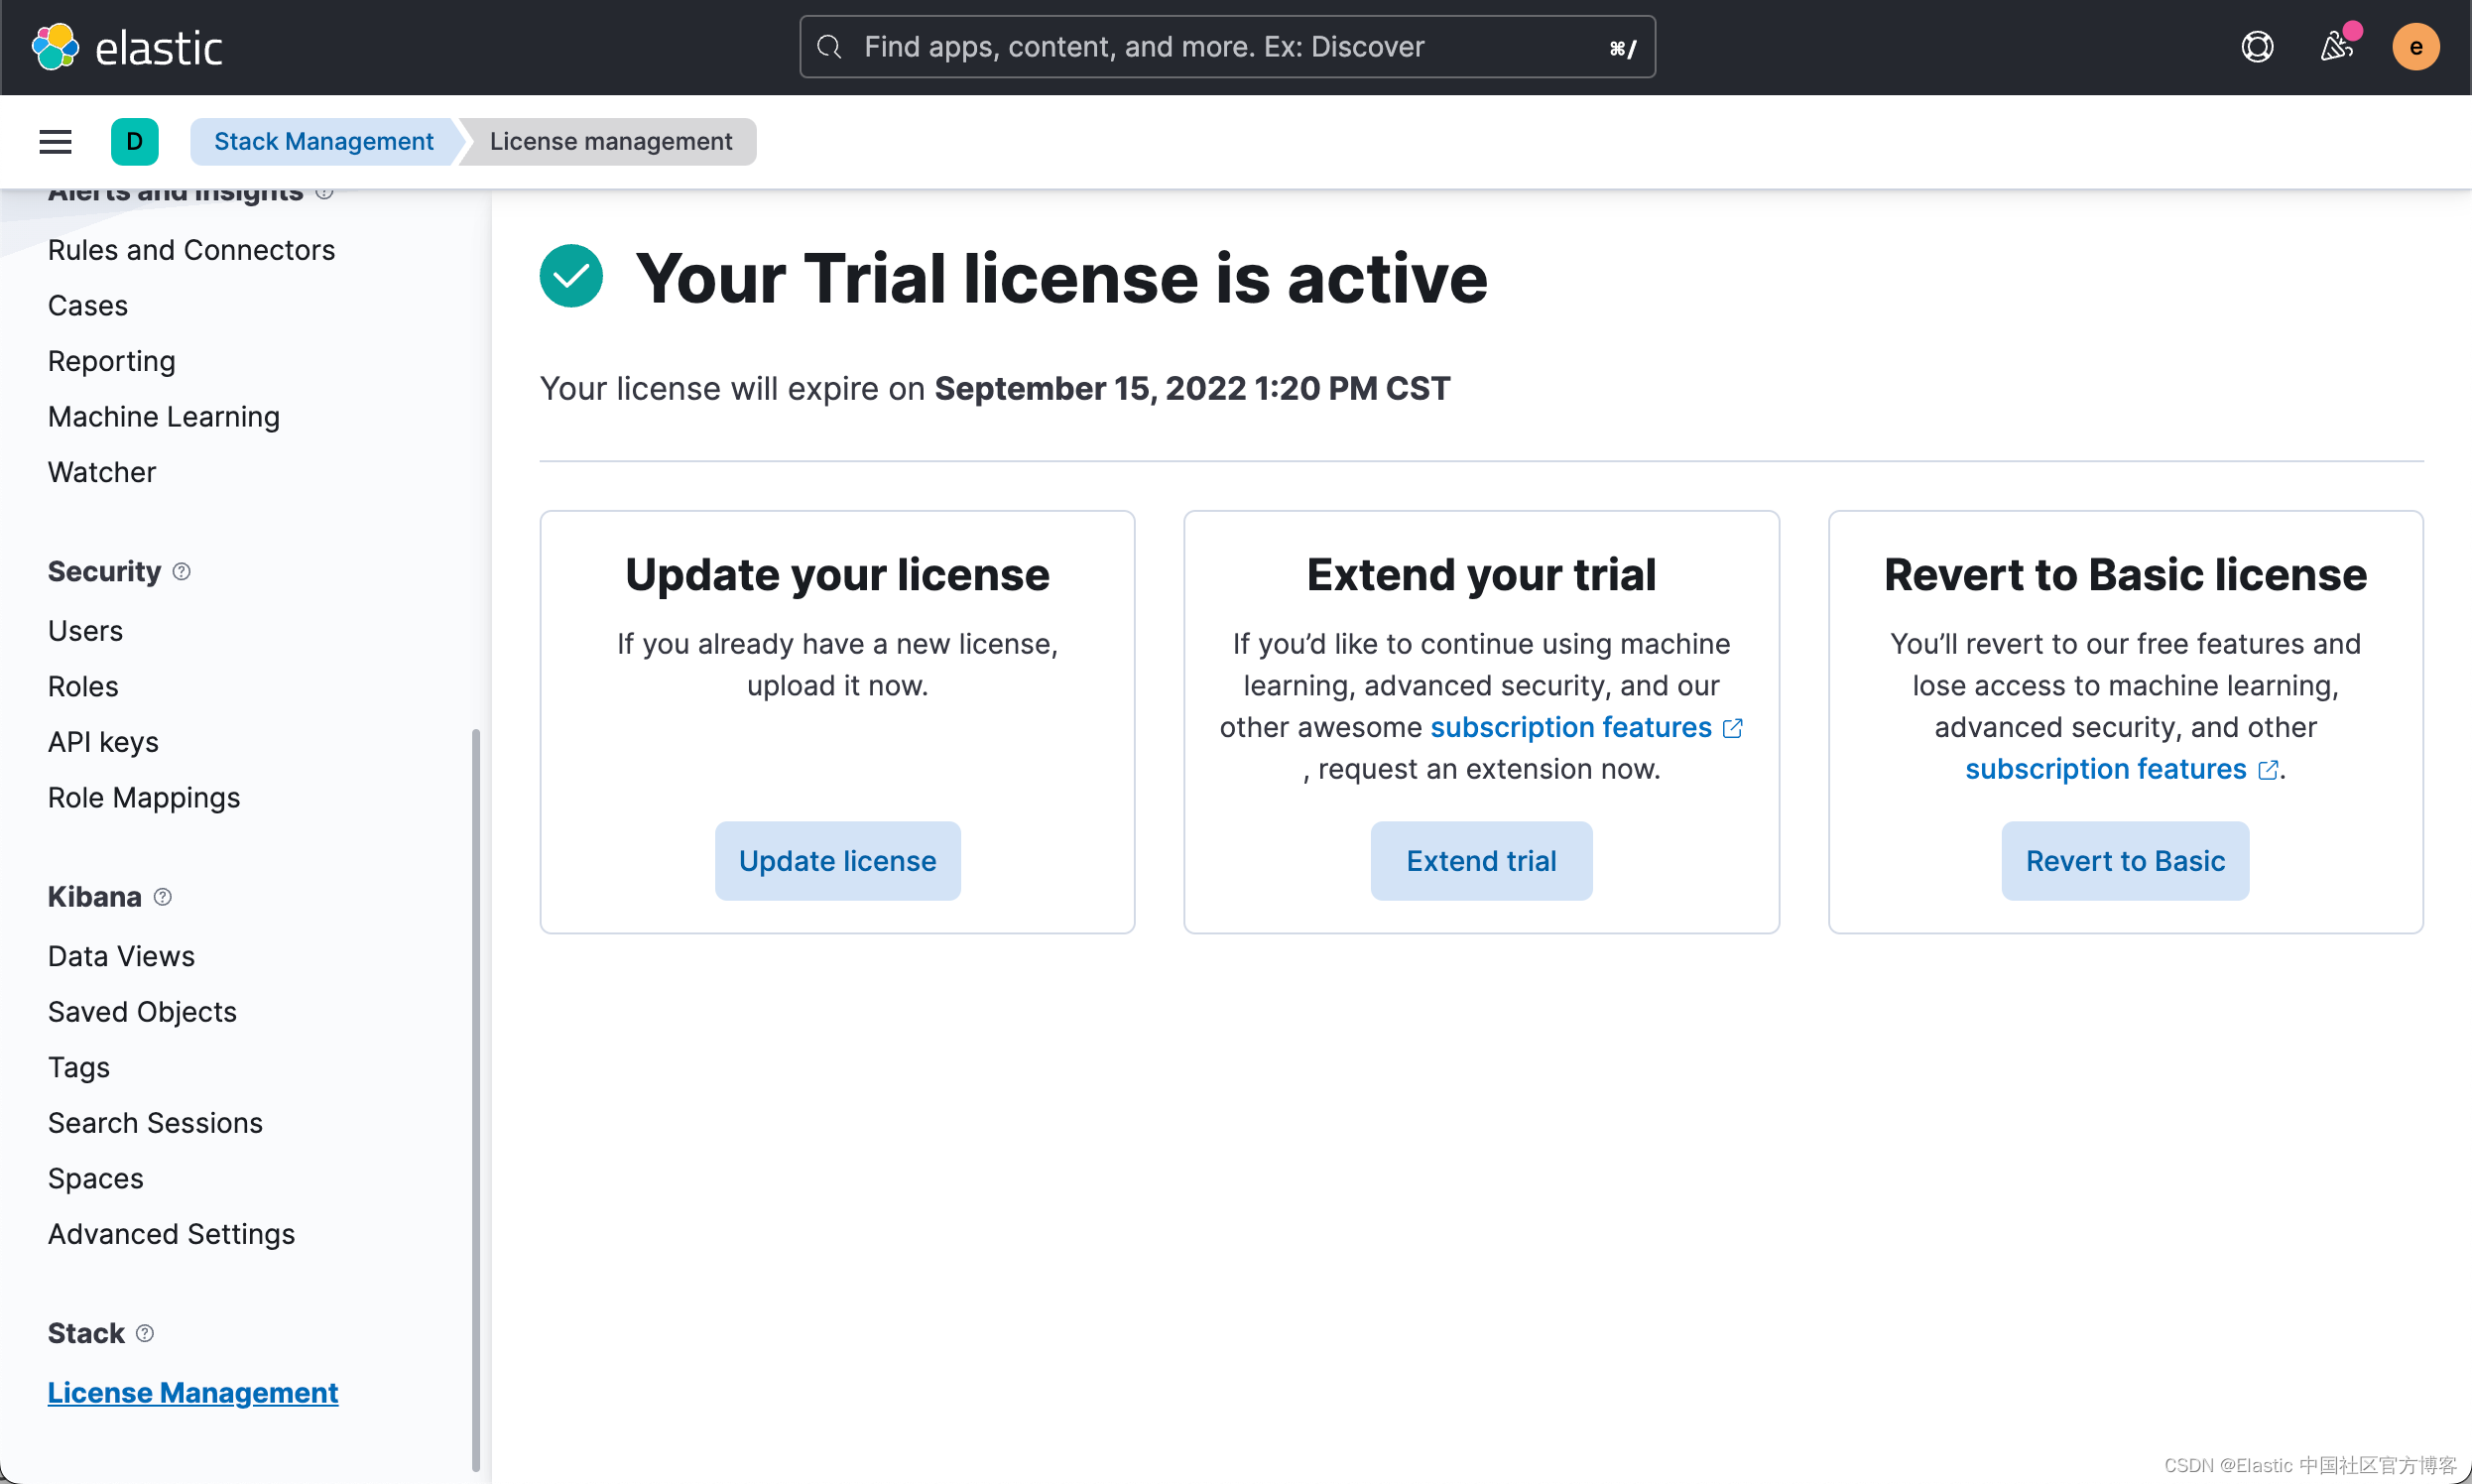
在安装好 Elasticsearch 及 Kibana 之后,我们需要启动白金版试用功能:
Apache Directory
Apache Directory Studio 是一个完整的目录工具平台,旨在与任何 LDAP 服务器一起使用,但它是专门为与 ApacheDS 一起使用而设计的。 它是一个 Eclipse RCP 应用程序,由多个 Eclipse (OSGi) 插件组成,可以通过其他插件轻松升级。 这些插件甚至可以在 Eclipse 本身中运行。我们可以到地址 Downloads — Apache Directory 根据自己的平台来进行下载并进行安装:
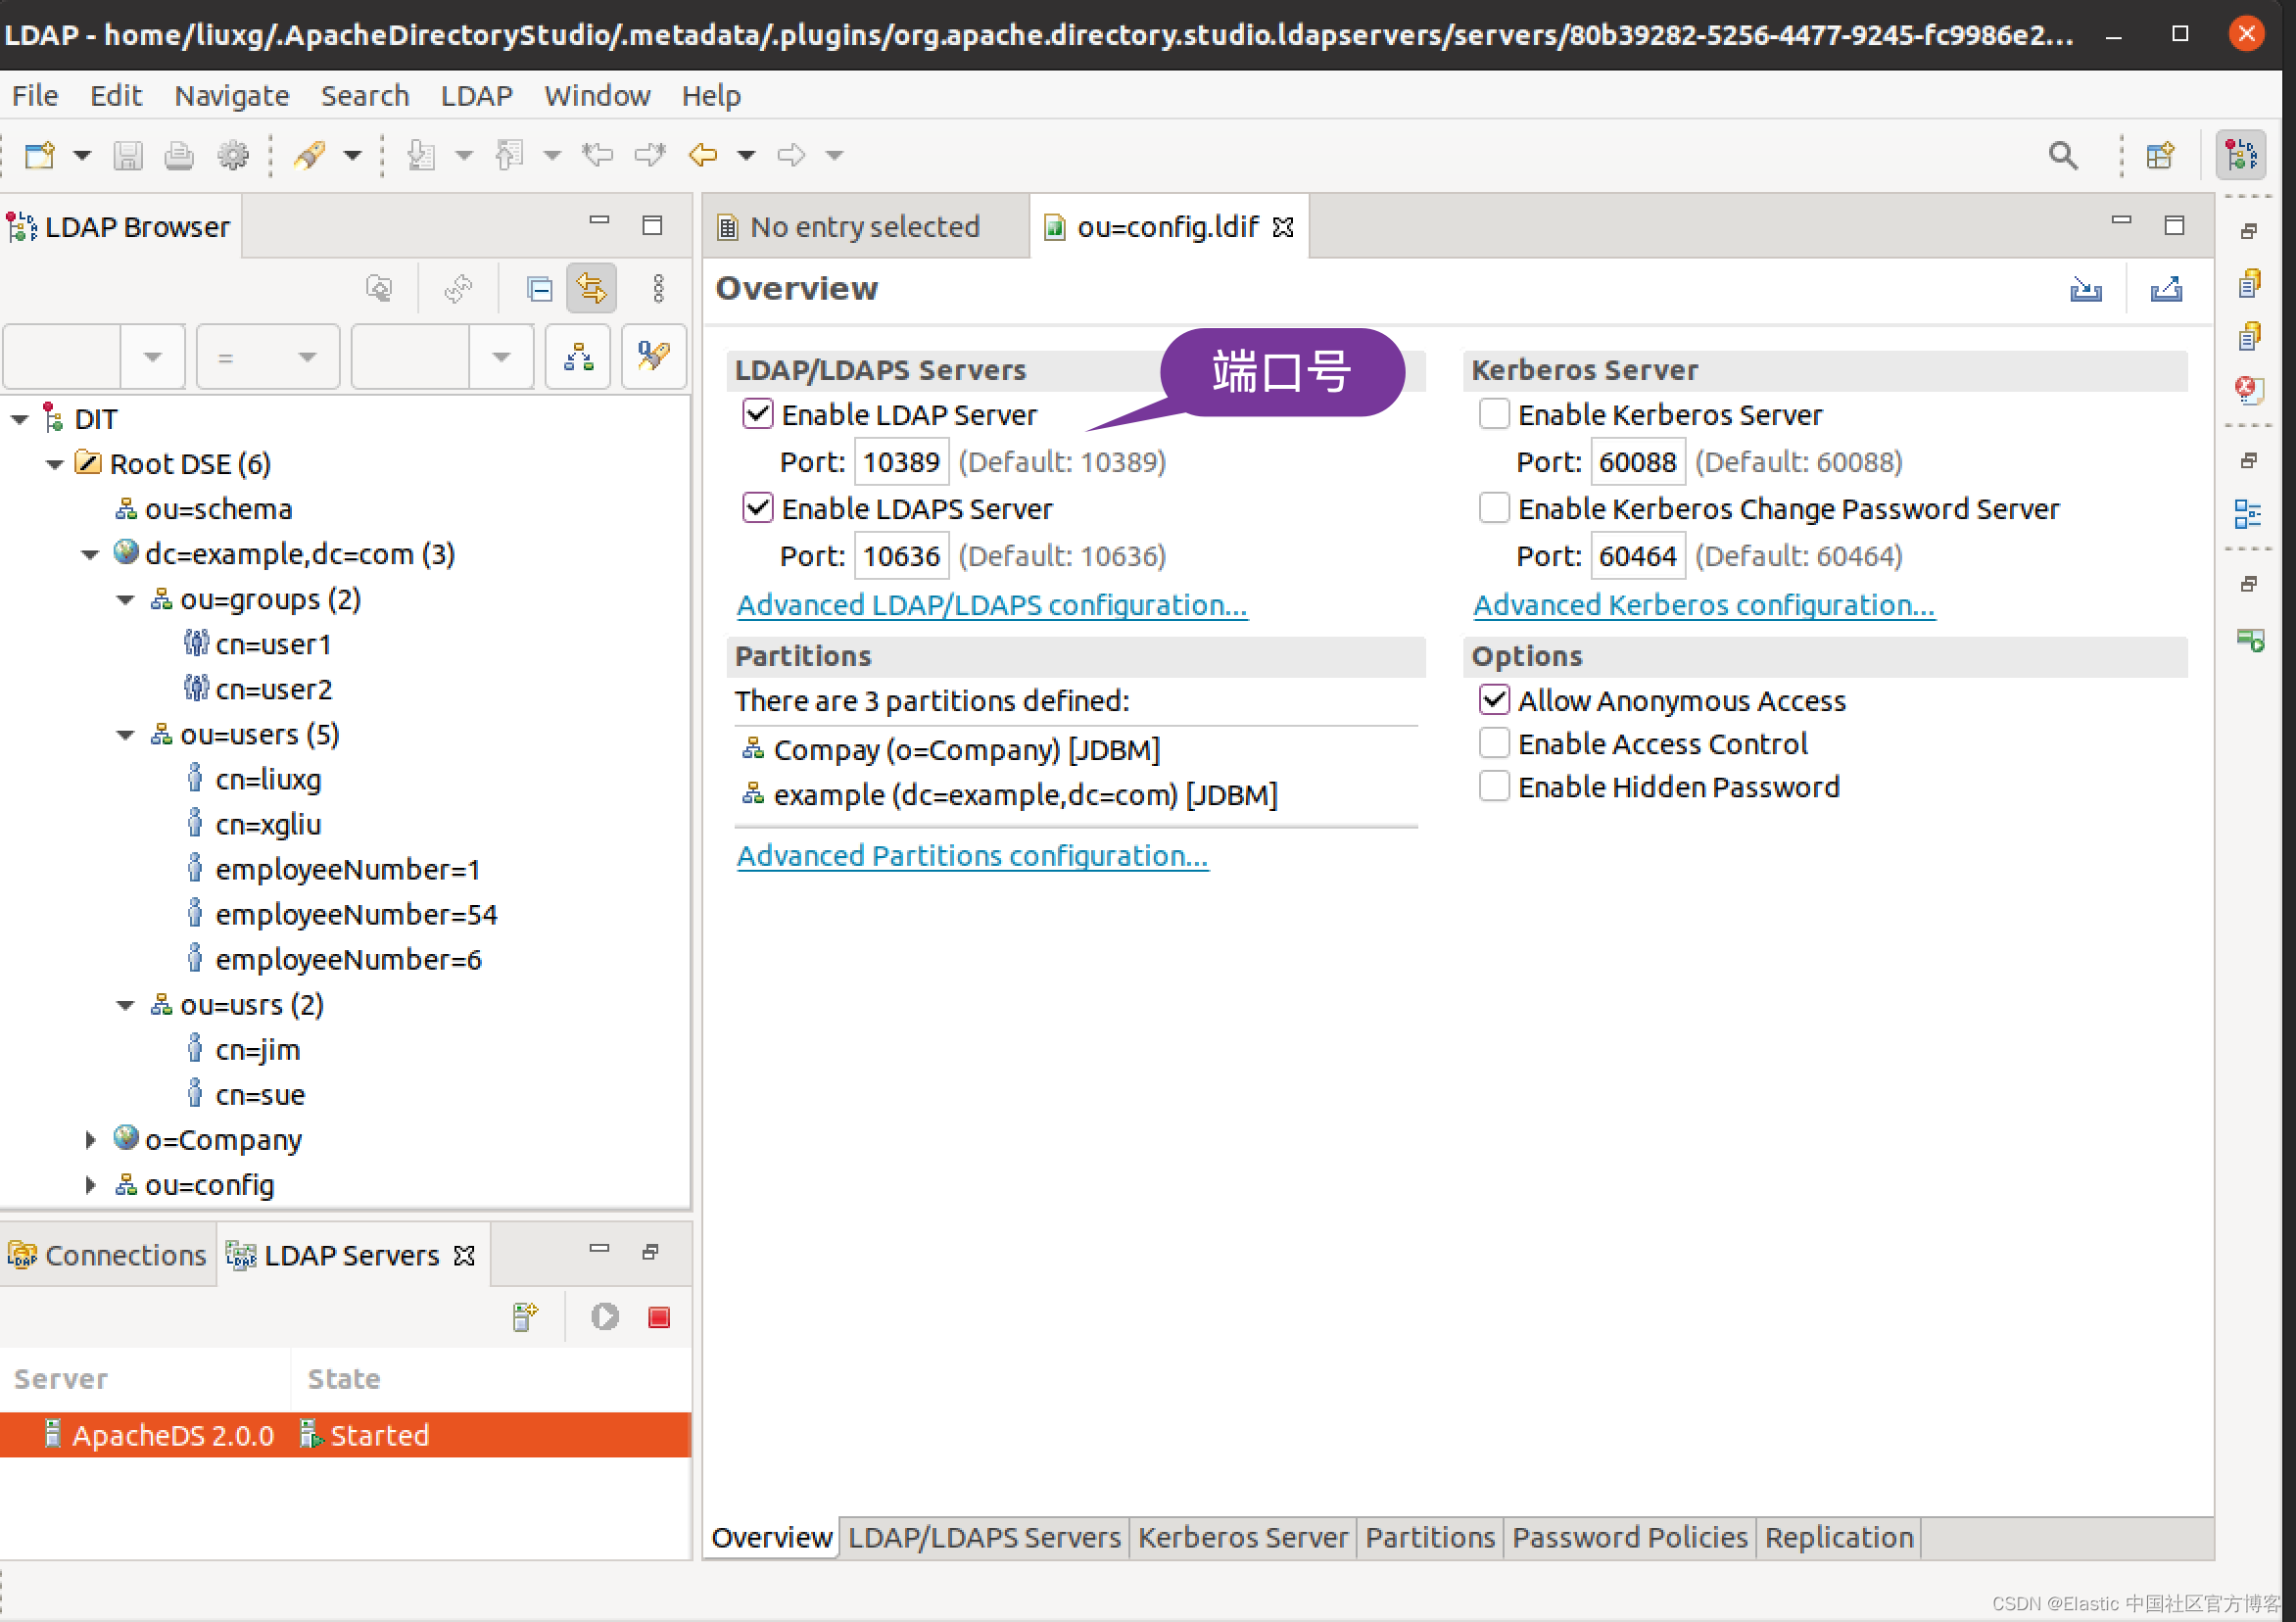
我们接下来需要使用 ApacheDS 来创建如下的一些用户及组。 我们在 dc=example,dc=com 下创建如下的 ou:
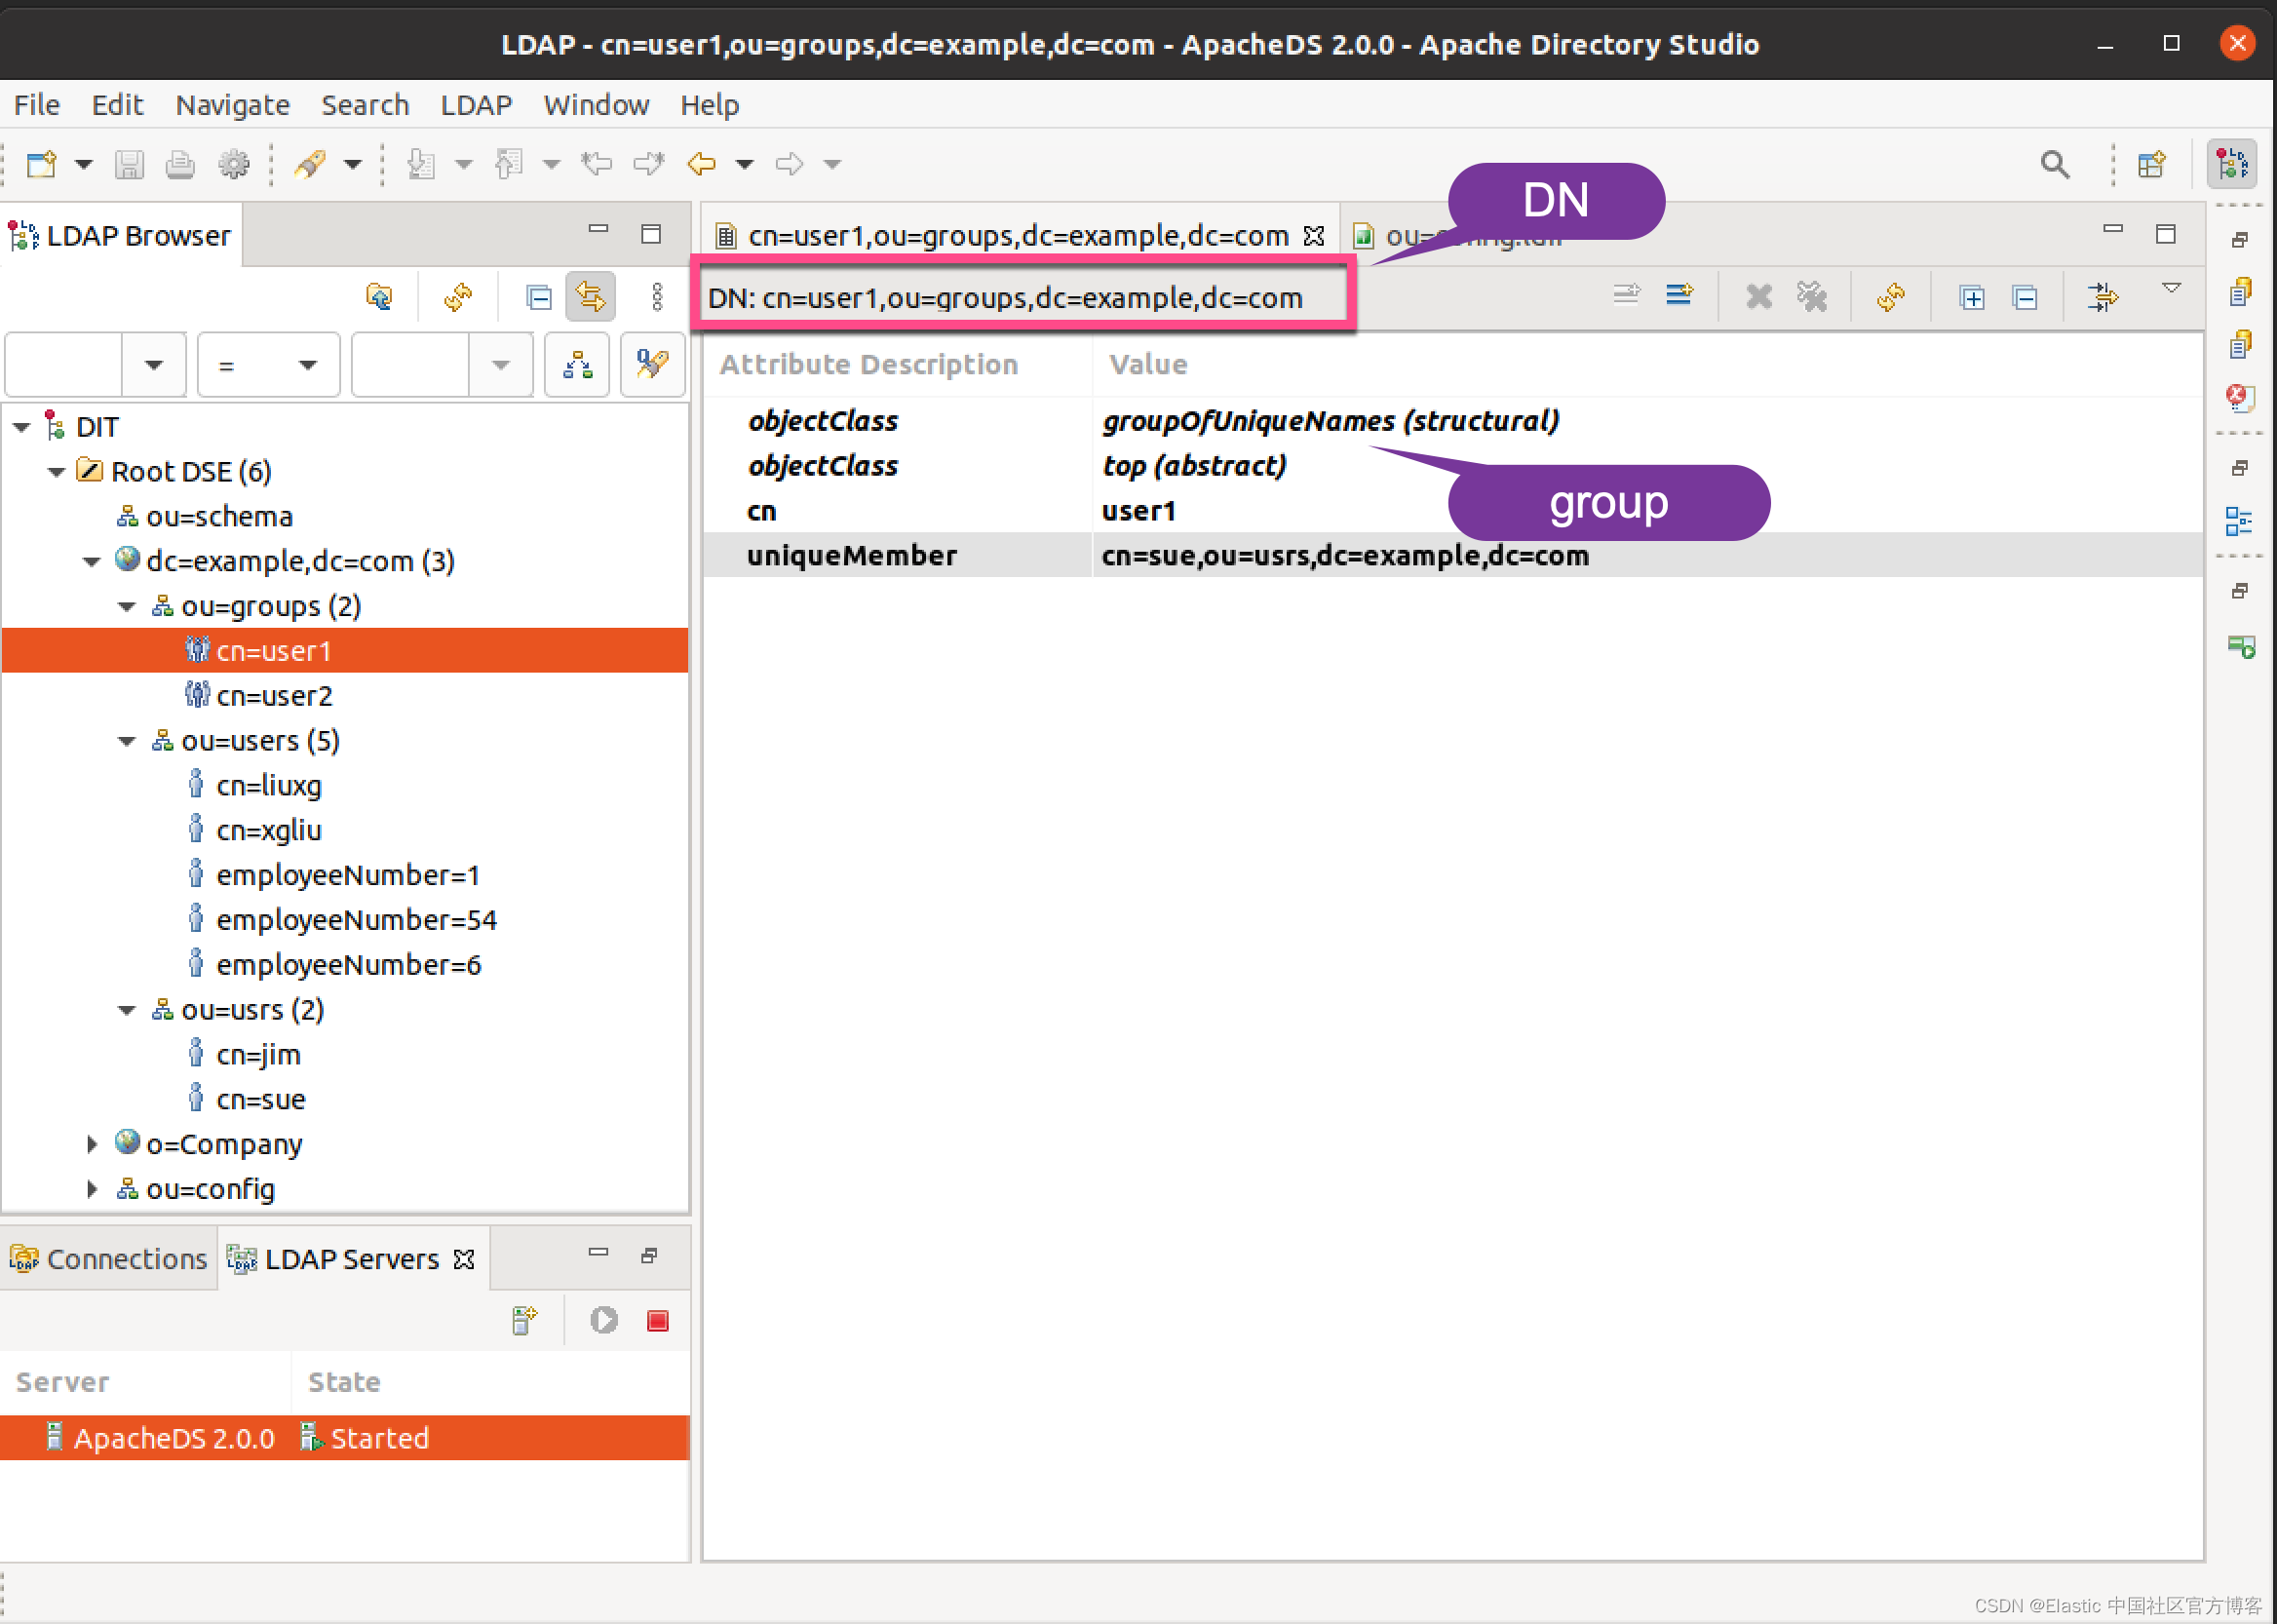
- groups:这是一个 group,它含有cn=user1 及 cn=user2 条目。如果你想了解如何创建一个 group,请参考文档 “Preparing the LDAP environment”。
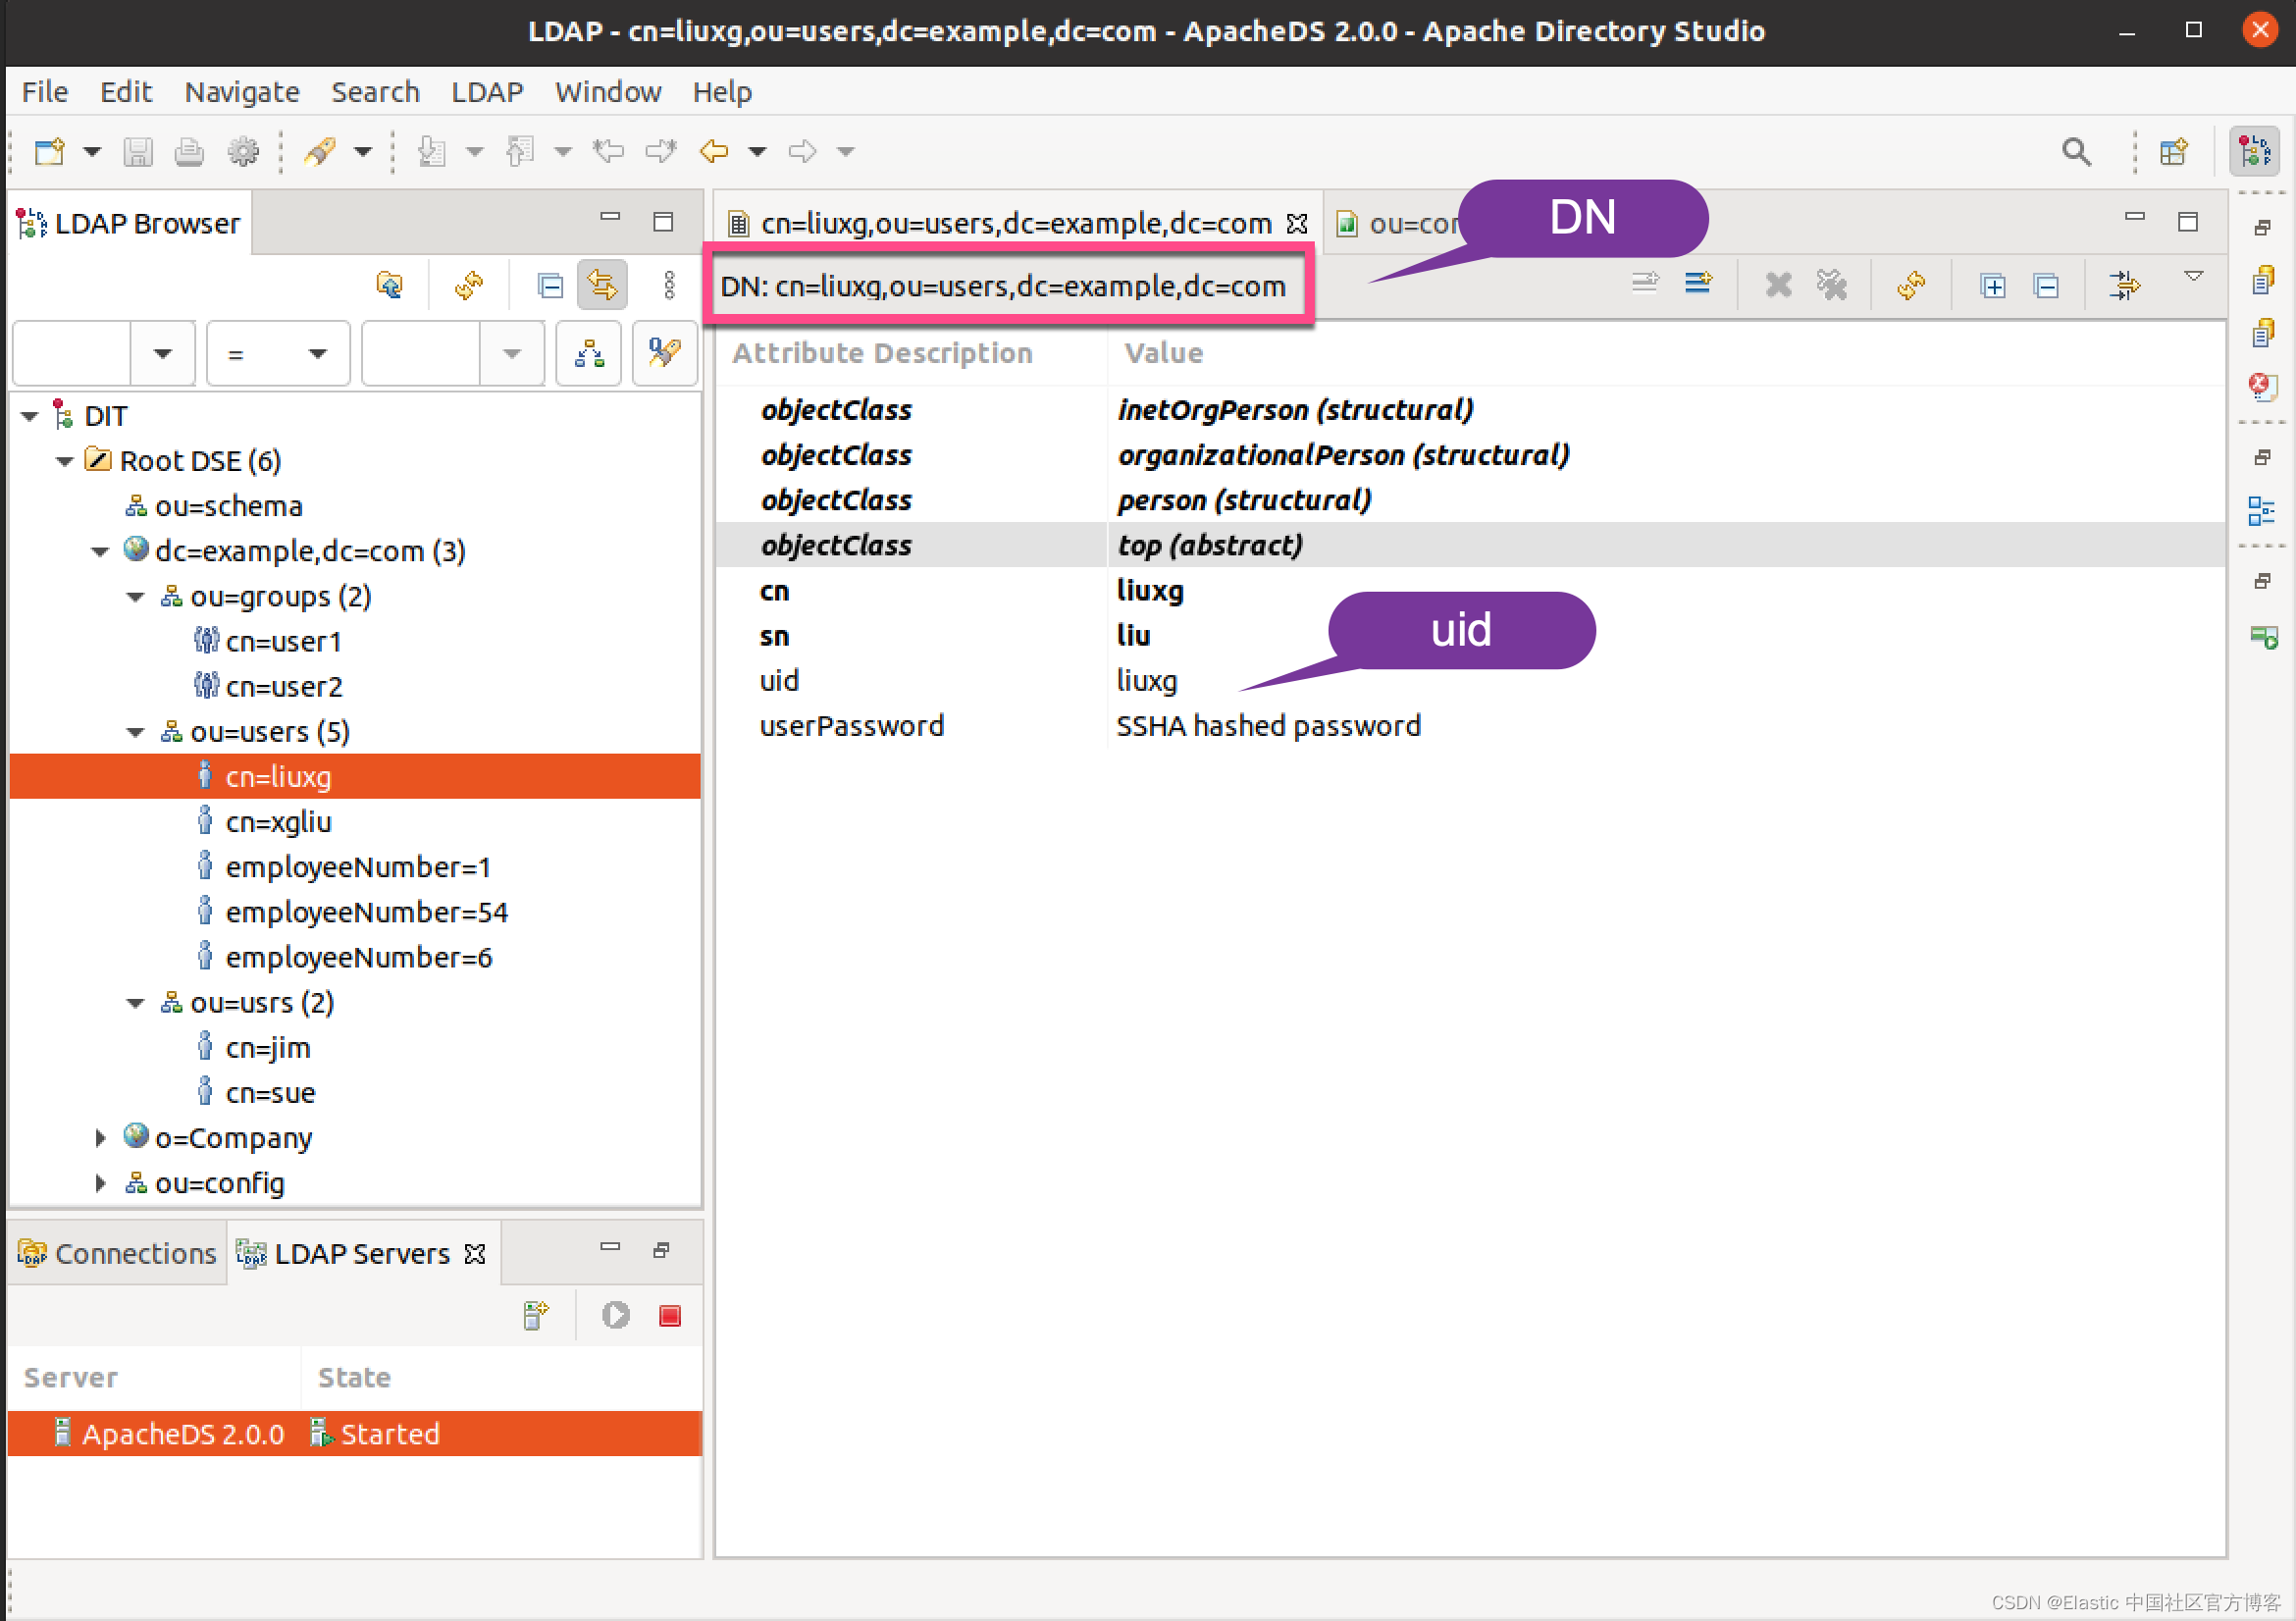
- users:这是一个 ou。它含有一些用户的信息。如果你想了解如何创建一个用户,请阅读文章 “Preparing the LDAP environment”。
- usrs:这是一个 ou。它被 groups 组所使用:
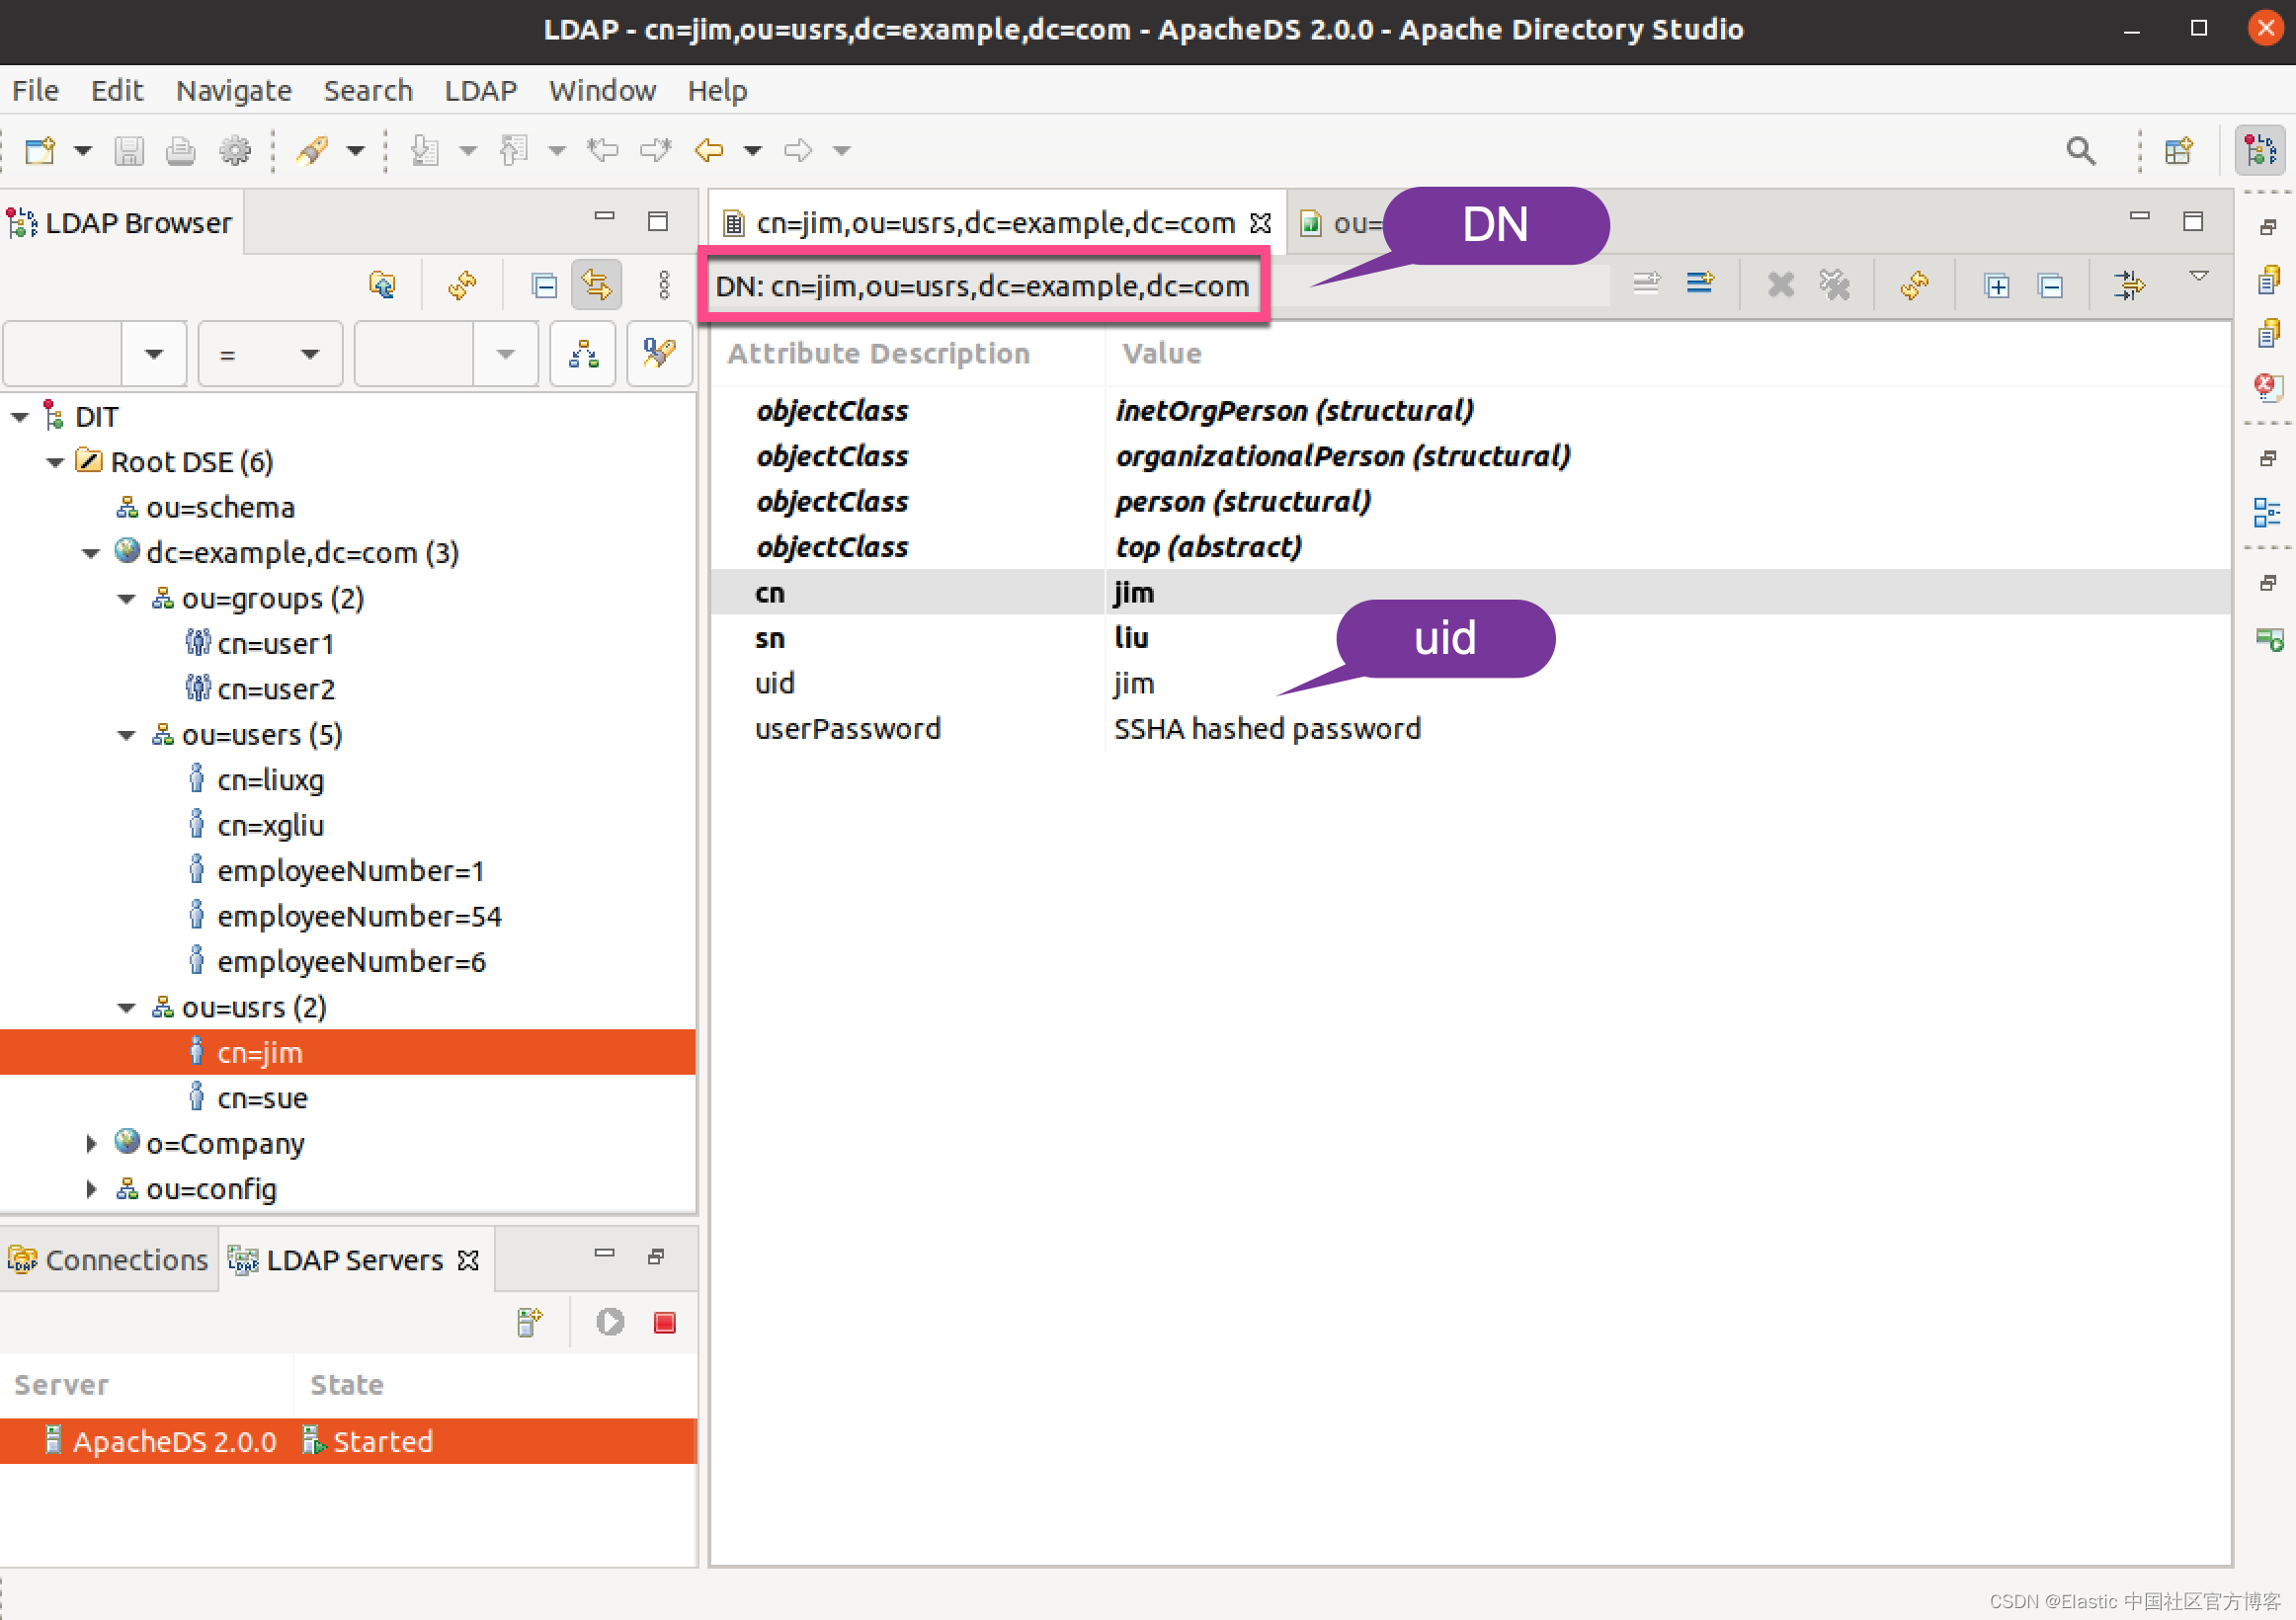
对于上面的每个条目,我们都为其设置 uid 及密码。
为了验证一个 DN 及用户的正确性,我们可以使用如下的命令来进行检验:
ldapsearch -x -D "cn=liuxg,ou=users,dc=example,dc=com"\
       -W -H ldap://ubuntu:10389 -b "dc=example,doc=com"\
       -s sub '(sAMAccountName=liuxg)'
$ ldapsearch -x -D "cn=liuxg,ou=users,dc=example,dc=com"\
>        -W -H ldap://ubuntu:10389 -b "dc=example,doc=com"\
>        -s sub '(sAMAccountName=liuxg)'
Enter LDAP Password:
# extended LDIF
#
# LDAPv3
# base <dc=example,doc=com> with scope subtree
# filter: (sAMAccountName=liuxg)
# requesting: ALL
#

# search result
search: 2
result: 32 No such object
text: NO_SUCH_OBJECT: failed for MessageType : SEARCH_REQUEST
Message ID : 2

     SearchRequest
        baseDn : 'dc=example,doc=com'
        filter : '(|
 (sAMAccountName=liuxg)(objectClass=referral))'
        scope : whole subtree

        typesOnly : false
        Size Limit : no limit
        Time Limit
 : no limit
        Deref Aliases : never Deref Aliases
        attributes :

org.apache.directory.api.ldap.model.message.SearchRequestImpl@430edd43: ERR
 _268 Cannot find a partition for dc=example,doc=com

# numResponses: 1
在上面,我们输入 liuxg 的密码即可。
这样,我们的 Apache Directory 配置就完成了。
使用用户搜索配置 ldap 领域:
ldap 领域支持两种操作模式,一种是用户搜索模式,另一种是为用户 DN 提供特定模板的模式。LDAP 用户搜索是最常见的操作模式。 在这种模式下,具有搜索 LDAP 目录权限的特定用户用于根据提供的用户名和 LDAP 属性搜索身份验证用户的 DN。 找到后,通过尝试使用找到的 DN 和提供的密码绑定到 LDAP 服务器来对用户进行身份验证。
我们首先打开 Elasticsearch 的配置文件 config/elasticsearch.yml 文件:
config/elasticsearch.yml
xpack:
  security:
    authc:
      realms:
        ldap:
          ldap1:
            order: 0
            url: "ldap://ubuntu:10389"
            bind_dn: "ou=users,dc=example,dc=com"
            bind_password: "123456"
            user_search:
              base_dn: "dc=example,dc=com"
              filter: "(cn={0})"
            group_search:
              base_dn: "ou=groups,dc=example,dc=com"
            files:
              role_mapping: "/Users/liuxg/elastic/elasticsearch-8.3.3/config/role_mapping.yml"
            unmapped_groups_as_roles: false
我们在文件的最后面添加如上所示的代码。其中 url 需要根据自己的实际安装来进行配置。在上面,我们配置时,设置的密码是 123456(这个在 ApacheDS 里进行设定)。我们需要根据自己的 Elasticsearch 的安装路径修改上面的 role_mapping 的配置。
role_mapping.yml
# Role mapping configuration file which has elasticsearch roles as keys
# that map to one or more user or group distinguished names

#roleA:   this is an elasticsearch role
#  - groupA-DN  this is a group distinguished name
#  - groupB-DN
#  - user1-DN   this is the full user distinguished name

superuser:
  - "cn=liuxg,ou=users,dc=example,dc=com"
  - "cn=xgliu,ou=users,dc=example,dc=com"
  - "employeeNumber=1,ou=users,dc=example,dc=com"
如上所示,superuser 是在我们的 Elasticsearch 中已经定义好的 role。这个 role 可以是预置的。也可以是我们自己定义的。如果你还不知道如何定义 role,请阅读我之前的文章 “Elasticsearch:用户安全设置”。在这里,为了方便,我们选择了 superuser。 这个是一个预置的 role。在上面,我们配置:
  - "cn=liuxg,ou=users,dc=example,dc=com"
  - "cn=xgliu,ou=users,dc=example,dc=com"
  - "employeeNumber=1,ou=users,dc=example,dc=com"
这些 DN 所代表的用户为 superuser 用户。
我们接下来重新启动 Elasticsearch,并在 Kibana 的界面中进行登录:
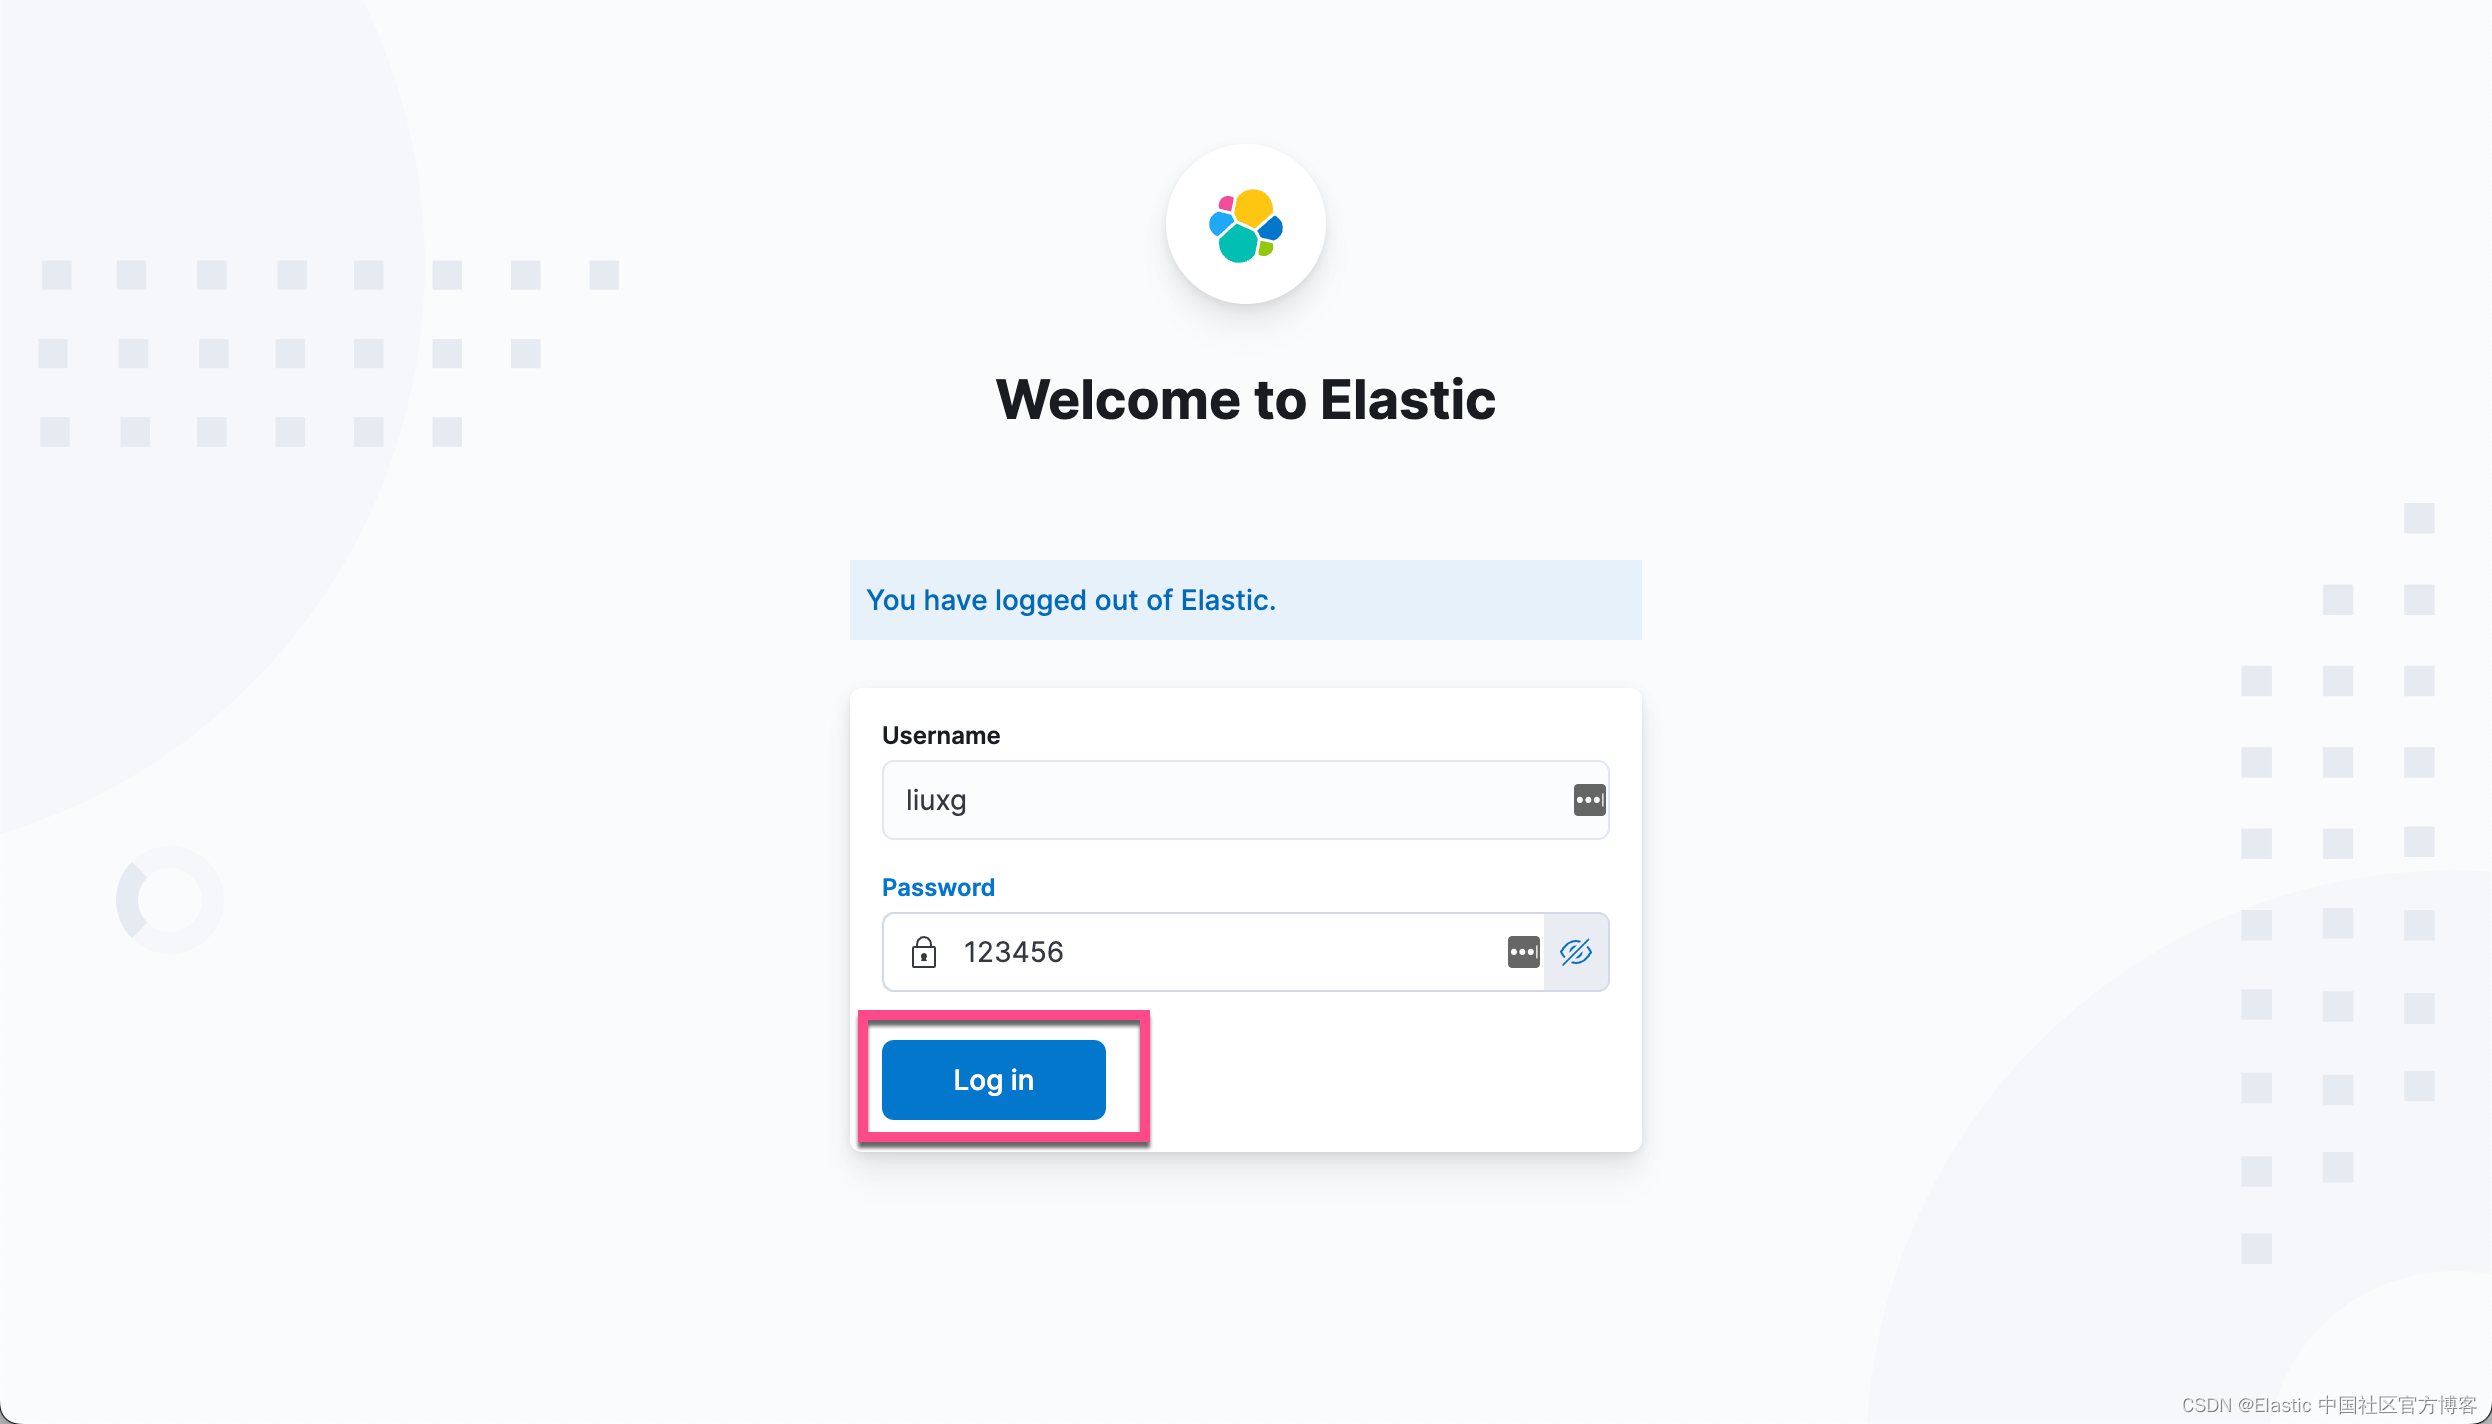

很显然,我们可以使用 liuxg:123456 来成功地进行登录。 我们也可以使用如下的命令来进行检查:
curl -k -u xgliu:123456 https://localhost:9200
$ curl -k -u xgliu:123456 https://localhost:9200
{
  "name" : "liuxgm.local",
  "cluster_name" : "elasticsearch",
  "cluster_uuid" : "zWDMrYU2RJm9RugZCZGhsQ",
  "version" : {
    "number" : "8.3.3",
    "build_flavor" : "default",
    "build_type" : "tar",
    "build_hash" : "801fed82df74dbe537f89b71b098ccaff88d2c56",
    "build_date" : "2022-07-23T19:30:09.227964828Z",
    "build_snapshot" : false,
    "lucene_version" : "9.2.0",
    "minimum_wire_compatibility_version" : "7.17.0",
    "minimum_index_compatibility_version" : "7.0.0"
  },
  "tagline" : "You Know, for Search"
}
很显然,xgliu 账号也可以成功地访问 Elasticsearch。
接下来,我们展示如何把 groups 里的账号也进行 mapping,从而使得它们也具有 superuser 的 role。当然,我们也可以让它们映射到任何我们想要的 role。但是前提是这些 role,必须是预置的,或者是自己创建的。
我们有两种方法来进行展示。
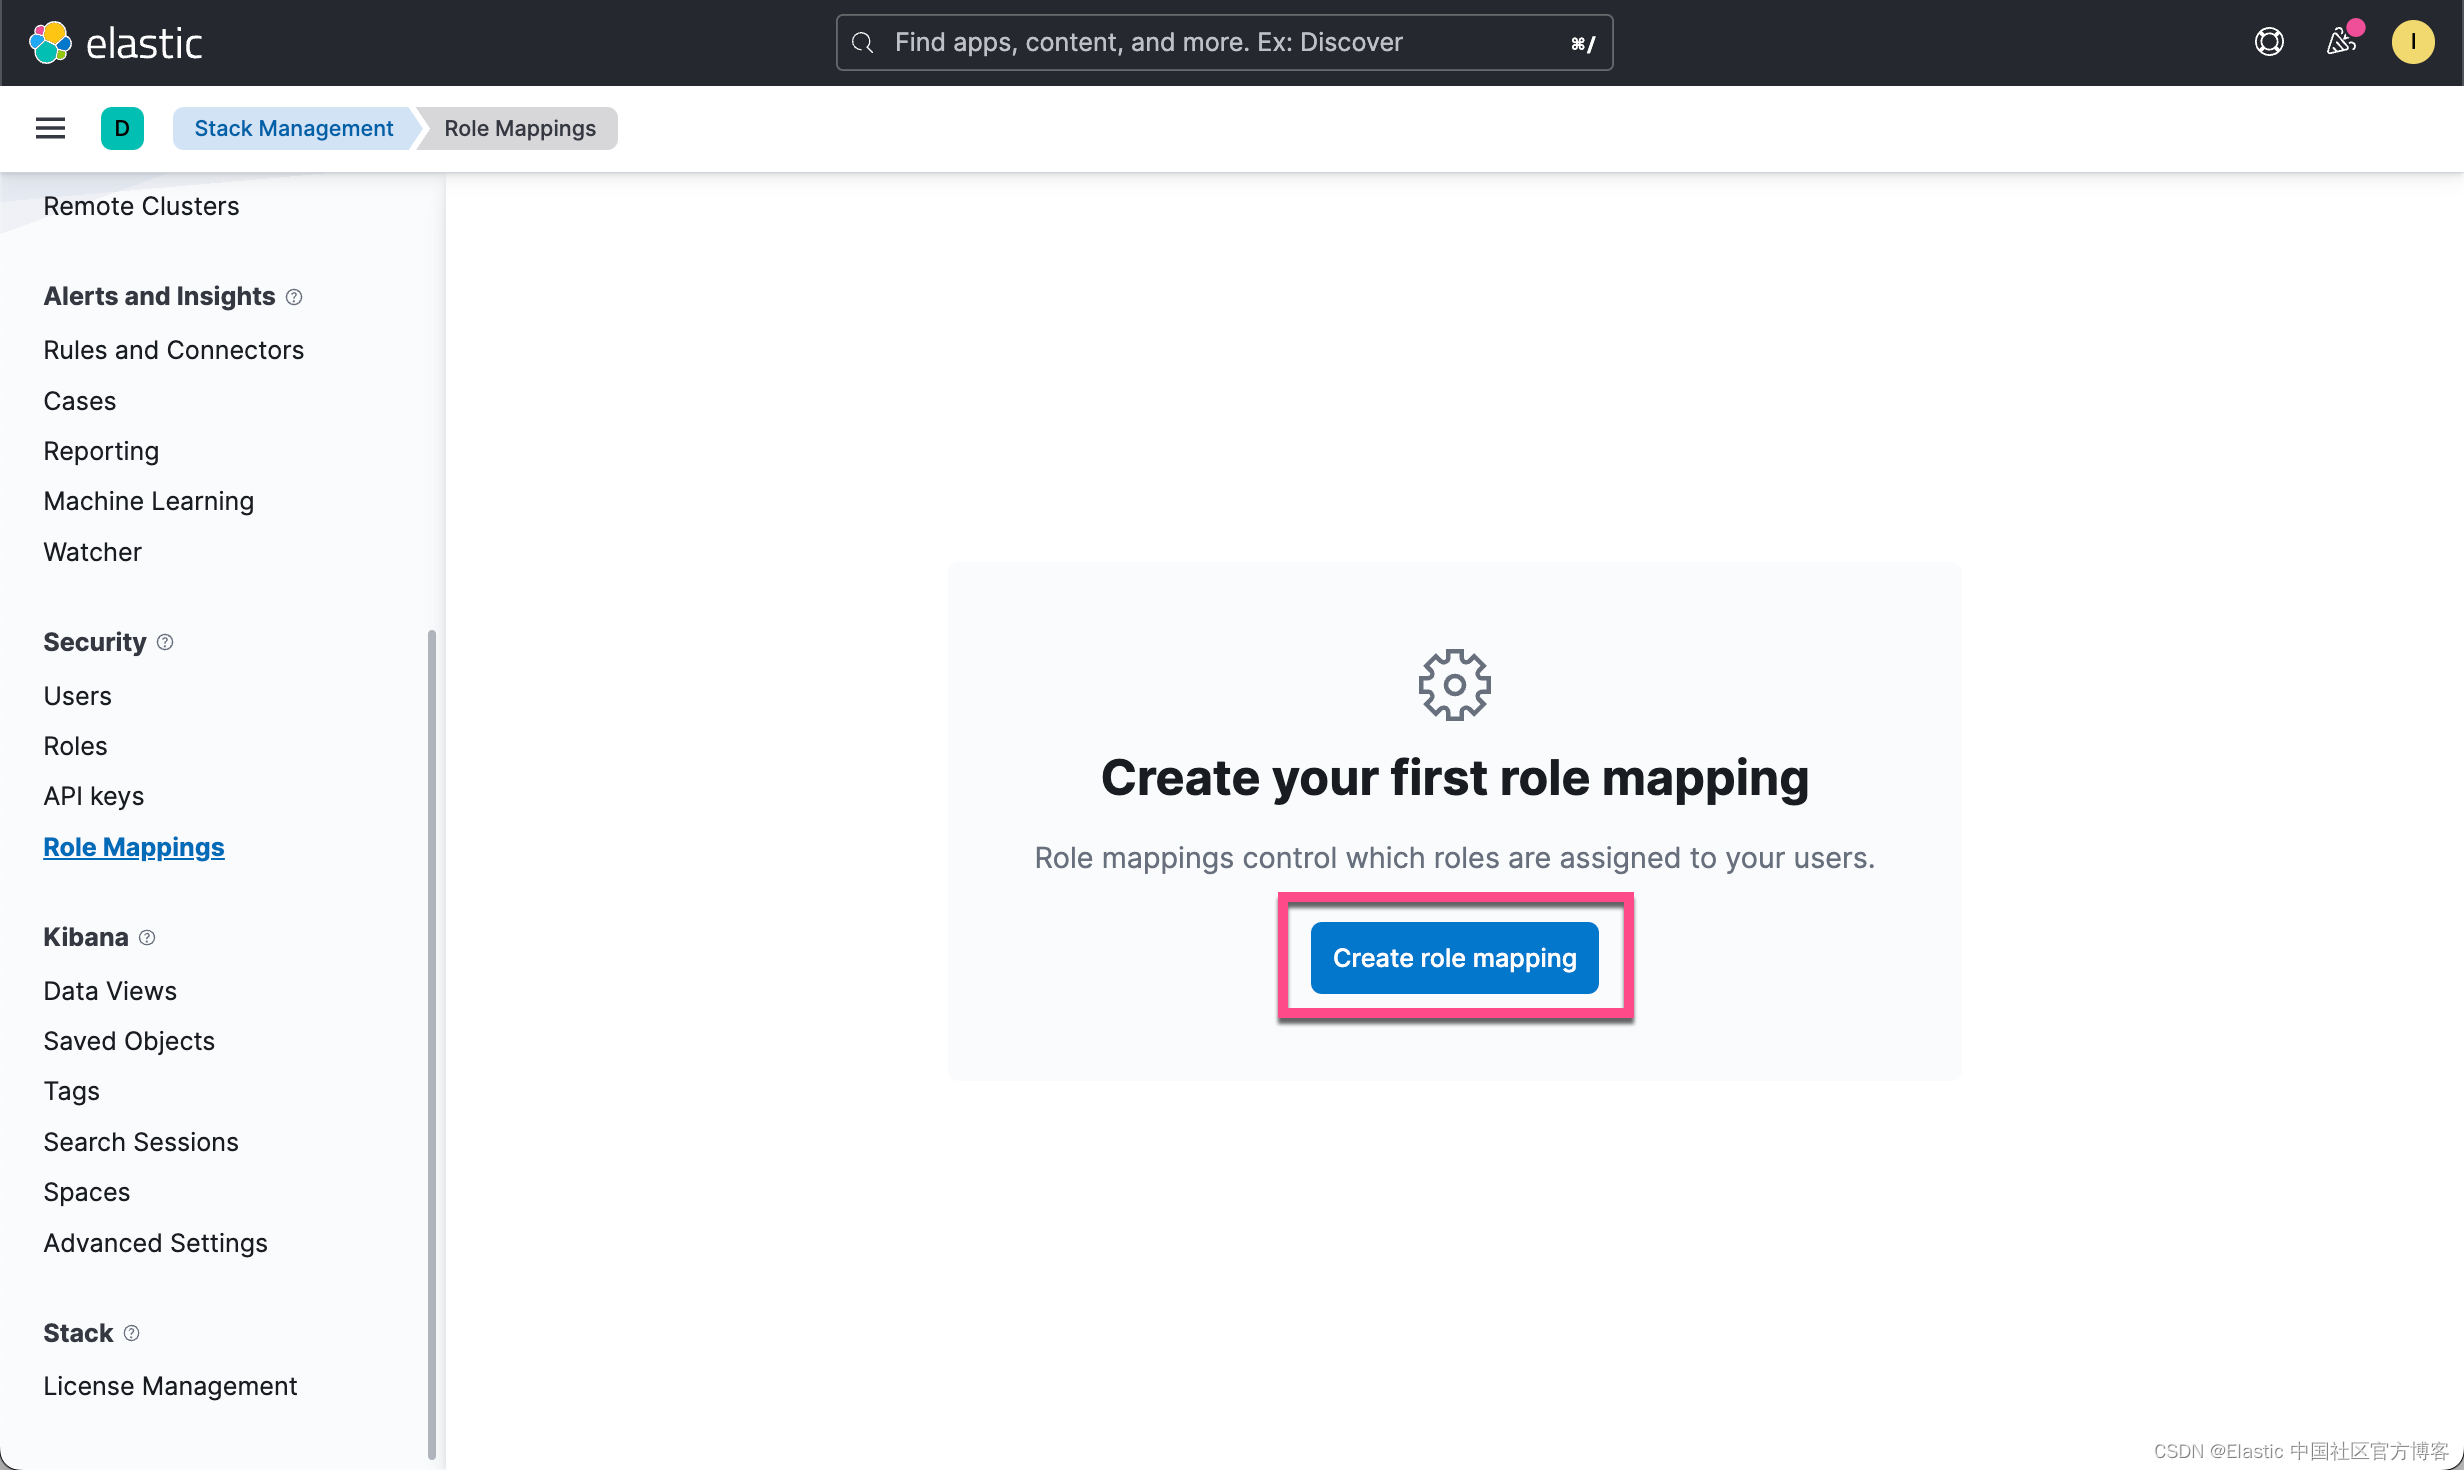
通过 Kibana 界面

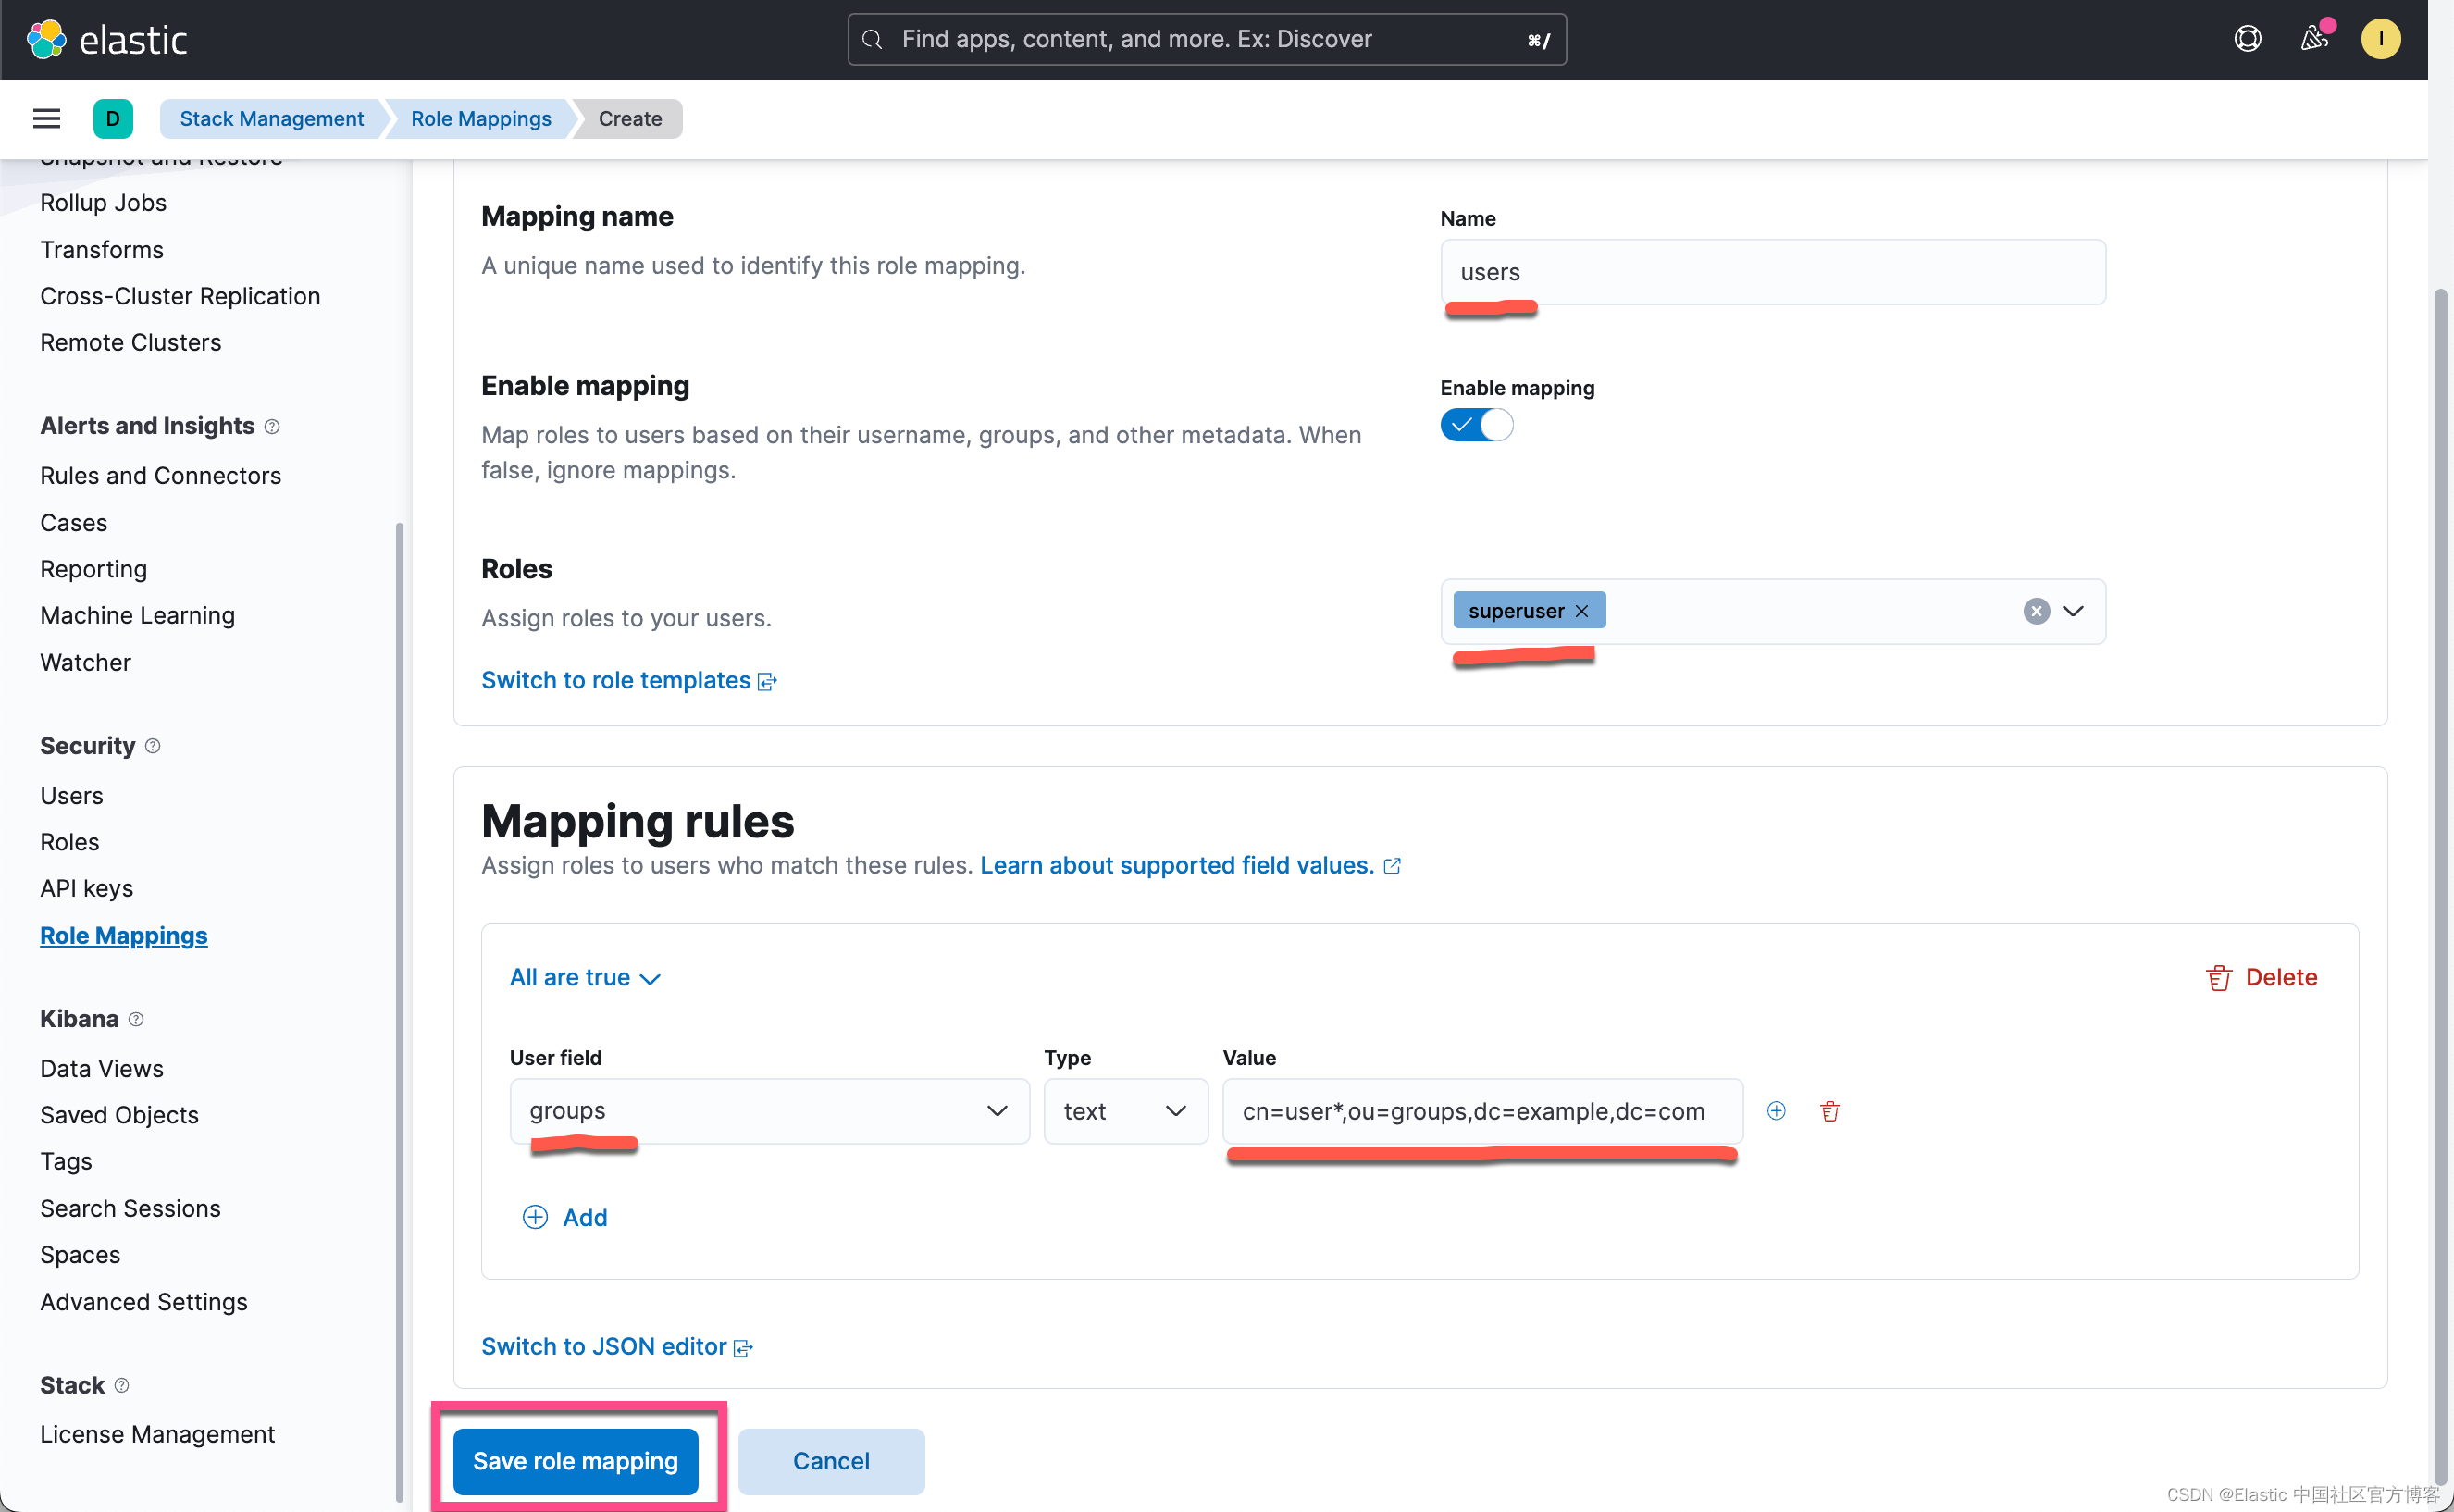
在上面,我们在 value 里填入如下的值:
cn=user*,ou=groups,dc=example,dc=com
在上面,我们使用了 wildcard 来匹配 user1 及 user2。我们可以在上面的 groups 里的截图可以看到。点击上面的 Save role mapping:
我们可以在 console 里打入如下的命令:
GET /_security/role_mapping/
上面的命令返回结果:
{
  "users": {
    "enabled": true,
    "roles": [
      "superuser"
    ],
    "rules": {
      "all": [
        {
          "field": {
            "groups": "cn=user*,ou=groups,dc=example,dc=com"
          }
        }
      ]
    },
    "metadata": {}
  }
}
它说明,所有 DN 匹配 cn=user*,ou=groups,dc=example,dc=com 的用户都将具有 superuser 这个role。我们接下来使用 jim:123456 来进行登录:
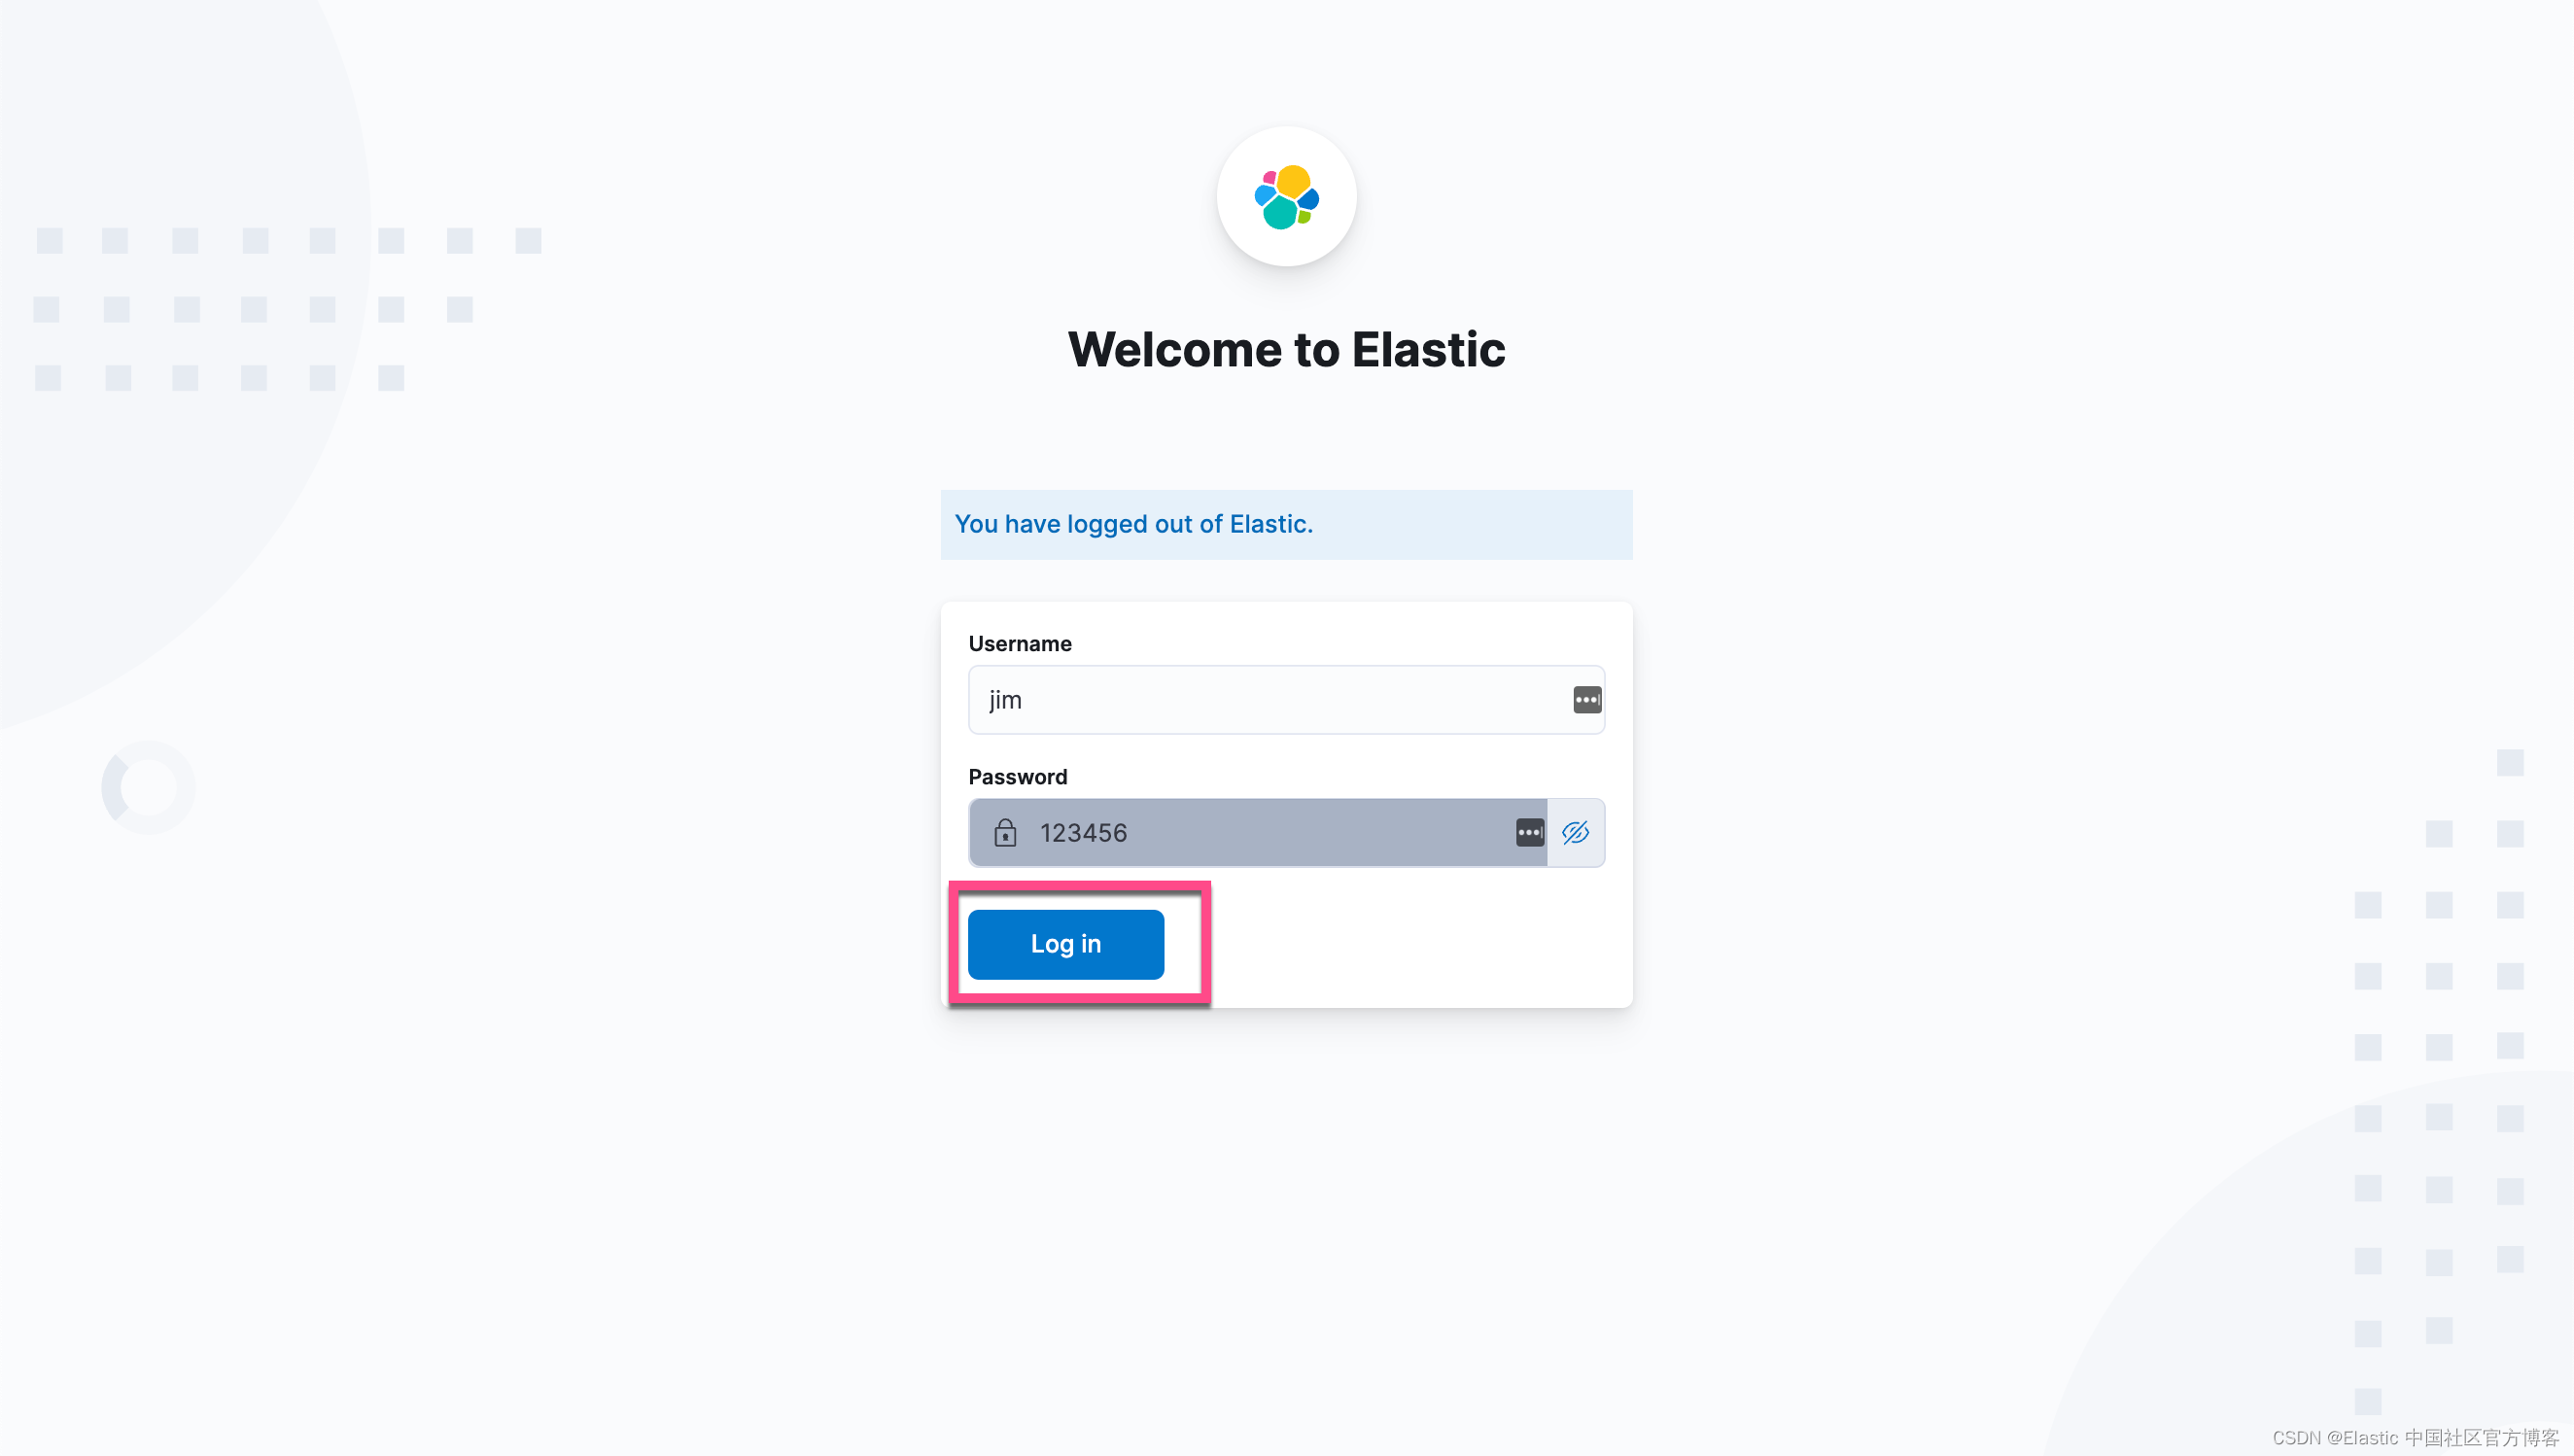

显然我们的登录是成功的。当然这个组里的另外一个用户 sue:123456 也可以成功登录。
为了展示下面的 API 的使用,我们先删除刚才创建的 users role mapping:
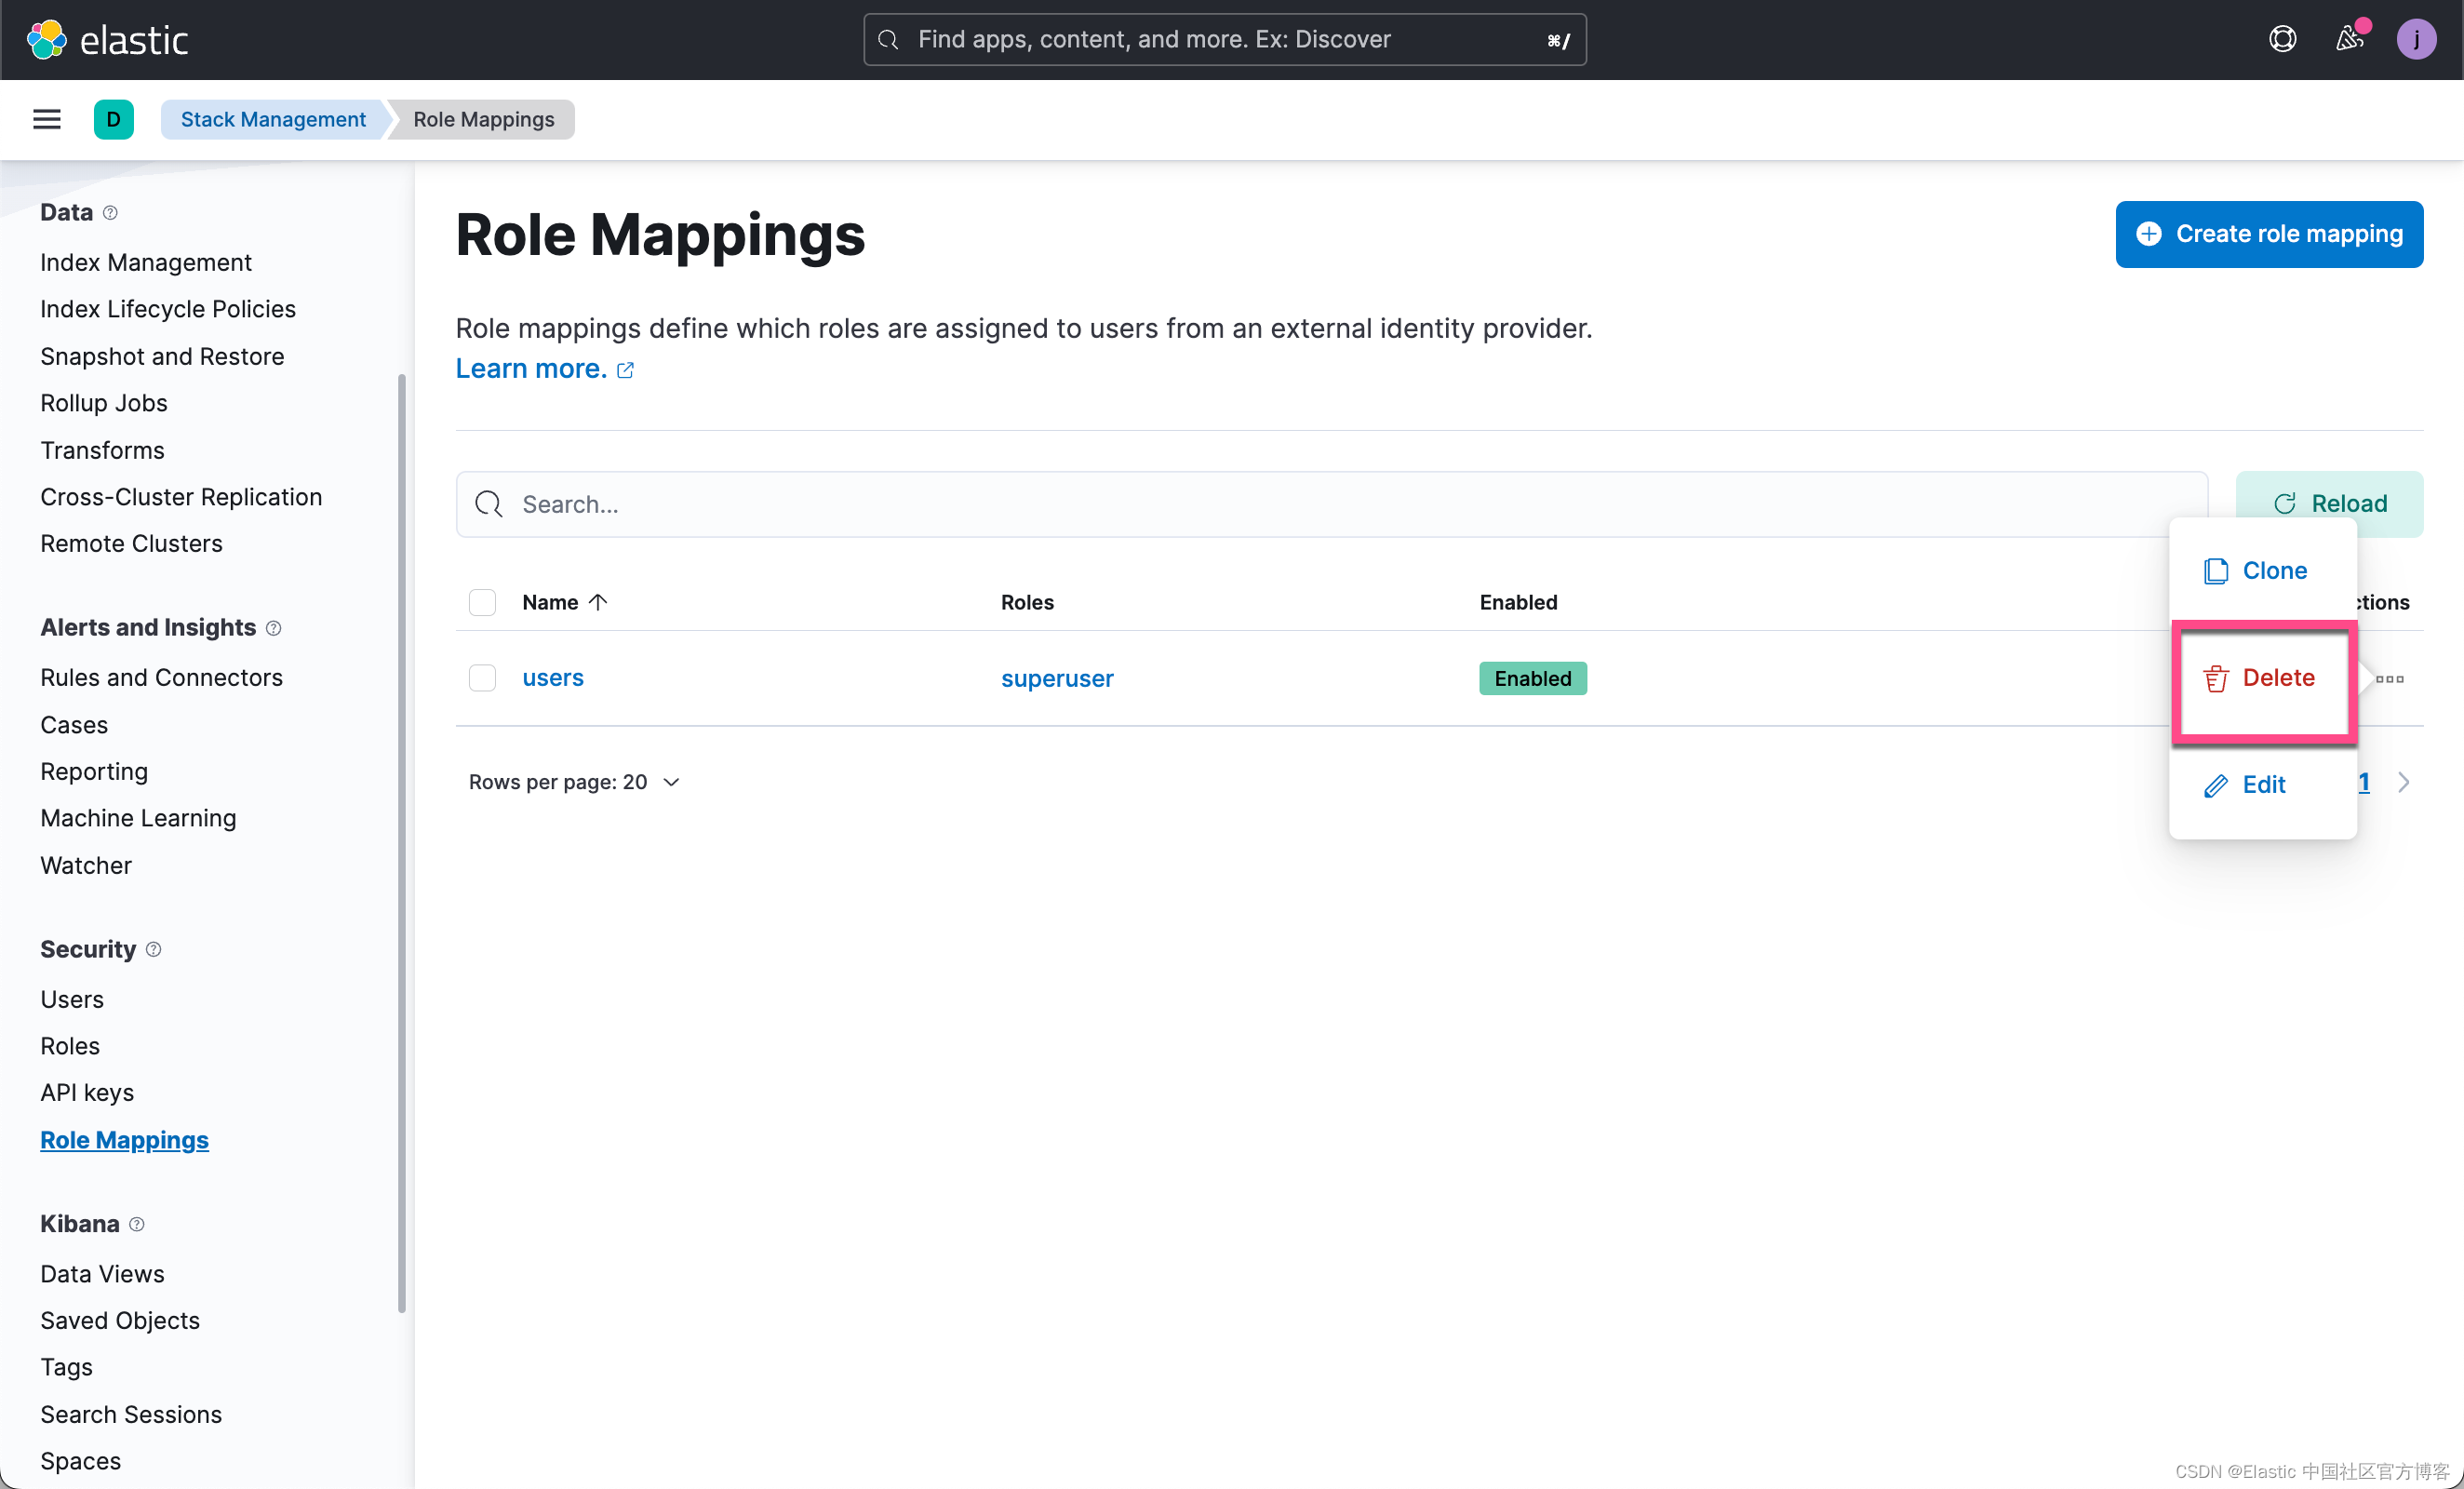
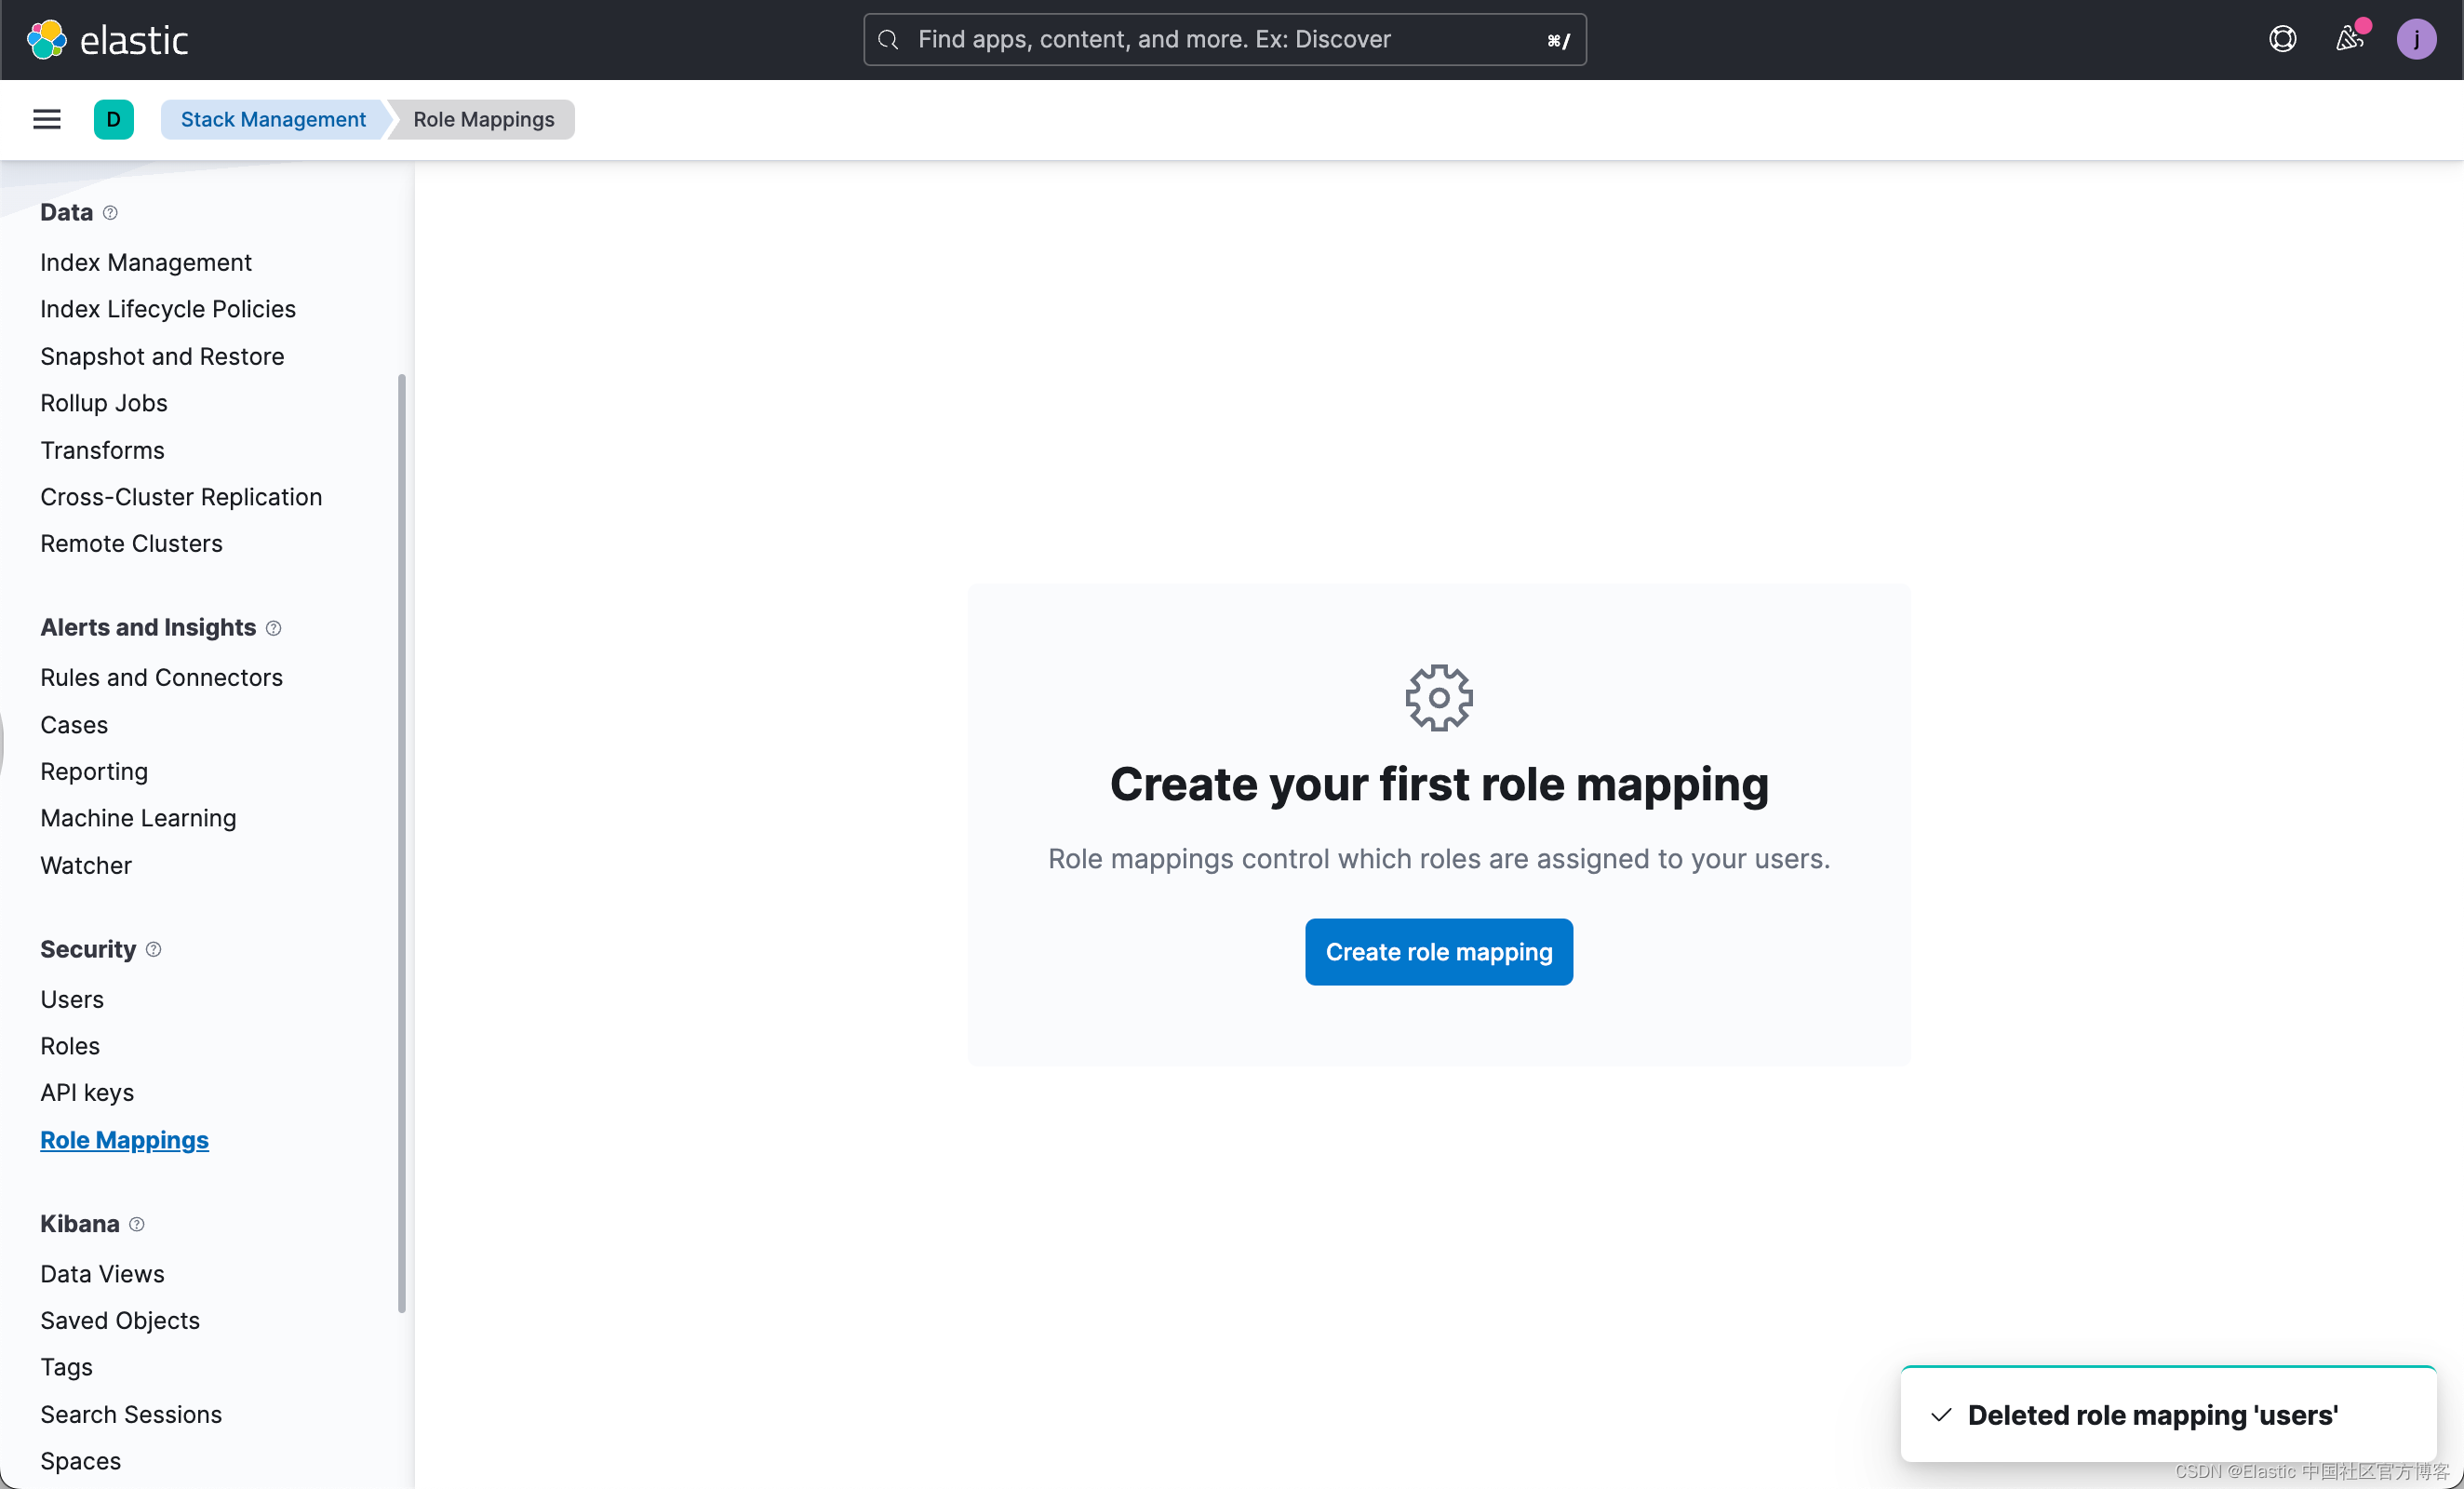
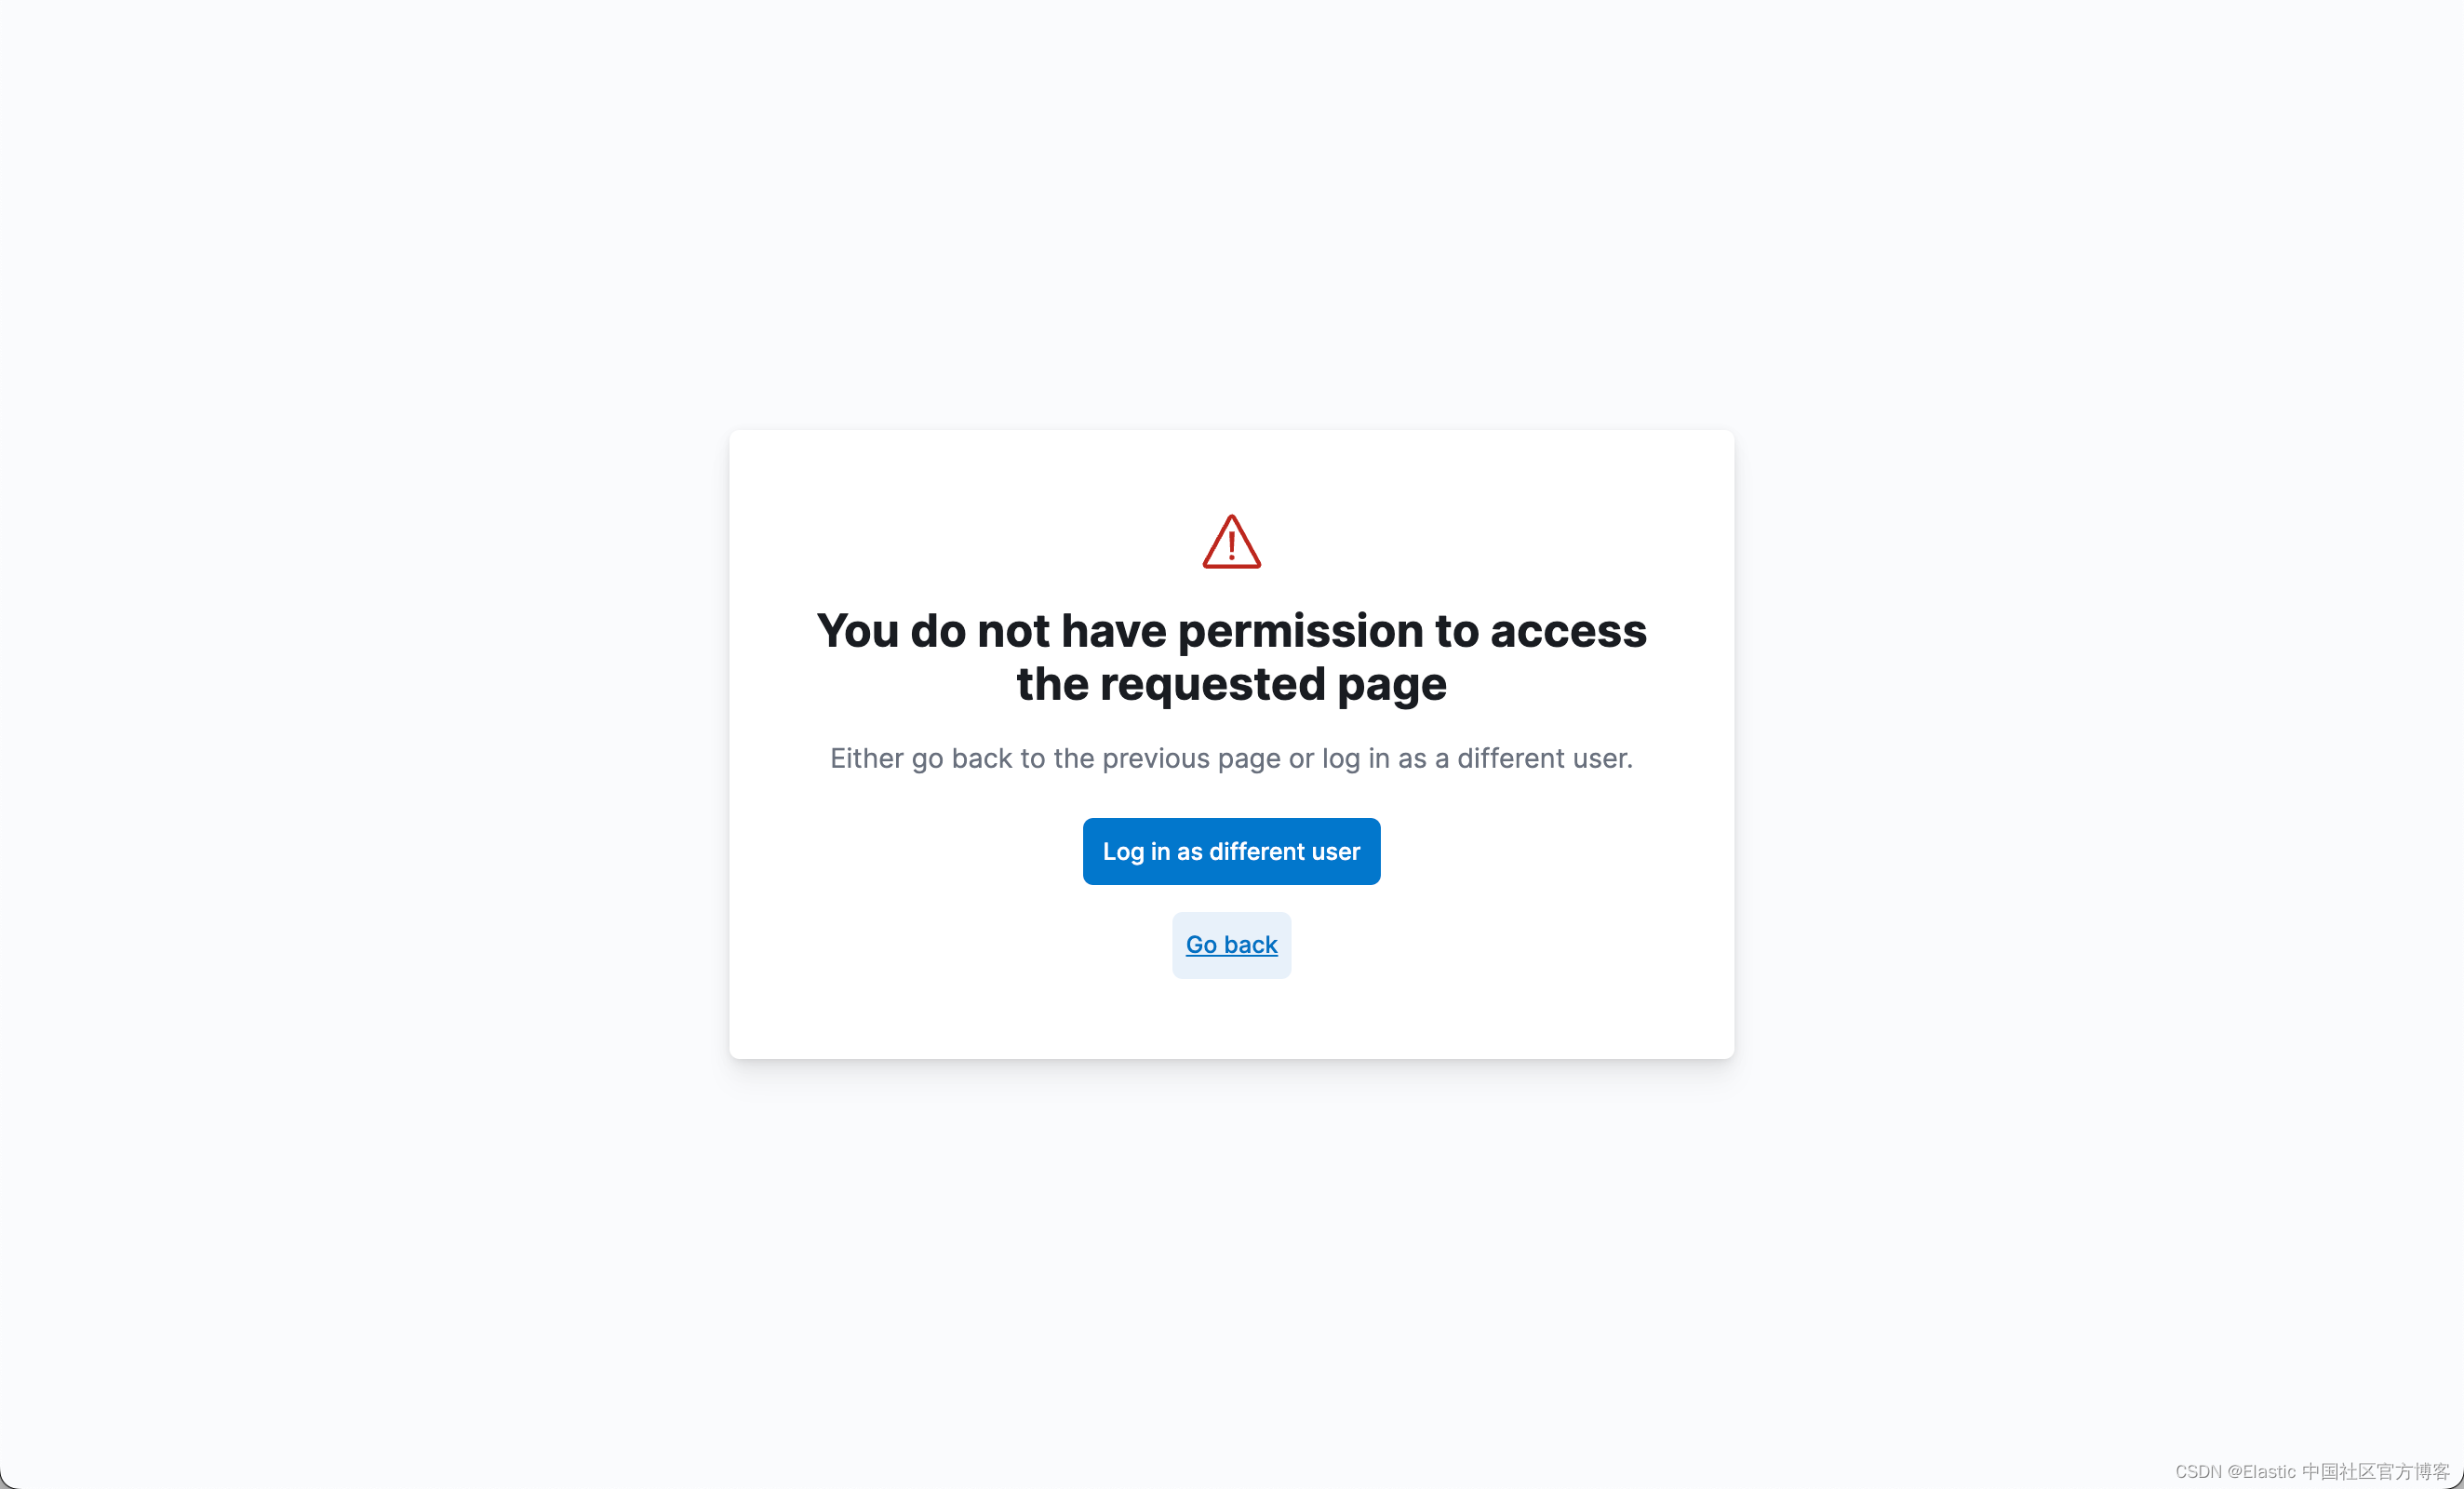
这样我们没有任何的 role mapping,当然 jim 及 sue 都不可以进行登录了。如果我们使用 jim 的账号登录,我们可以看到如下的画面:
使用 API
我们使用如下的 API 来实现 role mapping:
PUT /_security/role_mapping/admins
{
  "roles" : [ "superuser" ],
  "rules" : { "field" : {
    "groups" : "cn=user*,ou=groups,dc=example,dc=com"
  } },
  "enabled": true
}
我们可使用如下的命令来进行查看:
GET /_security/role_mapping/
上面的命生成:
{
  "admins": {
    "enabled": true,
    "roles": [
      "superuser"
    ],
    "rules": {
      "field": {
        "groups": "cn=user*,ou=groups,dc=example,dc=com"
      }
    },
    "metadata": {}
  }
}
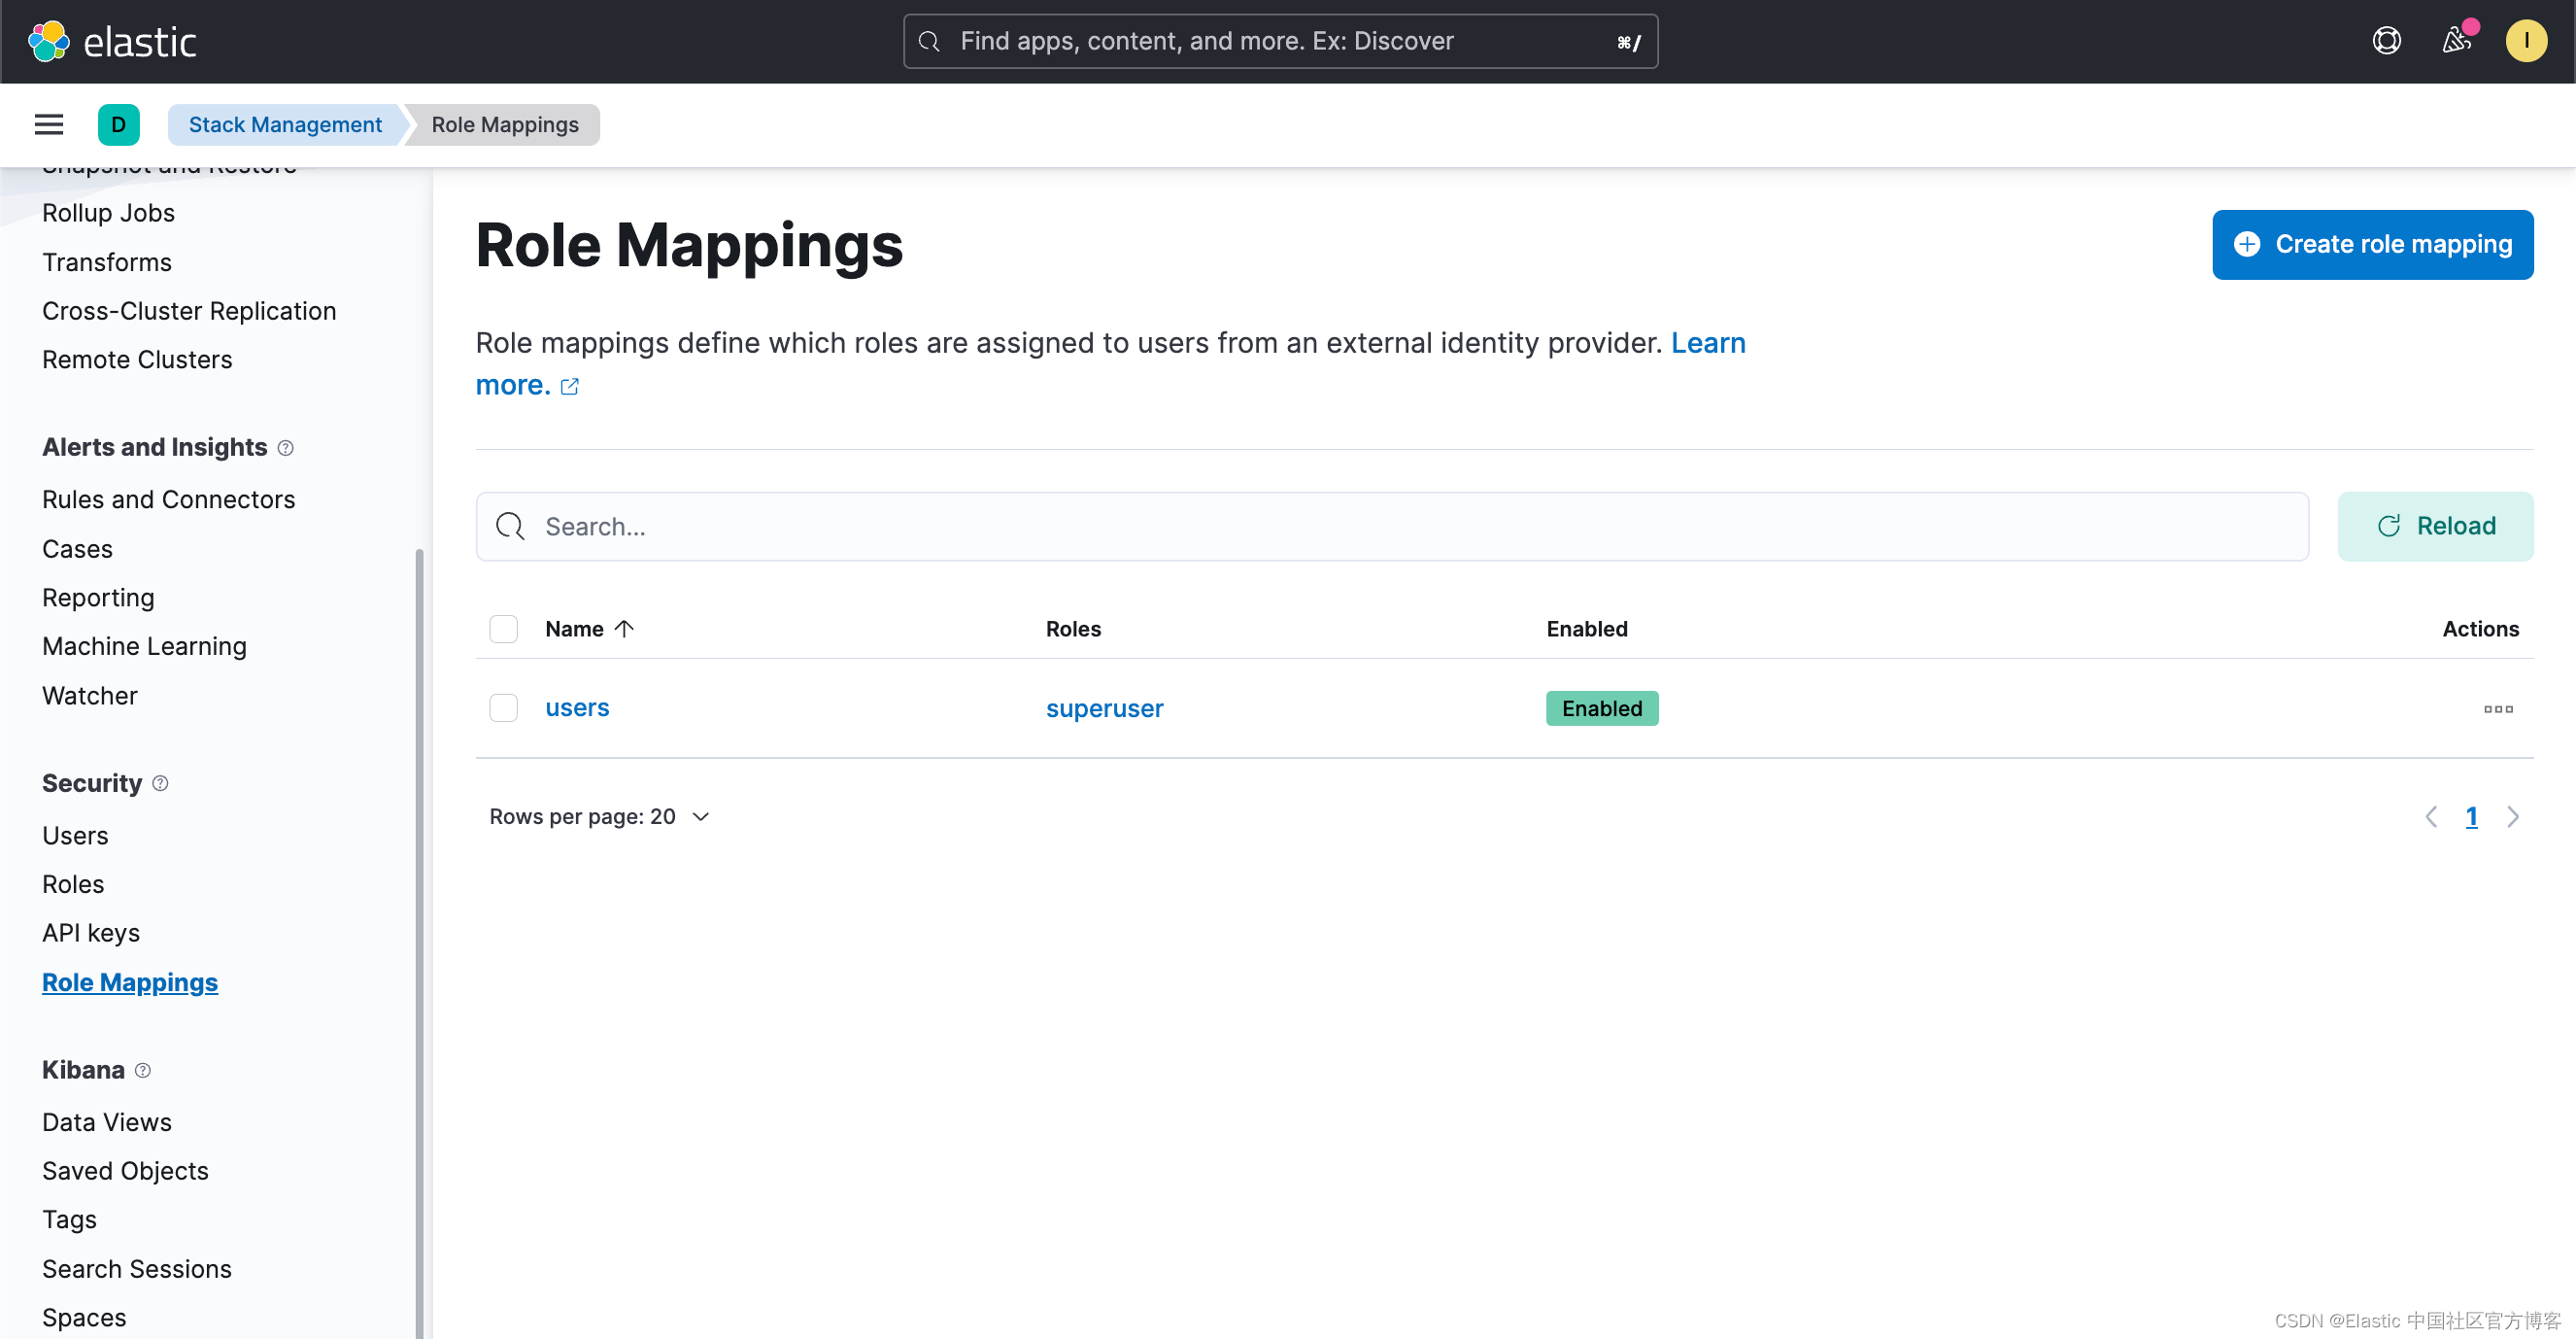
很显然,它生成了一个叫做 admins 的 role mapping。我们可以回到之前的 role mapping 界面:
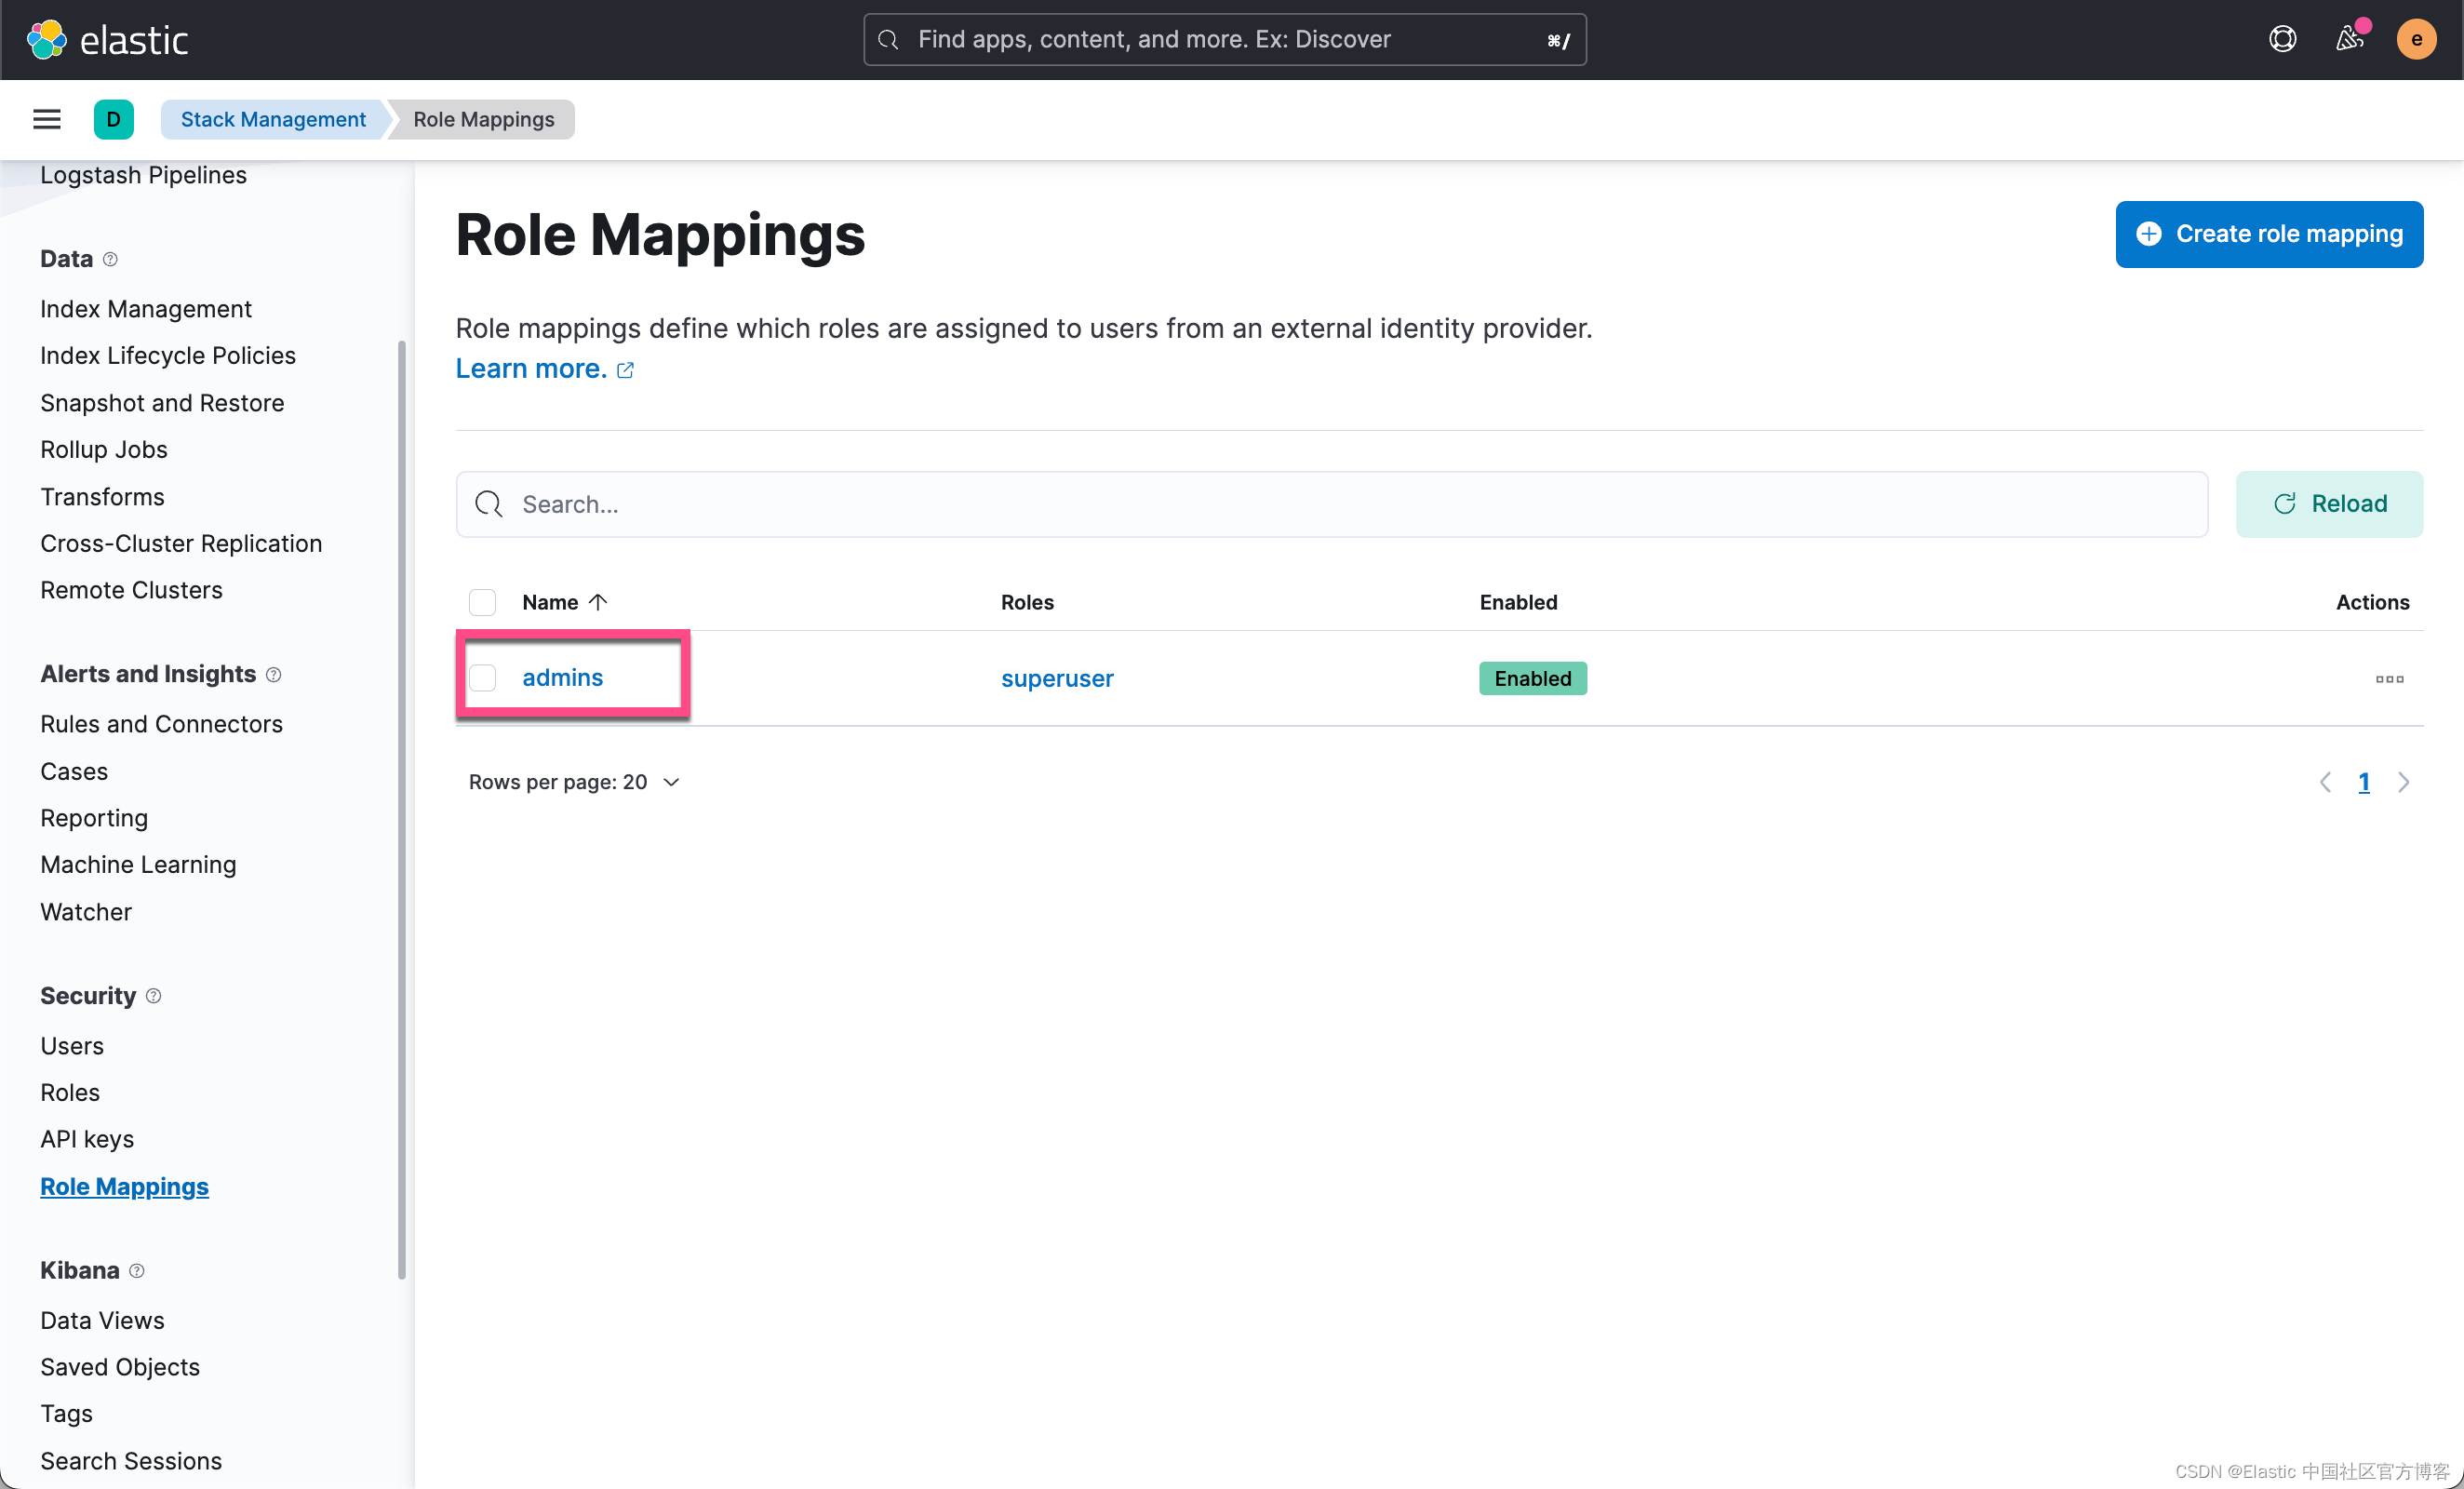
很显然,有一个新的 admins 的 role mapping 已经生成了。
我们接下来再次使用 jim:123456 来进行登录:
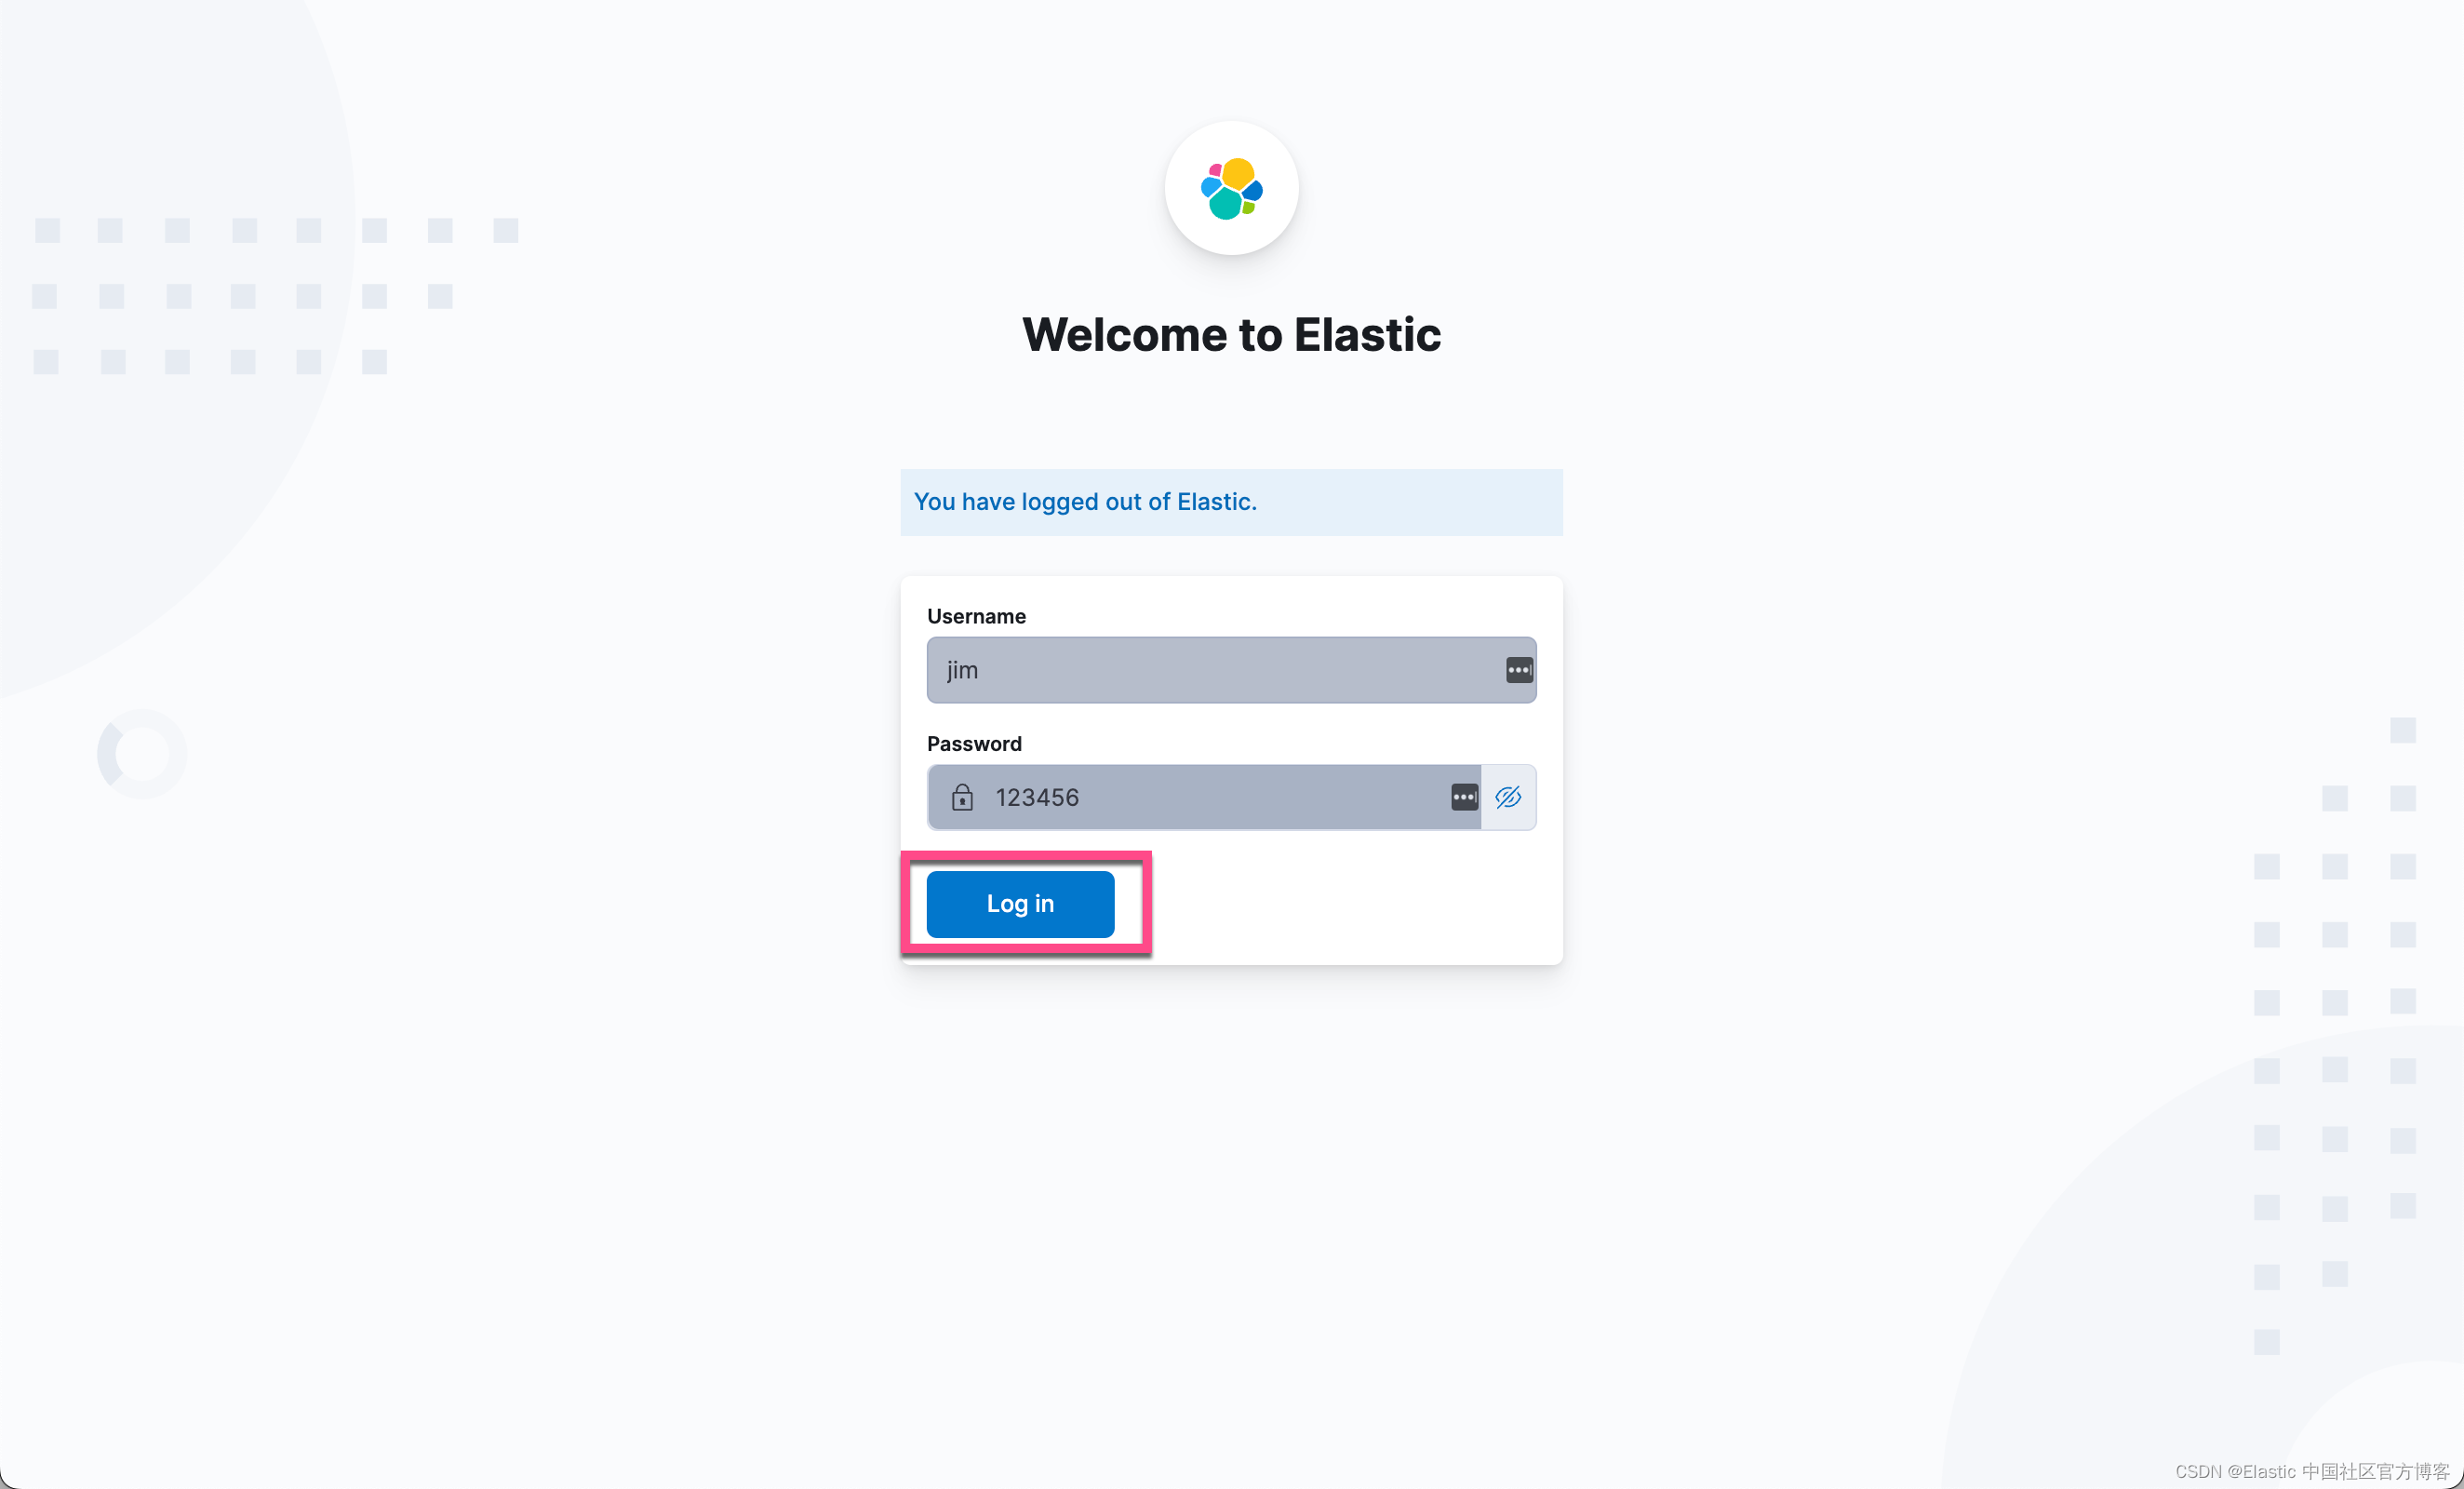
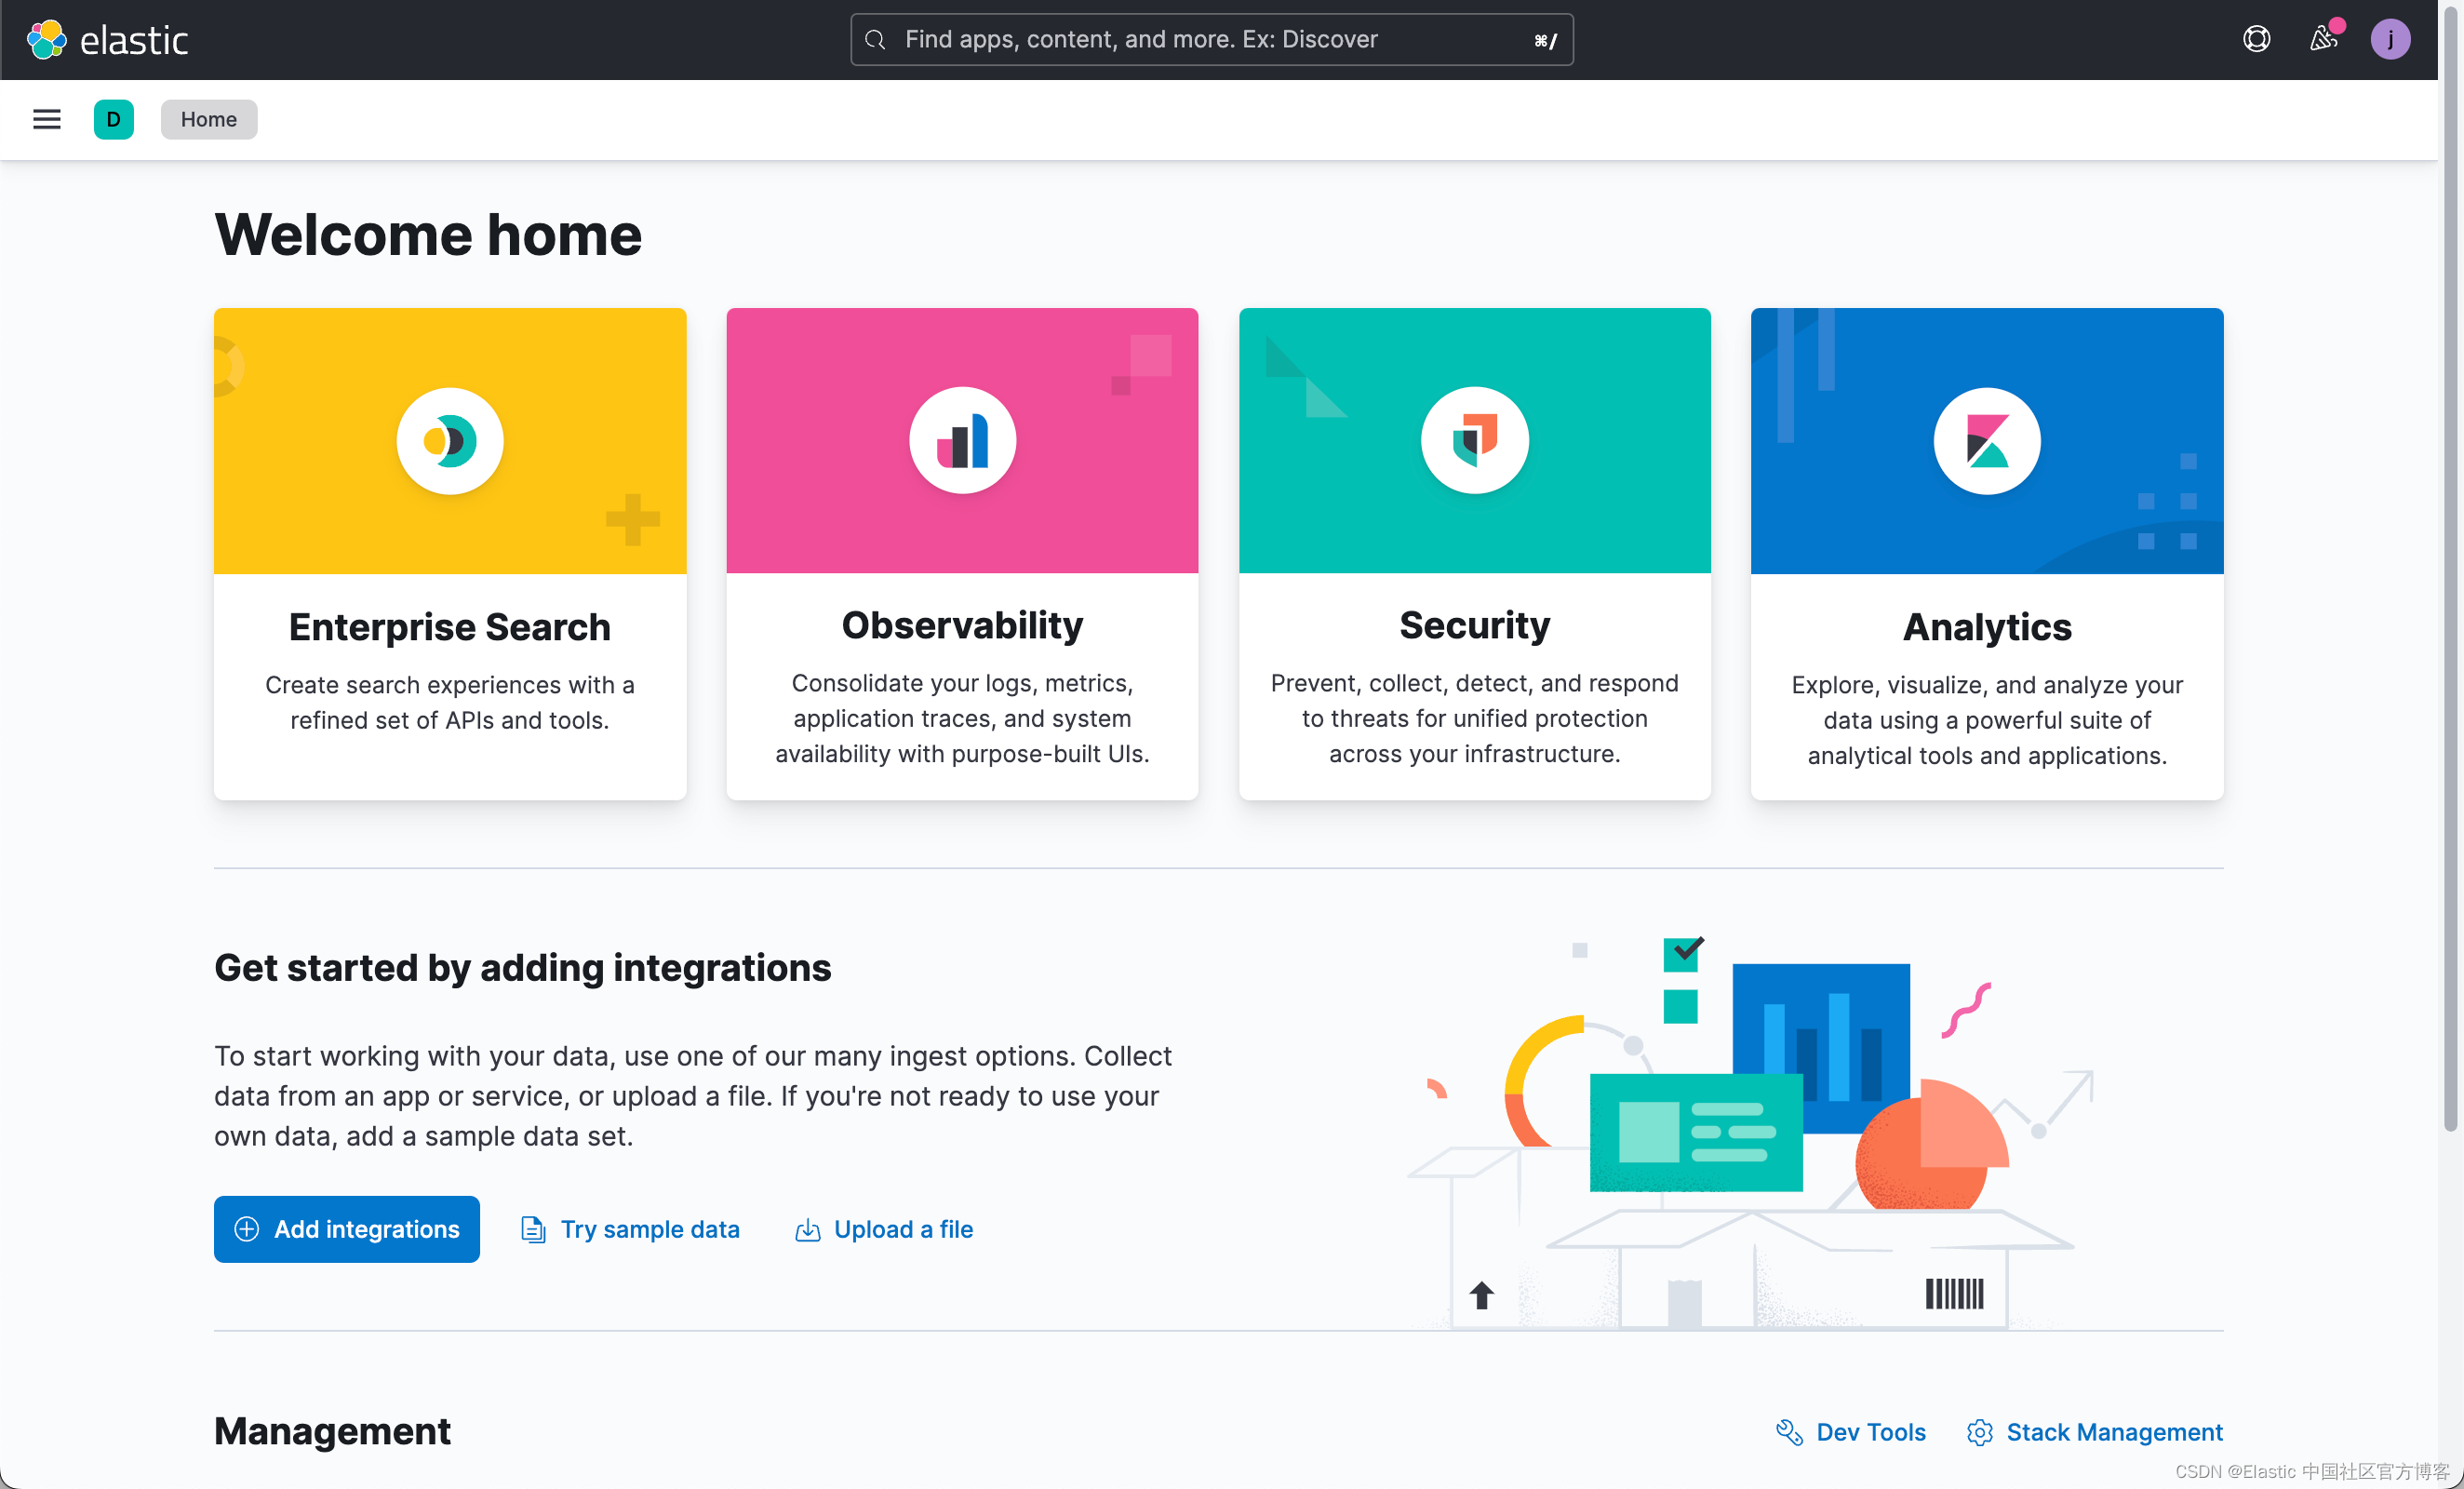
很显然,我们又可以成功地登录了。
参考:
【1】 https://www.jianshu.com/p/4b3c89ce6ac3
【2】LDAP user authentication | Elasticsearch Guide [8.3] | Elastic
版权归原作者 Elastic 中国社区官方博客 所有, 如有侵权,请联系我们删除。