
文章目录
了解 Vue3
Vue3是Vue.js最新的主要版本,它已经于2020年9月18日发布。它提供了许多新功能和性能改进,这些改进使得Vue更易于使用和更具可扩展性。
以下是Vue3的一些主要特性:
- 更快的渲染:Vue3使用重写的响应式系统,它使用Proxy对象来解决Vue2中的性能瓶颈问题。这使得Vue3的渲染速度比Vue2快许多倍。
- 更小的包:Vue3采用了Tree shaking的技术,只打包用到的模块,从而减少了Vue的文件大小。
- 更好的TypeScript支持:Vue3完全支持TypeScript,并提供了更好的类型推断和更智能的代码补全。
- 新的组合式API:Vue3提供了一组新的API,称为“组合式API”,它允许开发人员更好地组织和复用组件逻辑。这些API与Vue2中的Options API不同,使得代码更整洁且更易于维护。
- 更好的可扩展性:Vue3使用了模块化架构,使得开发人员可以更方便地扩展Vue。这使得Vue更易于集成到现有的应用程序中,并使得Vue更好地支持团队协作。
总之,Vue3是一个更快、更小、更易于扩展和更易于使用的Vue版本。如果您正在使用Vue,那么Vue3绝对值得一试。
初始化项目
创建项目
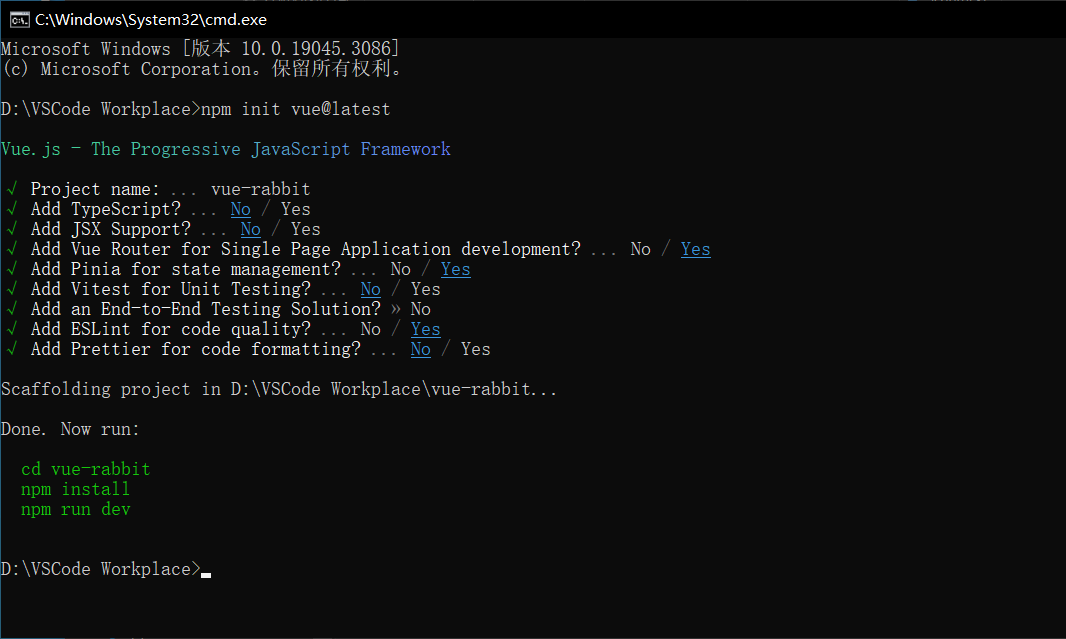
本地目录下,打开 cmd,在终端上运行命令创建一个 Vue3 项目,并选择 Router、Pinia、ESLint 配置:
npm init vue@latest
使用 VSCode IDE 打开项目,如果不会安装,可以查看文章 Visual Studio Code 下载安装教程(含必备插件)进行安装:

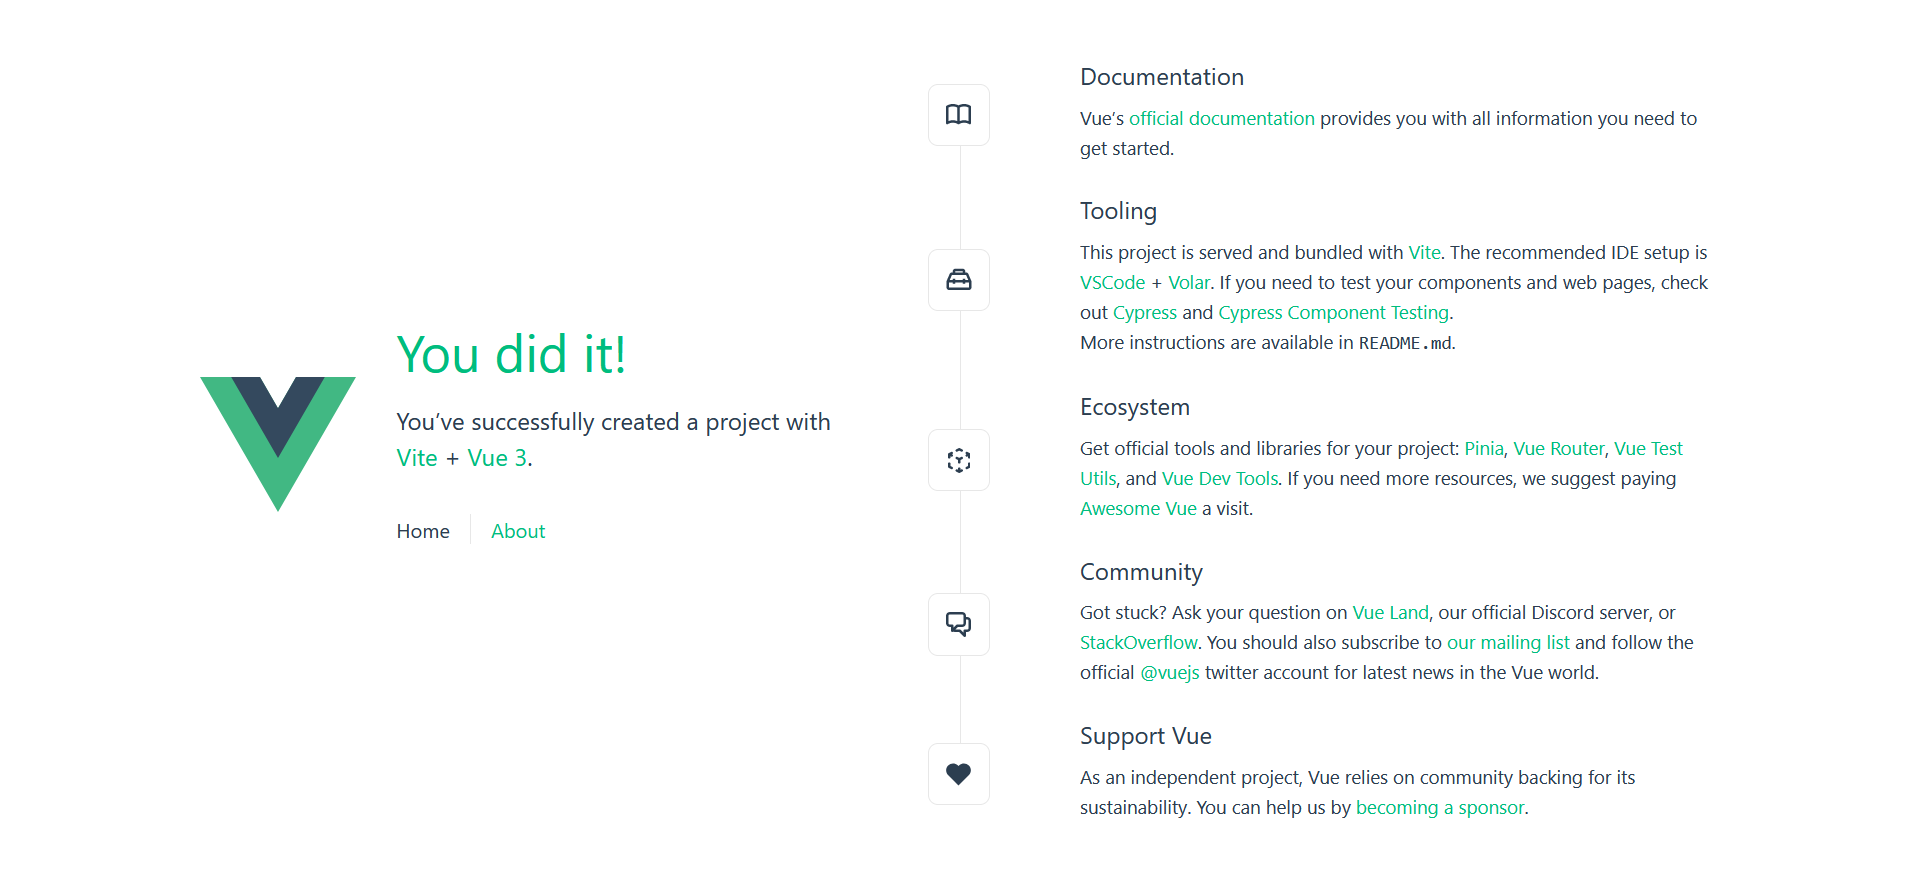
启动项目
在终端运行命令启动项目:
npminstallnpm run dev

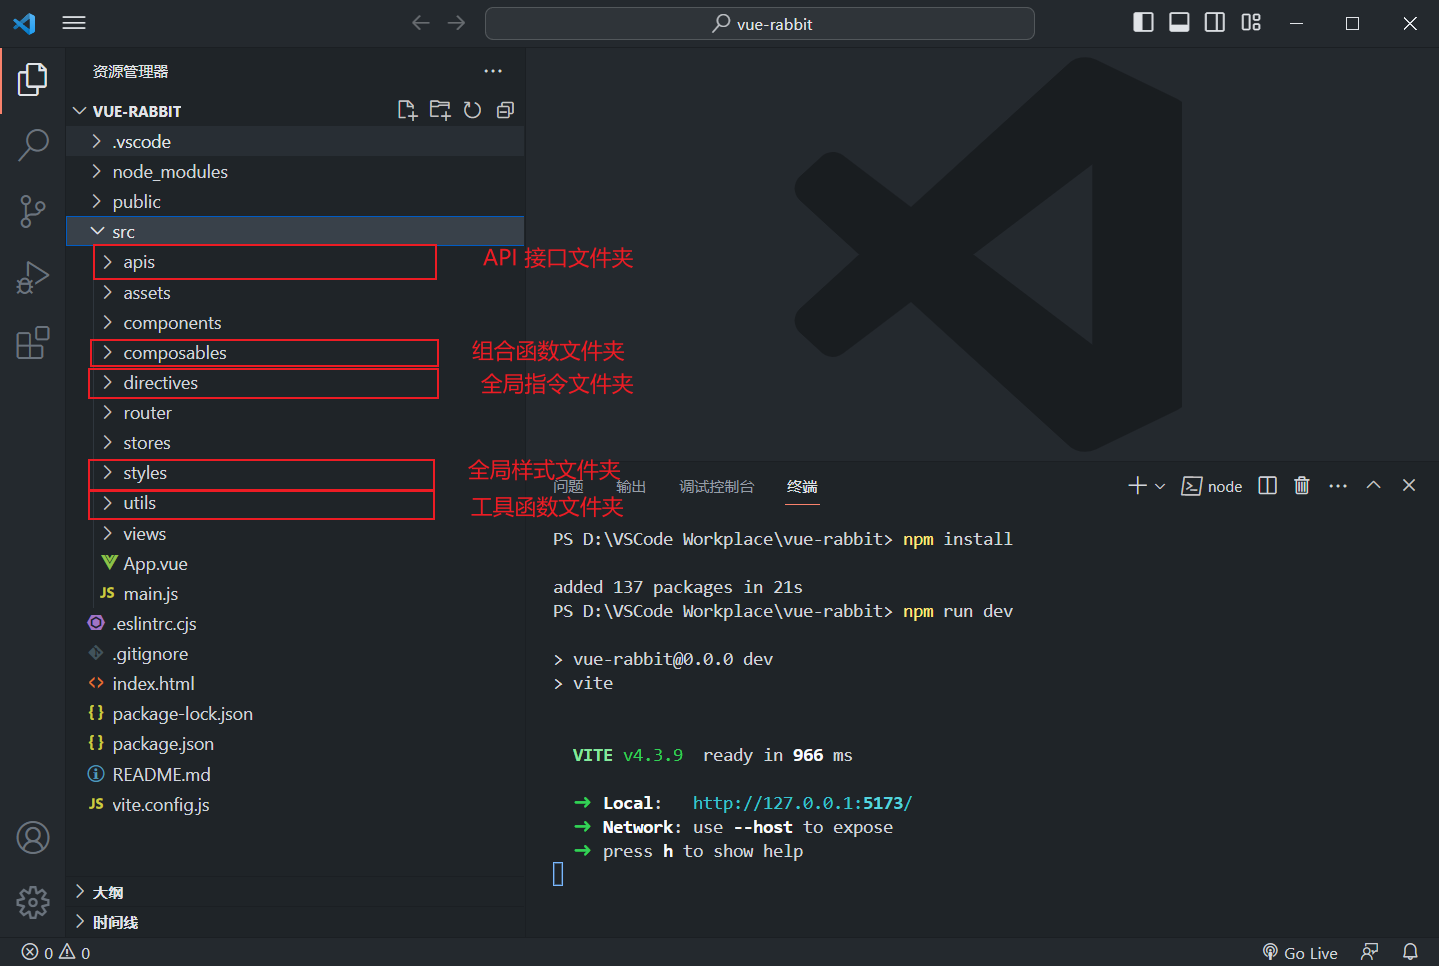
添加目录
在 src 目录下添加文件夹用于区分指定文件:
Git 管理项目
- 创建远程仓库 vue-rabbit:
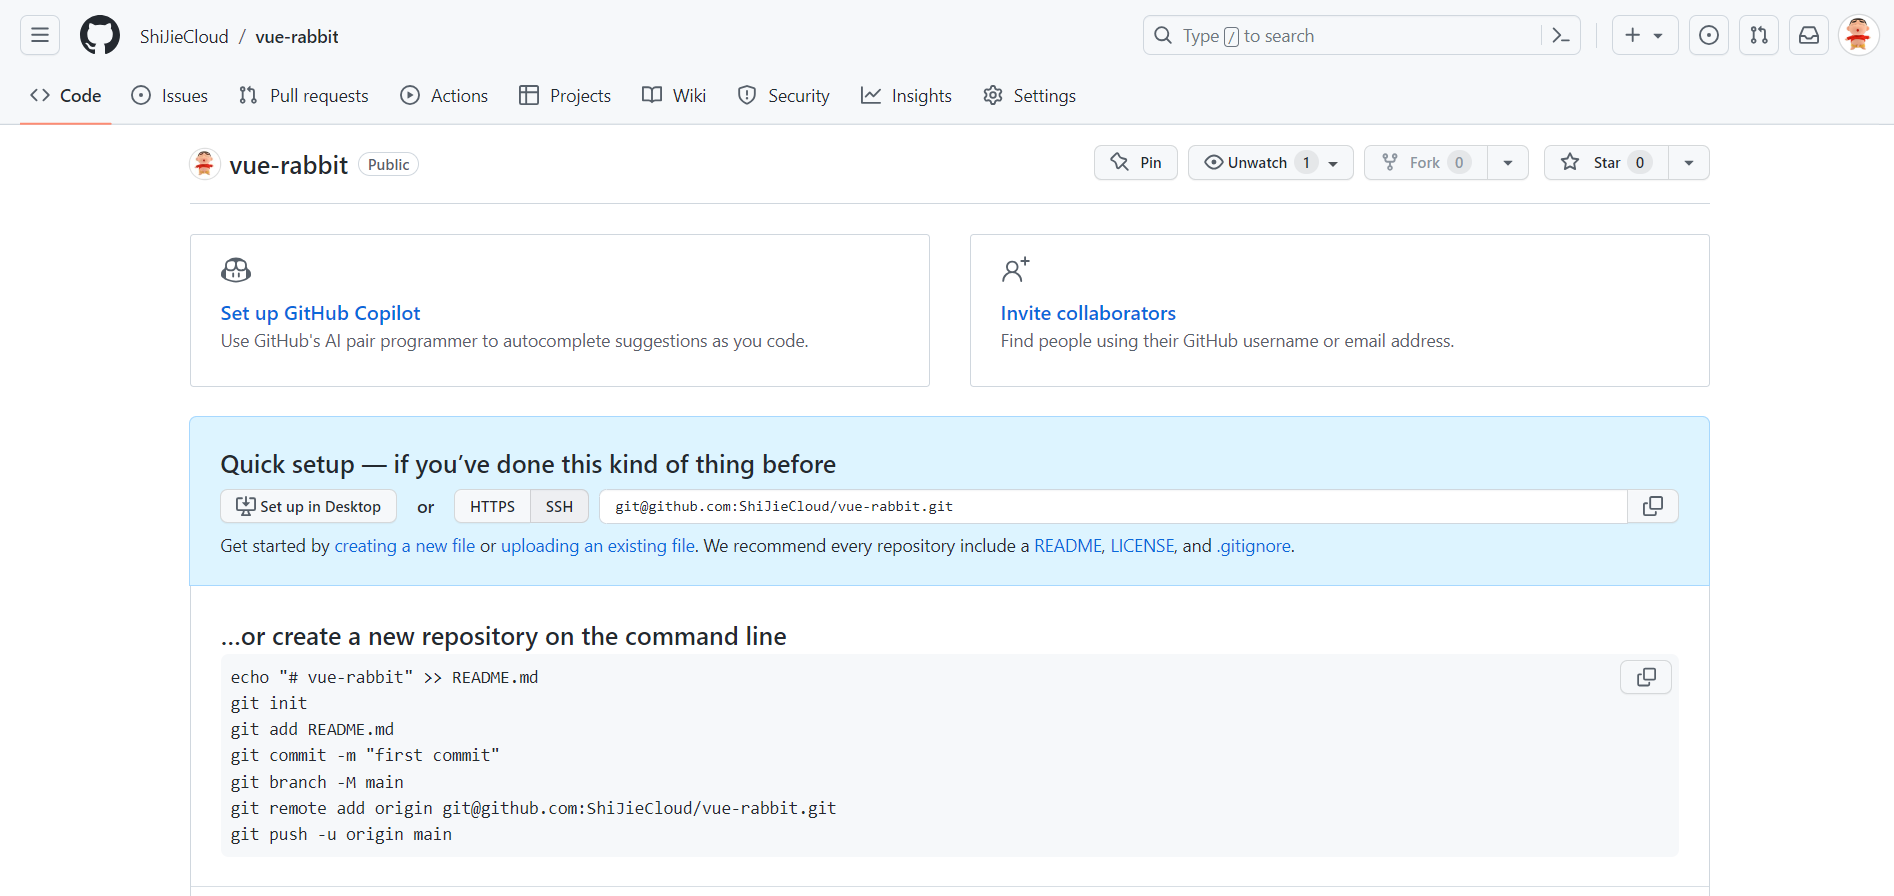
- 在本地终端执行以下命令:
git init # git 初始化git remote add origin [email protected]:ShiJieCloud/vue-rabbit.git # 添加远程仓库地址git branch -M main # 切换分支gitadd.# 添加文件git commit -m"init"# 提交git push origin main # 推送远程仓库
jsconfig.json 配置别名路径
在编写代码的过程中,一旦输入
@/
,VSCode 会立刻联想出 src 下的所有子目录和文件,统一文件路径访问不容易出错:

配置别名路径可以在写代码时联想提示路径:
{"compilerOptions":{"baseUrl":"./","paths":{"@/*":["src/*"]}}}
ElementPlus 引入
Element-plus 官网:https://element-plus.org/
安装
在终端执行命令,选择 npm 的方式进行安装:
npminstall element-plus --save

配置按需导入
首先我们需要安装
unplugin-vue-components
和
unplugin-auto-import
这两款插件才能实现按需导入。
- 安装自动导入插件
npminstall-D unplugin-vue-components unplugin-auto-import
- 把下列代码插入到
vite.config.ts配置文件中,即可实现自动按需导入。
// vite.config.tsimport{ defineConfig }from'vite'import AutoImport from'unplugin-auto-import/vite'import Components from'unplugin-vue-components/vite'import{ ElementPlusResolver }from'unplugin-vue-components/resolvers'exportdefaultdefineConfig({// ...plugins:[// ...AutoImport({resolvers:[ElementPlusResolver()],}),Components({resolvers:[ElementPlusResolver()],}),],})
测试组件
修改 Vue.app 中的代码:
<script setup>

</script>

<template>
 <el-button type="primary">Primary</el-button>
</template>
启动项目,访问:http://127.0.0.1:5173/

定制 elementPlus 主题
小兔鲜主题色和 elementPlus 默认的主题色存在冲突,通过定制主题让 elementPlus 的主题色和小兔鲜项目保持一致。采用 Scss 变量替换方案定制主题。
安装sass
基于vite的项目默认不支持css预处理器,需要开发者单独安装
npminstall sass -D
准备定制化的样式文件
新建文件
styles/element/index.scss
:
/* 只需要重写你需要的即可 */
@forward 'element-plus/theme-chalk/src/common/var.scss'with($colors:('primary':(// 主色'base': #27ba9b,),'success':(// 成功色'base': #1dc779,),'warning':(// 警告色'base': #ffb302,),'danger':(// 危险色'base': #e26237,),'error':(// 错误色'base': #cf4444,),))
自动导入配置
这里自动导入需要深入到 elementPlus 的组件中,按照官方的配置文档来:
- 自动导入定制化样式文件进行样式覆盖
- 按需定制主题配置 (需要安装 unplugin-element-plus)
exportdefaultdefineConfig({plugins:[vue(),AutoImport({resolvers:[ElementPlusResolver()],}),Components({// 1.配置 elementPlus 采用 sass 样式配色系统resolvers:[ElementPlusResolver({importStyle:"sass"})],}),],resolve:{alias:{'@':fileURLToPath(newURL('./src',import.meta.url))}},css:{preprocessorOptions:{scss:{// 2.自动导入定制化样式文件进行样式覆盖additionalData:`
          @use "@/styles/element/index.scss" as *;
        `,}}}})
Axios 安装并简单封装
安装 Axios
在终端执行命令安装 Axios:
npminstall axios
基础配置
官方文档地址:https://axios-http.com/zh/docs/intro
基础配置通常包括:
- 实例化:baseURL + timeout
- 拦截器:携带 token、401 拦截等
在 utils 包下创建一个
http.js
文件,添加以下内容:
import axios from'axios'// 创建axios实例const http = axios.create({baseURL:'http://pcapi-xiaotuxian-front-devtest.itheima.net',timeout:5000})// axios请求拦截器
http.interceptors.request.use(config=>{return config
},e=> Promise.reject(e))// axios响应式拦截器
http.interceptors.response.use(res=> res.data,e=>{return Promise.reject(e)})exportdefault http
封装请求函数并测试
在 apis 目录下创建
testAPI.js
文件:
import http from'@/utils/http'exportfunctiongetCategoryAPI(){returnhttp({url:'home/category/head'})}
在 main.js 中调用方法测试:
//测试接口函数import{ getCategoryAPI }from'./apis/testAPI'getCategoryAPI().then(res=>{
    console.log(res);})
启动项目,打开控制台:

路由整体设计
路由设计原则:找页面的切换方式,如果是整体切换,则为一级路由,如果是在一级路由的内部进行的内容切换,则为二级路由。
一级路由
首页
- 在 src/views/ 目录下创建 Layout 目录,再在该目录下新建 index.vue 文件:
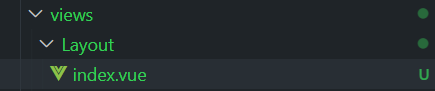
- 在 index.vue 文件中添加内容:
<template> <div>我是首页</div> </template> - 在 src/router/index.js 文件中添加:
import Layout from'@/views/Layout/index.vue'const router =createRouter({history:createWebHistory(import.meta.env.BASE_URL),// path 和 component 对应关系的位置routes:[{path:'/',component: Layout }]})exportdefault router - 在 app.vue 中添加一级路由出口组件:
<template> <!--一级路由出口组件--> <RouterView/></template> - 启动项目,访问页面:http://127.0.0.1:5173/
登录页
- 在 src/views/ 目录下创建 Login 目录,再在该目录下新建 index.vue 文件:
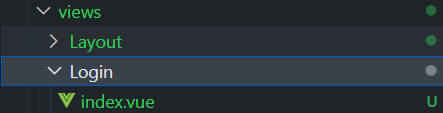
- 在 index.vue 文件中添加内容:
<template> <div>我是登录页</div> </template> - 在 src/router/index.js 文件中添加:
import Login from'@/views/Login/index.vue'const router =createRouter({history:createWebHistory(import.meta.env.BASE_URL),// path 和 component 对应关系的位置routes:[{path:'/login',component: Login }]})exportdefault router - 在 App.vue 中添加一级路由出口组件:
<template> <!--一级路由出口组件--> <RouterView/></template> - 启动项目,访问页面:http://127.0.0.1:5173/login
二级路由
Home 页
- 在 src/views/ 目录下创建 Home 目录,再在该目录下新建 index.vue 文件:
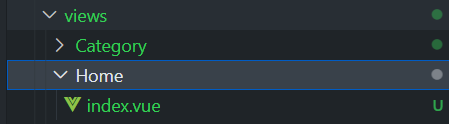
- 在 index.vue 文件中添加内容:
<template> 我是 Home 页</template> - 在 src/router/index.js 文件中添加:
import Layout from'@/views/Layout/index.vue'import Home from'@/views/Home/index.vue'const router =createRouter({history:createWebHistory(import.meta.env.BASE_URL),// 因为 Home 页是首页下的二级路由,所以配置在首页路径下routes:[{path:'/',component: Layout,children:[{// Home 页默认在首页显示,所以 path 为空path:'',component: Home,}]}]})exportdefault router - 在 Layout/index.vue 中添加二级路由出口组件:
<template> <div>我是首页 <!--二级路由出口组件--> <RouterView/> </div> </template> - 启动项目,访问页面:http://127.0.0.1:5173/
分类页
- 在 src/views/ 目录下创建 Home 目录,再在该目录下新建 index.vue 文件:
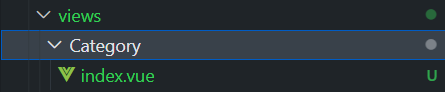
- 在 index.vue 文件中添加内容:
<template> 我是分类页</template> - 在 src/router/index.js 文件中添加:
import Layout from'@/views/Layout/index.vue'import Home from'@/views/Home/index.vue'import Category from'@/views/Category/index.vue'const router =createRouter({history:createWebHistory(import.meta.env.BASE_URL),// 因为 Home 页是首页下的二级路由,所以配置在首页路径下routes:[{path:'/',component: Layout,children:[{// Home 页默认在首页显示,所以二级路由的 path 置空path:'',component: Home,},{path:'category',component: Category,}]}]})exportdefault router - 在 Layout/index.vue 中添加二级路由出口组件:
<template> <div>我是首页 <!--二级路由出口组件--> <RouterView/> </div> </template> - 启动项目,访问页面:http://127.0.0.1:5173/category
静态资源引入
- 图片资源:把 images 文件夹放到 assets 目录下;
- 样式资源:把 common.scss 文件放到 styles 目录下;在 main.js 中导入初始化样式文件:
// 引入common.scssimport'@/styles/common.scss'
scss变量自动导入
在项目里一些组件共享的色值会以 scss 变量的方式统一放到一个名为 var.scss 的文件中,正常组件中使用,需要先导入 scss 文件,再使用内部的变量,比较繁琐,自动导入可以免去手动导入的步骤,直接使用内部的变量。自动导入配置步骤如下:
- 新增一个 var.scss 文件,存入色值变量:
$xtxColor: #27ba9b;$helpColor: #e26237;$sucColor: #1dc779;$warnColor: #ffb302;$priceColor: #cf4444; - 通过 vite.config.js 配置自动导入文件:
css:{preprocessorOptions:{scss:{// 自动导入scss文件additionalData:` @use "@/styles/element/index.scss" as *; @use "@/styles/var.scss" as *; `,}}}
版权归原作者 I'm Jie 所有, 如有侵权,请联系我们删除。