
最近有个需求,是手机软件离线使用,
用的springboot + mybatis-plus + mysql,无法实现,于是考虑使用内嵌式轻量级的数据库SQLlite
- 引入依赖
<dependency><groupId>org.xerial</groupId><artifactId>sqlite-jdbc</artifactId><version>3.36.0.3</version></dependency>
- 修改配置文件
server:
  port:9090
spring:
  datasource:
    url: jdbc:sqlite:sqlite.db
    driver-class-name: org.sqlite.JDBC
mybatis-plus:
  mapper-locations: classpath:mapper/*.xml
  configuration:
    log-impl: org.apache.ibatis.logging.stdout.StdOutImpl
  global-config:
    db-config:
      id-type: auto
  type-aliases-package: com.example.sqlite.entity
此处的url折磨了一晚上,网上各种百度加resource目录下什么的,最后直接这样,启动后会在根目录下自动生成一个db文件。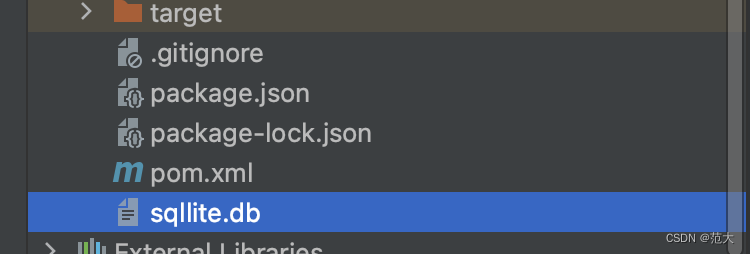
- 铺底表结构及数据 预先 生成表结构以及铺地数据,百度了很久并不能通过预先放好sql,然后启动时候动态执行生成。 最后只能自己在本系统中手动创建好,以及执行好sql,项目打包之后该数据库及铺底数据会内嵌其中
1). 建表语句
DROPTABLEIFEXISTS `user`;CREATETABLE `user`
(
    `id`          INTEGERNOTNULL,
    `username`    TEXT,
    `password`    TEXT,PRIMARYKEY(`id`))
sqllite的数据类型和mysql不同,但同时也包容(不确定)
简单来说
整数用 INTEGER
字符串用 TEXT
浮点数 REAL
具体可参考该链接: SQLLite基本数据类型
2). 铺地数据
INSERTINTO `user` VALUES(1,'范大','11111');
将这两个sql放在项目里的文件夹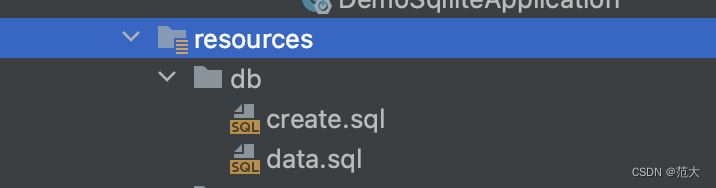
3). 添加Sqllite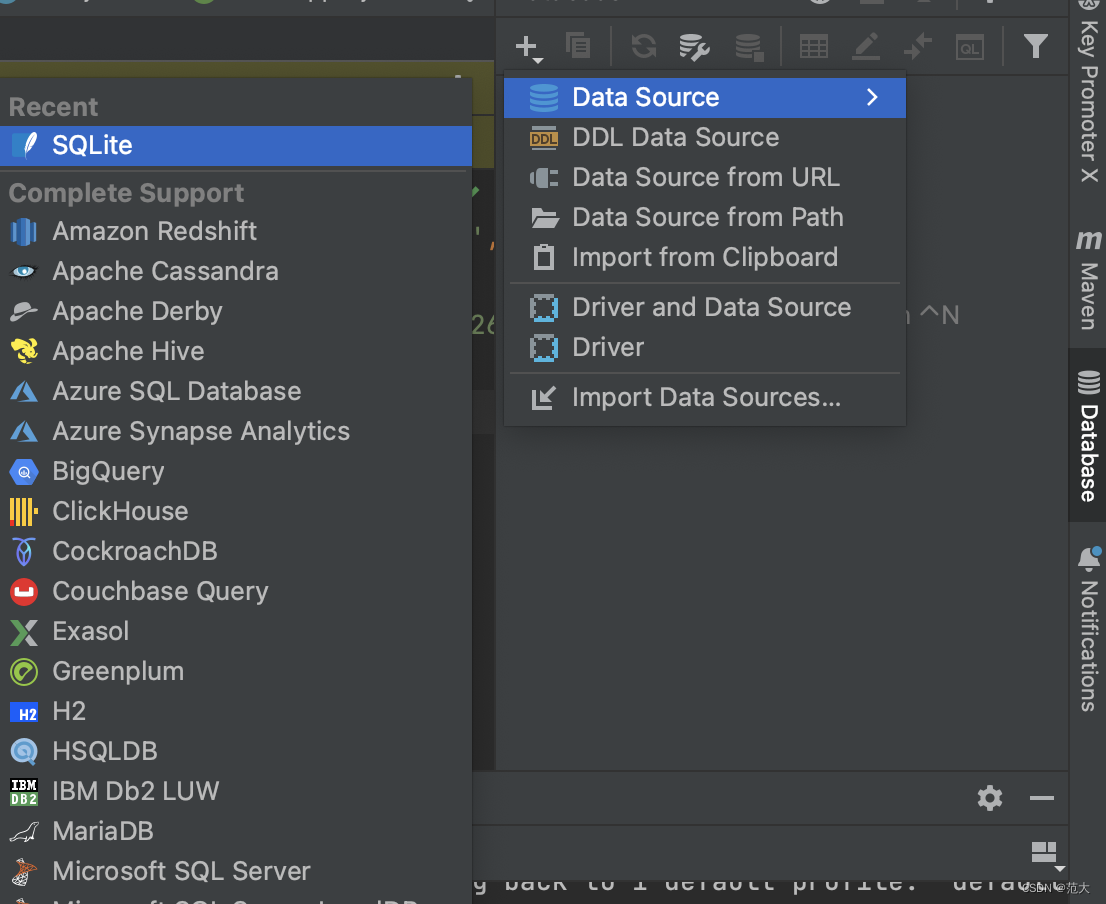
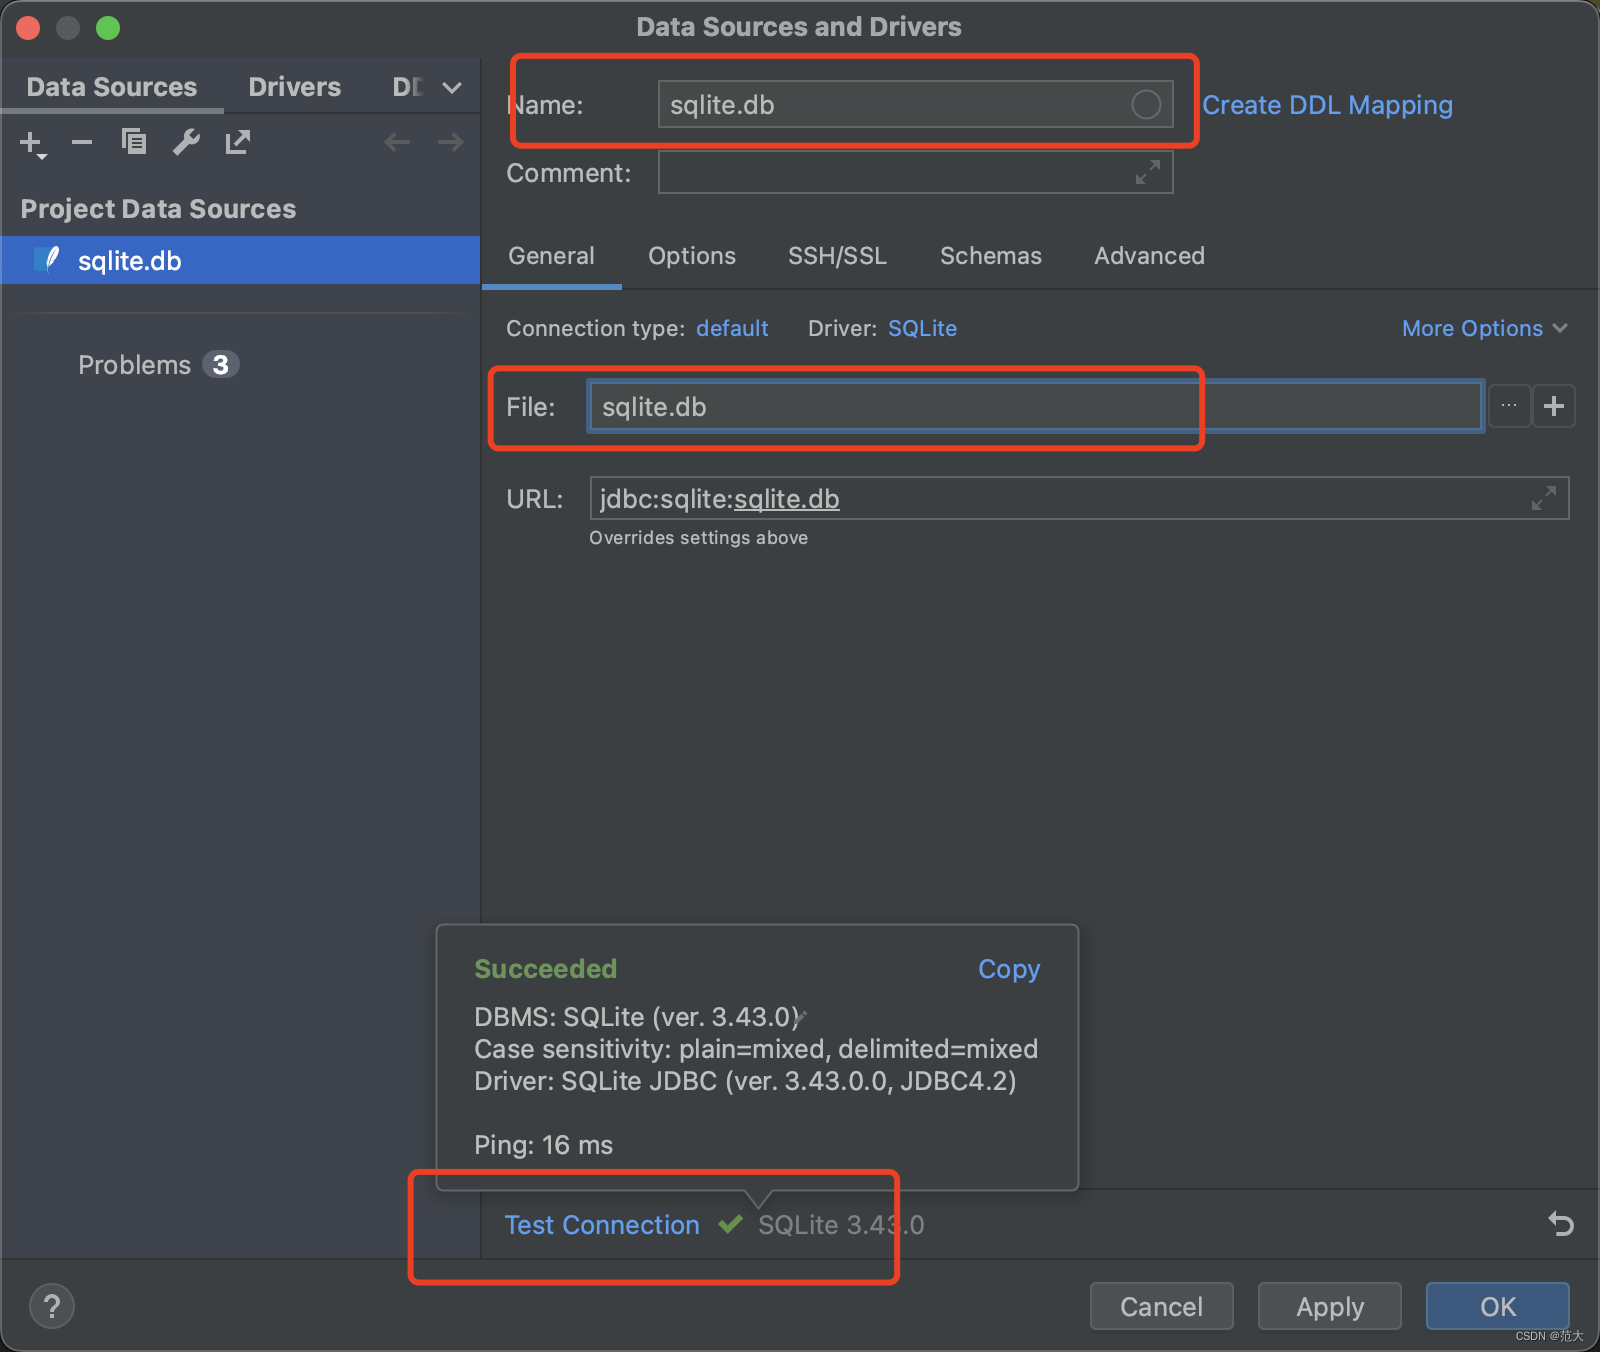
建议方框内的值直接填写生成的db名即可,同时别忘记点击一个test Connection测试一下。
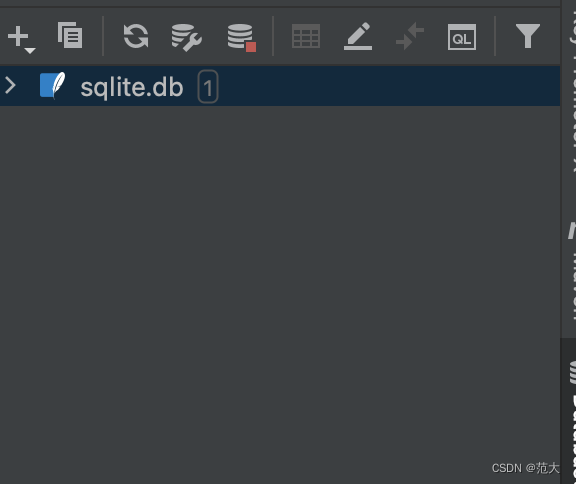
ok,生成了db。
4). 执行sql
双击该数据库,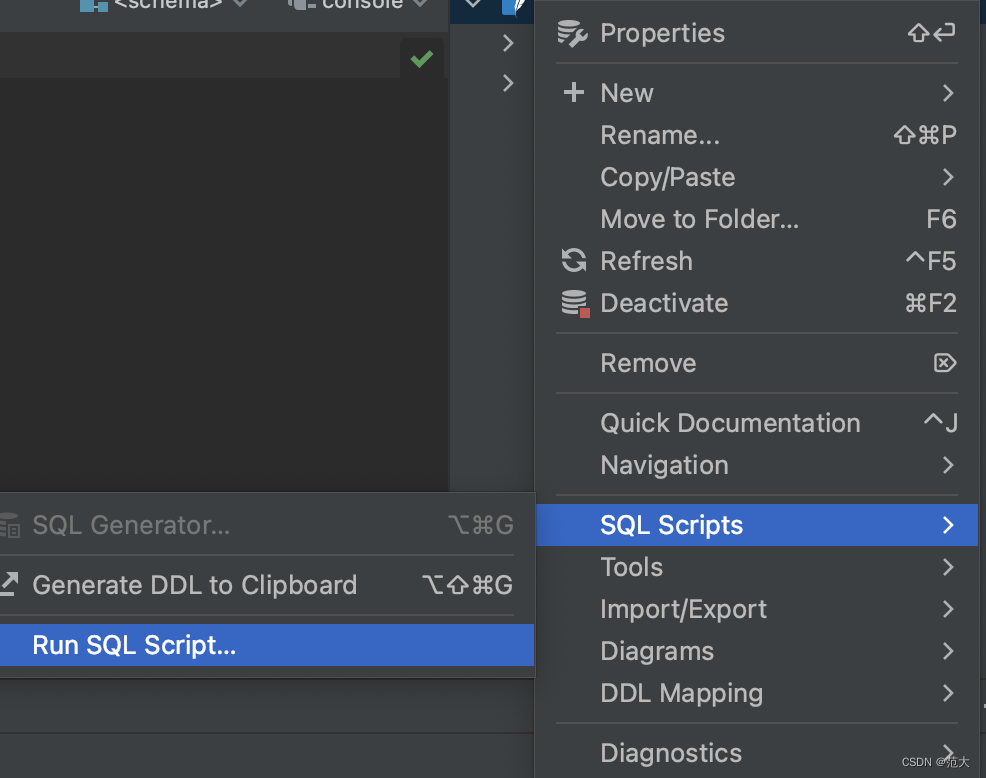
选择之前的sql执行,可以看日志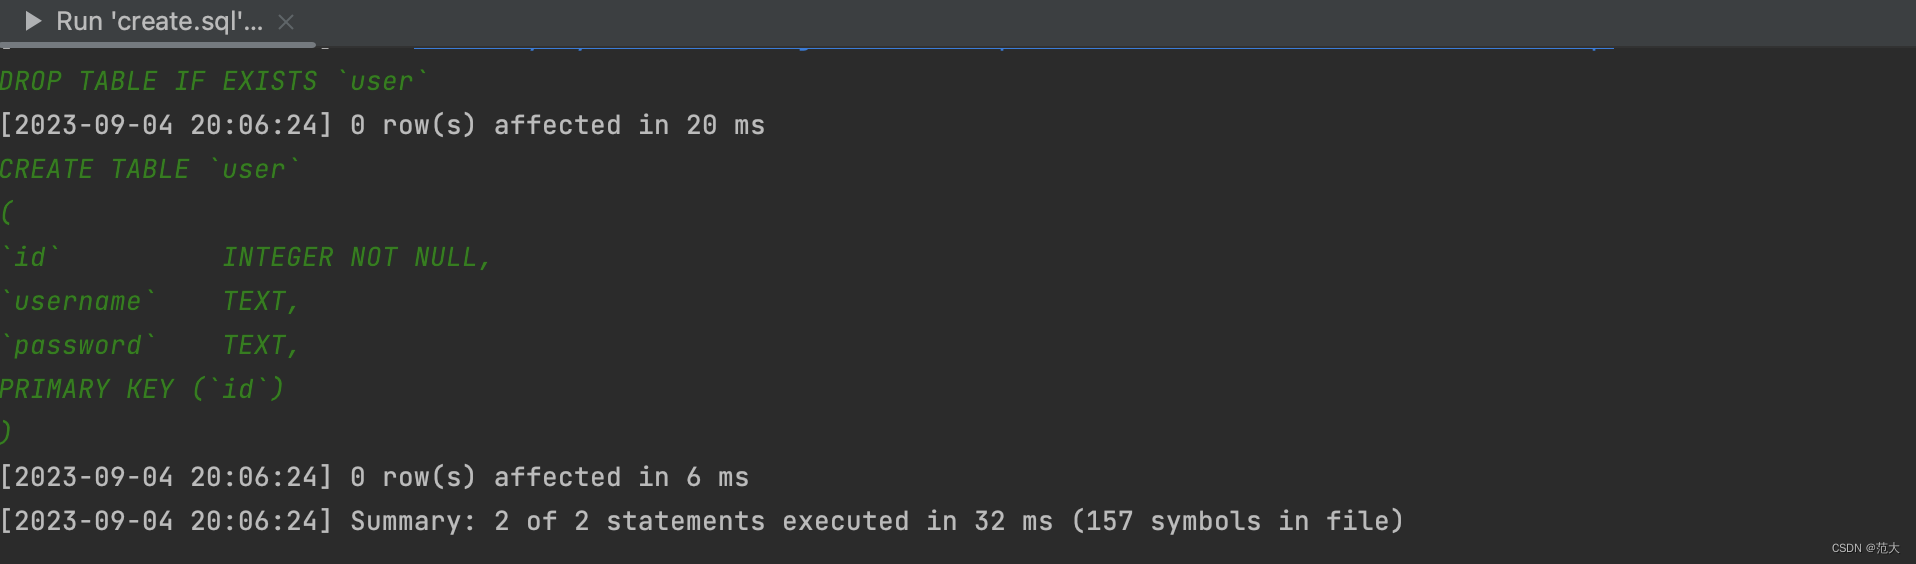
两个sql都run一下
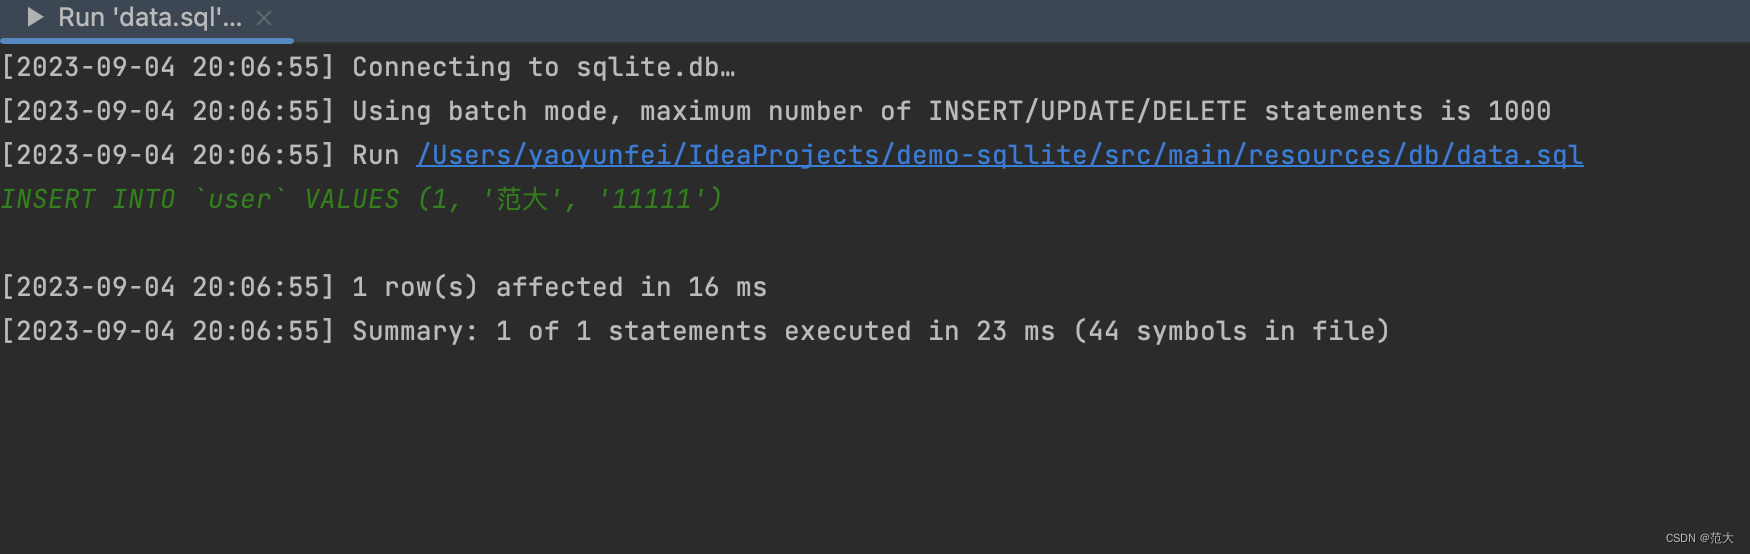
OK, 我这边都成功了
- 简单写个demo Controller
packagecom.example.sqlite.controller;importcom.example.sqlite.entity.User;importcom.example.sqlite.service.UserService;importlombok.RequiredArgsConstructor;importorg.springframework.web.bind.annotation.GetMapping;importorg.springframework.web.bind.annotation.PathVariable;importorg.springframework.web.bind.annotation.RequestMapping;importorg.springframework.web.bind.annotation.RestController;@RestController@RequestMapping("/user")@RequiredArgsConstructorpublicclassUserController{privatefinalUserService userService;@GetMapping("/get/{id}")publicUserfindOne(@PathVariableInteger id){return userService.getById(id);}@GetMapping("/save/{id}")publicvoidsave(@PathVariableInteger id){User user =newUser();
        user.setId(id);
        user.setUsername(id+":哈哈哈哈");
        userService.save(user);}}
service
packagecom.example.sqlite.service;importcom.baomidou.mybatisplus.extension.service.IService;importcom.example.sqlite.entity.User;publicinterfaceUserServiceextendsIService<User>{}
serviceImpl
packagecom.example.sqlite.service;importcom.baomidou.mybatisplus.extension.service.impl.ServiceImpl;importcom.example.sqlite.entity.User;importcom.example.sqlite.mapper.UserMapper;importorg.springframework.stereotype.Service;@ServicepublicclassUserServiceImplextendsServiceImpl<UserMapper,User>implementsUserService{}
Mapper
packagecom.example.sqlite.mapper;importcom.baomidou.mybatisplus.core.mapper.BaseMapper;importcom.example.sqlite.entity.User;publicinterfaceUserMapperextendsBaseMapper<User>{}
Entity
packagecom.example.sqlite.entity;importcom.baomidou.mybatisplus.annotation.IdType;importcom.baomidou.mybatisplus.annotation.TableId;importcom.baomidou.mybatisplus.annotation.TableName;importlombok.Data;@Data@TableName("user")publicclassUser{@TableId(value ="id", type =IdType.AUTO)privateInteger id;privateString username;privateString password;}
UserMapper.xml
<?xml version="1.0" encoding="UTF-8"?><!DOCTYPE mapper PUBLIC"-//mybatis.org//DTD Mapper 3.0//EN""http://mybatis.org/dtd/mybatis-3-mapper.dtd"><mapper namespace="com.example.sqlite.mapper.UserMapper"></mapper>
MybatisPlusConfig
packagecom.example.sqlite.config;importcom.baomidou.mybatisplus.annotation.DbType;importcom.baomidou.mybatisplus.extension.plugins.MybatisPlusInterceptor;importcom.baomidou.mybatisplus.extension.plugins.inner.PaginationInnerInterceptor;importorg.mybatis.spring.annotation.MapperScan;importorg.springframework.context.annotation.Bean;importorg.springframework.context.annotation.Configuration;//注入配置springboot@Configuration@MapperScan("com.example.sqlite.mapper")publicclassMybatisPlusConfig{@BeanpublicMybatisPlusInterceptormybatisPlusInterceptor(){MybatisPlusInterceptor interceptor=newMybatisPlusInterceptor();
        interceptor.addInnerInterceptor(newPaginationInnerInterceptor(DbType.SQLITE));return interceptor;}}
启动后,访问成功。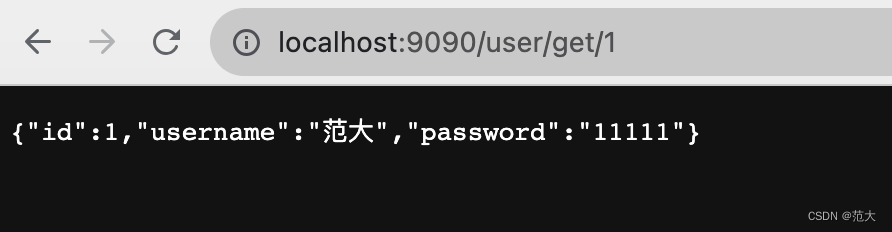
打个包,java -jar启动,经测试报错,并无该数据库表。说明sql并不会自动执行。
简单一点,直接项目启动的时候,我指定sql让他启动。
CustomizeDataSourceInitializer
packagecom.example.sqlite.config;importorg.springframework.beans.factory.annotation.Value;importorg.springframework.context.annotation.Bean;importorg.springframework.context.annotation.Configuration;importorg.springframework.core.io.Resource;importorg.springframework.jdbc.datasource.init.DataSourceInitializer;importorg.springframework.jdbc.datasource.init.DatabasePopulator;importorg.springframework.jdbc.datasource.init.ResourceDatabasePopulator;importjavax.sql.DataSource;@ConfigurationpublicclassCustomizeDataSourceInitializer{@Value("classpath:db/create.sql")privateResource sqlScriptSchema;@Value("classpath:db/data.sql")privateResource sqlScriptData;@BeanpublicDataSourceInitializerdataSourceInitializer(finalDataSource dataSource){DataSourceInitializer dataSourceInitializer =newDataSourceInitializer();
        dataSourceInitializer.setDataSource(dataSource);
        dataSourceInitializer.setDatabasePopulator(databasePopulator());return dataSourceInitializer;}privateDatabasePopulatordatabasePopulator(){ResourceDatabasePopulator resourceDatabasePopulator =newResourceDatabasePopulator();
        resourceDatabasePopulator.addScript(sqlScriptSchema);
        resourceDatabasePopulator.addScript(sqlScriptData);
        resourceDatabasePopulator.setSeparator(";");return resourceDatabasePopulator;}}
重新打包,java -jar启动后,正常访问。
OK!
本文转载自: https://blog.csdn.net/ideaxx/article/details/132673425
版权归原作者 范大 所有, 如有侵权,请联系我们删除。
版权归原作者 范大 所有, 如有侵权,请联系我们删除。