

前面刚学完
mybatis-plus
,我们已经基本掌握了更加方便的数据库操作,那么我们也就该做一个web项目练练手了,按理来说,我们该学习学习
thymeleaf
,
thymeleaf
是Spring boot推荐使用的模版引擎。但是,现在更加流行的是 SpringBoot+Vue 形式的前后端分离项目!而前后端分离必然少不了数据交互,那么我们今天就试一试吧!
文章目录
Vue项目的创建
首先,我默认你已经安装了
node.js
以及搭建了
vue
环境(实在不会的同学百度上面的教程可太多了)
- 新建文件夹作为项目存放路径,在导航栏直接输入
cmd进入doc界面

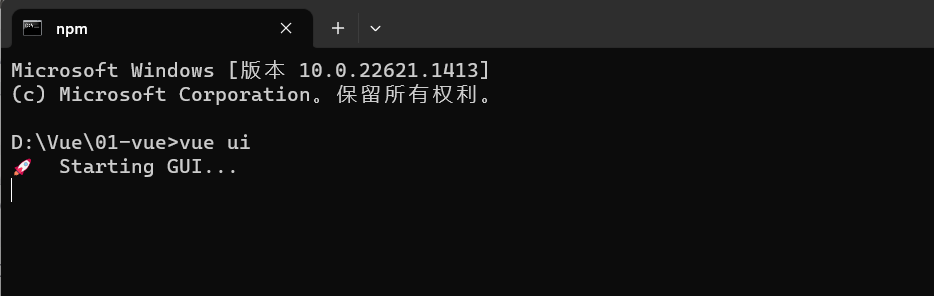
- 在
doc界面直接输入vue ui,浏览器会自动打开,帮助我们进行图形化界面的创建工作(输入vue ui无反应可以看一下这篇文章)
- 这就是进入浏览器的效果,下面那个盘符在这里不能选择,你要是想改变项目地址,就按我开头说的在相应的目录打开
cmd
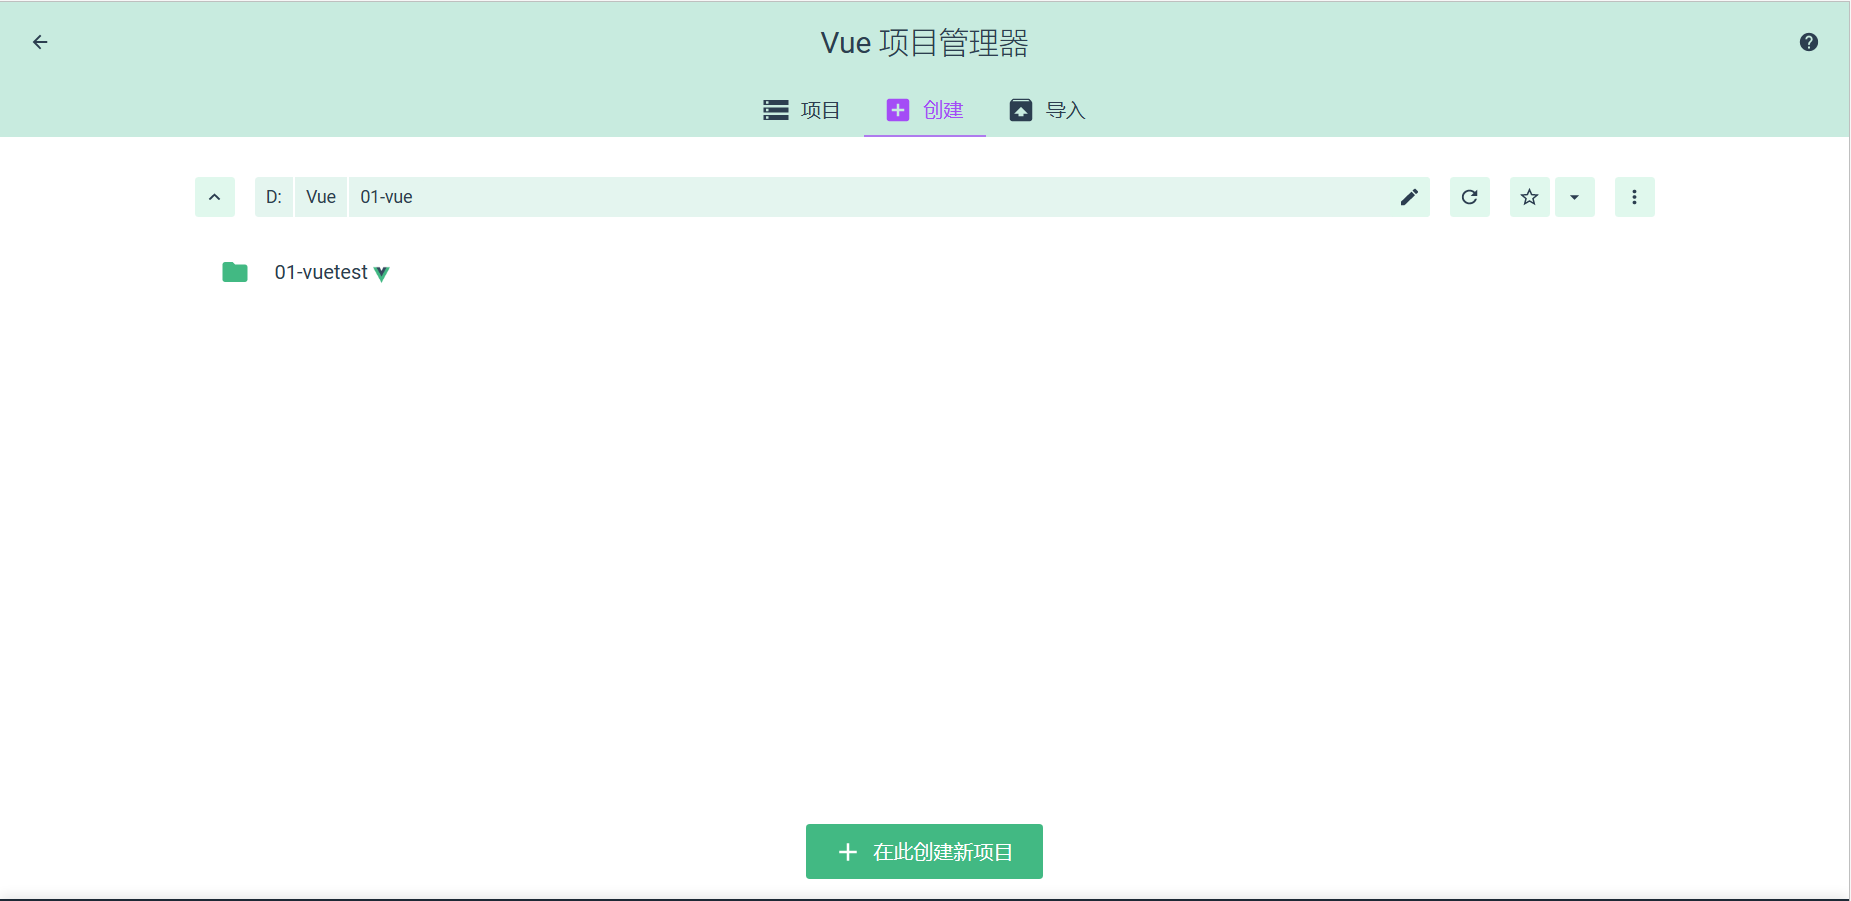
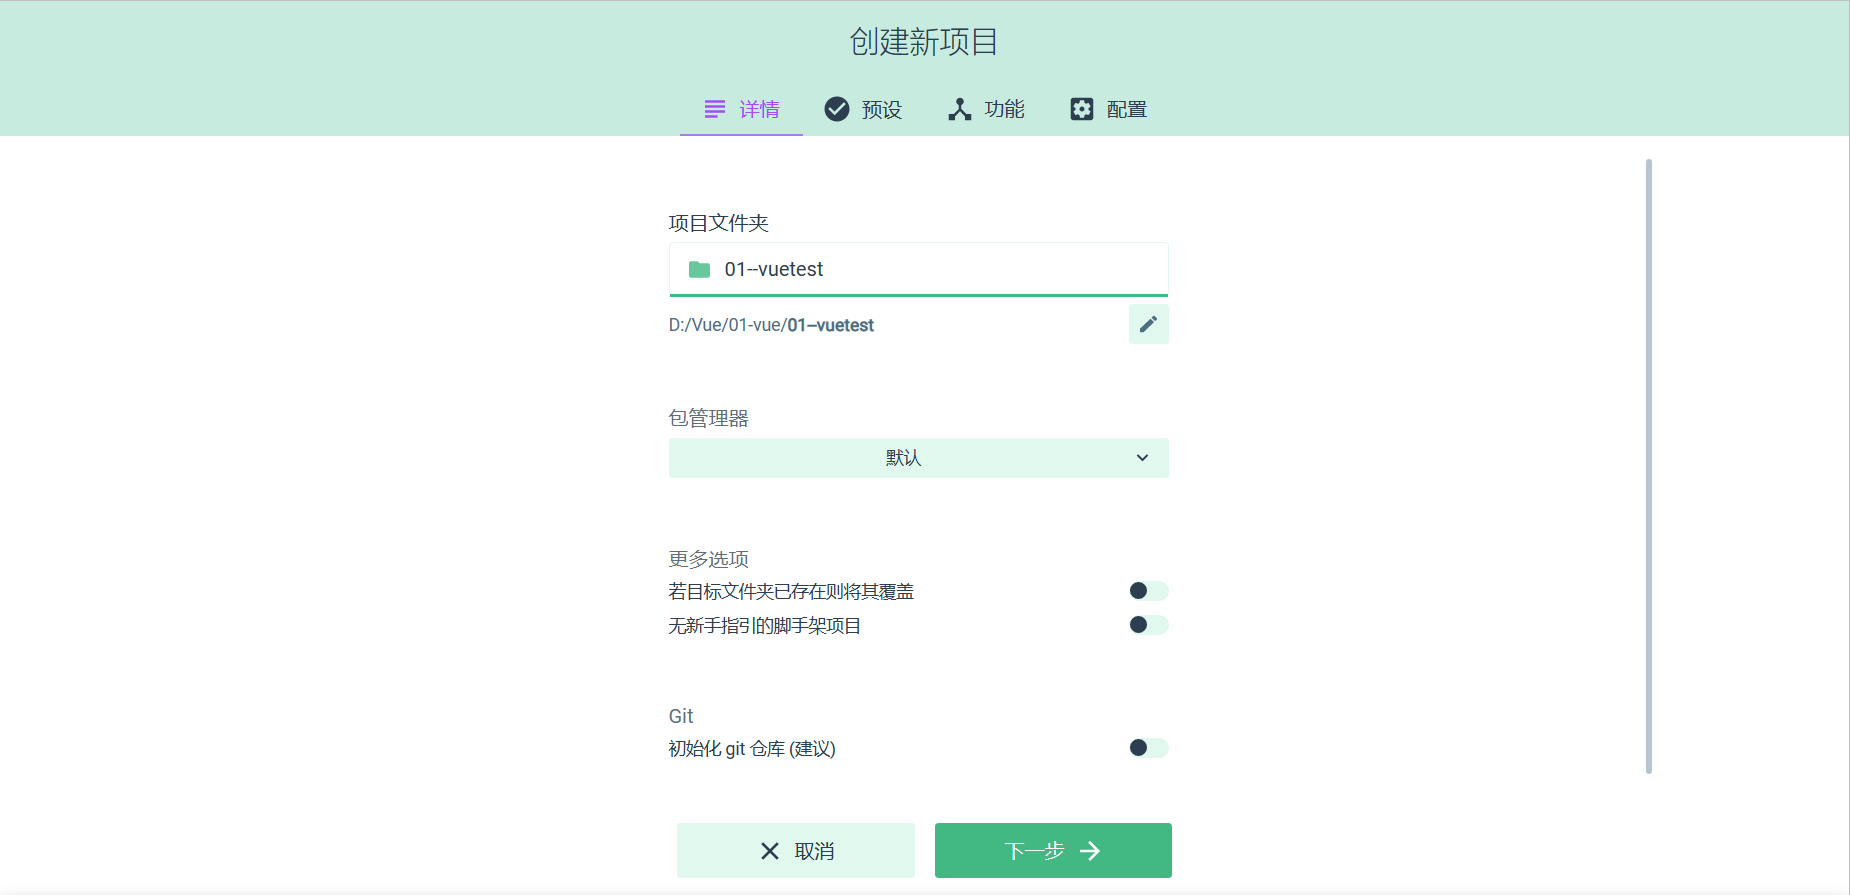
- 点击
在此创建新项目后,来到以下界面,把最下行的初始化git仓库我们可以叉掉,当然你选了也没事
- 我们选择手动创建
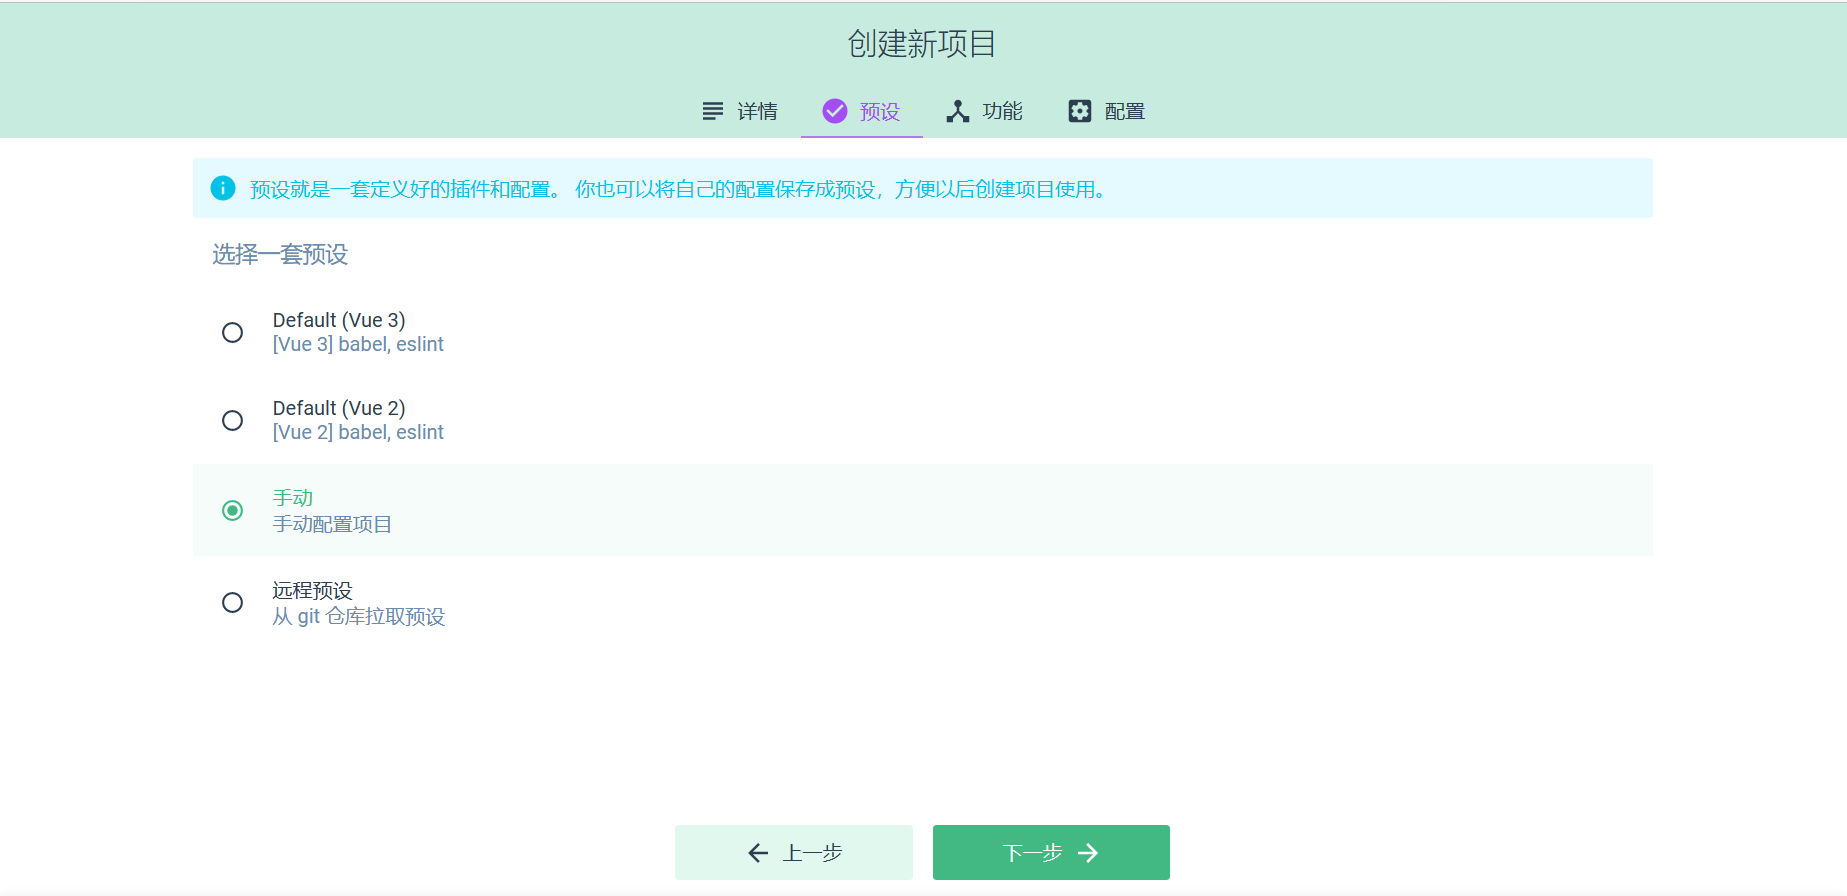
- 按下图选择
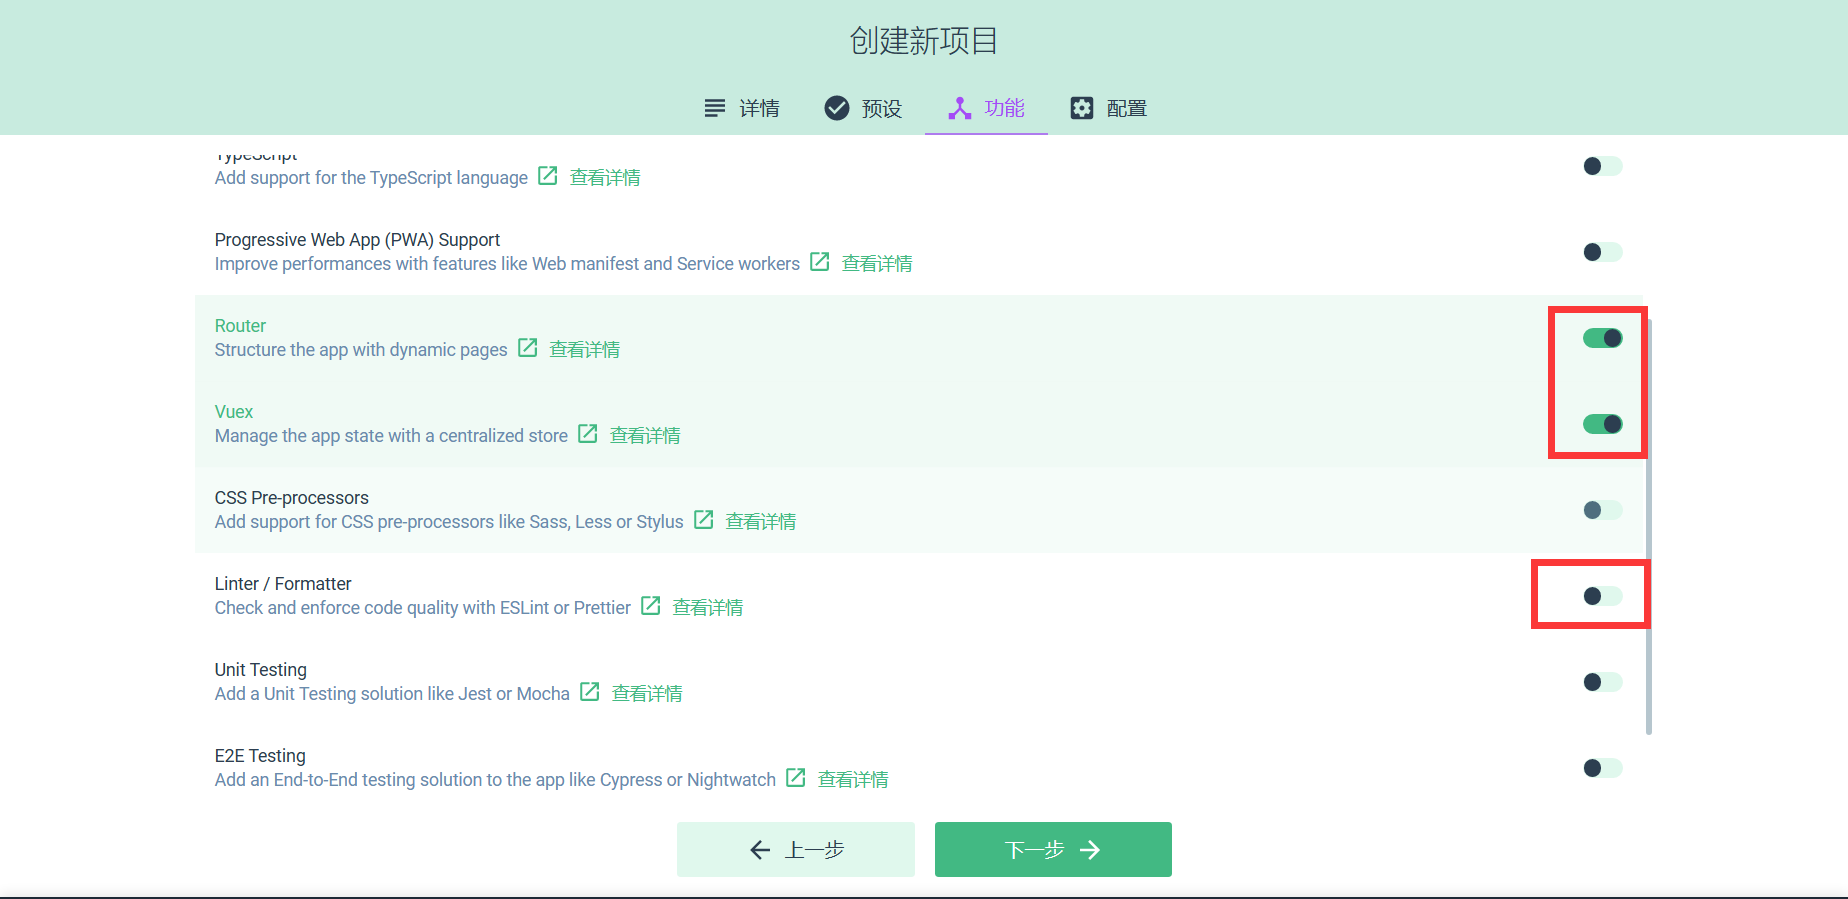
- 这里记得切换一下为
vue2.x版本,不然后面axios可能用不了

- 项目创建完成后直接叉掉就行了,
doc界面按两次ctrl+c就可退出
项目编写
打开Vue项目
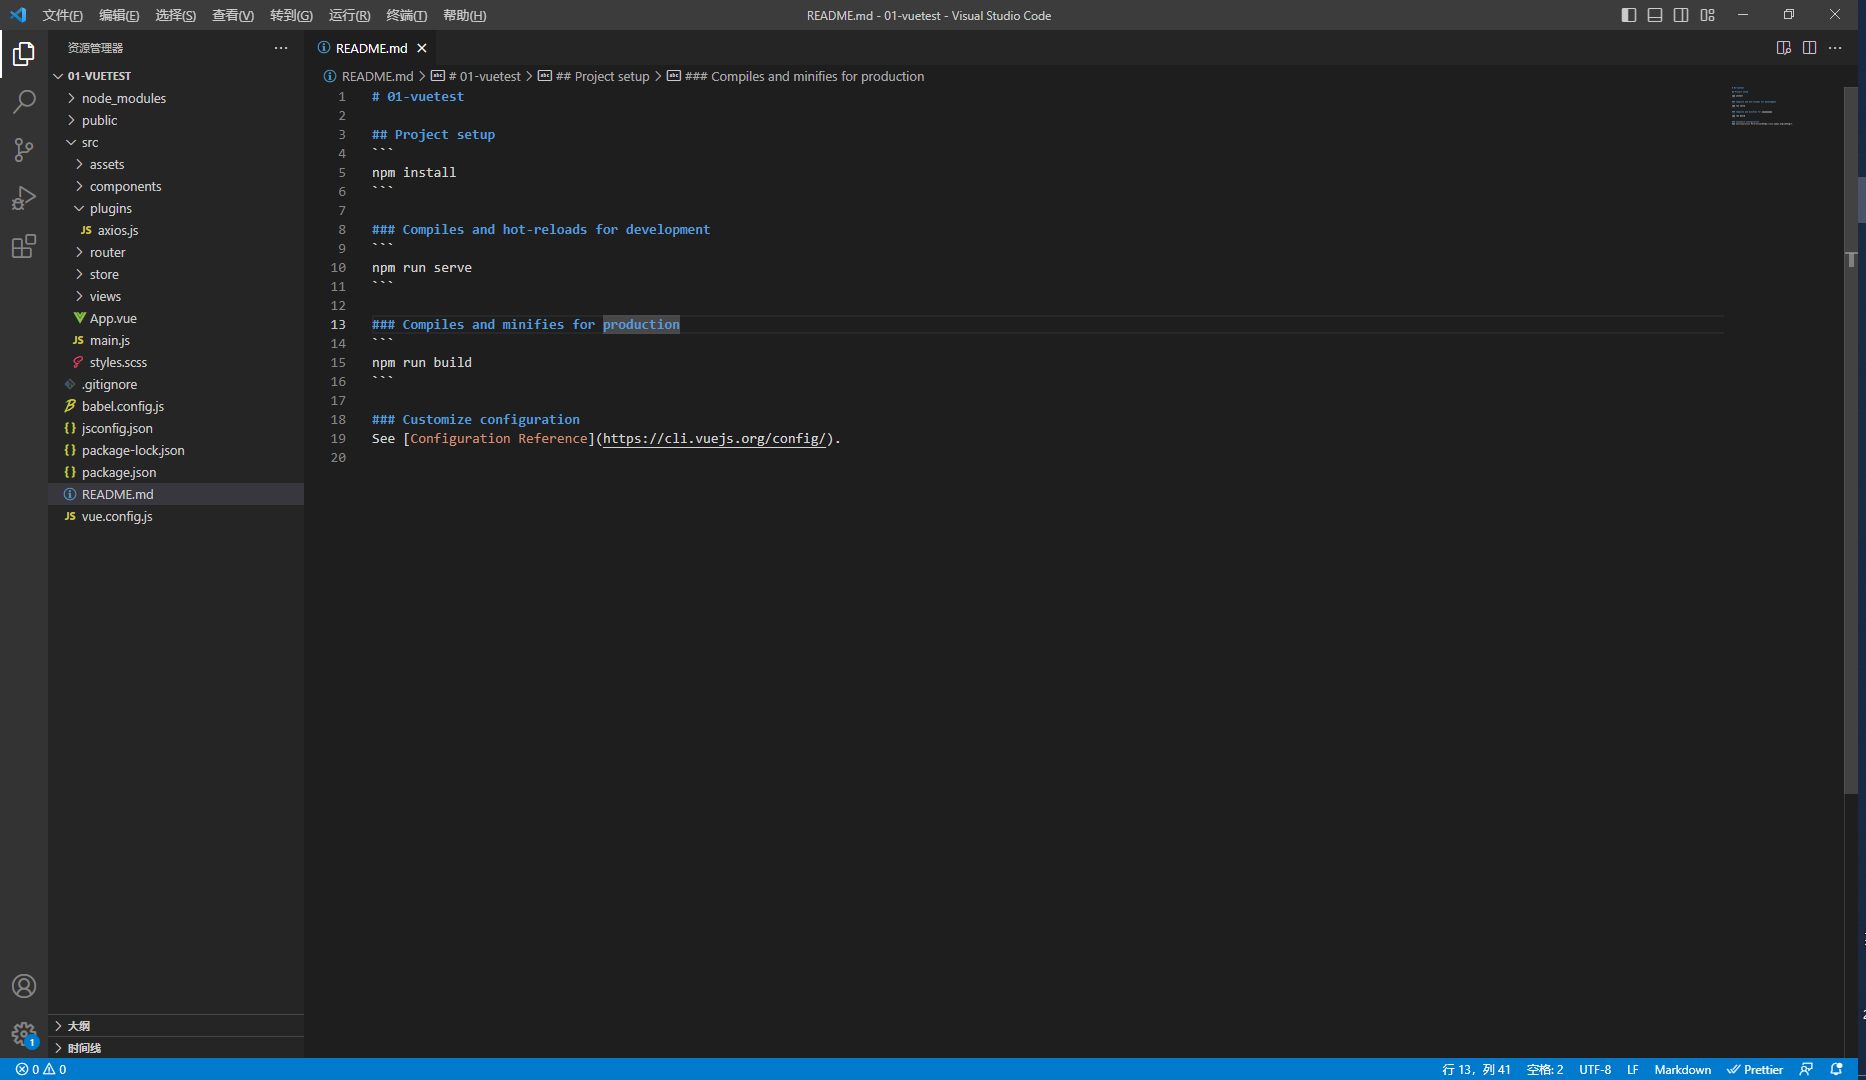
使用
Vscode
打开文件夹选择我们的项目路径,打开后就是这个样子
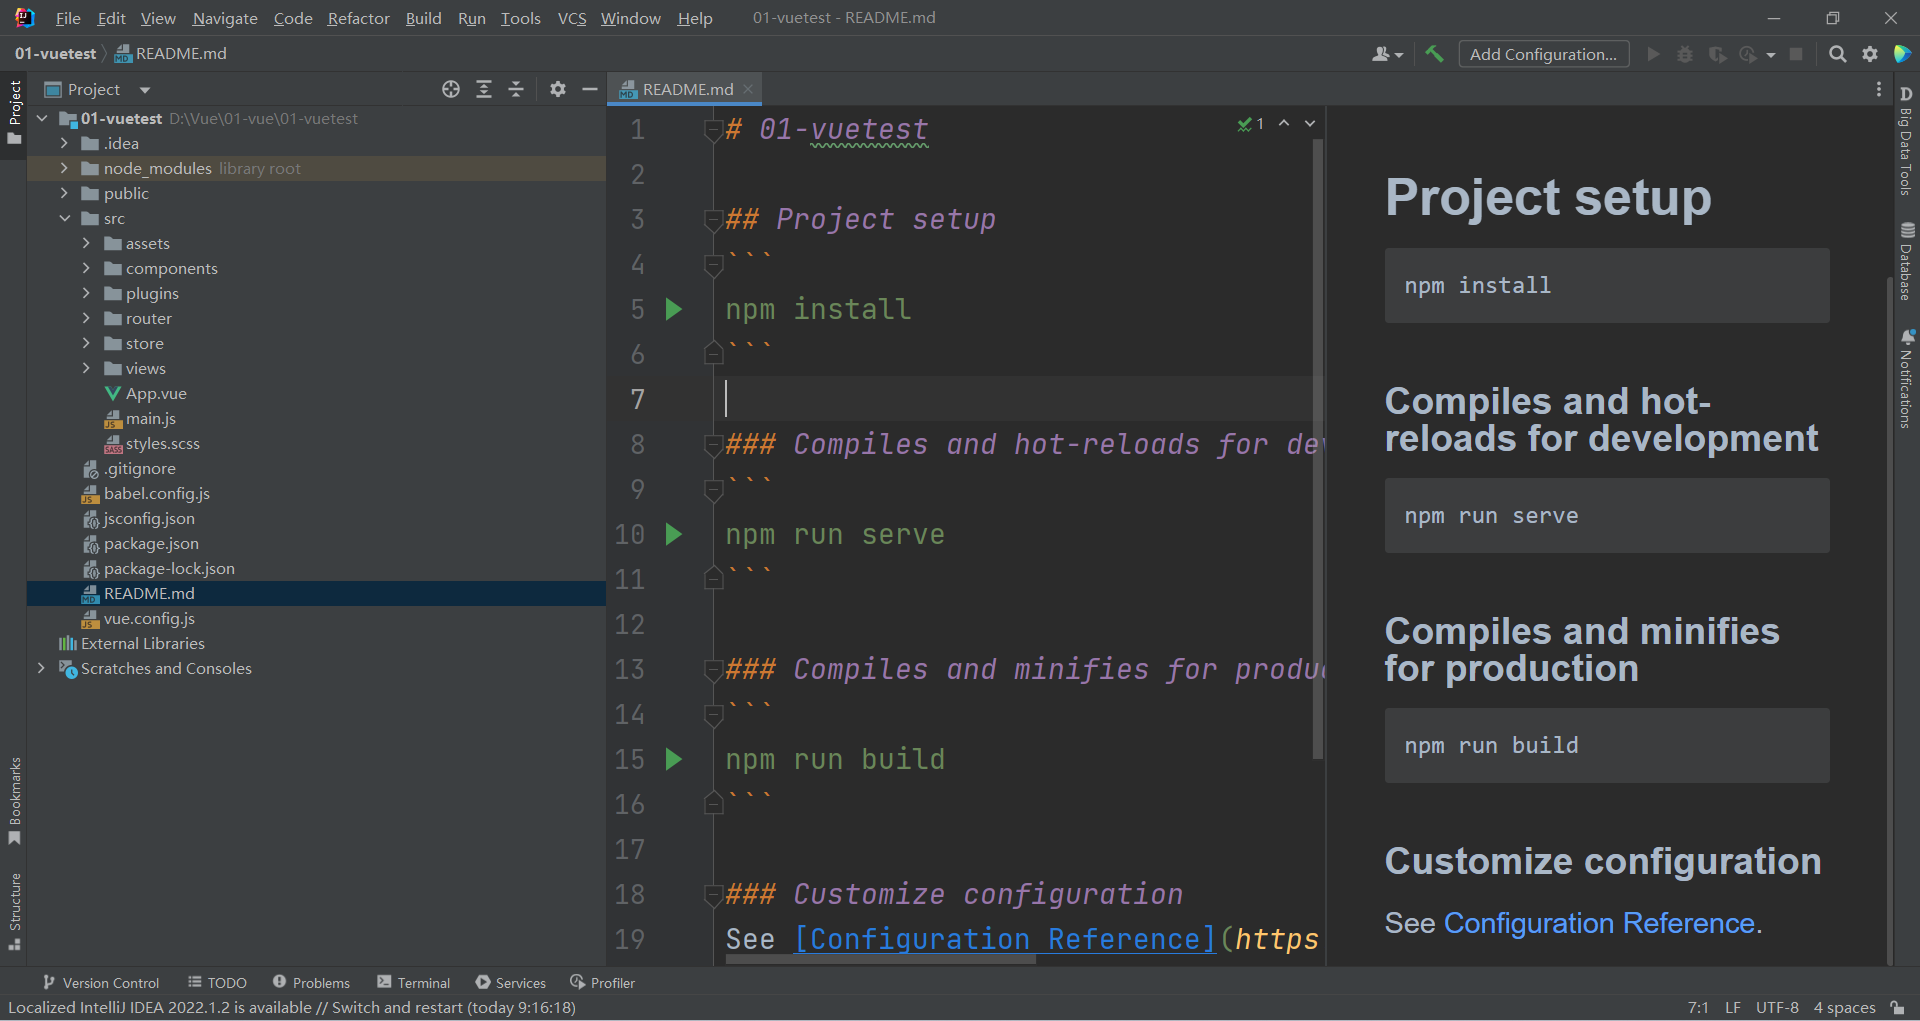
或者使用
idea
选择我们刚刚创建的vue项目路径然后打开,下图就是打开后的样子
两种方式任意选一种就行,下面提到的前端主要指在
Vscode
中执行,后端为
IDEA
中执行
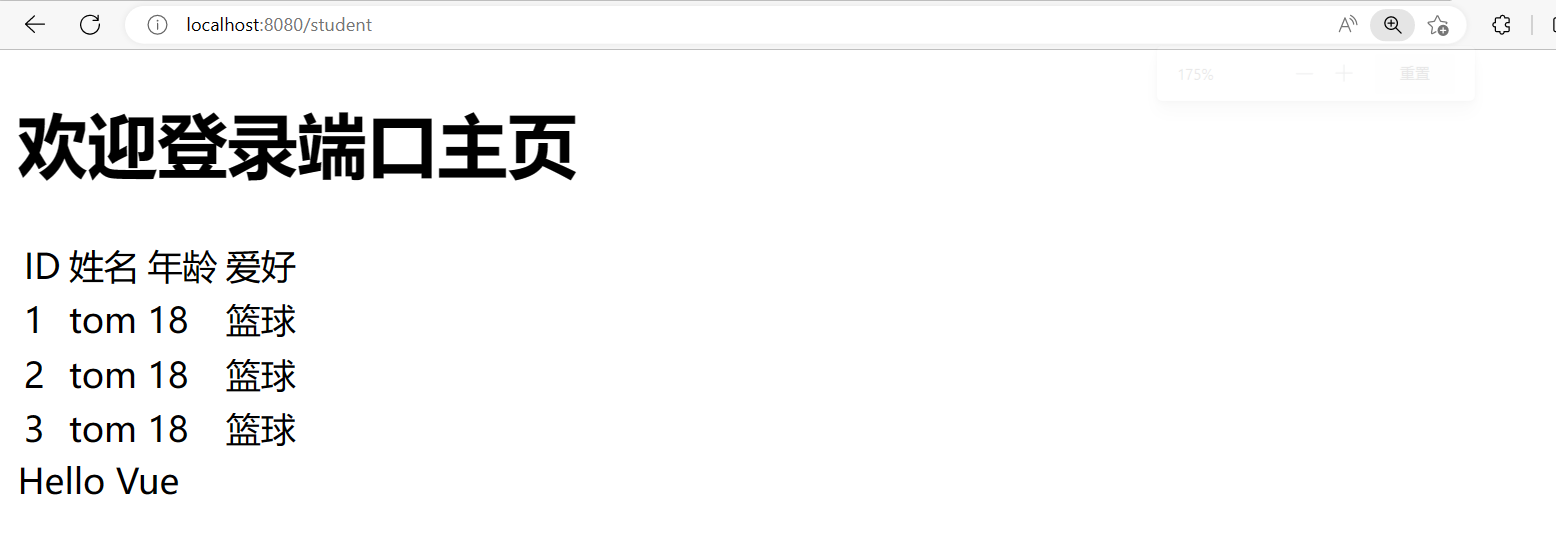
启动Vue项目之效果展示
我们可以在Views下面创建一个
StudentView
,编写一个表格写一些假数据看看效果
<template>
  <div>
    <table>
      <tr>
        <td>ID</td>
        <td>姓名</td>
        <td>年龄</td>
        <td>爱好</td>
      </tr>
      <tr v-for="item in students">
        <td>{{item.id}}</td>
        <td>{{item.name}}</td>
        <td>{{item.age}}</td>
        <td>{{item.hobby}}</td>
      </tr>
    </table>
    {{msg}}
  </div>
</template>

<script>
export default {
  name: "Student",
  data(){
    return{
      msg:"Hello Vue",
      students:[
          {
            id:"1",
            name:"tom",
            age:18,
            hobby:"篮球"
          },
        {
          id:"2",
          name:"tom",
          age:18,
          hobby:"篮球"
        },
        {
          id:"3",
          name:"tom",
          age:18,
          hobby:"篮球"
        },
      ],
    }
  },
}
</script>

<style scoped>

</style>
接着需要去
router
包下的
index.js
的
routes
l列表中添加路由(请注意每次写了新的xxxView都需要添加路由)
{
    path: '/student',
    name: 'student',
    component: () => import('../views/StudentView')
  }
VScode
:在终端(左上角
Terminal
,新建终端)输入
npm run serve
启动服务,浏览器输入
http://localhost:8080/student
idea
:在终端(左下角
Terminal
)输入
npm run serve
启动服务,浏览器输入
http://localhost:8080/student
展示效果:
Vue项目启动失败
有些童鞋在启动Vue项目的时候可能报错
Module not found: Error: Can't resolve 'sass-loader' in 'E:\xxx\xxx\01-vuetest'
,不用慌,跟着报错信息做,
产生原因:说明项目中没有
sass-loader
依赖,由于
sass-loader
需要
node-sass
组件,所以我们需要安装的是两个组件
- node-sass
cnpm install sass-loader -D
- sass-loader
cnpm install node-sass -D
使用cnpm前需要配置淘宝镜像
npm install -g cnpm --registry=https://registry.npm.taobao.org
axios的引入
在上面的页面中,我们成功的展示出了
/student
页面下的student数据,但那是我们手写的假数据,我们如何获得后端发送过来的数据呢,那就需要用到一个很重要的封装库
axios
,
axios
是基于 Promise 的 ajax 封装库,也是前端目前最流行的 ajax 请求库。简单地说发送 get、post 请求,是一个轻量级的库,使用时可直接引入
在终端输入:
vue add axios
然后就会发现我们多了一个
plugins
包,包下多了一个
axios.js
文件。
前端页面StudentView
现在修改我们的前端代码,利用
axios
发送
get
请求:
<template>
  <div>
    <table>
      <tr>
        <td>ID</td>
        <td>姓名</td>
        <td>年龄</td>
        <td>爱好</td>
      </tr>
      <tr v-for="item in students">
        <td>{{item.id}}</td>
        <td>{{item.name}}</td>
        <td>{{item.age}}</td>
        <td>{{item.hobby}}</td>
      </tr>
    </table>
    {{msg}}
  </div>
</template>

<script>
export default {
  name: "Student",
  data(){
    return{
      msg:"Hello Vue",
      students:null,    // 之前这里存放的是假数据列表,现在我们可以直接让他为null
    }
  },
  created() {
    const _this = this  // 这里的this是全局
    axios.get("/select/").then(function (resp){        // 因为我们在main.js文件配置了后端端口的访问地址(下文有讲),所以这里可以直接'/select/'
      _this.students = resp.data  // 这里如果用this指得就是这个匿名函数了
    })
  }
}
</script>

<style scoped>

</style>
后端接口StudentController
现在编写我们的后端,打开我们之前的SpringBoot项目,(我们就拿之前创建过的实体类练手吧,会用到的实体类分别是User和Student,User用来登录,Student用来数据展示)
这里再贴一下两个实体类吧
@Data// 返回set,get等方法@NoArgsConstructor// 无参构造器@AllArgsConstructor// 全参构造器publicclassUser{privateint id;privateString name;privateString pwd;}
@Data@AllArgsConstructor@NoArgsConstructorpublicclassStudent{privateLong id;privateString name;privateInteger age;privateString hobby;}
来到后端的第一件事情就是去
application.yaml
更改后端接口
server:port:8081# 后端修改端口为8081,8080已经被前端占用
现在可以在前端的
main.js
文件中添加后端端口
// 配置后端端口的访问地址
axios.defaults.baseURL = 'http://localhost:8081';
开始编写后端接口:
StudentMapper:继承BaseMapper,不明白的同学可以看完上篇文章 整合mybatis-plus 及其相关用法
@RepositorypublicinterfaceStudentMapperextendsBaseMapper<Student>{}
StudentService:
publicinterfaceStudentServiceextendsIService<Student>{}
StudentServiceImpl:
@ServicepublicclassStudentServiceImplextendsServiceImpl<StudentMapper,Student>implementsStudentService{}
StudentController:
@RestControllerpublicclassStudentController{@AutowiredprivateStudentMapper studentMapper;@RequestMapping("/select")publicList<Student>select(){return studentMapper.selectList(null);}}
跨域问题的引入
为什么会有跨境问题:简单来说就是你前端端口是8080,后端是8081,端口不一样就涉及到跨域问题。
前后端都可以解决跨域问题,我们就在后端来解决吧,在SpringBoot项目的
config
下创建一个配置类:
@ConfigurationpublicclassCrosConfigimplementsWebMvcConfigurer{@OverridepublicvoidaddCorsMappings(CorsRegistry registry){
        registry.addMapping("/**").allowedOriginPatterns("*").allowedMethods("GET","HEAD","POST","PUT","DELETE","OPTIONS").maxAge(3000).allowedHeaders("*");}}
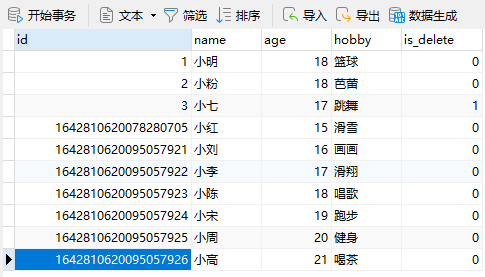
运行开始前先给大家看看数据库信息
运行项目
在前端输入
npm run serve
后端在启动类运行我们的
SpringBoot
项目
浏览器输入
localhost:8080/student
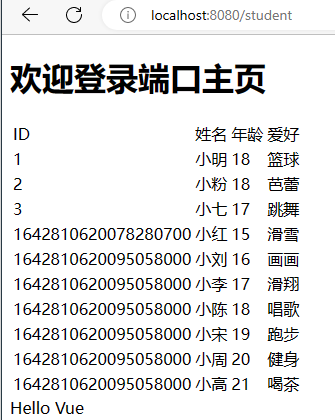
显然,我们的数据交互已经实现,前端成功从后端拿到了我们的数据,测试成功!
element-UI的引入
上面的输出效果是不好看的,那我们就浅浅的介绍一下
element-ui
吧
停止项目,在终端输入
npm i element-ui -S
,等待下载…
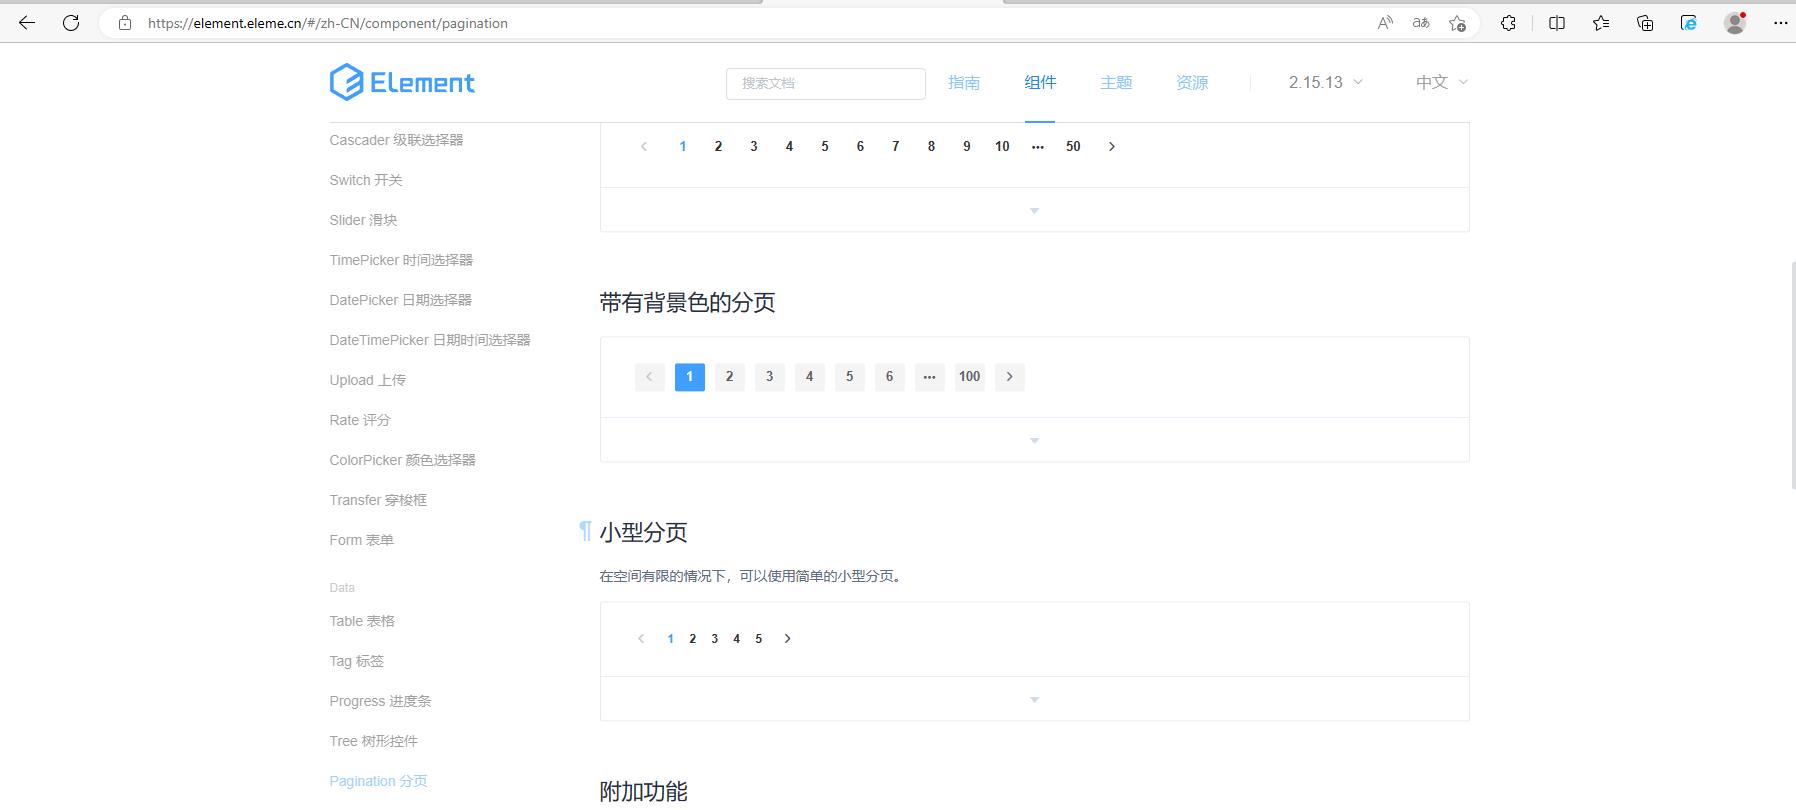
然后我们之间去浏览器找到
element
中文官网
选择一个自己喜欢的表格,然后把他的代码复制过来

再选择一个好看的分页效果,同样复制他的代码
前端页面PageView
我们在前端的
views
包下新建一个
PageView
用来装我们刚刚复制的代码(注意标签中只允许含有一个div标签,所以大家复制的代码都要装在一个div标签里面),然后我们根据自己的数据库信息做一些简单的修改:
<template>
  <div>
    <el-table
        :data="tableData"
        border
        style="width: 100%">
      <el-table-column
          fixed
          prop="id"
          label="学号"
          width="200">
      </el-table-column>
      <el-table-column
          prop="name"
          label="姓名"
          width="150">
      </el-table-column>
      <el-table-column
          prop="age"
          label="年龄"
          width="150">
      </el-table-column>
      <el-table-column
          prop="hobby"
          label="爱好"
          width="150">
      </el-table-column>

      <el-table-column
          fixed="right"
          label="操作"
          width="120">
        <template slot-scope="scope">
          <el-button @click="handleClick(scope.row)" type="text" size="small">查看</el-button>
          <el-button type="text" size="small">编辑</el-button>
        </template>
      </el-table-column>
    </el-table>

    <el-pagination
        background
        layout="prev, pager, next"
        :page-size="5"
        :total="50"
        @current-change="page">>      <!-- 页面翻页变化  -->
    </el-pagination>

  </div>
</template>

<script>
export default {
  methods: {
    handleClick(row) {
      console.log(row);
    },

    page(currentPage){
      // alert(currentPage)
      const _this = this
      axios.get("/select/"+currentPage+"/5").then(function (resp) {
        // console.log(resp)    // 注意使用console.log(resp)查看控制台我们的数据在哪里哦,比如我的就在data的records下面
        _this.tableData = resp.data.records
        _this.total = resp.data.length
      })
    }

  },
  created() {
    const _this = this
    axios.get("/select/1/5").then(function (resp) {
      // console.log(resp)
      _this.tableData = resp.data.records
      _this.total = resp.data.length
    })
  },

  data() {
    return {
      total:null,
      tableData: null,
    }
  }
}
</script>
仔细的同学应该有所发现,上面的代码中我们不仅用了钩子函数
created()
还在
methods
中新增了一个
page()
方法,没错,他就是来帮助我们实现表格翻页的
后端接口的编写
实现了前端的翻页效果,我们就要去后端修改代码了,我们依旧使用
StudentController
:
@RestControllerpublicclassStudentController{@AutowiredprivateStudentMapper studentMapper;@RequestMapping("/select/{page}/{size}")publicPage<Student>select(@PathVariable("page")int page,@PathVariable("size")int size){Page<Student> pages =newPage<>(page, size);return studentMapper.selectPage(pages,null);}}
上面的代码中利用了
mybatis-plus的分页插件
,不了解同学依旧可以去看我的上一篇博客整合mybatis-plus 及其相关用法
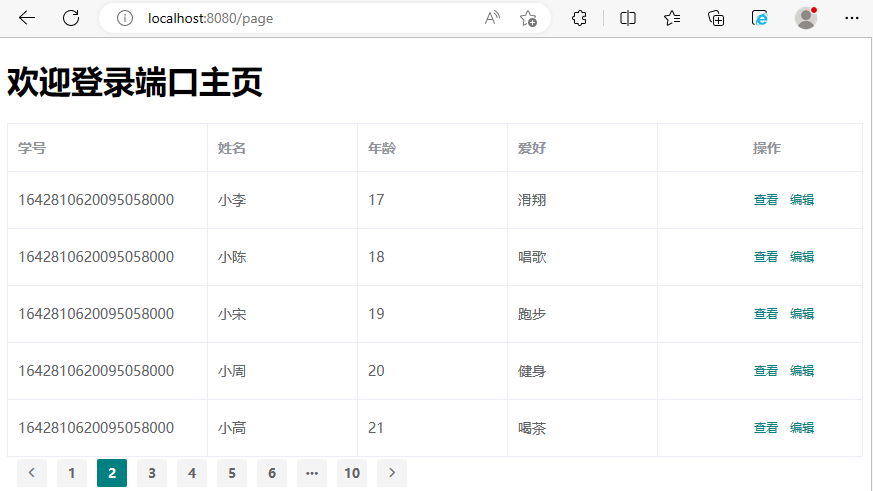
项目启动观看效果:
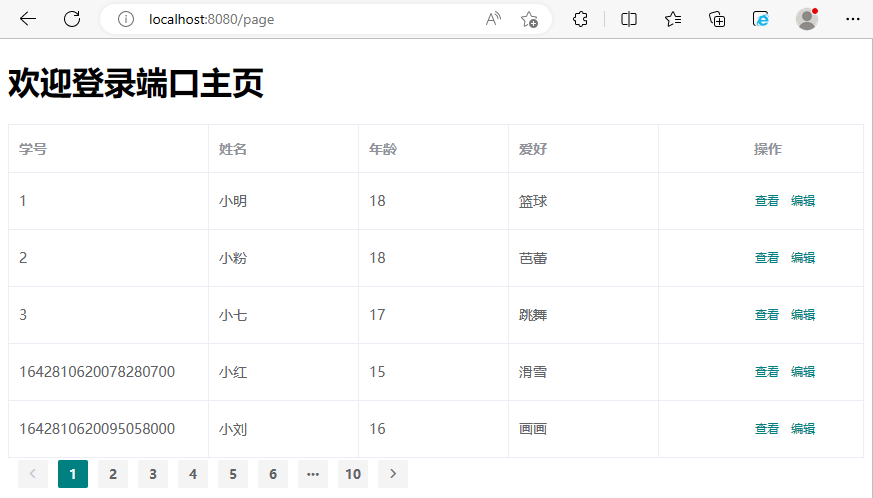
是不是精致了许多,点击下面的标签还能翻页呢
增加登录功能
老规矩,该去网上复制的就去复制,一些简单的界面不需要我们去写
前端页面LoginView
在
view
包下新增
LoginView
<template>
  <div>
    <el-form
      ref="loginForm"
      label-width="80px"
      class="login-box"
    >
      <h3 class="login-title">欢迎登录</h3>
      <el-form-item
        label="账号"
        prop="username"
      >
        <el-input
          type="text"
          placeholder="请输入账号"
          v-model="loginForm.username"
        />
      </el-form-item>
      <el-form-item
        label="密码"
        prop="password"
      >
        <el-input
          type="password"
          placeholder="请输入密码"
          v-model="loginForm.password"
        />
      </el-form-item>
      <el-form-item>
        <el-button
          type="primary"
          v-on:click="login"
        >登录</el-button>
      </el-form-item>
    </el-form>
  </div>
</template>

<script>

import Cookies from "core-js/internals/task";

export default {
  name: 'LoginView',
  data () {
    return {
      loginForm: {
        username: '',
        password: ''
      },
      responseResult: []
    }
  },
  methods: {
    login () {
      const _this = this
      axios
        .post('/login', {
          "name": _this.loginForm.username, // 注意,你后端的User实体类叫name,pwd
          "pwd": _this.loginForm.password   // 这里也就要叫name!pwd!不然后端接口得不到参数!
        })
        .then(successResponse => {
          console.log(successResponse.data)
          if (successResponse.data.code === 200) {    // 后端返回状态码为200则验证成功
            _this.$router.push("/page");            // 登录成功页面跳转到page页面
          } else {
            alert("用户名或密码错误!")
          }
        })
        .catch(function (error) {
          alert("用户名或密码错误!")
        });
    }

  }
}

</script>

<style scoped>
.login-box {
  border: 1px solid #dcdfe6;
  width: 350px;
  margin: 180px auto;
  padding: 35px 35px 15px 35px;
  border-radius: 5px;
  -webkit-border-radius: 5px;
  -moz-border-radius: 5px;
  box-shadow: 0 0 25px #909399;
}

.login-title {
  text-align: center;
  margin: 0 auto 40px auto;
  color: #303133;
}
</style>
后端接口LoginController
@ControllerpublicclassLoginController{@AutowiredprivateUserService userService;@PostMapping("/login")@ResponseBodypublicR<User>login(@RequestBodyUser user){LambdaQueryWrapper<User> queryWrapper =newLambdaQueryWrapper();
        queryWrapper.eq(User::getName, user.getName());User userOne = userService.getOne(queryWrapper);if(!userOne.getPwd().equals(user.getPwd())){returnR.error("密码错误");}returnR.success(userOne);}}
R类是我们通用的返回值封装,这里再贴一下
@DatapublicclassR<T>{/** 编码:200成功,0和其它数字为失败*/privateInteger code;/** 信息返回*/privateString msg;/** 信息返回数据*/privateT data;publicstatic<T>R<T>success(T object){R<T> r =newR<T>();
        r.data = object;
        r.code =200;
        r.msg =CommonConst.SUCCESS_RESULT;return r;}publicstatic<T>R<T>error(String msg){R r =newR();
        r.msg = msg;
        r.code =0;return r;}}
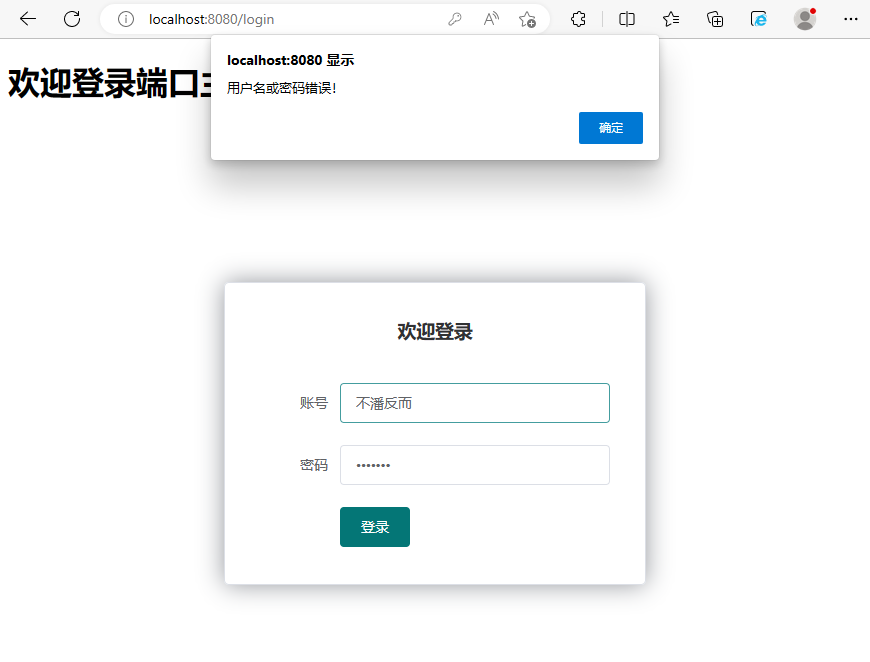
实现效果:
登录成功直接跳转到page页面
登录失败消息提醒
题外话
ajax
发送
post
请求,后台接收数据时候我们要用
@RequestParam
接收,因为它的
Content-Type
就是用的表单提交的,对于
axios
的
post
请求我们需要用
@RequestBody
接收,因为它内部处理时候
Content-Type
指定是
application/json
类型,所以我们需要注意,这些都是默认情况下,我们ajax原生发请求也可以自己指定头,所以根据情况选择
虽然我们只实现了
登录
和
学生信息展示
两个功能,但是你仔细想想是不是分别实现了
前端传数据后端接收
和
后端传数据前端接收
那其他的增删改查就交给大家自己了~
版权归原作者 吧啦吧啦! 所有, 如有侵权,请联系我们删除。