
文章目录
写在前面
本期内容:基于Django与Bootstrap的在线计算器
实验环境:
- vscode
- python(3.11.4)
- django(4.2.7)
- bootstrap(3.4.1)
- jquery(3.7.1)
实验目标
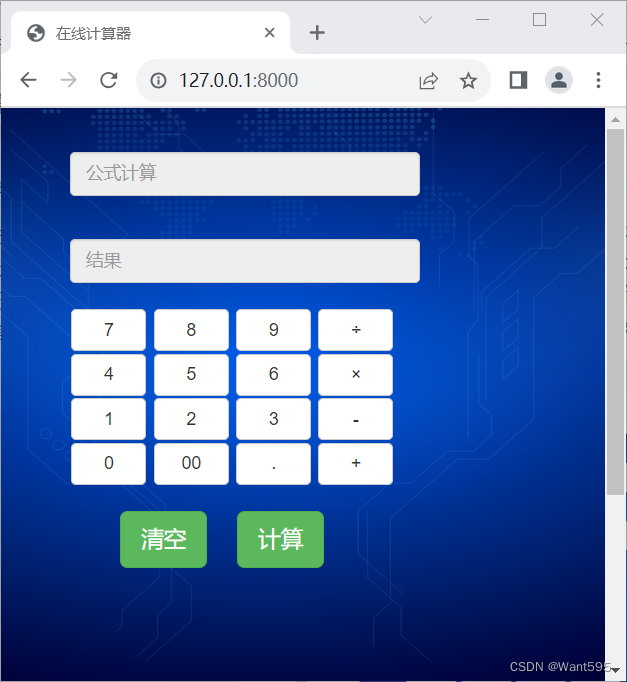
项目功能主要是实现一个在线计算器。在输入框中输入计算式,单击“计算”按钮可以在输出框中输出结果。前端采用了 Bootstrap进行制作,提供输入框和按钮让用户进行信息输入,然后将计算式通过 Ajax方式传输给后台进行计算。后台采用Django 进行开发,获取到前端发送的数据后利用Python的子进程模块subprocess来计算式子,并将计算结果返回给前端进行显示。
实验内容
1. 创建项目
1.打开vscode命令行输入以下命令创建一个名为jsq的项目
django-admin startproject jsq
2.利用cd命令切换到manage.py文件所在目录,输入以下命令创建一个名为app的应用
cd jsq
python manage.py startapp app
3.输入以下命令启动项目
python manage.py runserver
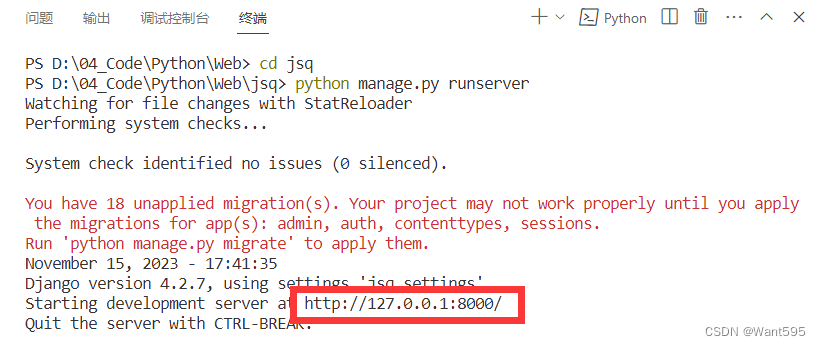
4.在浏览器中输入“http://127.0.0.1:8000”检查web界面是否启动成功
出现如下界面说明web界面启动成功

2. 导入框架
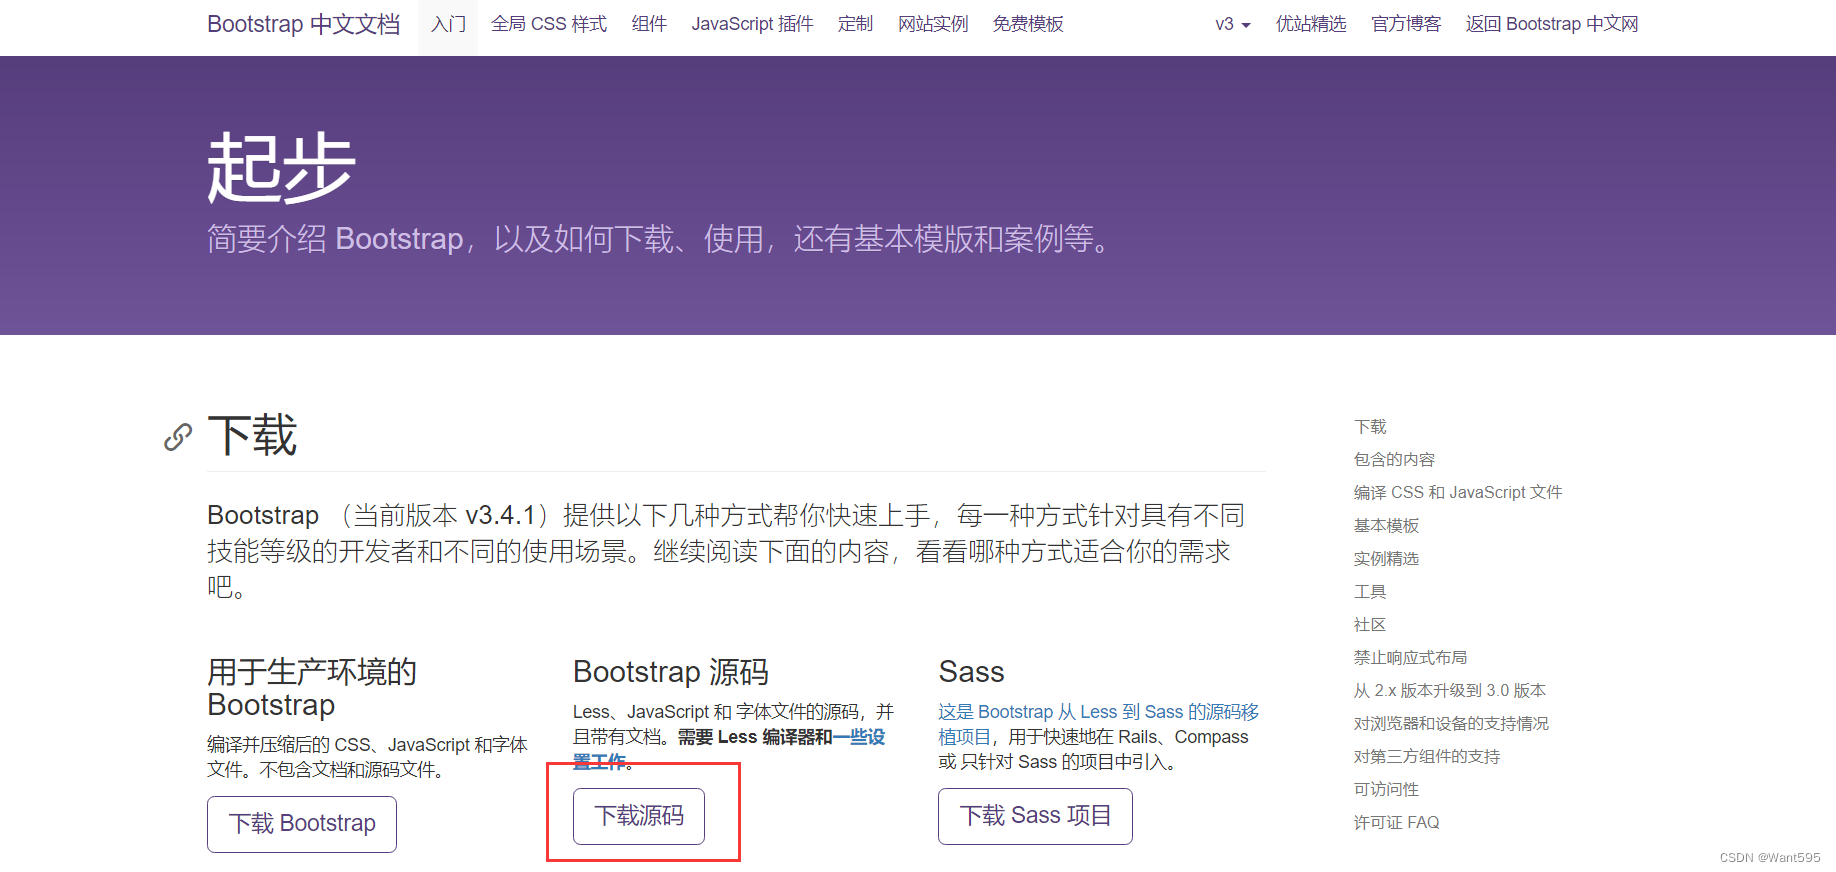
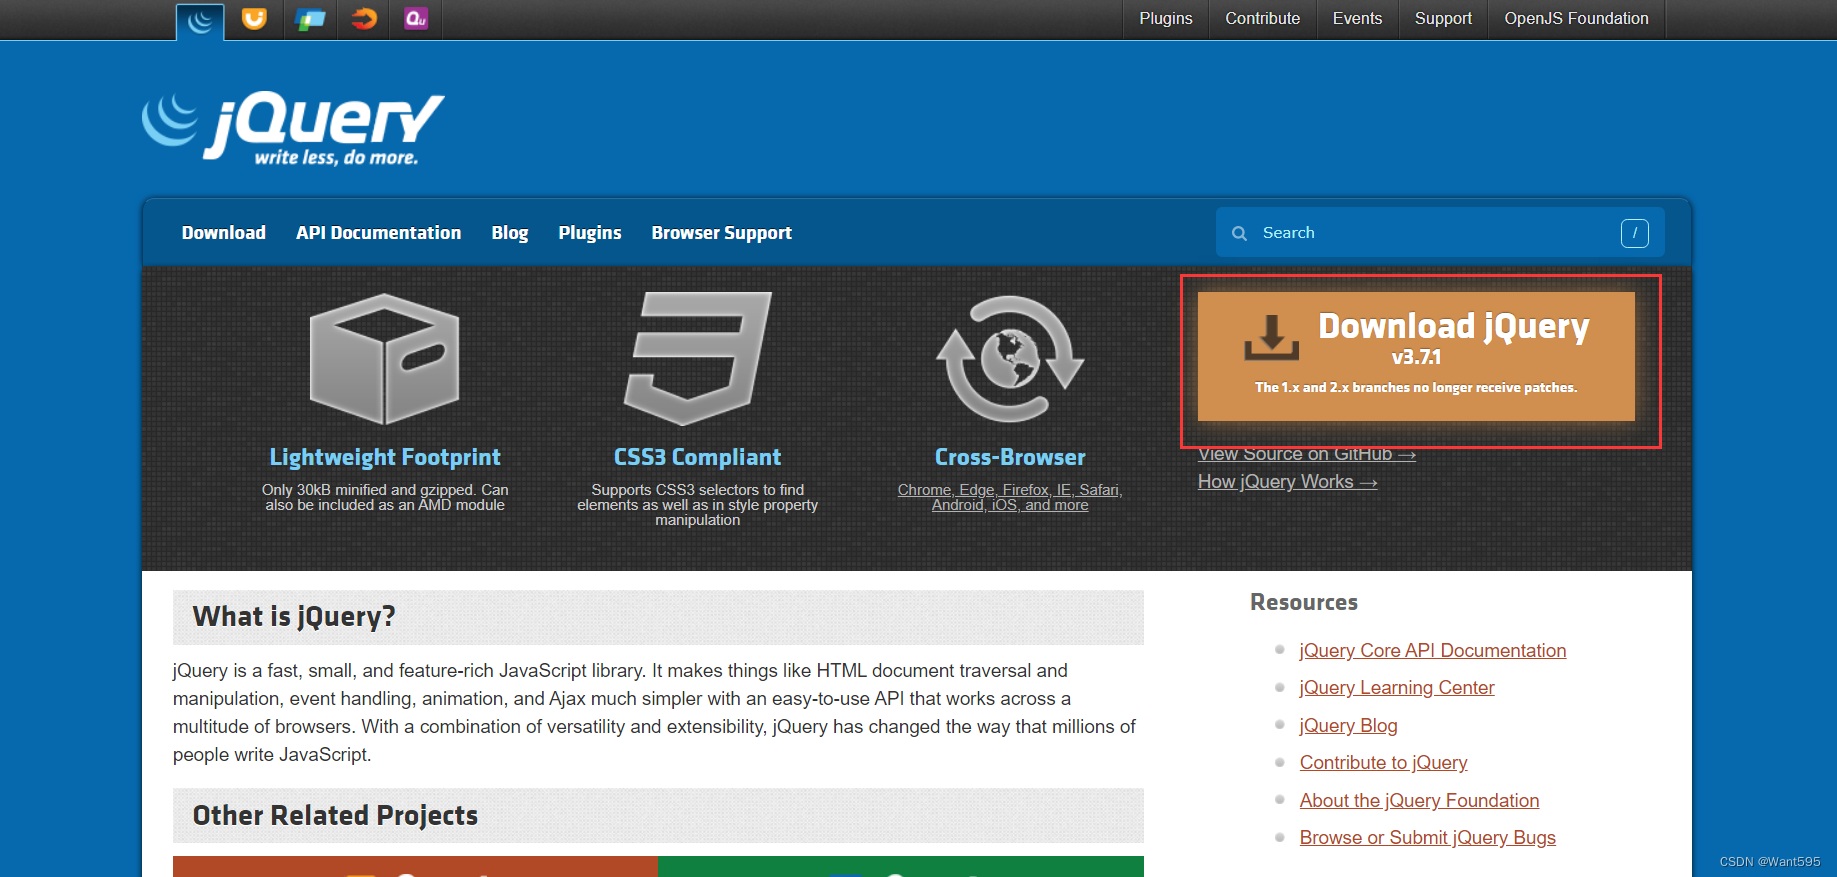
1.在官网下载bootstrap源代码后解压
2.在app文件夹下创建一个static子文件夹
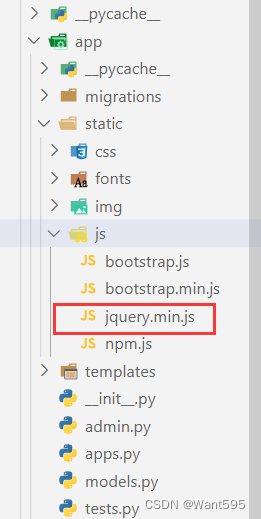
3.在解压的文件中找到dist文件夹,将该文件夹中的css,fonts,js三个子文件夹复制到static文件夹下面,并在static文件夹中新建一个名为img的子文件夹(用于存放图片)
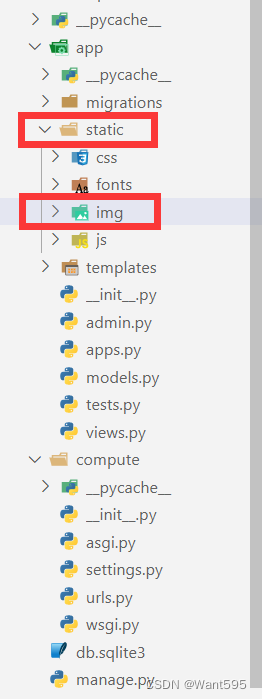
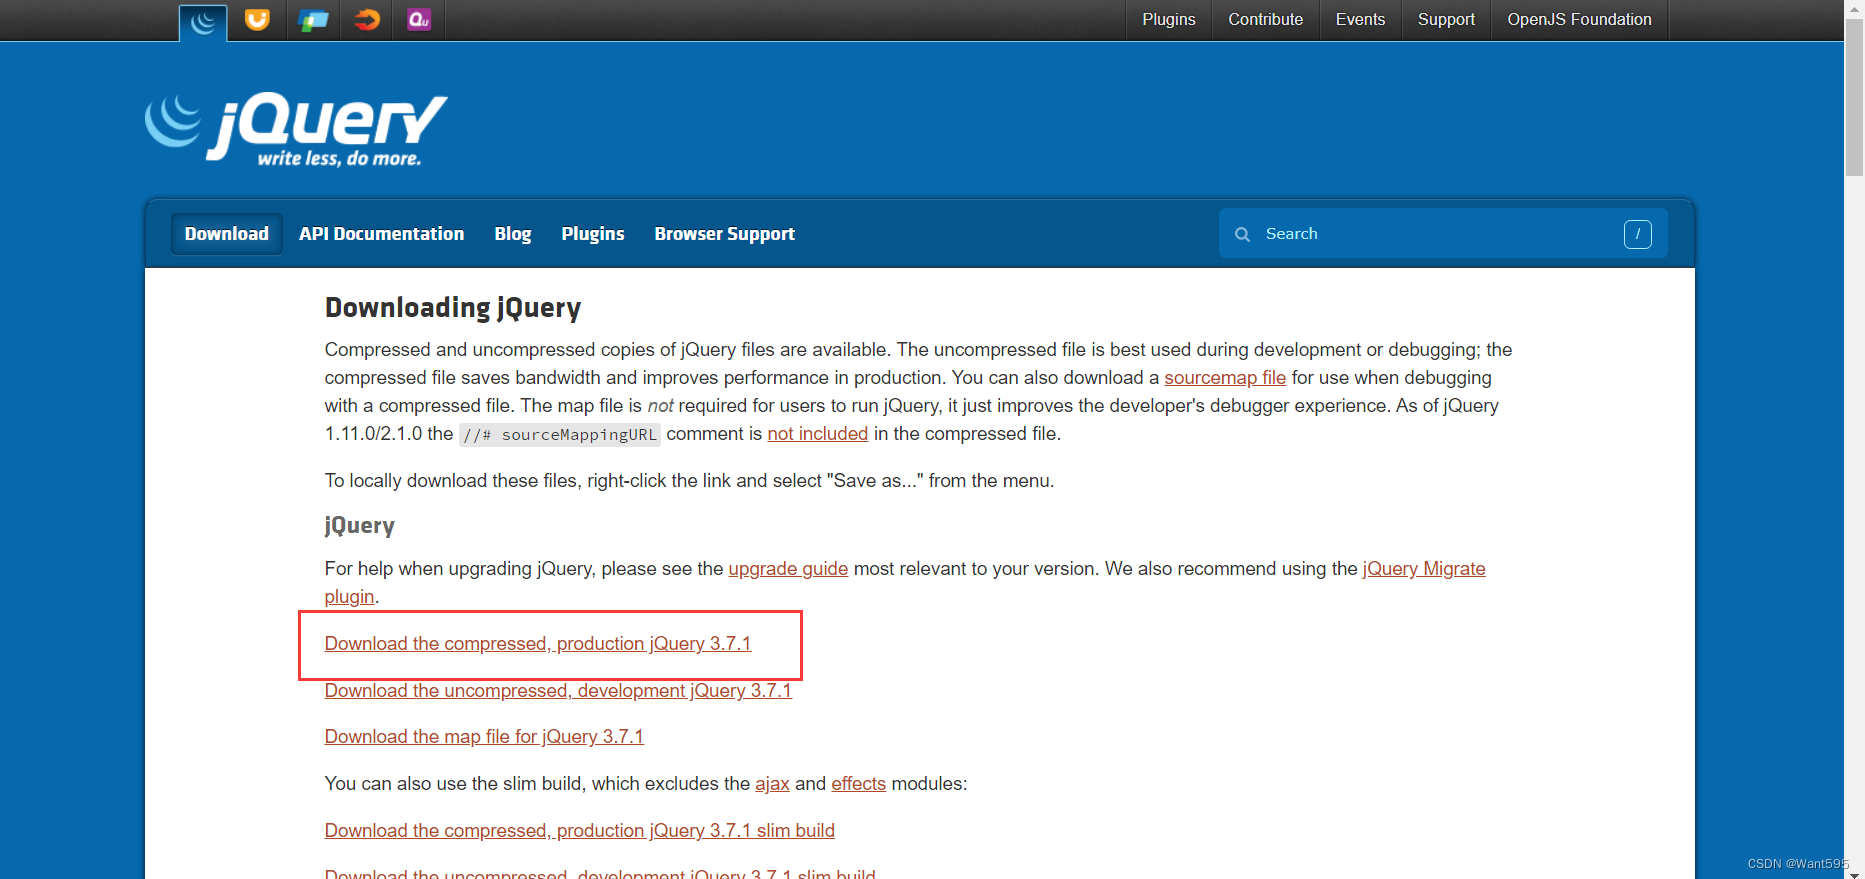
4.进入jQuery官网,复制网页内容,保存为jquery.min.js文件放到static目录下的js子文件夹中。
3. 配置项目
前端代码
1.在app文件夹下创建一个templates子文件夹,然后在templates文件夹下面创建一个index.html文件,编辑该文件,填入以下代码:
{% load static %}
<!DOCTYPEhtml><html><head><metacharset="utf-8"><metahttp-equiv="X-UA-Compatible"content="IE=edge"><metaname="viewport"content="width=device-width,initial-scale=1"><title>在线计算器</title><linkrel="stylesheet"href="{% static 'css/bootstrap.min.css' %}"/><linkrel="stylesheet"href="{% static 'css/style.css'%}"/><scriptsrc="{% static 'js/jquery.min.js' %}"></script><scriptsrc="{% static 'js/bootstrap.min.js' %}"></script></head><body><divclass="container-fluid"><divclass="row"><divclass="col-xs-1 col-sm-4"></div><divid="computer"class="col-xs-10 col-sm-6"><inputtype="text"id="txt_code"name="txt_code"value=""class="form-control input_show"placeholder="公式计算"disabled/><inputtype="text"id="txt_result"name="txt_result"value=""class="form-control input_show"placeholder="结果"disabled/><br/><div><buttontype="button"class="btn btn-default btn_num"onclick="fun_7()">7</button><buttontype="button"class="btn btn-default btn_num"onclick="fun_8()">8</button><buttontype="button"class="btn btn-default btn_num"onclick="fun_9()">9</button><buttontype="button"class="btn btn-default btn_num"onclick="fun_div()">÷</button><br/><buttontype="button"class="btn btn-default btn_num"onclick="fun_4()">4</button><buttontype="button"class="btn btn-default btn_num"onclick="fun_5()">5</button><buttontype="button"class="btn btn-default btn_num"onclick="fun_6()">6</button><buttontype="button"class="btn btn-default btn_num"onclick="fun_mul()">×</button><br/><buttontype="button"class="btn btn-default btn_num"onclick="fun_1()">1</button><buttontype="button"class="btn btn-default btn_num"onclick="fun_2()">2</button><buttontype="button"class="btn btn-default btn_num"onclick="fun_3()">3</button><buttontype="button"class="btn btn-default btn_num"onclick="fun_sub()">-</button><br/><buttontype="button"class="btn btn-default btn_num"onclick="fun_0()">0</button><buttontype="button"class="btn btn-default btn_num"onclick="fun_00()">00</button><buttontype="button"class="btn btn-default btn_num"onclick="fun_dot()">.</button><buttontype="button"class="btn btn-default btn_num"onclick="fun_add()">+</button></div><div><br/><buttontype="button"class="btn btn-success btn-lg btn_clear"id="lgbut_clear"onclick="fun_clear()">清空</button><buttontype="button"class="btn btn-success btn-lg"id="lgbut_compute">计算</button></div></div><divclass="col-xs-1 col-sm-2"></div></div></div><divclass="extendContent"></div><script>var x = document.getElementById("txt_code");var y = document.getElementById("txt_result");functionfun_1(){
                x.value +='1';}functionfun_2(){
                x.value +='2';}functionfun_3(){
                x.value +='3';}functionfun_4(){
                x.value +='4';}functionfun_5(){
                x.value +='5';}functionfun_6(){
                x.value +='6';}functionfun_7(){
                x.value +='7';}functionfun_8(){
                x.value +='8';}functionfun_9(){
                x.value +='9';}functionfun_add(){
                x.value +='+';}functionfun_sub(){
                x.value +='-';}functionfun_mul(){
                x.value +='*';}functionfun_div(){
                x.value +='/';}functionfun_0(){
                x.value +='0';}functionfun_00(){
                x.value +='00';}functionfun_dot(){
                x.value +='.';}functionfun_clear(){
                x.value ='';
                y.value ='';}</script><script>functionShowResult(data){var y = document.getElementById('txt_result')
                y.value = data['result']}</script><script>$('#lgbut_compute').click(function(){
                $.ajax({url:'/compute/',type:'POST',data:{'code':$('#txt_code').val()},dataType:'json',success:ShowResult
                })})</script></body></html>
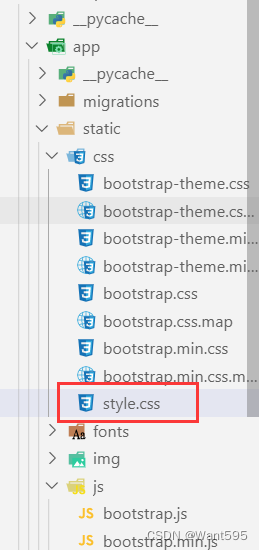
2.在css文件夹中创建一个style.css文件并填入以下内容:
body{
    background-image:url("../img/bg.jpg");
    background-position:center 0;
    background-repeat: no-repeat;
    background-attachment: fixed;
    background-size: cover;
    -webkit-background-size:cover;
    -o-background-size:cover;
    -moz-background-size:cover;
    -ms-background-size:cover;

}

.input_show{
    margin-top:35px;
    max-width:280px;
    height:35px;
}

.btn_num{
    margin:1px 1px 1px 1px;
    width:60px;
}

.btn_clear{
    margin-left:40px;
    margin-right:20px;
}

.extendContent{
    height:300px;
}
后端代码
1.配置视图处理函数,编辑views.py文件,填入以下代码:
from django.shortcuts import render
import subprocess
from django.views.decorators.http import require_POST
from django.http import JsonResponse
from django.views.decorators.csrf import csrf_exempt
import warnings

warnings.filterwarnings('ignore')# Create your views here.defhome(request):return render(request,'index.html')defrun_code(code):try:
        code ='print('+ code +')'
        output = subprocess.check_output(['python','-c', code],
                                         universal_newlines=True,
                                         stderr=subprocess.STDOUT,
                                         timeout=30)except subprocess.CalledProcessError as e:
        output ='公式输入有误'return output

@csrf_exempt@require_POSTdefcompute(request):
    code = request.POST.get('code')
    result = run_code(code)return JsonResponse(data={'result':result})
2.配置settings.py文件,找到INSTALLED_APPS字段,将创建的app应用添加进来,代码如下:
INSTALLED_APPS =['django.contrib.admin','django.contrib.auth','django.contrib.contenttypes','django.contrib.sessions','django.contrib.messages','django.contrib.staticfiles','app',#在此处添加应用]
找到ALLOWED_HOSTS字段并修改,编辑代码如下:
ALLOWED_HOSTS =['*',]
3.配置访问路由,编辑urls.py文件,填入以下代码:
from django.contrib import admin
from django.urls import path
from app.views import home, compute

urlpatterns =[
    path('admin/', admin.site.urls),
    path('', home, name='home'),
    path('compute/', compute, name='compute'),]
4. 运行项目
在终端切换到manage.py文件所在目录,输入以下命令运行项目,然后在浏览器中输入“http://127.0.0.1:8000”查看运行结果
python manage.py runserver
出现以下结果说明运行成功!
注意事项
若计算时遇到问题:
0.01s - Debugger warning: It seems that frozen modules are being used, which may0.00s - make the debugger miss breakpoints. Please pass-Xfrozen_modules=off0.00s - to python to disable frozen modules.0.00s - Note: Debugging will proceed. Set PYDEVD_DISABLE_FILE_VALIDATION=1 to disable this validation.
可以尝试在启动 Django 服务时添加
--noreload
参数来解决这个问题。如下所示:
python manage.py runserver --noreload
这个问题是由于 Django 的自动重载机制导致的,自动重载机制会导致 Python 解释器重新加载模块,从而导致调试器无法正确地识别断点位置。使用
--noreload
参数可以禁用自动重载机制,并避免这个问题的发生。
写在后面
我是一只有趣的兔子,感谢你的喜欢!
版权归原作者 Want595 所有, 如有侵权,请联系我们删除。