
1.配置tabBar
pages.json
 "tabBar": {
    "color": "#9799a5",
    "selectedColor": "#28B389",
    "list": [
      {
        "text": "推荐",
        "pagePath": "pages/index/index",
        "iconPath": "static/images/tabBar/home.png",
        "selectedIconPath": "static/images/tabBar/home-h.png"
      },
      {
        "text": "分类",
        "pagePath": "pages/classify/classify",
        "iconPath": "static/images/tabBar/classify.png",
        "selectedIconPath": "static/images/tabBar/classify-h.png"
      },
      {
        "text": "我的",
        "pagePath": "pages/user/user",
        "iconPath": "static/images/tabBar/user.png",
        "selectedIconPath": "static/images/tabBar/user-h.png"
      }
    ]
  }
2.分类页面
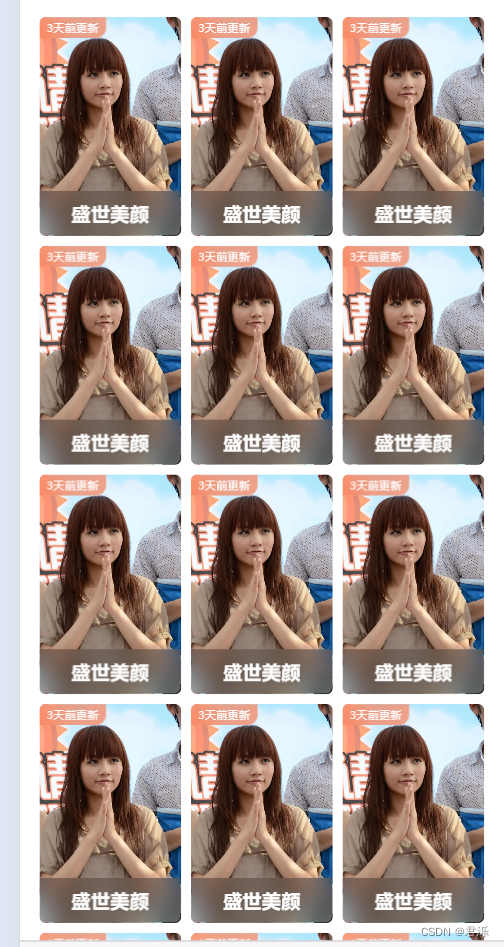
classify.vue
<template>
  <view class="classLayout">
        <view class="classify">
            <theme-item v-for="item in 15"></theme-item>
        </view>
  </view>
</template>

<script setup>

</script>
<style lang="scss" scoped>
.classify{
  padding: 30rpx;
  display: grid;
  grid-template-columns: repeat(3,1fr);
  gap: 15rpx;
}
</style>
3.我的页面
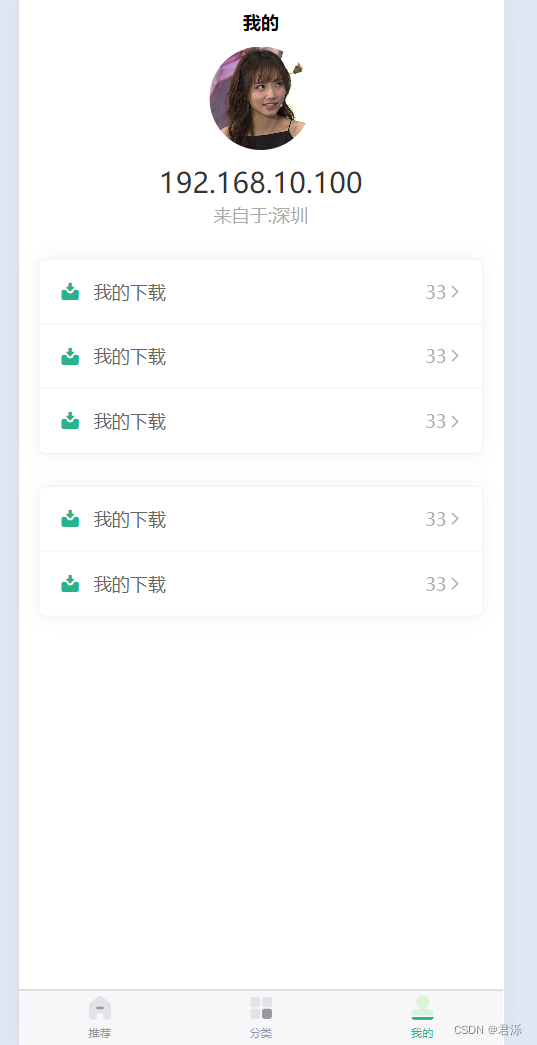
user.vue
1)基础布局
 <view class="userLayout">
      <view class="userInfo">
          <view class="avatar">
              <image src="/common/images/64.png" mode="aspectFill"></image>
          </view>
          <view class="ip">192.168.10.100</view>
          <view class="address">来自于:深圳</view>
      </view>

      <view class="section">
          <view class="list">
              <view class="row" v-for="item in 3">
                  <view class="left">
                    <uni-icons type="download-filled" size="20" color="#28b389"></uni-icons>
                    <view class="text">我的下载</view>
                  </view>
                  <view class="right">
                      <view class="text">33</view>
                      <uni-icons type="right" size="15" color="#aaa"> </uni-icons>
                  </view>
              </view>
          </view>
      </view>
     <view class="section">
         <view class="list">
             <view class="row" v-for="item in 2">
                 <view class="left">
                   <uni-icons type="download-filled" size="20" color="#28b389"></uni-icons>
                   <view class="text">我的下载</view>
                 </view>
                 <view class="right">
                     <view class="text">33</view>
                     <uni-icons type="right" size="15" color="#aaa"> </uni-icons>
                 </view>
             </view>
         </view>
     </view>
  </view>
.userLayout{
  .userInfo{
    display: flex;
    align-items: center;
    justify-content: center;
    flex-direction: column;
    .avatar{
      width: 160rpx;
      height: 160rpx;
      border-radius: 50%;
      overflow: hidden;
      image{
        width: 100%;
        height: 100%;
      }
    }
    .ip{
      font-size: 44rpx;
      color: #333;
      padding: 20rpx 0 5rpx;
    }
    .address{
      font-size: 28rpx;
      color: #aaa;
    }
  }

  .section{
    width: 690rpx;
    margin: 50rpx auto;
    border: 1px solid #eee;
    border-radius: 10rpx;
    //设置阴影
    box-shadow: 0 0 30rpx rgba(0, 0, 0, 0.05);
    .list{
      .row{
        display: flex;
        justify-content: space-between;
        padding: 0 30rpx;
        height: 100rpx;
        //线
        border-bottom: 1px solid #eee;
        //去掉最后一条重复的线  &:代表在当前标签下
        &:last-child{border-bottom: 0;}
        .left{
          display: flex;
          align-items: center;
          .text{
            padding-left: 20rpx;
            color: #666;
          }
        }
        .right{
          display: flex;
          align-items: center;
          .text{
            font-size: 28rpx;
            color: #aaa;
          }
        }
      }
    }

  }

}
2)设置客服/拨打电话按钮
<view class="section"> <view class="list"> <view class="row"> <view class="left"> <uni-icons type="chatboxes-filled" size="20" color="#28b389"></uni-icons> <view class="text">联系客服</view> </view> <view class="right"> <view class="text">33</view> <uni-icons type="right" size="15" color="#aaa"> </uni-icons> </view>//条件编译
<button open-type="contact">联系客服</button>
<button @click="clickContact">拨打电话</button>
</view>
</view>
</view>
//客服按钮
button{
position: absolute;
top: 0;
left: 0;
height: 100rpx;
width: 100%;
opacity: 0;
}
4.设置全局线性渐变背景色
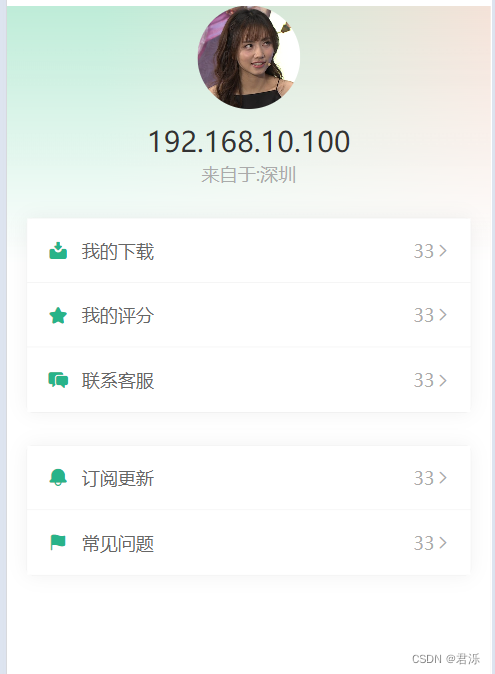
user.vue
<view class="userLayout pageBg">
common-style.scss
view,swiper,swiper-item{
//内填充
box-sizing: border-box;
}.pageBg{
//线性渐变
//从左到右
// background: linear-gradient(to right,red,#fff,green);
//transparent:也可以表示透明色
background:
// linear-gradient(to bottom,rgba(0,0,0,0) 50%,#fff 100%),
linear-gradient(to bottom,rgba(0,0,0,0) , #fff 400rpx),
linear-gradient(to right,#beecd8 20%,#F4E2D8)
;
min-height: 80vh;}
5.自定义颜色变量
在common下创建base-style.scss
在官方文件uni.scss中导入:@import "@/common/style/base-style.scss";
注:导入重启时,需要重新运行Uniapp,这样才不会报错
$brand-theme-color:#28B389; //品牌主体红色
$border-color:#e0e0e0; //边框颜色
$border-color-light:#efefef; //边框亮色$text-font-color-1:#000; //文字主色
$text-font-color-2:#676767; //副标题颜色
$text-font-color-3:#a7a7a7; //浅色
$text-font-color-4:#e4e4e4; //更浅
使用
.date{
color: $brand-theme-color;
}//这样写在H5中可以生效,小程序中不能生效
.uni-icons{
//!important:代表权重最高
color: $brand-theme-color !important;
}//所以修改为如下即可:
//穿透到组件内部,去改变组件类名
:deep(){
.uni-icons{
//!important:代表权重最高
color: $brand-theme-color !important;
}
}
版权归原作者 君泺 所有, 如有侵权,请联系我们删除。