
一、环境说明:
1.操作系统:CentOS 7.9
2.openssl : OpenSSL 1.1.1q 5 Jul 2022
二、搭建私有CA
- 创建CA目录,在目录下创建相关目录如下:
mkdir CA/{certs,crl,newcerts,private}
tree CA/
CA/
├── certs
├── crl
├── newcerts
└── private

4 directories, 0 files
在CA下生成证书索引库文件:
touch index.txt
指定颁发第一个证书的序列号:
echo 01 > serial
ll
total 4
drwxrwxr-x. 2 john john   6 8月  17 09:59 certs
drwxrwxr-x. 2 john john   6 8月  17 09:59 crl
-rw-rw-r--. 1 john john   0 8月  17 10:59 index.txt  #索引库文件
drwxrwxr-x. 2 john john   6 8月  17 09:59 newcerts
drwxrwxr-x. 2 john john   6 8月  17 11:54 private
-rw-rw-r--. 1 john john   3 8月  17 11:00 serial     ##下一个颁发证书的序列号存放点
- 生成SM2私钥
openssl ecparam -genkey -name SM2 -param_enc explicit -outform pem -out private/cakey.pem
生成证书:
openssl req -new -key private/cakey.pem -out private/cacert.csr
openssl x509 -req -days 3650 -in private/cacert.csr -signkey private/cakey.pem -out cacert.pem
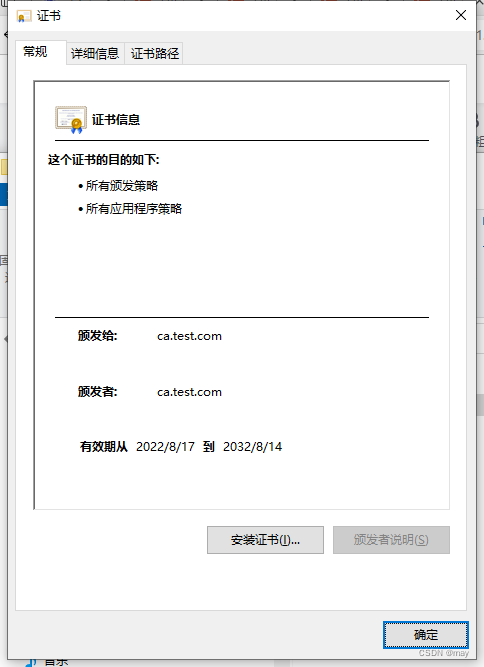
3.ca自签名证书生成完毕。将该证书后缀改为crt,导入到windows的受信任根证书路径下。
三、颁发证书
1、生成SM2私钥
openssl ecparam -genkey -name SM2 -param_enc explicit -outform pem -out private/it.key
2、生成证书
openssl req -new -key private/it.key -out private/it.csr
openssl ca -in private/it.csr  -out certs/it.crt -days 1000
四、注意事项
1、修改openssl.cnf 文件。提交ca颁发证书时会提示openssl.cnf的位置:
[john@localhost CA]$ openssl ca -in private/it.csr  -out certs/it.crt -days 1000
Using configuration from /usr/local/ssl/openssl.cnf
Check that the request matches the signature
Signature ok
Certificate Details:
        Serial Number: 3 (0x3)
        Validity
            Not Before: Aug 17 09:05:01 2022 GMT
            Not After : May 13 09:05:01 2025 GMT
        Subject:
            countryName               = CN
            stateOrProvinceName       = shandong
            organizationName          = test
            organizationalUnitName    = it
            commonName                = it.test.com
        X509v3 extensions:
            X509v3 Basic Constraints:
                CA:FALSE
            Netscape Comment:
                OpenSSL Generated Certificate
            X509v3 Subject Key Identifier:
                74:3E:9D:4F:EC:63:82:F8:1D:39:D1:EF:1D:6B:EA:A9:D3:4B:2C:42
            X509v3 Authority Key Identifier:
                DirName:/C=CN/ST=shandong/L=qingdao/O=test/OU=ca/CN=ca.test.com
                serial:46:BC:04:33:11:15:41:C7:8C:BF:4C:FC:EA:C1:5A:B1:70:46:52:3E

Certificate is to be certified until May 13 09:05:01 2025 GMT (1000 days)
Sign the certificate? [y/n]:y

1 out of 1 certificate requests certified, commit? [y/n]y
Write out database with 1 new entries
Data Base Updated
修改openssl.cnf中ca的dir为刚才创建的CA文件夹路径:
[ ca ]
default_ca    = CA_default        # The default ca section

####################################################################
[ CA_default ]

dir        = /home/john/pki/CA        # Where everything is kept
certs        = $dir/certs        # Where the issued certs are kept
crl_dir        = $dir/crl        # Where the issued crl are kept
database    = $dir/index.txt    # database index file.
#unique_subject    = no            # Set to 'no' to allow creation of
                    # several certs with same subject.
new_certs_dir    = $dir/newcerts        # default place for new certs.

certificate    = $dir/cacert.pem     # The CA certificate
serial        = $dir/serial         # The current serial number
crlnumber    = $dir/crlnumber    # the current crl number
                    # must be commented out to leave a V1 CRL
crl        = $dir/crl.pem         # The current CRL
private_key    = $dir/private/cakey.pem# The private key

x509_extensions    = usr_cert        # The extensions to add to the cert
查看证书有效性:
[john@localhost CA]$ openssl ca -status 01
Using configuration from /usr/local/ssl/openssl.cnf
01=Valid (V)
CA证书:
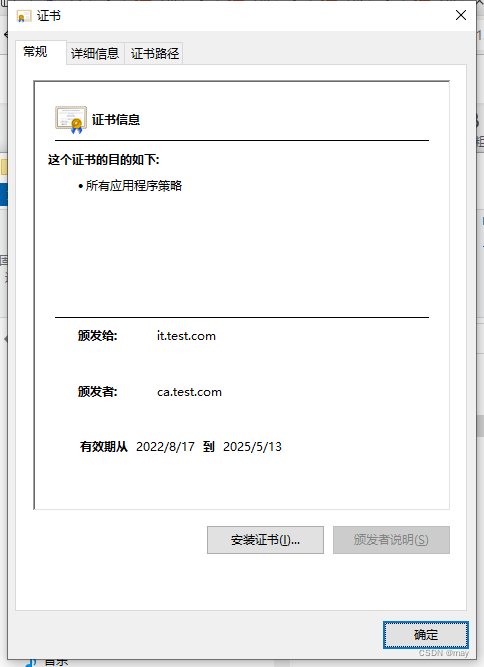
这个CA颁发的证书:

本文转载自: https://blog.csdn.net/sxm0403/article/details/126388299
版权归原作者 may 所有, 如有侵权,请联系我们删除。
版权归原作者 may 所有, 如有侵权,请联系我们删除。