
文章目录
技术概述
描述这个技术是做什么的/什么情况下会使用到这个技术,学习该技术的原因,技术的难点在哪里。控制在50-100字内。
uniapp的map组件中导航路线的展示。是uniapp开发app时引入地图导航的实现方式。技术难点在于实现map组件时对于属性以及函数的细节使用很容易出现一些奇怪的bug。
技术详述
描述你是如何实现和使用该技术的,要求配合代码和流程图详细描述。可以再细分多个点,分开描述各个部分。
- 首先是在地图开发者平台申请地图的key
key在地图开发时引入地图时是必备

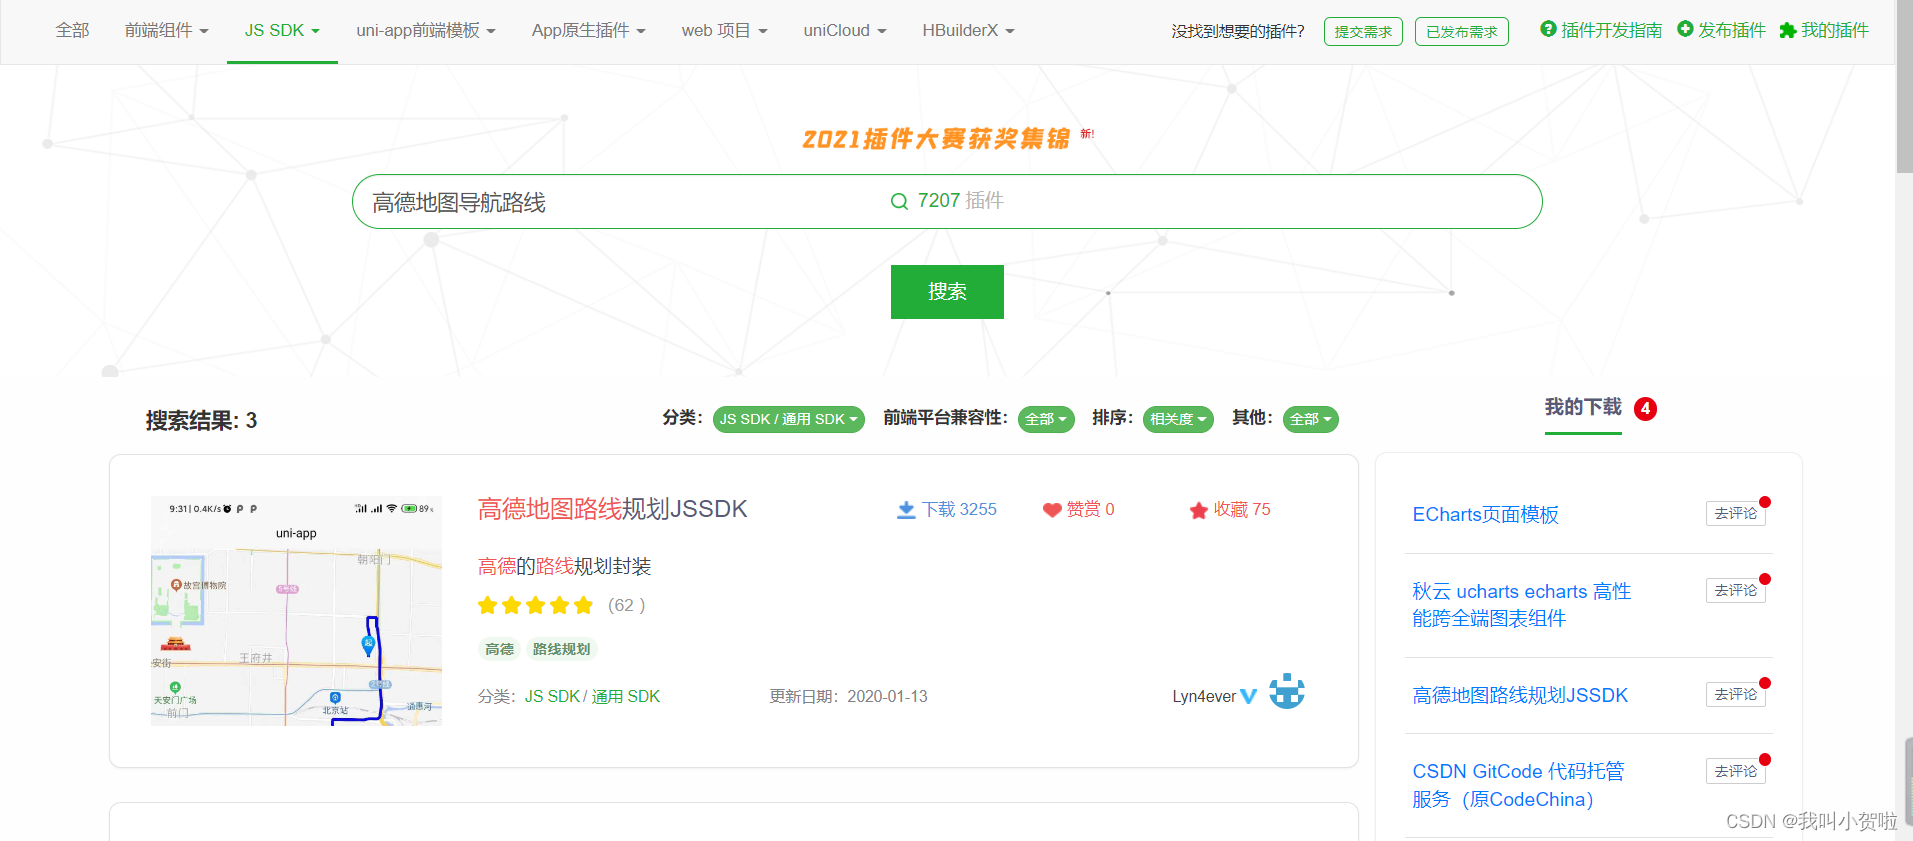
- 接着在开发工具HbuilderX的插件市场安装插件
在插件市场找到这个路线规划插件,点击进行安装到开发工具中。
- 在页面的script中引入js文件
import Amap from'@/js/lyn4ever-gaode.js';
- 以上的js文件有两个函数,分别为绘制路线与路线标记点函数
绘制规划路线函数
//绘制规划路线functionPlanningRoute(start, end, _waypoints, result, fail){let that =this;var myAmapFun =newamapFile.AMapWX({key: key
    });
    myAmapFun.getDrivingRoute({origin: start,destination: end,waypoints: _waypoints,success:function(data){var points =[];if(data.paths && data.paths[0]&& data.paths[0].steps){var steps = data.paths[0].steps;for(var i =0; i < steps.length; i++){var poLen = steps[i].polyline.split(';');for(var j =0; j < poLen.length; j++){
                        points.push({longitude:parseFloat(poLen[j].split(',')[0]),latitude:parseFloat(poLen[j].split(',')[1])})}}}result({points: points,color:"#0606ff",width:8})},fail:function(info){fail(info)}})}
路线标记点函数
//标记标记点functionMakemarkers(startpoi, endpoi, waypoints, success){let markers =[];//起点let start ={iconPath:"@/static/img/log/nav.png",id:0,longitude: startpoi.split(",")[0],latitude: startpoi.split(",")[1],width:23,height:33,callout:{content:'起点',}}
    markers.push(start)//终点let end ={iconPath:"@/static/img/log/nav.png",id:1,longitude: endpoi.split(",")[0],latitude: endpoi.split(",")[1],width:23,height:33,callout:{content:'终点',}}
    markers.push(end)//途经点,先将其分隔成为数组let _waypoints = waypoints.split(';')for(let i =0, _len = _waypoints.length; i < _len; i++){let point ={iconPath:"/static/tjd.png",id: i,longitude:parseFloat(_waypoints[i].split(",")[0]),latitude:parseFloat(_waypoints[i].split(",")[1]),width:23,height:33,callout:{content:'途径点',}}
        markers.push(point)}success(markers);}
- 接着在script里的showRouter()调用js里面的两个函数
只要传入起点与终点的经纬度即可在map组件里展示出规划路线来
只要传入对应的路线途中打点的数组对象即可在路线中显示经过的点。
showRouter(){let that =this;var startPoi = that.longitude+','+that.latitude;var wayPoi ="";var endPoi = that.addressObj.longitude+','+that.addressObj.latitude;

    Amap.line(startPoi, endPoi, wayPoi,function(res){
        that.polyline=[];
        that.polyline.push(res)});

    Amap.markers(startPoi,endPoi,wayPoi,function(res){
        that.markers=[];
        that.markers.push.apply(that.markers,res)})}
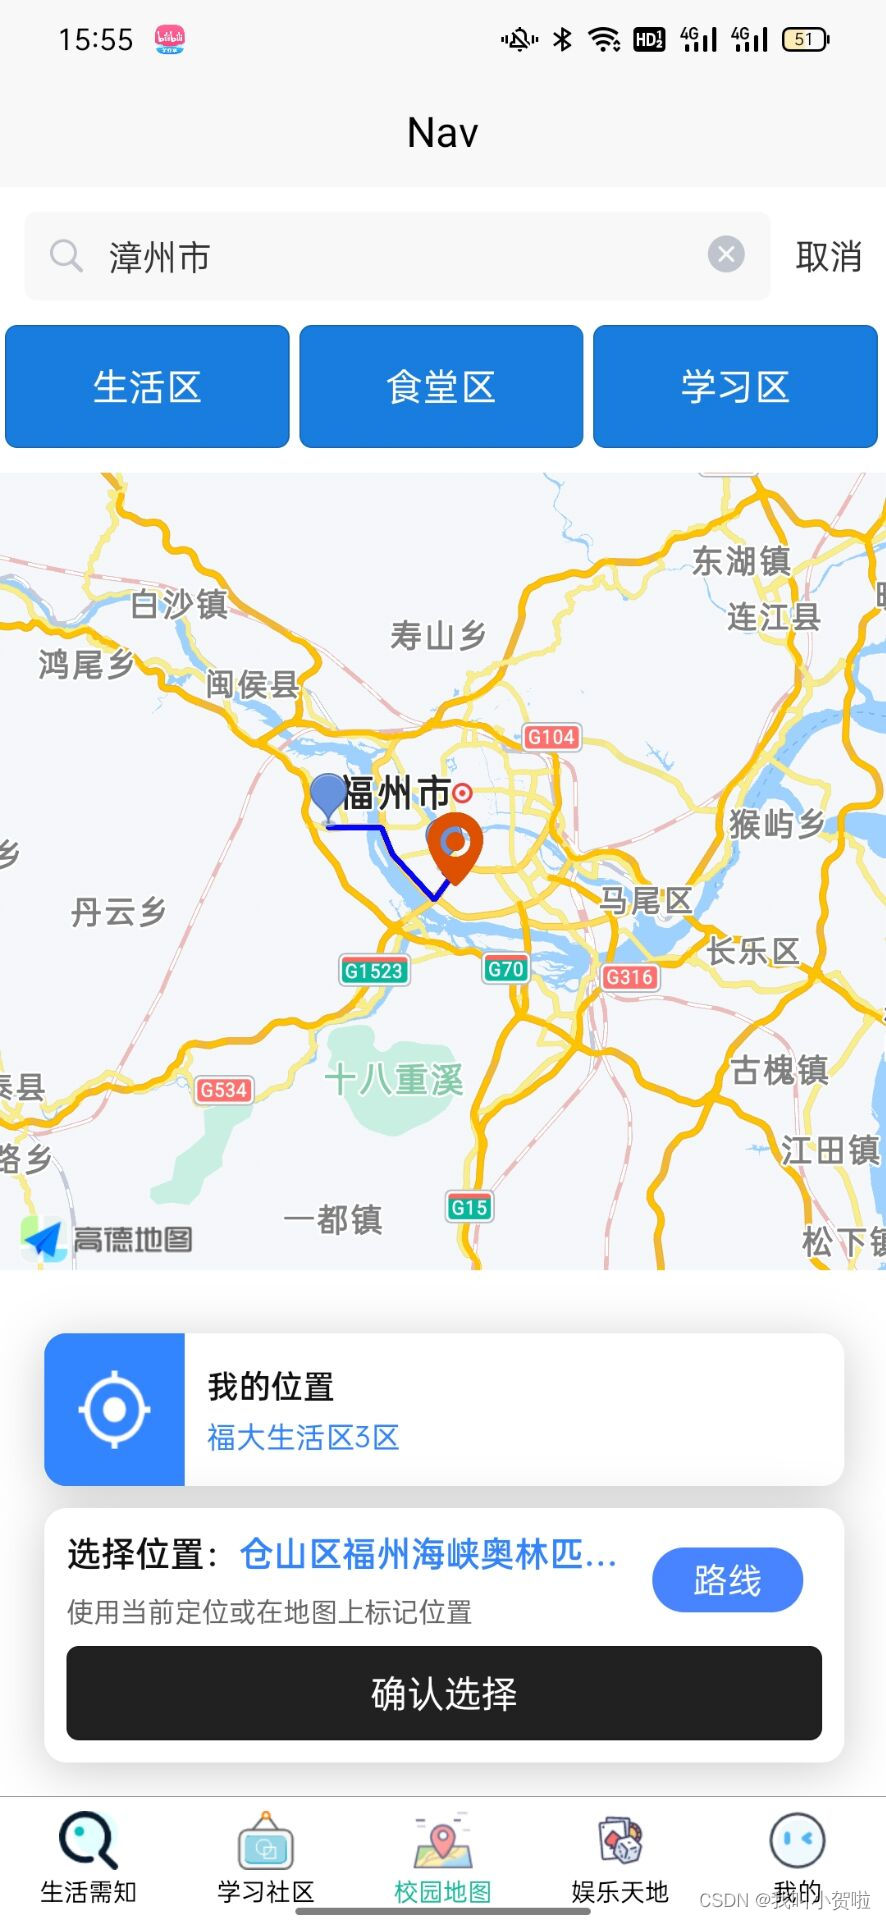
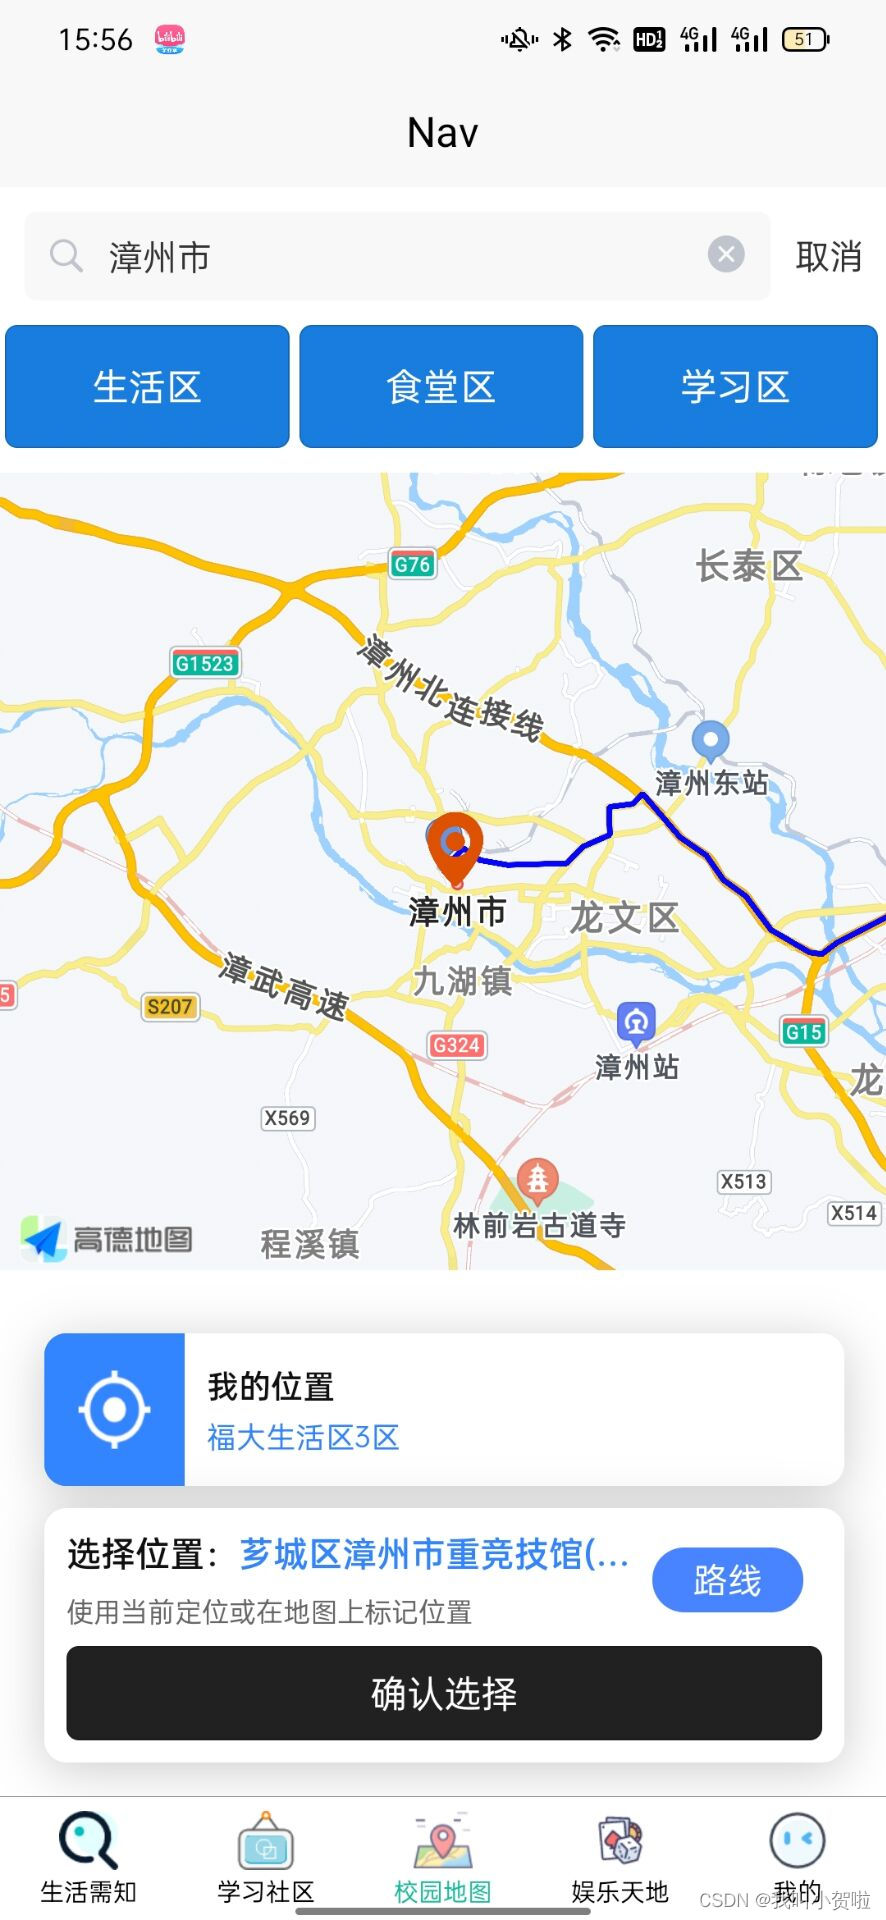
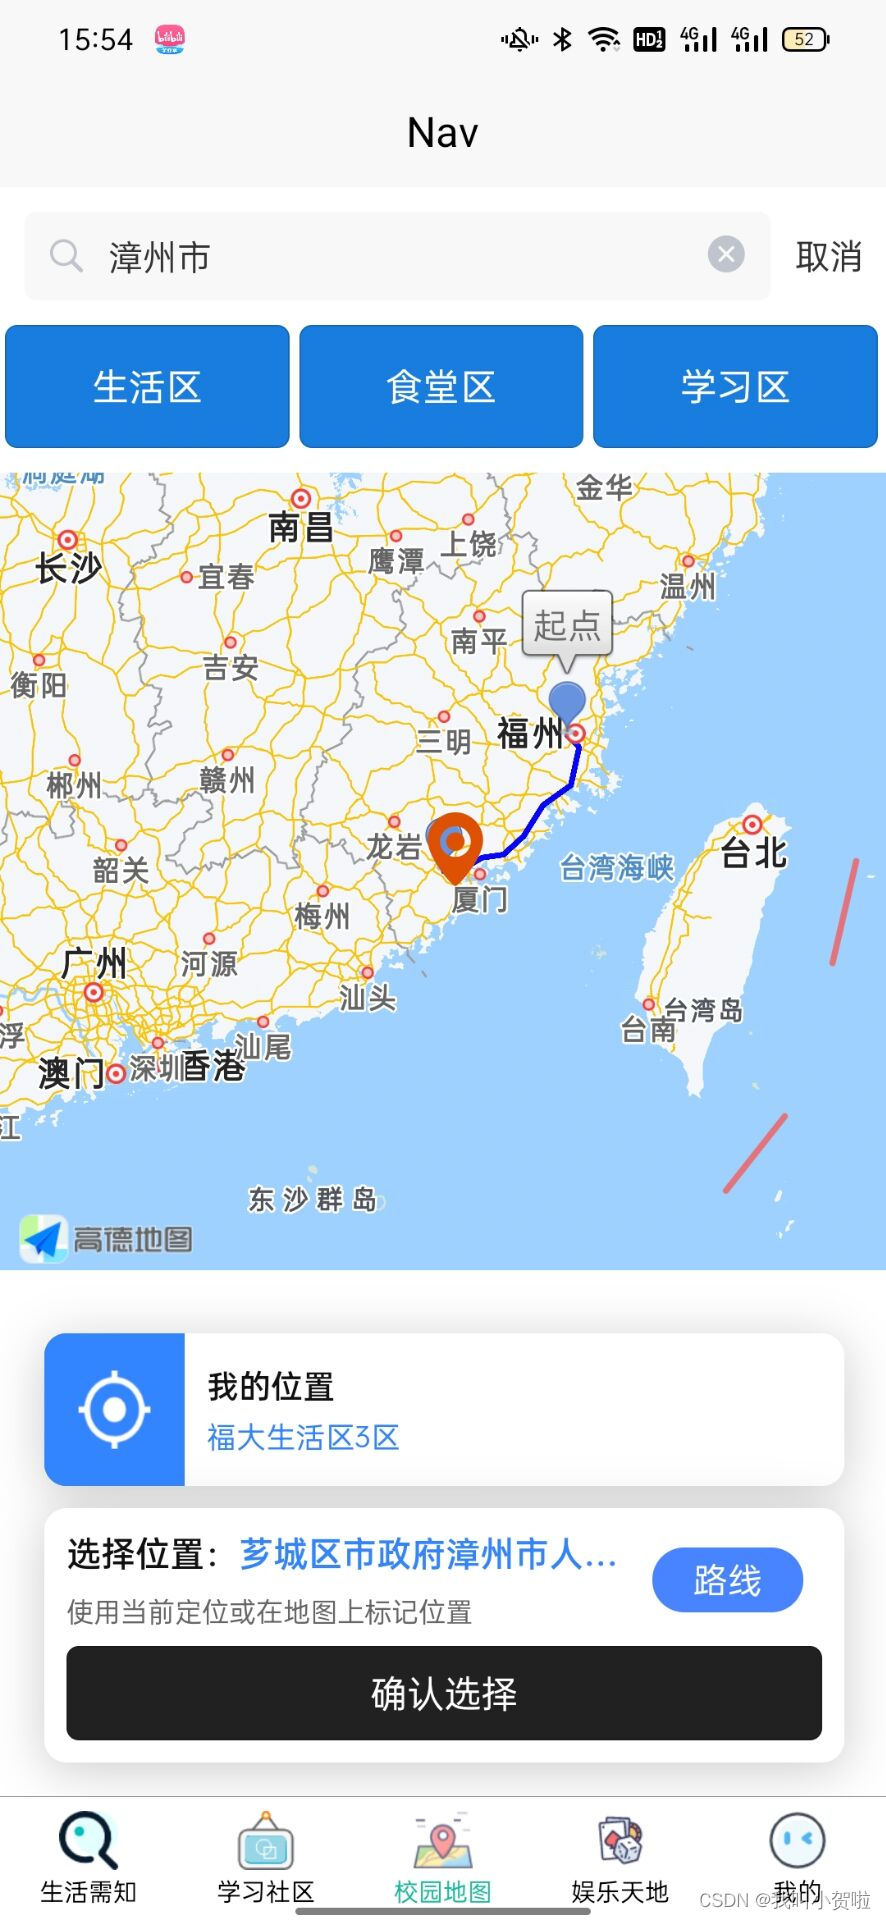
- 效果图
问题与解决
技术使用中遇到的问题和解决过程。要求问题的描述和解决有一定的内容,不能草草概括。要让遇到相关问题的人看了你的博客之后能够解决该问题。
问题:
- 导航路线展示后地图页面缩放大小不能很好的控制, 由于展示路线后我们期望地图视角能够涵括这个路线的起始点,这个问题困扰了我很久,解决前,总是在路线规划展示后视野仅仅停留在路线的一小部分。解决后,即可完全展示整个路线的视野。
解决:
- 我根据路线的起始点之间的距离,利用一个拟合函数来处理地图scale的大小,这样就可以调整好地图的缩放大小。
通过请求后端来返回导航的距离,设置一个surface数组来存放标记值,将距离换算成km后去遍历surface数组,当距离大于数组的值时,将地图的scale设置为surface对应下标值+5,这样就可以实现路线展示后地图缩放大小的控制了。
uni.request({/* url: 'http://47.95.151.202:8087/getDist/福州大学/福州三坊七巷', */url:'http://47.95.151.202:8087/getDist/'+that.myAddress+'/'+that.realAddress,success:(res)=>{// 请求成功之后将数据给Infovar result = res.data;
        console.log(that.myAddress);
        console.log(that.realAddress);if(result.code===200){var surface =[500,200,100,50,20,10,5,2,1,0.5,0.2,0.1,0.05,0.02];var isset=1;var farthestDistance=result.data/1000;
            console.log(result.data);for(var i in surface){if(farthestDistance >surface[i]){
                    that.myscale =5+Number(i);
                    isset=0;break;}}if(isset) that.myscale=16;
            console.log(that.myscale);};if(result.code===500){
            uni.showToast({title:'获取距离错误,换个地点试试呗',icon:'none',});}},fail(err){res(err);}});
我的总结
- 通过此次的地图学习,基本掌握了地图的实现方式,导航路线的展示方法,以及map组件的相关属性和函数的使用,收获颇丰。
参考文献
uniapp 开发安卓App引入高德地图
本文转载自: https://blog.csdn.net/weixin_45739290/article/details/125424472
版权归原作者 我叫小贺啦 所有, 如有侵权,请联系我们删除。
版权归原作者 我叫小贺啦 所有, 如有侵权,请联系我们删除。