步骤
前提准备
- 环境介绍:VMware16 + Ubuntu22.04 LTS
- 内存内存内存!!!大概要预留9GB出来 有一次难得见到胜利曙光了最后败在内存不足上。。。
- python版本的问题。这一版Ubuntu自带3.10版本,但是本人用惯了3.8所以重新装了个3.8,可参考: ubuntun-20.04 安装 python3.8
- 从github下载失败问题解决 无数次安装失败后发现原因出在连接超时上,这里参考了这个方法: linux下无法登陆github官网的解决方案 - wutheringcoo的文章 - 知乎 搬运一下步骤:
(1) 在终端输入:
sudo vim /etc/hosts
进入hosts,并用vim打开该文件。可能需要管理员密码。
(2)在文件末尾添加如下内容:
# GitHub Start
140.82.113.3      github.com
140.82.114.20     gist.github.com
151.101.184.133    assets-cdn.github.com
151.101.184.133    raw.githubusercontent.com
151.101.184.133    gist.githubusercontent.com
151.101.184.133    cloud.githubusercontent.com
151.101.184.133    camo.githubusercontent.com
151.101.184.133    avatars0.githubusercontent.com
199.232.68.133     avatars0.githubusercontent.com
199.232.28.133     avatars1.githubusercontent.com
151.101.184.133    avatars1.githubusercontent.com
151.101.184.133    avatars2.githubusercontent.com
199.232.28.133     avatars2.githubusercontent.com
151.101.184.133    avatars3.githubusercontent.com
199.232.68.133     avatars3.githubusercontent.com
151.101.184.133    avatars4.githubusercontent.com
199.232.68.133     avatars4.githubusercontent.com
151.101.184.133    avatars5.githubusercontent.com
199.232.68.133     avatars5.githubusercontent.com
151.101.184.133    avatars6.githubusercontent.com
199.232.68.133     avatars6.githubusercontent.com
151.101.184.133    avatars7.githubusercontent.com
199.232.68.133     avatars7.githubusercontent.com
151.101.184.133    avatars8.githubusercontent.com
199.232.68.133     avatars8.githubusercontent.com
# GitHub End
保存并退出(vim基本操作不再赘述)
(3)其实做完前两步基本能解决了,但是出于保险起见,本人还处理了一下代理的问题。在安装了git的前提下,在终端输入
git config --global --unset http.proxy
git config --global --unset https.proxy
安装git可参考这篇:
Git的Ubuntu安装及使用(详细图文)
开始安装
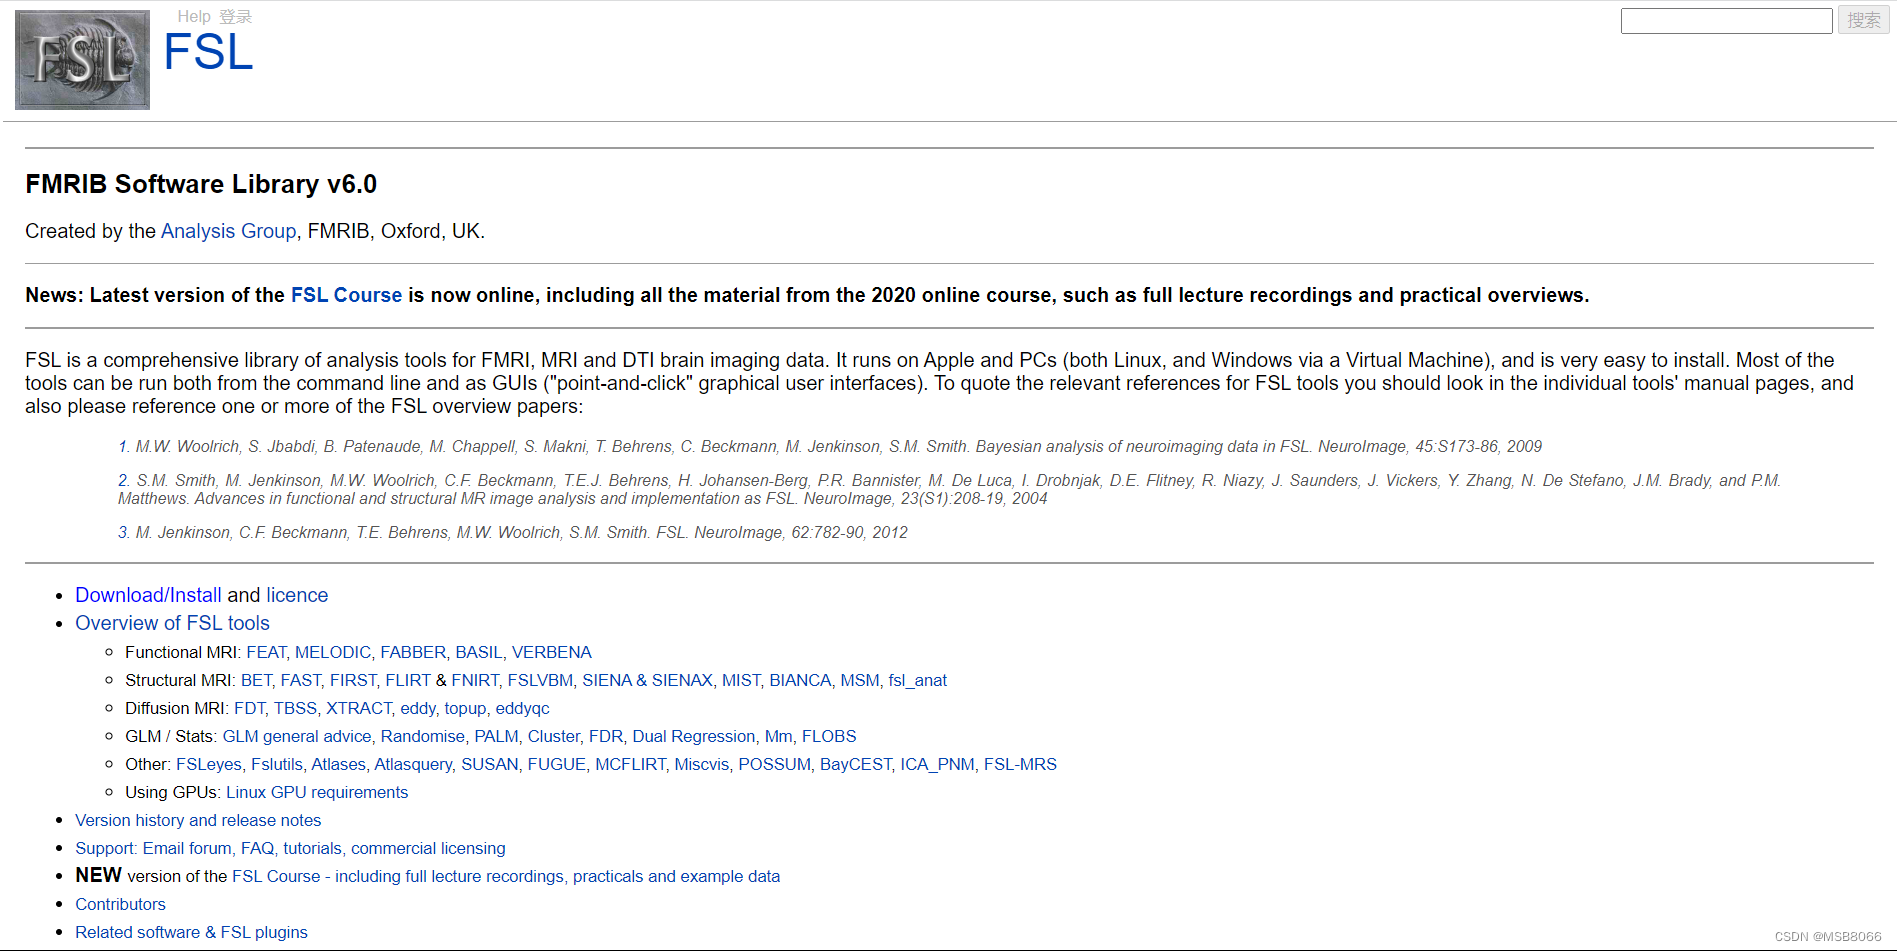
- 进入官网:https://fsl.fmrib.ox.ac.uk/fsl/fslwiki/ 页面长这样:
- 按顺序点击+注册
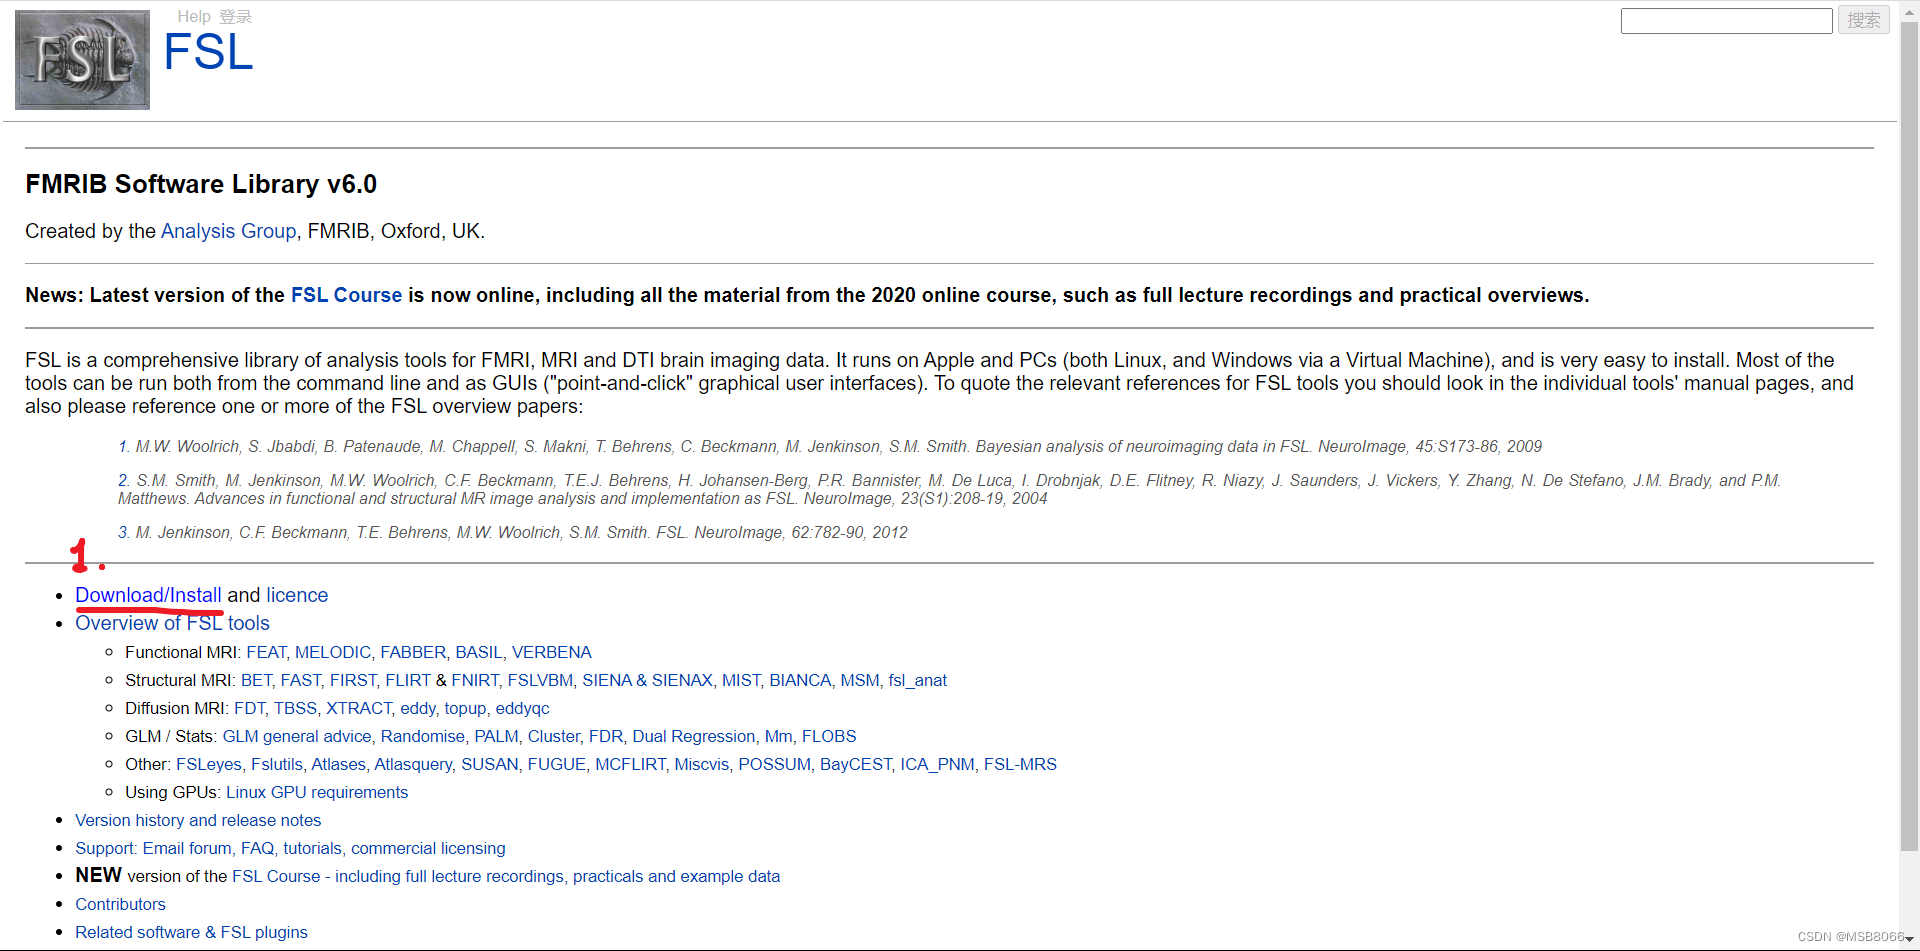
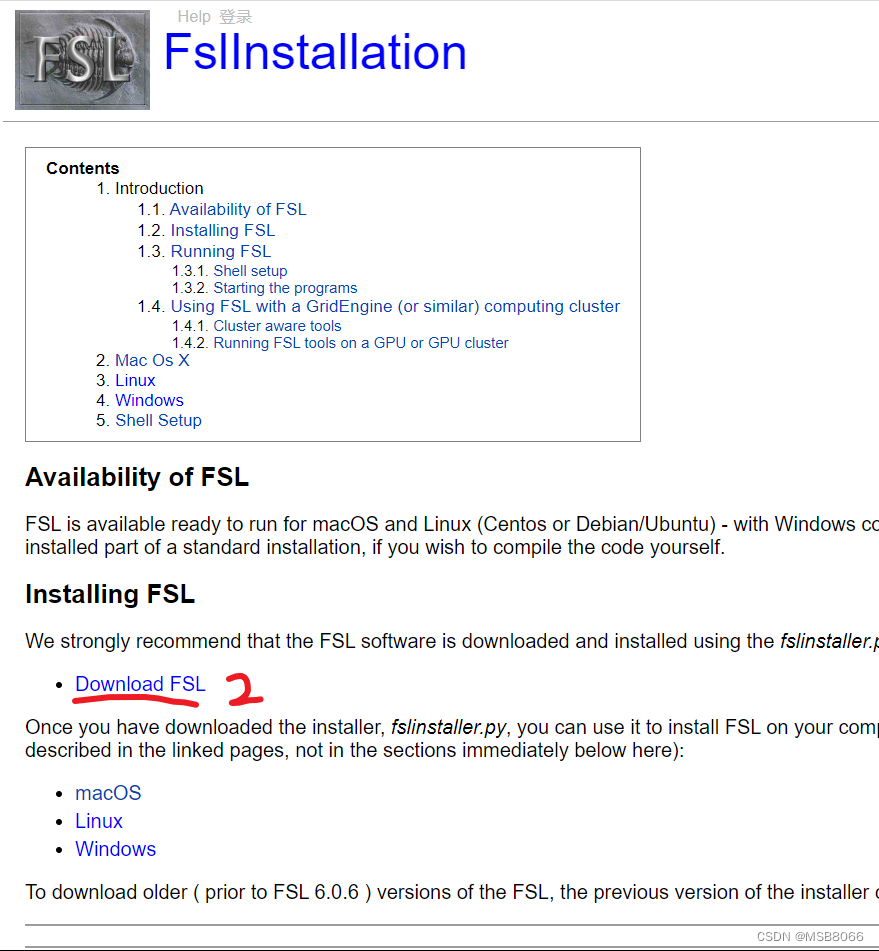
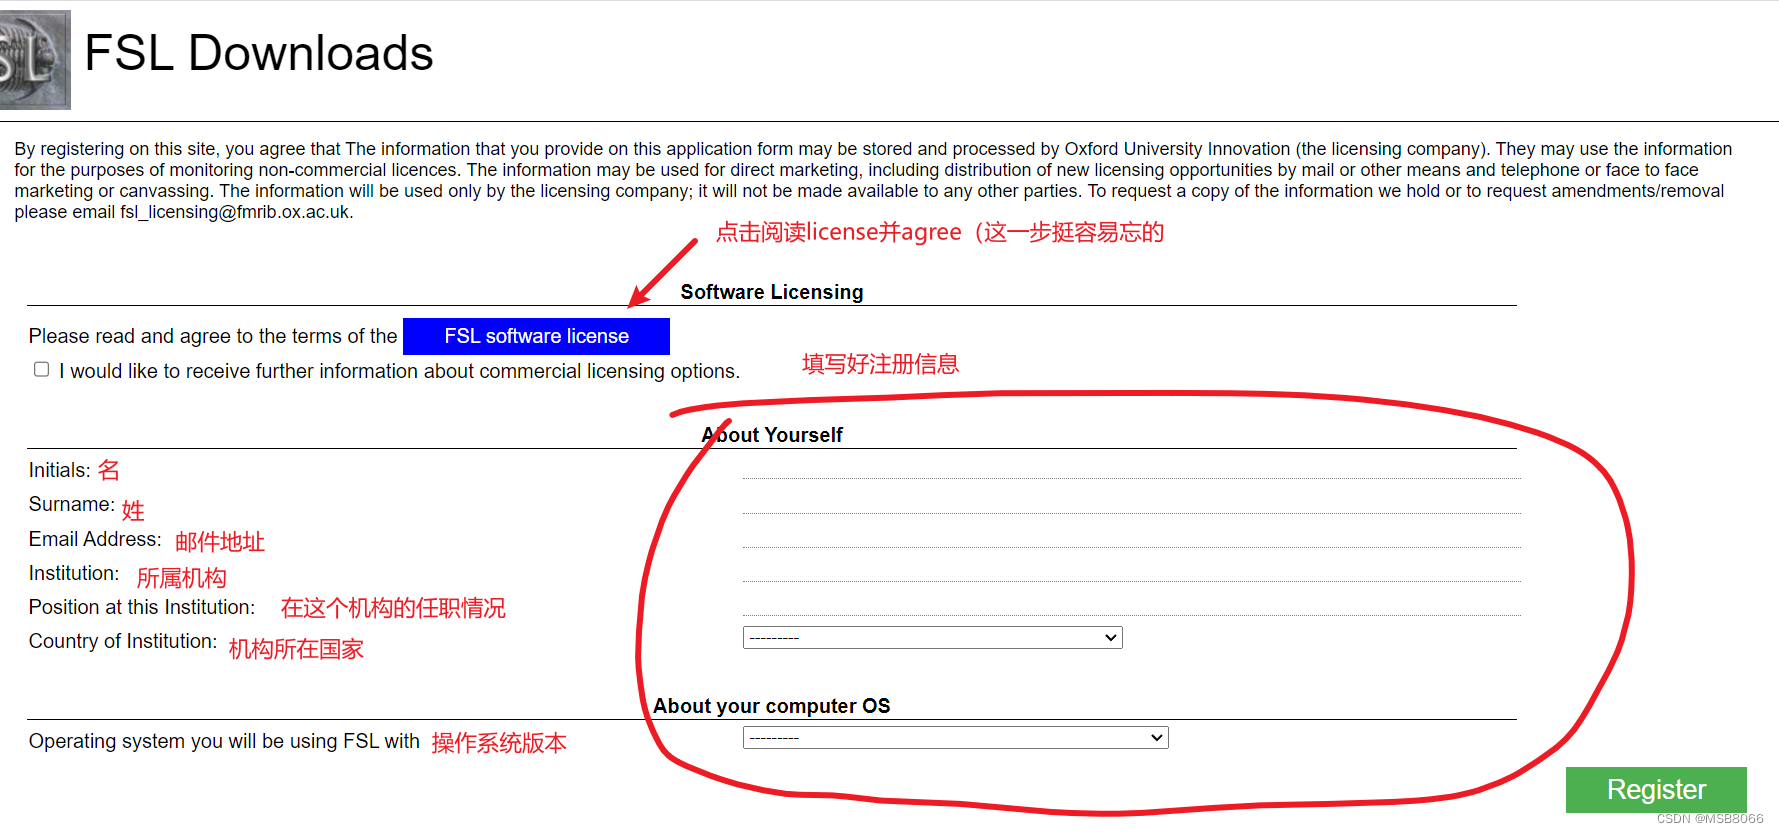
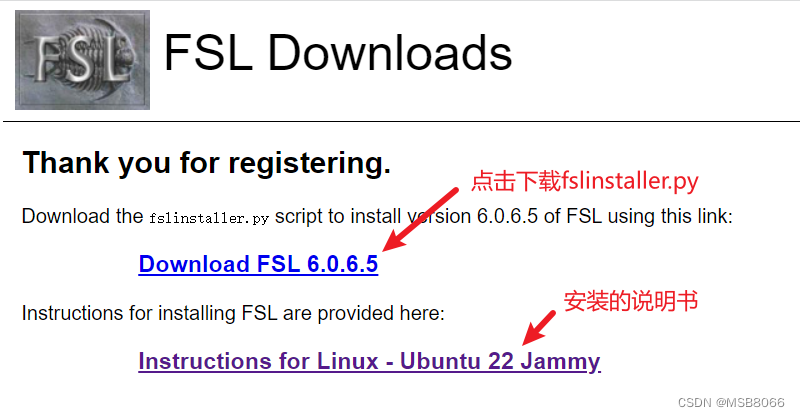
- 打开终端,进入下载有fslinstaller.py的目录并用python运行。默认安装目录是
/home/(用户名)/fsl。
cd ~/Downloads
python fslinstaller.py               //安装到默认目录
python fslinstaller.py -h            //查看所有选项
python fslinstaller.py -d [指定目录]//安装到指定目录
看了其他博主的指南,我在安装的时候指定安装到了
/usr/local/fsl
。这一步可能需要管理员权限安装,即
sudo python fslinstaller.py
- 找个网速好的地方静候佳音。。。
安装完成
终端显示安装成功: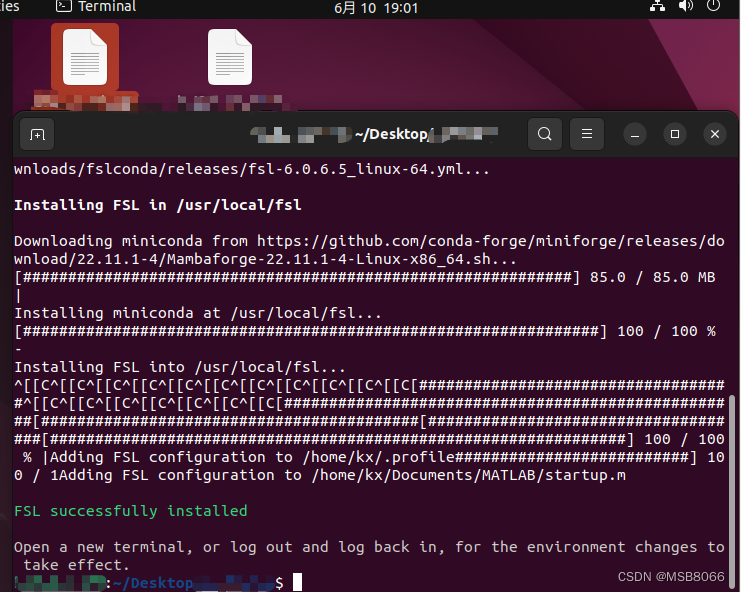
官网有写如何测试安装完成: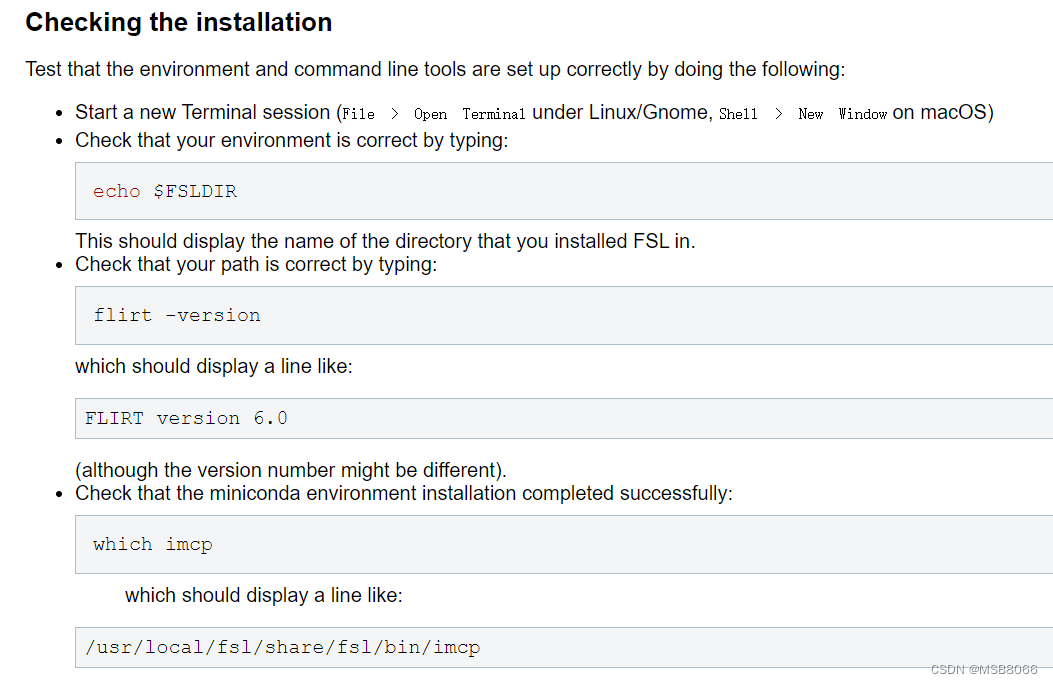
当然,安装完成后在终端输入
fsl
后回车,弹出图形界面,也算成功啦!
但是如果显示这个,说明还要再配置环境变量: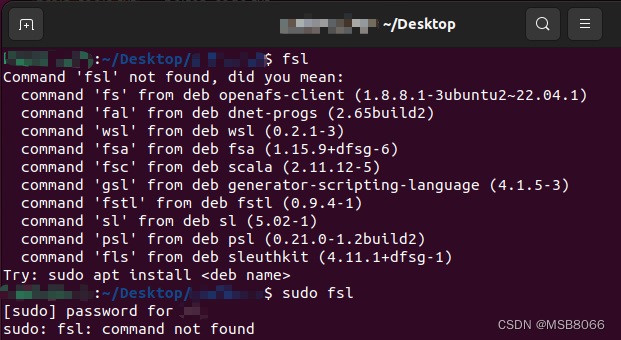
配置环境变量
有小伙伴在评论区说之前在这里放的那个配置环境变量的链接打不开了,所以在这里手动更新一下自己的配置方式(可能)。但是因为隔了一段时间了也不敢确定,如果有问题可以移步评论区。
首先打开终端,并转到主目录
cd ~
然后用管理员权限打开
.bashrc
文件
sudo vi .bashrc
输入密码后进入该文件,插入以下信息:
FSLDIR=/usr/local/fsl                # 注意此处是你的安装目录
. ${FSLDIR}/etc/fslconf/fsl.sh
PATH=${FSLDIR}/bin:${PATH}
export FSLDIR PATH
保存并退出。
配置完成后就可以打开了!撒花!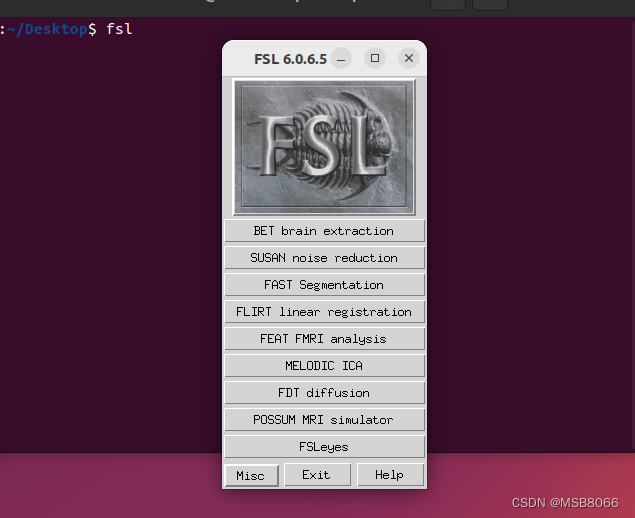
版权归原作者 MSB8066 所有, 如有侵权,请联系我们删除。