文章目录
环境说明以及准备
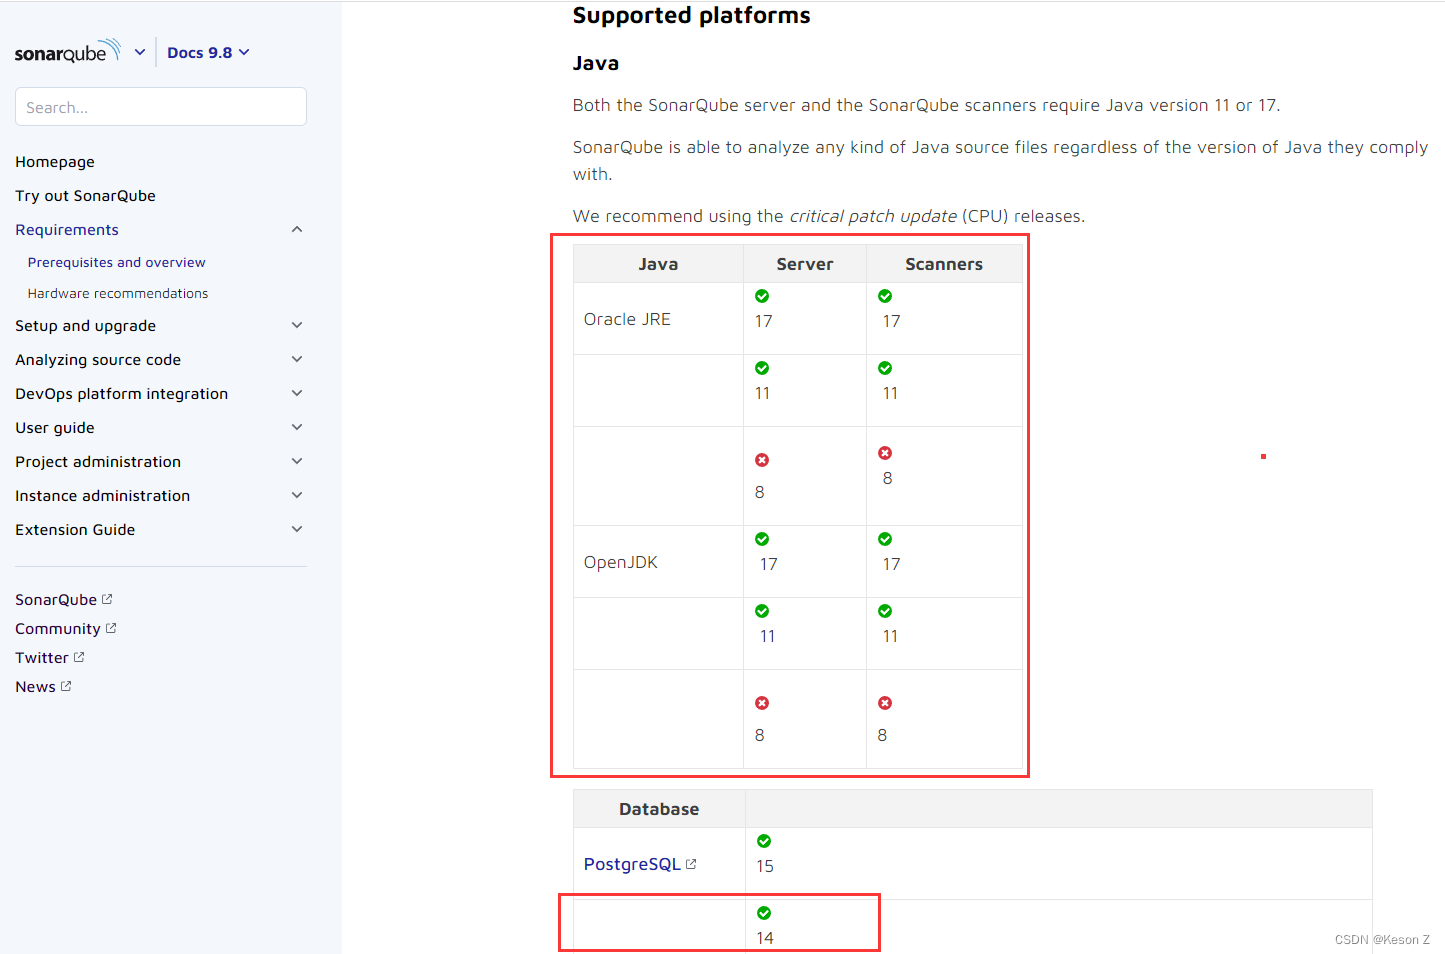
本篇博客使用的SonarQube版本为9.8,注意JDK 1.8已经不能支持
NameVersionDownLoad LinkSonarQube9.8https://www.sonarsource.com/products/sonarqube/downloads/historical-downloads/JDK11https://pan.quark.cn/s/06848544167cPostgreSQL14.2https://www.enterprisedb.com/downloads/postgres-postgresql-downloads
更多环境配置请参考:https://docs.sonarsource.com/sonarqube/9.8/requirements/prerequisites-and-overview/
一. SonarQube的下载与安装
1.下载
9.8
版本压缩包: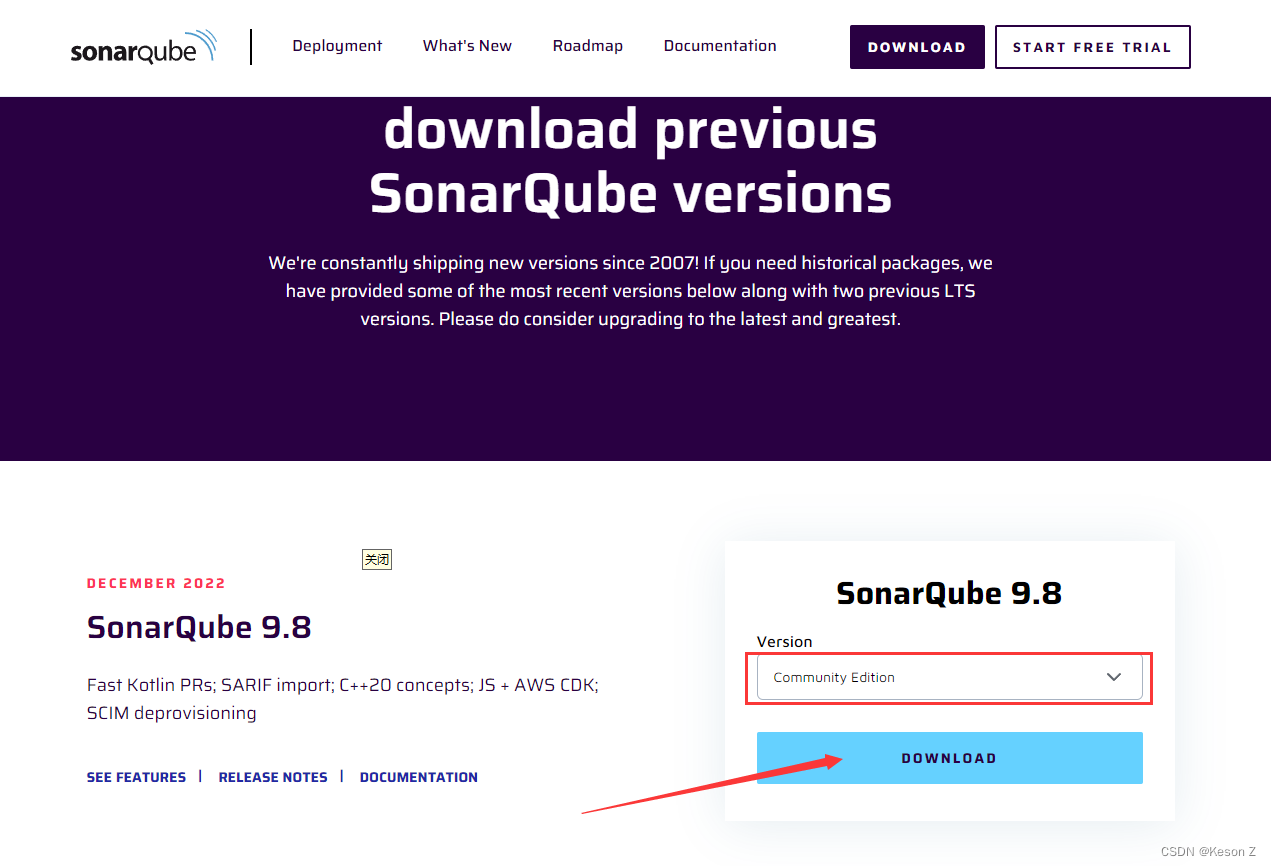
2.解压缩后找到
/conf
文件夹下的
sonar.properties
文件

3.增加
postgresql
连接配置
sonar.jdbc.url=jdbc:postgresql://localhost/sonarqube
sonar.jdbc.username=postgres
sonar.jdbc.password=postgres

postgresql配置:

4.找到
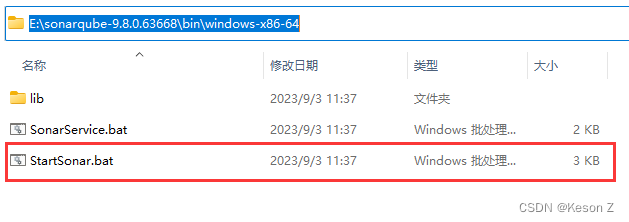
\bin\windows-x86-64
文件夹下的
StartSonar.bat
文件,双击启动

5.启动成功后,访问http://localhost:9000/
初始用户名和密码
admin -> admin
 6.修改初始密码
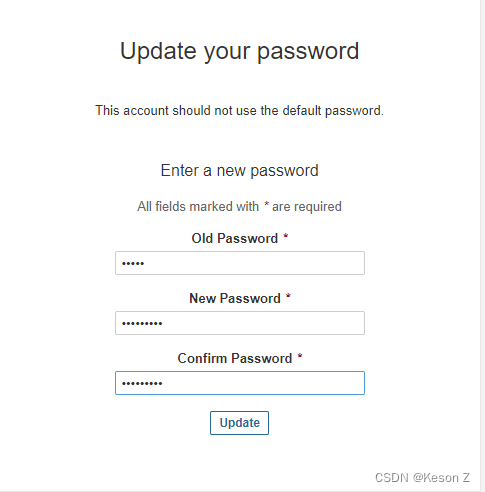
7.修改完密码之后你就能成功看到SonarQube的页面
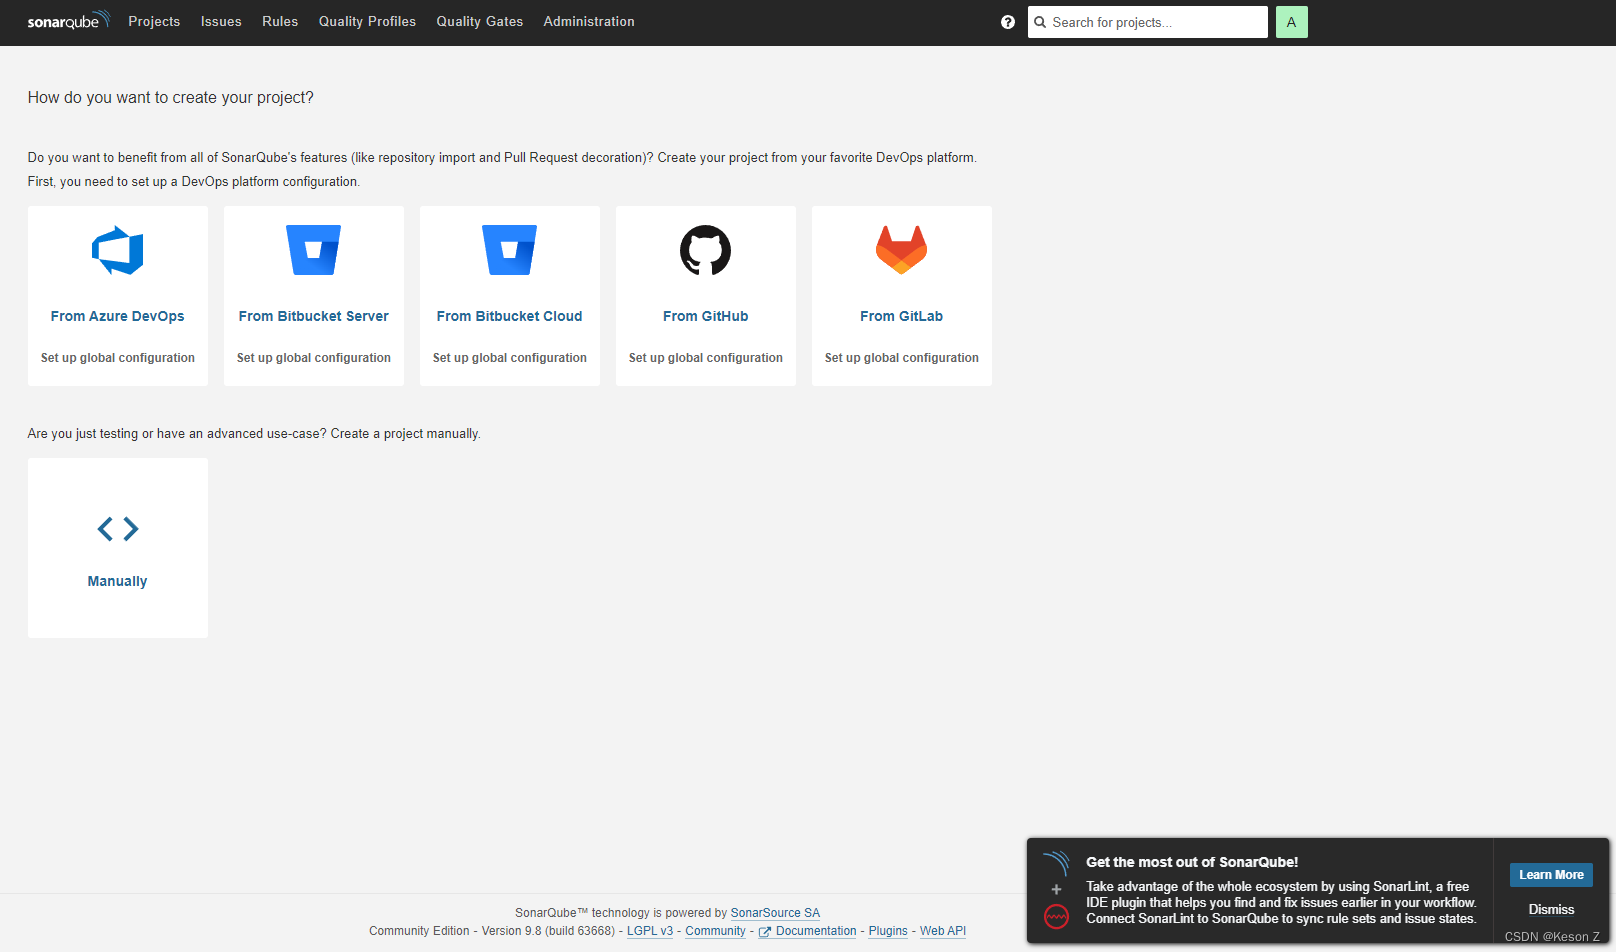
二. 添加SonarQube项目
SonarQube可以从你的远程Git仓库中读取代码并扫描。
本篇博客主要说明如何在本地通过手动添加并上传到SonarQube进行代码审查
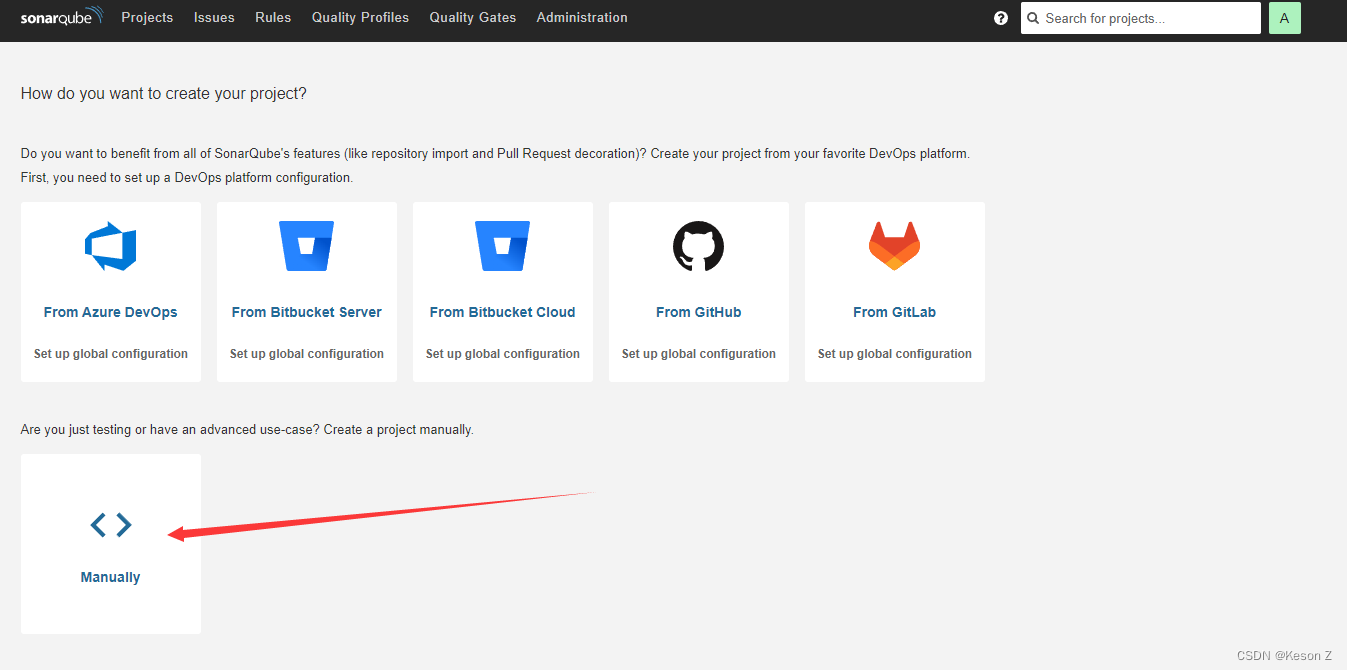
1.点击Manually,创建一个新的project
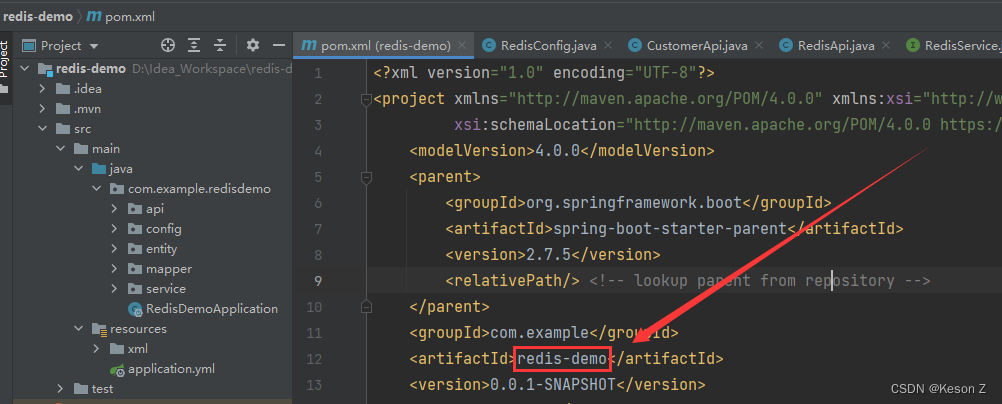
2.注意这里的Project Key是你代码
pom.xml
文件中的
artifactId
我这里随便找了个demo项目作为示例:
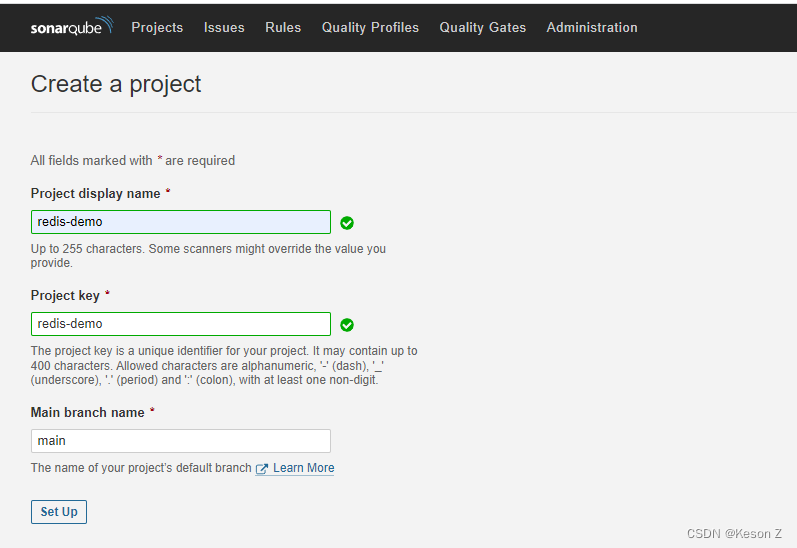
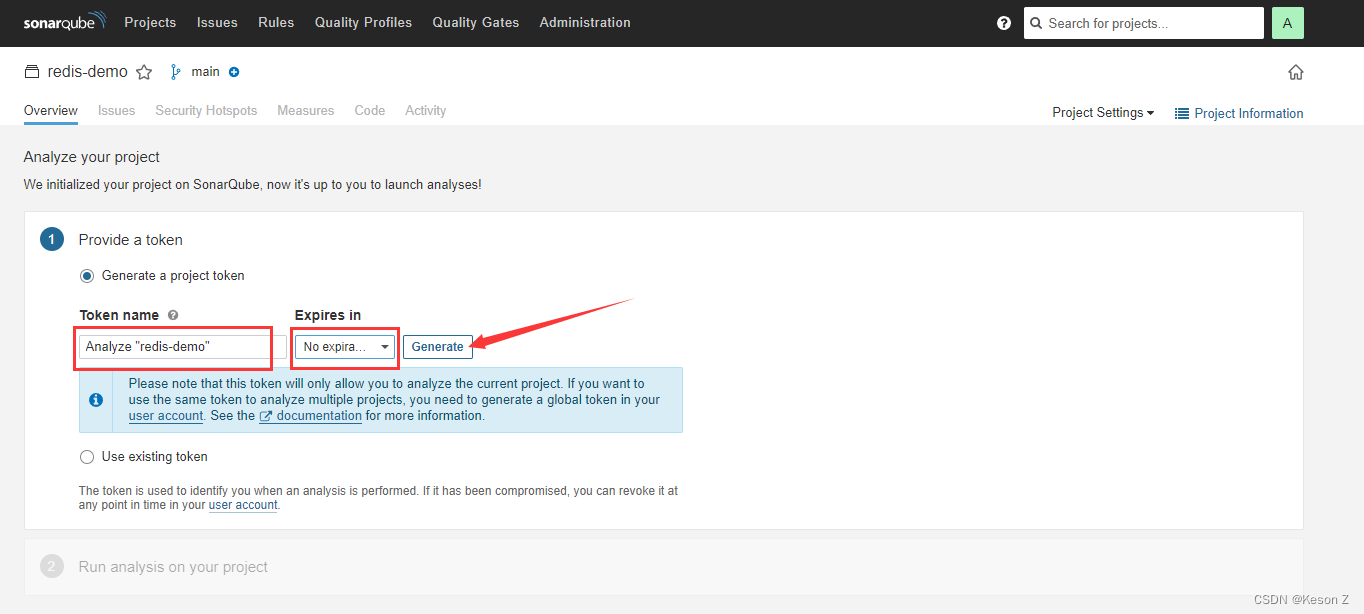
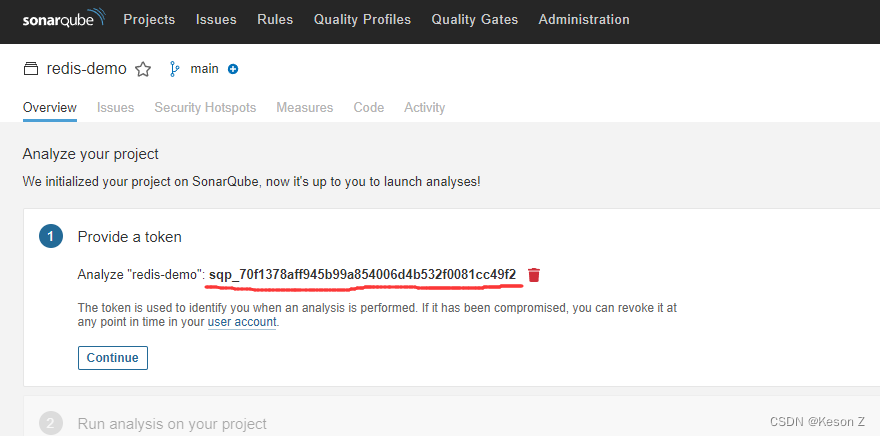
3.生成token,token名称你可以自己定,我们使用maven命令上传到SonarQube的时候需要带上这个token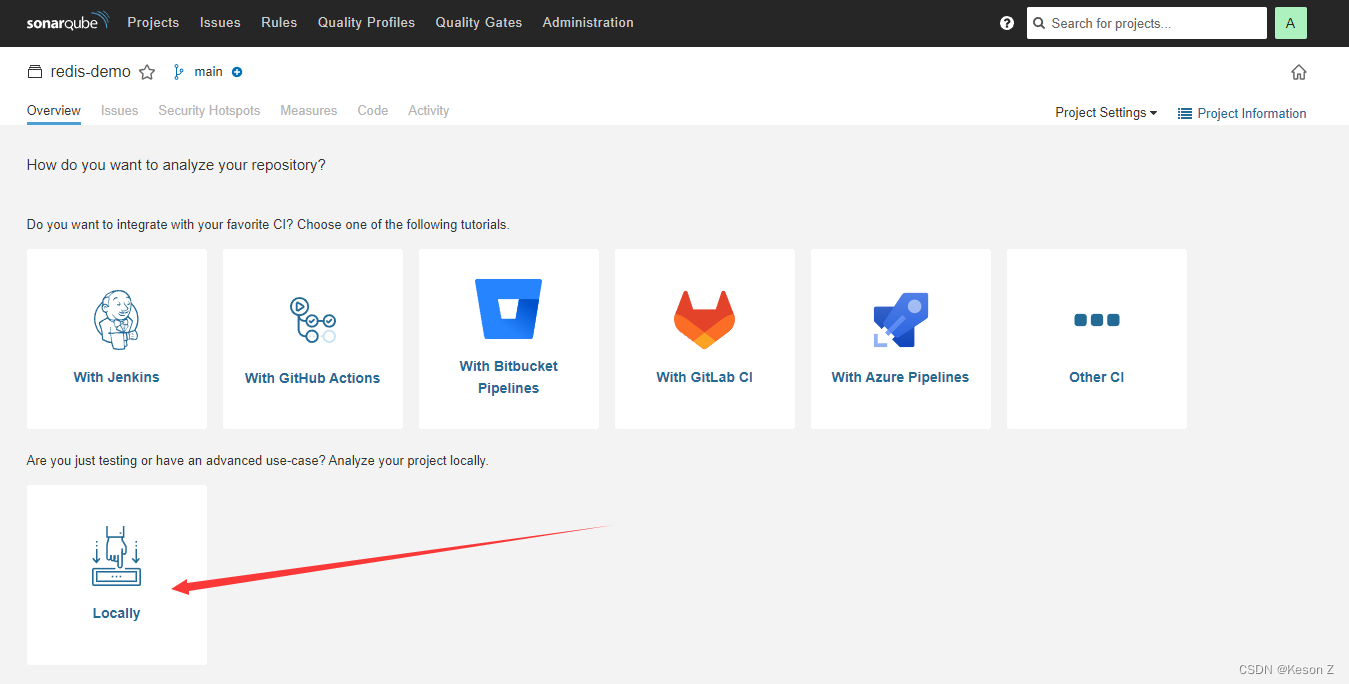
三. 使用Maven命令上传代码到SonarQube
1.修改Maven的
setting.xml
文件,增加sonarqube配置,具体可以参考 SonarQube maven配置
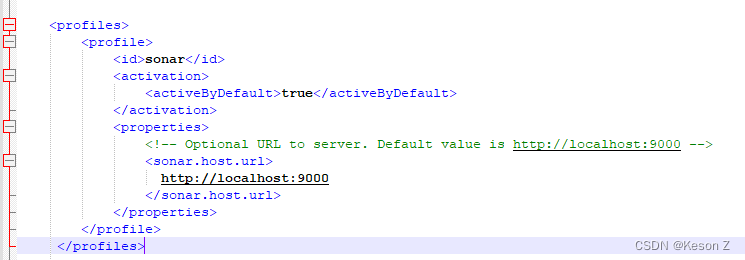
2.setting.xml配置代码
<pluginGroups><!-- sonarqube --><pluginGroup>org.sonarsource.scanner.maven</pluginGroup></pluginGroups>
<profiles><profile><id>sonar</id><activation><activeByDefault>true</activeByDefault></activation><properties><!-- Optional URL to server. Default value is http://localhost:9000 --><sonar.host.url>
                  http://localhost:9000
                </sonar.host.url></properties></profile></profiles>

3.提交代码中需要在pom.xml文件中添加
jacoco-maven-plugin
插件来帮助你生成test的覆盖率report
<dependency><groupId>org.jacoco</groupId><artifactId>jacoco-maven-plugin</artifactId><version>0.8.1</version><type>pom</type></dependency>
<plugin><groupId>org.jacoco</groupId><artifactId>jacoco-maven-plugin</artifactId><version>0.8.8</version><executions><execution><goals><goal>prepare-agent</goal></goals></execution><execution><id>report</id><phase>test</phase><goals><goal>report</goal></goals></execution></executions></plugin>
4…然后在你代码目录下(
pom.xml文件同级目录
),运行以下命令即可:
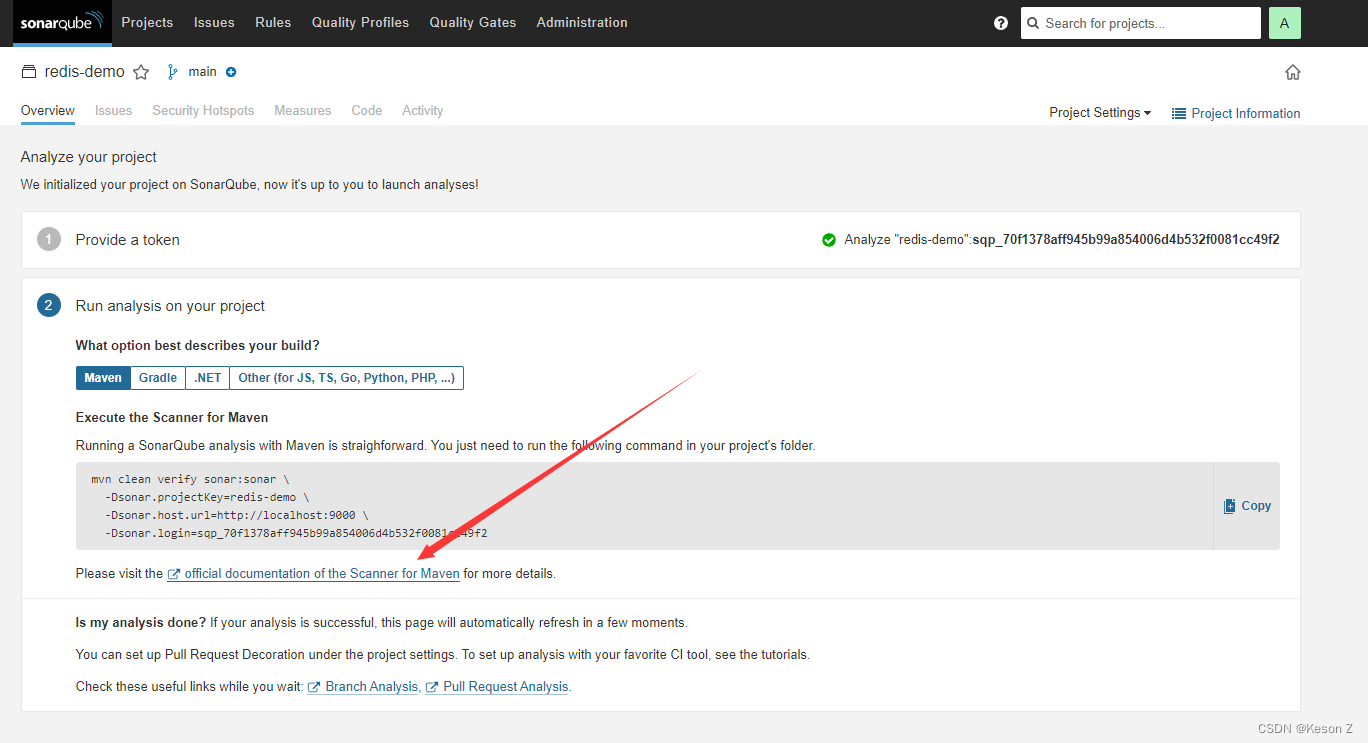
将上述SonarQube提示的maven命令简化成一行命令:
mvn clean verify sonar:sonar \-Dsonar.projectKey=redis-demo \-Dsonar.host.url=http://localhost:9000 \-Dsonar.login=sqp_70f1378aff945b99a854006d4b532f0081cc49f2
注意这里Dsonar.login的值就是上面拿到的token
mvn clean verify sonar:sonar -Dsonar.projectKey=redis-demo -Dsonar.host.url=http://localhost:9000 -Dsonar.login=sqp_70f1378aff945b99a854006d4b532f0081cc49f2
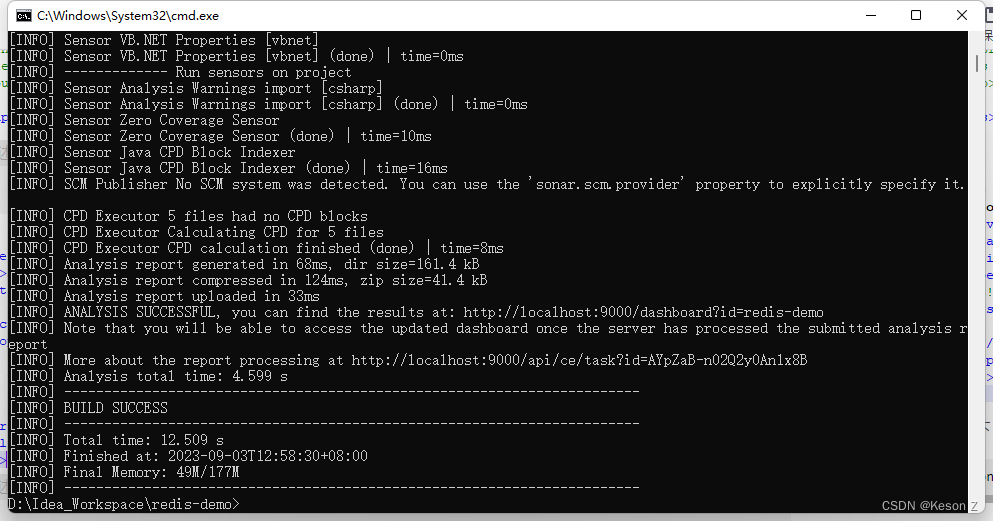
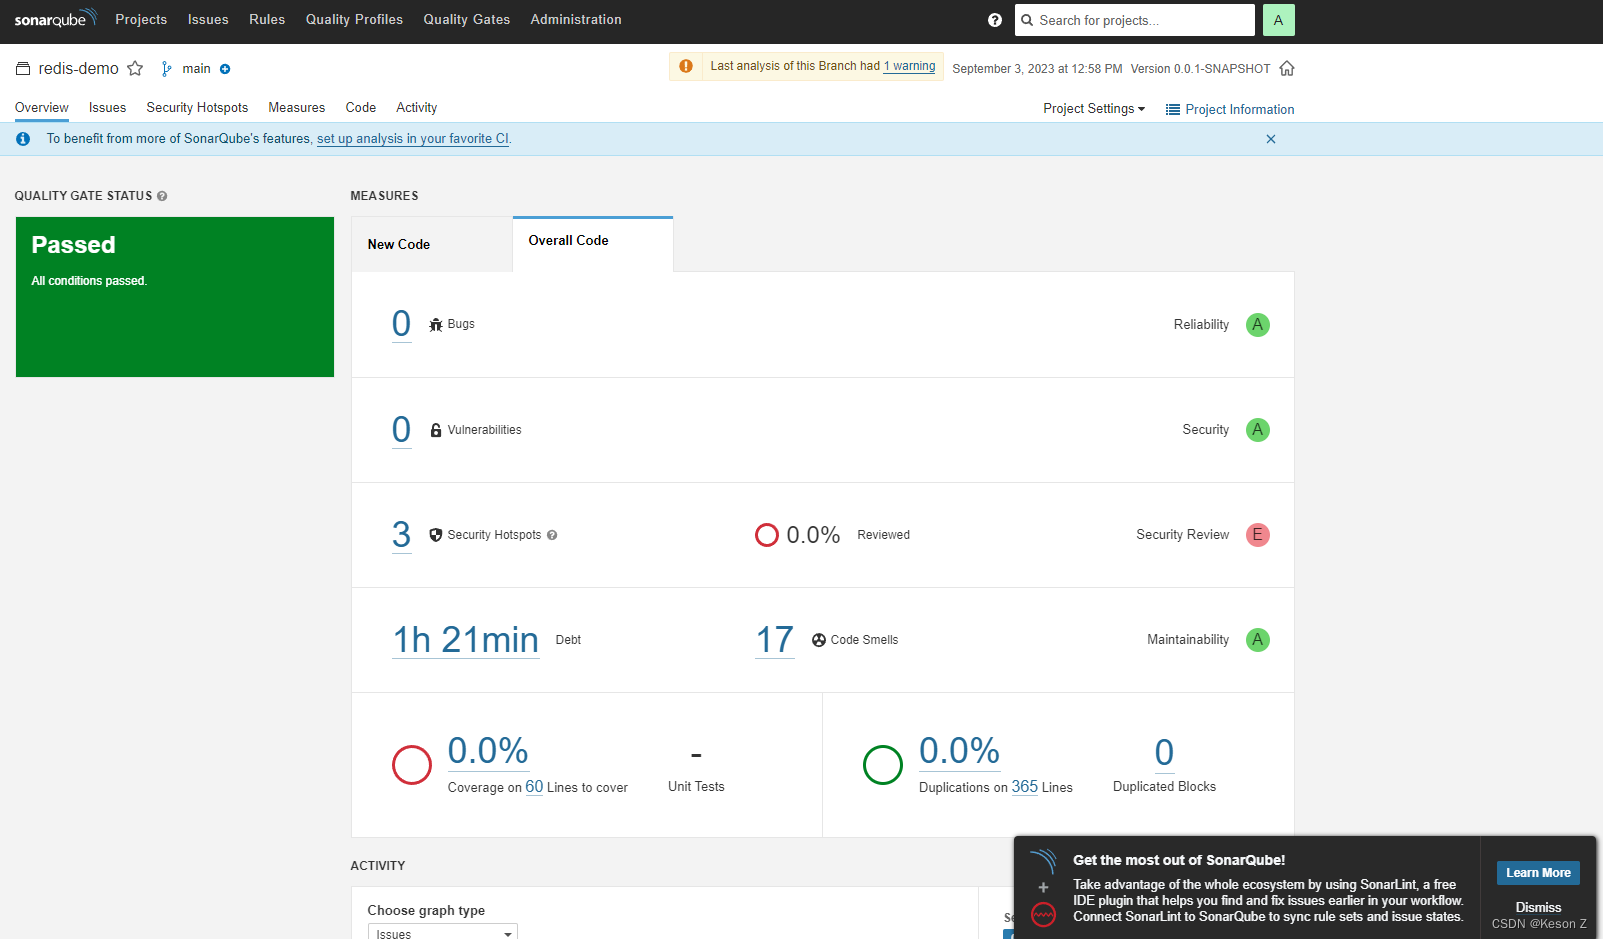
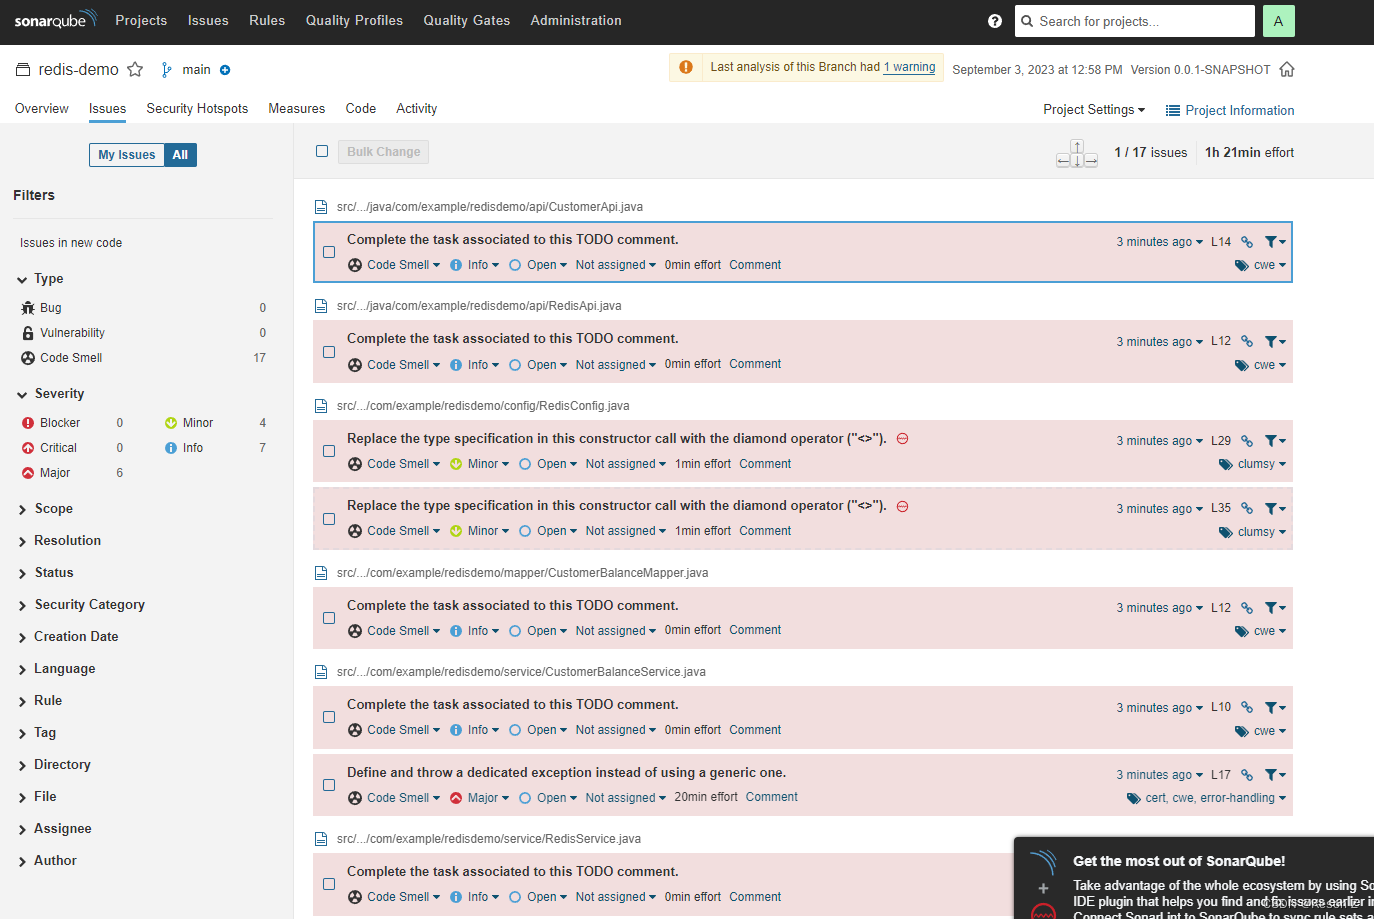
5.运行成功后,你就能在SonarQube上面看见一些report
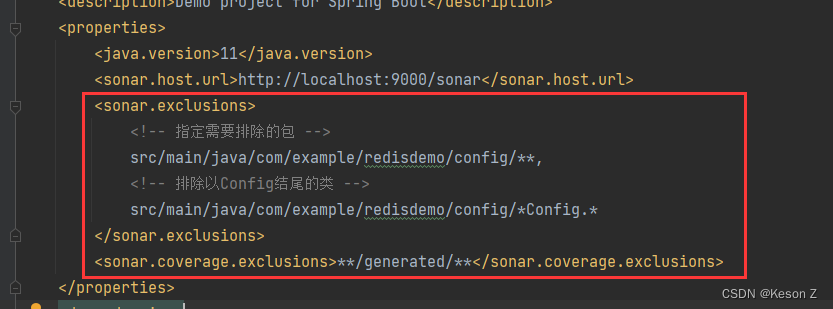
6.如果你有一些代码不想让SonarQube扫描,你还可以添加以下配置
<sonar.exclusions><!-- 指定需要排除的包 -->
            src/main/java/com/example/redisdemo/config/**,
            <!-- 排除以Config结尾的类 -->
            src/main/java/com/example/redisdemo/config/*Config.*
        </sonar.exclusions><sonar.coverage.exclusions>**/generated/**</sonar.coverage.exclusions>
四. IDEA安装SonarLint插件
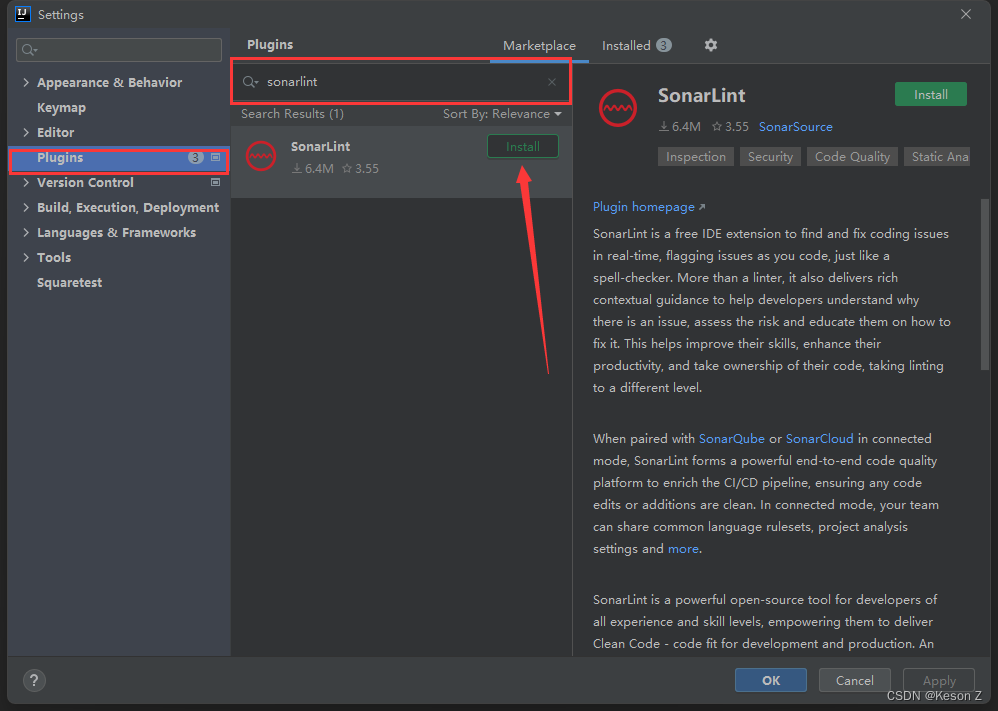
1.在Settings中的Plugins查找SonarLint插件并安装
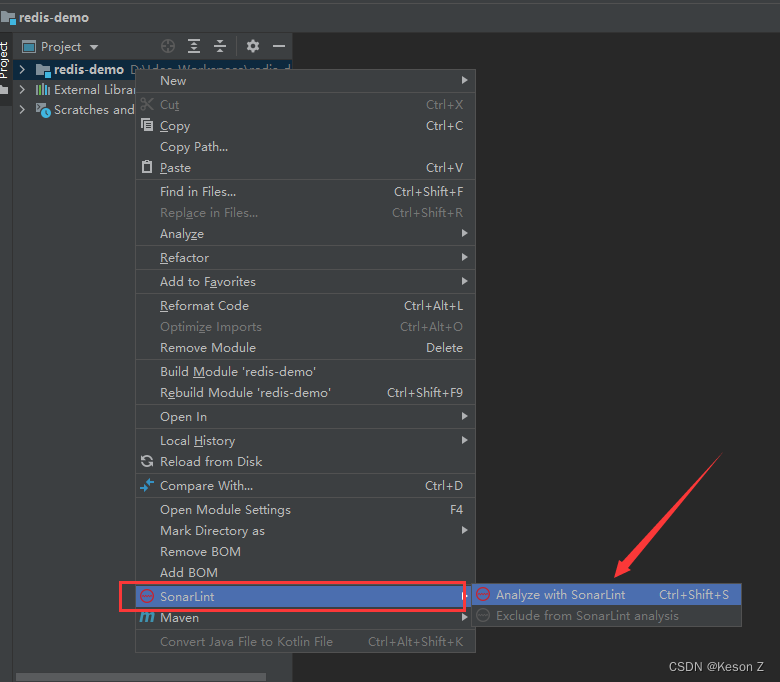
2.安装完成后重启IDEA,选中需要检查的文件右键
SonarLint-> Analyze with SonarLint
3.在下面的控制台左侧就是扫出来全部有问题的代码,双击每个错误代码块,右侧会出现修改提示。在真实项目开发的背景下,我们在本地安装SonarLint插件能够及时发现一些代码问题,减少后续代码的维护时间。一般来说红色Critical的issue是一定需要解决的,其他级别的issue需要看项目定的issue处理级别。

版权归原作者 Keson Z 所有, 如有侵权,请联系我们删除。