
(1)新建项目
文件->新建->项目

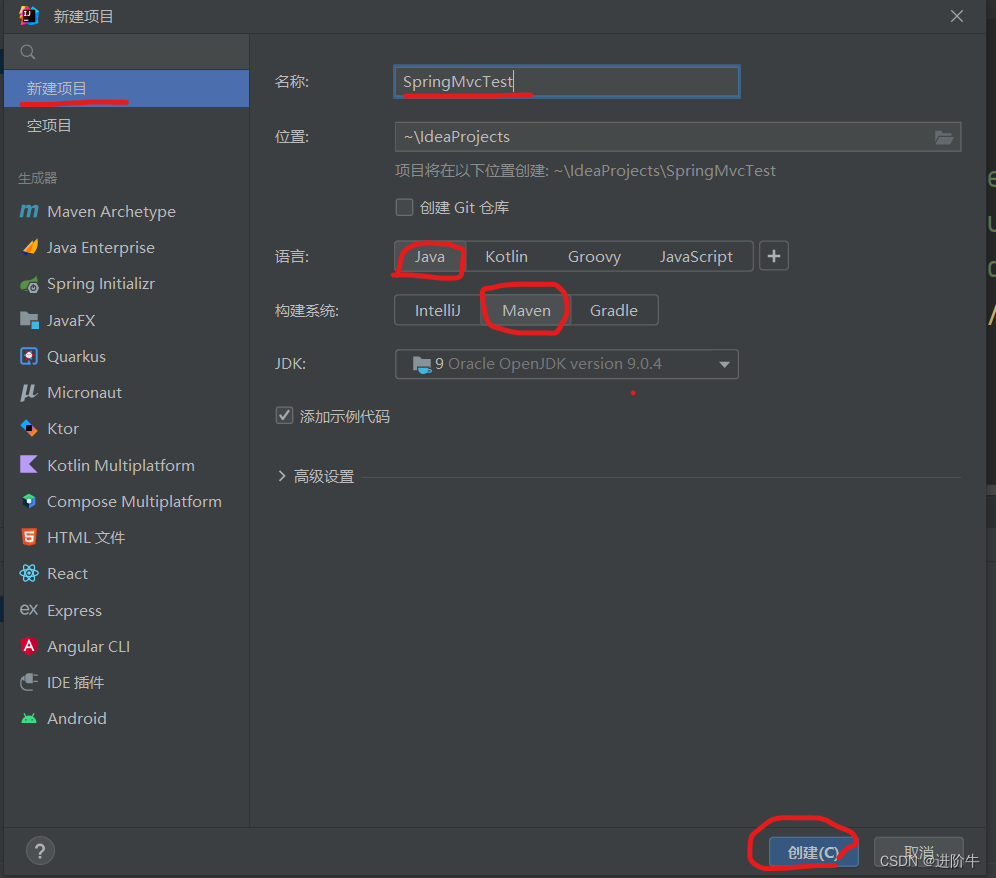
(2)选择相关信息
文件名->Java->Maven->创建
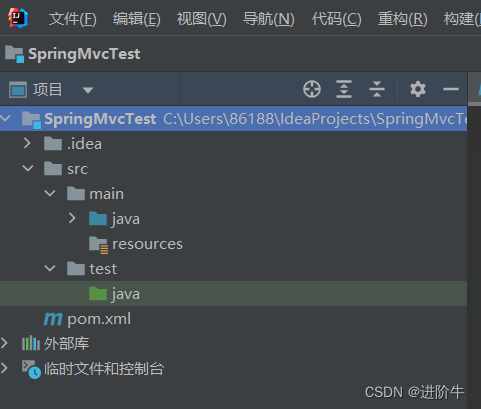
(3)创建完成页面如下
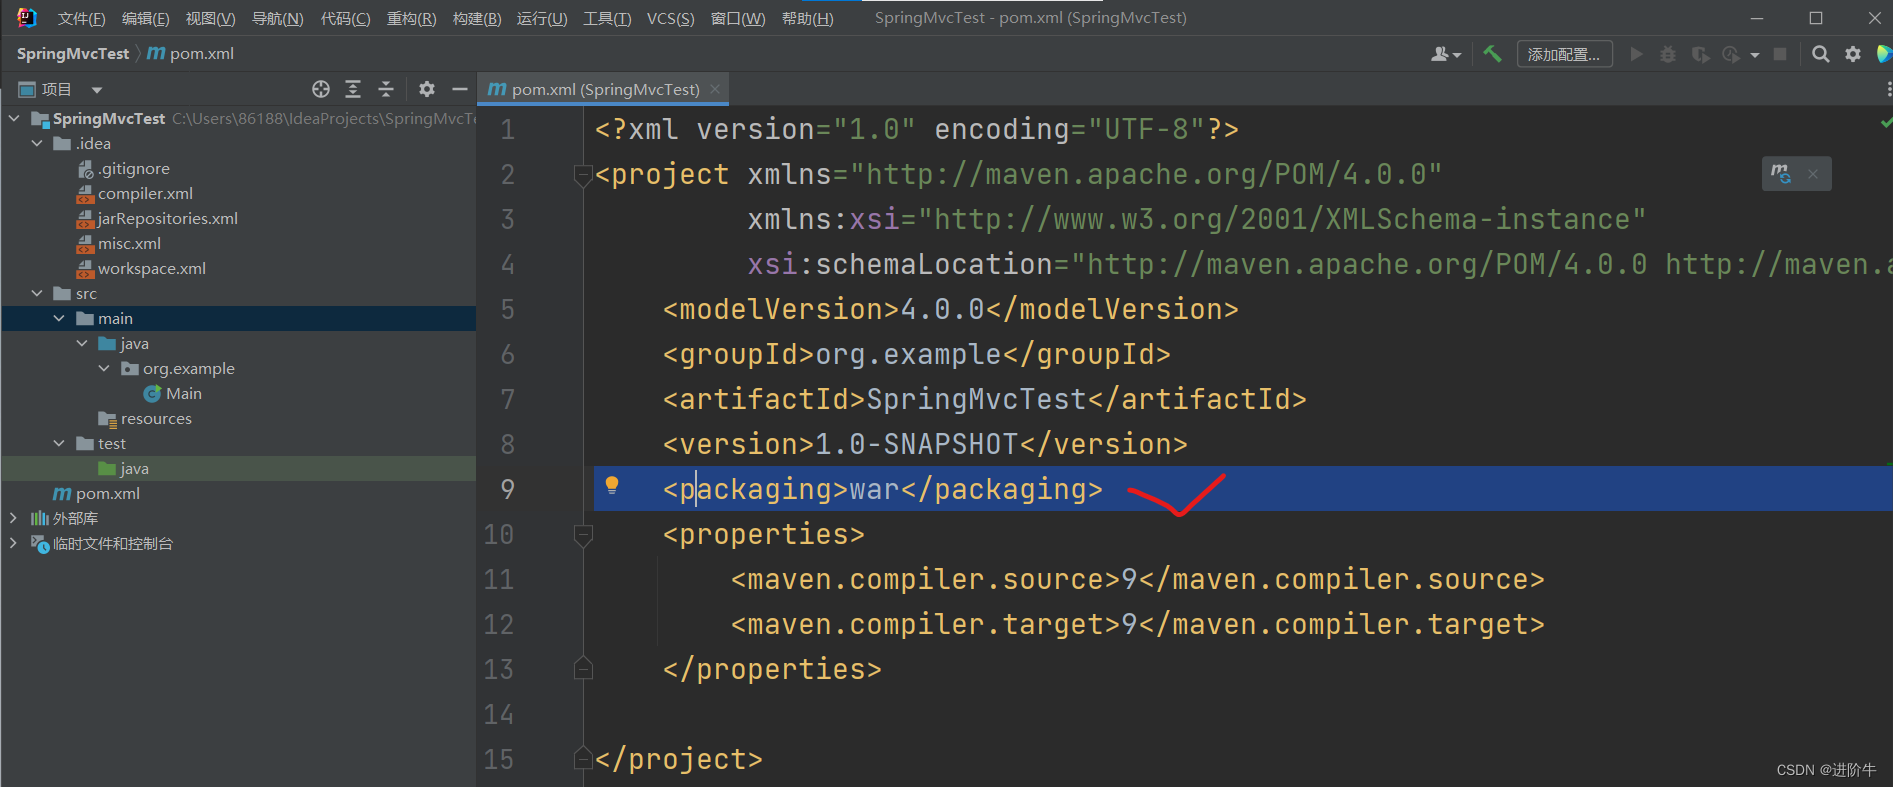
(4)在pom.xml中设置打包方式---war
(此时记得刷新pom.xml,可以按照第12步刷新,目的是保证在进行第五步操作时webapp会出现蓝点)
<packaging>war</packaging>
(5)在main目录下新建webapp目录
右键main->新建->目录->webapp

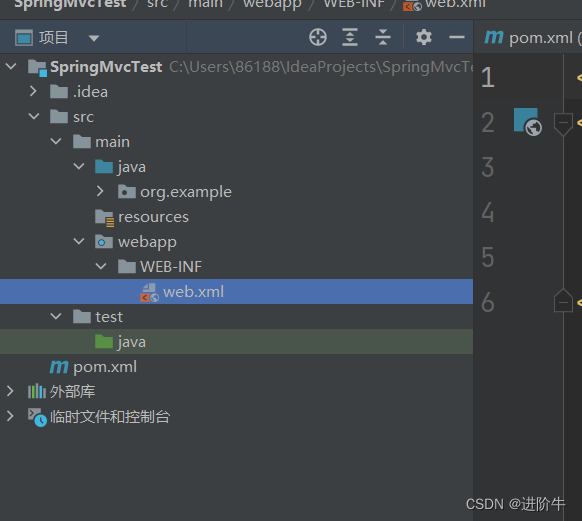
(6)目录建好如下(webapp目录前有小蓝点就表示建成功,如果没有回到第四步确保自己设置了war打包方式以及刷新pom.xml)

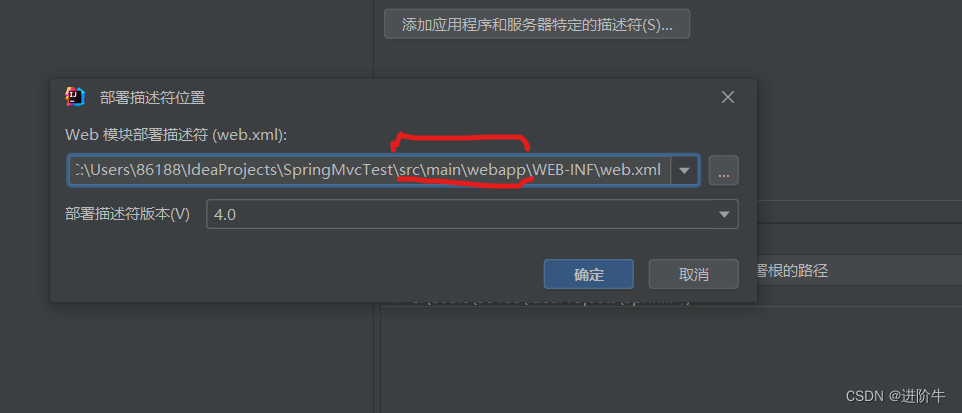
(7)webapp下添加web.xml配置文件
文件->项目结构

(8)Facet->Web(SpringMvcTest)->+->web.xml

(9)修改路径->确定
(10)web.xml建好后页面如下
(11)在pom.xml中添加依赖(复制下面代码即可)
<dependencies>
    <dependency>
        <groupId>org.springframework</groupId>
        <artifactId>spring-webmvc</artifactId>
        <version>5.3.20</version>
    </dependency>
    <dependency>
        <groupId>ch.qos.logback</groupId>
        <artifactId>logback-classic</artifactId>
        <version>1.2.3</version>
    </dependency>
    <dependency>
        <groupId>javax.servlet</groupId>
        <artifactId>javax.servlet-api</artifactId>
        <version>4.0.1</version>
        <scope>provided</scope>
    </dependency>
    <dependency>
        <groupId>commons-fileupload</groupId>
        <artifactId>commons-fileupload</artifactId>
        <version>1.3.1</version>
    </dependency>
    <dependency>
        <groupId>org.thymeleaf</groupId>
        <artifactId>thymeleaf-spring5</artifactId>
        <version>3.0.12.RELEASE</version>
    </dependency>
</dependencies>
(12)如果pom.xml中参数爆红,可进行下面操作
右键pom.xml->Maven->重新加载项目(保证电脑有网,此时idea会自动下载需要的依赖)

(13)在web.xml中配置相关信息(复制以下代码)
<servlet>
    <servlet-name>SpringMvcTest</servlet-name>
    <servlet-class>org.springframework.web.servlet.DispatcherServlet
    </servlet-class>
    <init-param>
        <param-name>contextConfigLocation</param-name>
        <param-value>classpath:springMvc.xml</param-value>
    </init-param>
    <load-on-startup>1</load-on-startup>
</servlet>
<servlet-mapping>
    <servlet-name>SpringMvcTest</servlet-name>
    <url-pattern>/</url-pattern>
</servlet-mapping>
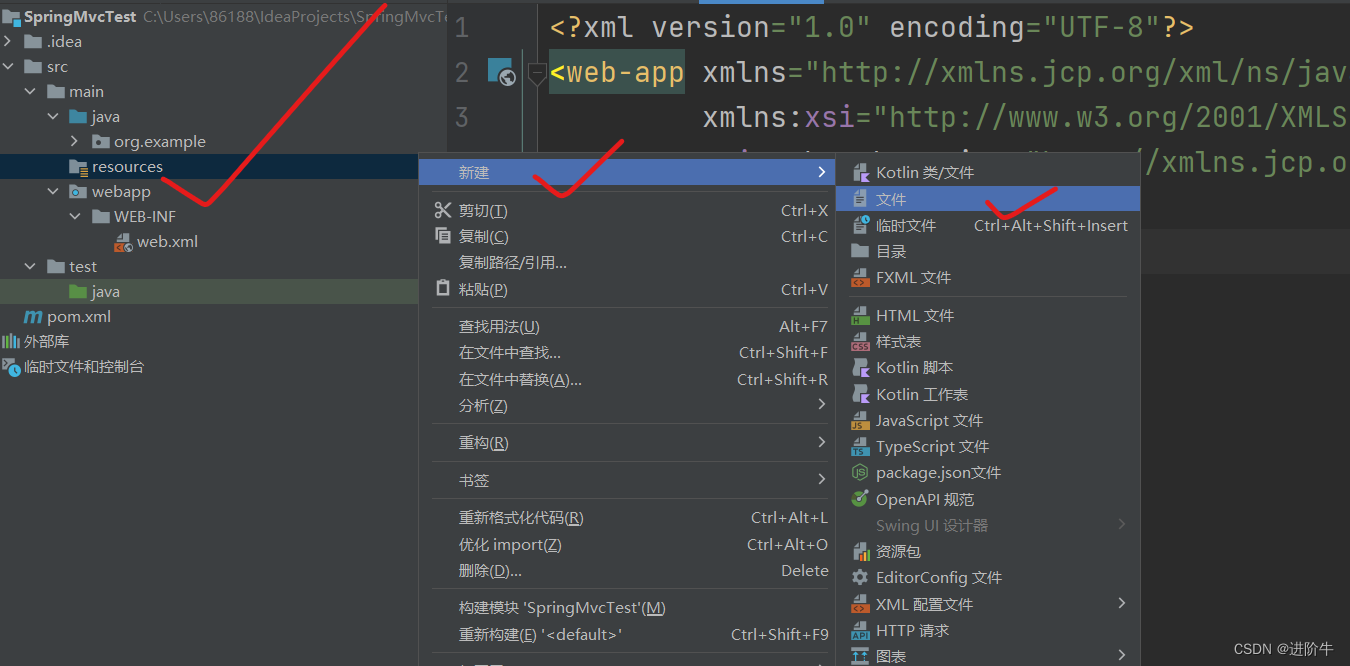
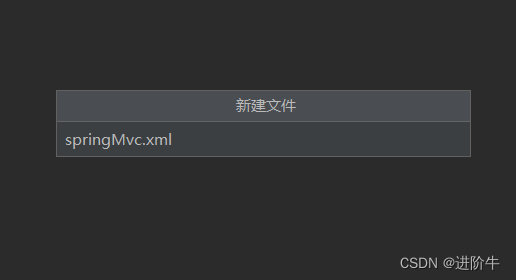
(14)在resources下创建springMvc.xml文件
resources->新建->文件
(15)在springMvc.xml中配置相关参数(复制如下代码)
<?xml version="1.0" encoding="UTF-8"?>
<beans xmlns="http://www.springframework.org/schema/beans"
       xmlns:xsi="http://www.w3.org/2001/XMLSchema-instance"
       xmlns:context="http://www.springframework.org/schema/context"
       xmlns:mvc="http://www.springframework.org/schema/mvc"
       xsi:schemaLocation="http://www.springframework.org/schema/beans http://www.springframework.org/schema/beans/spring-beans.xsd http://www.springframework.org/schema/context https://www.springframework.org/schema/context/spring-context.xsd http://www.springframework.org/schema/mvc https://www.springframework.org/schema/mvc/spring-mvc.xsd">
<!--扫描组件-->
    <context:component-scan base-package="org.example"></context:component-scan>
    <bean id="viewResolver" class="org.thymeleaf.spring5.view.ThymeleafViewResolver">
        <property name="order" value="1"/>
        <property name="characterEncoding" value="UTF-8"/>
        <property name="templateEngine">
            <bean class="org.thymeleaf.spring5.SpringTemplateEngine">
                <property name="templateResolver">
                    <bean class="org.thymeleaf.spring5.templateresolver.SpringResourceTemplateResolver">
                        <!-- 视图前缀 -->
                        <property name="prefix" value="/WEB-INF/templates/"/>
                        <!-- 视图后缀 -->
                        <property name="suffix" value=".html"/>
                        <property name="templateMode" value="HTML5"/>
                        <property name="characterEncoding" value="UTF-8" />
                    </bean>
                </property>
            </bean>
        </property>
    </bean>
</beans>
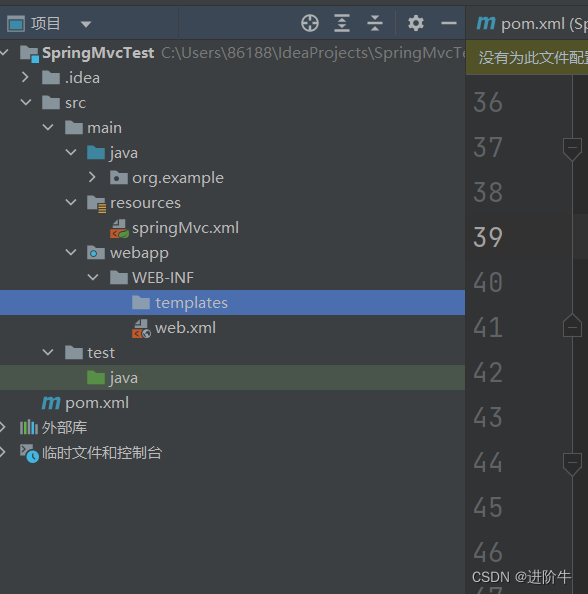
(16)WEB-INF下新建templates目录

(17)建好后页面如下
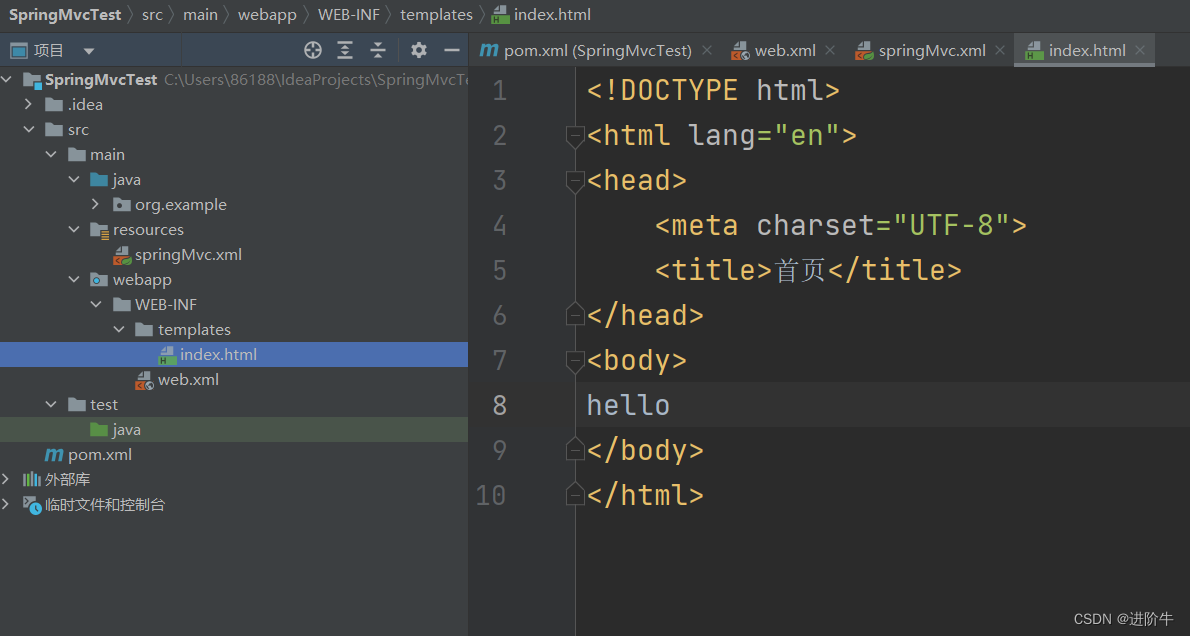
(18)在templates下新建index.html文件(建好后页面如下)
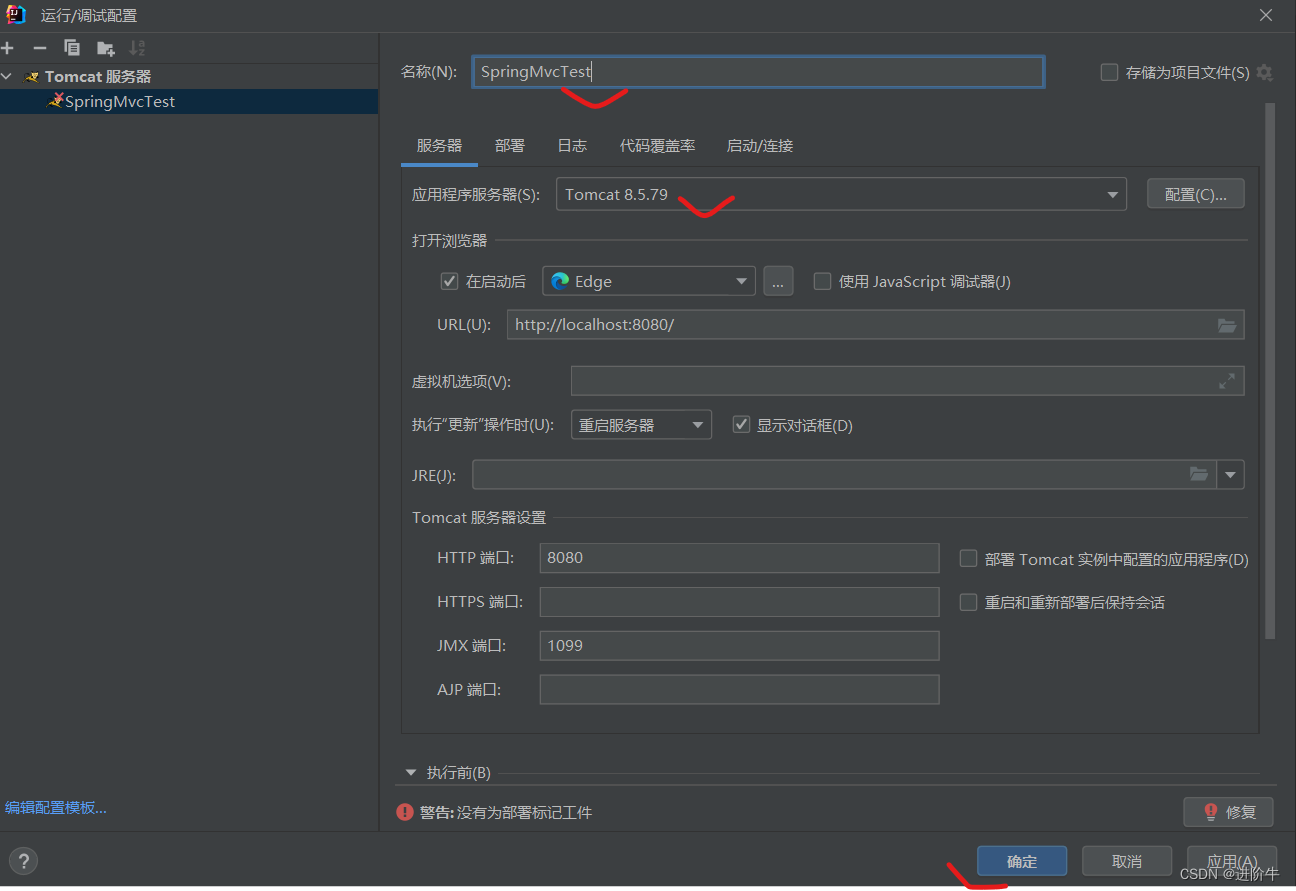
(19)配置Tomcat服务器
添加配置->+->Tomcat服务器(本地)

(20)设置服务器名称->选择服务器->确定
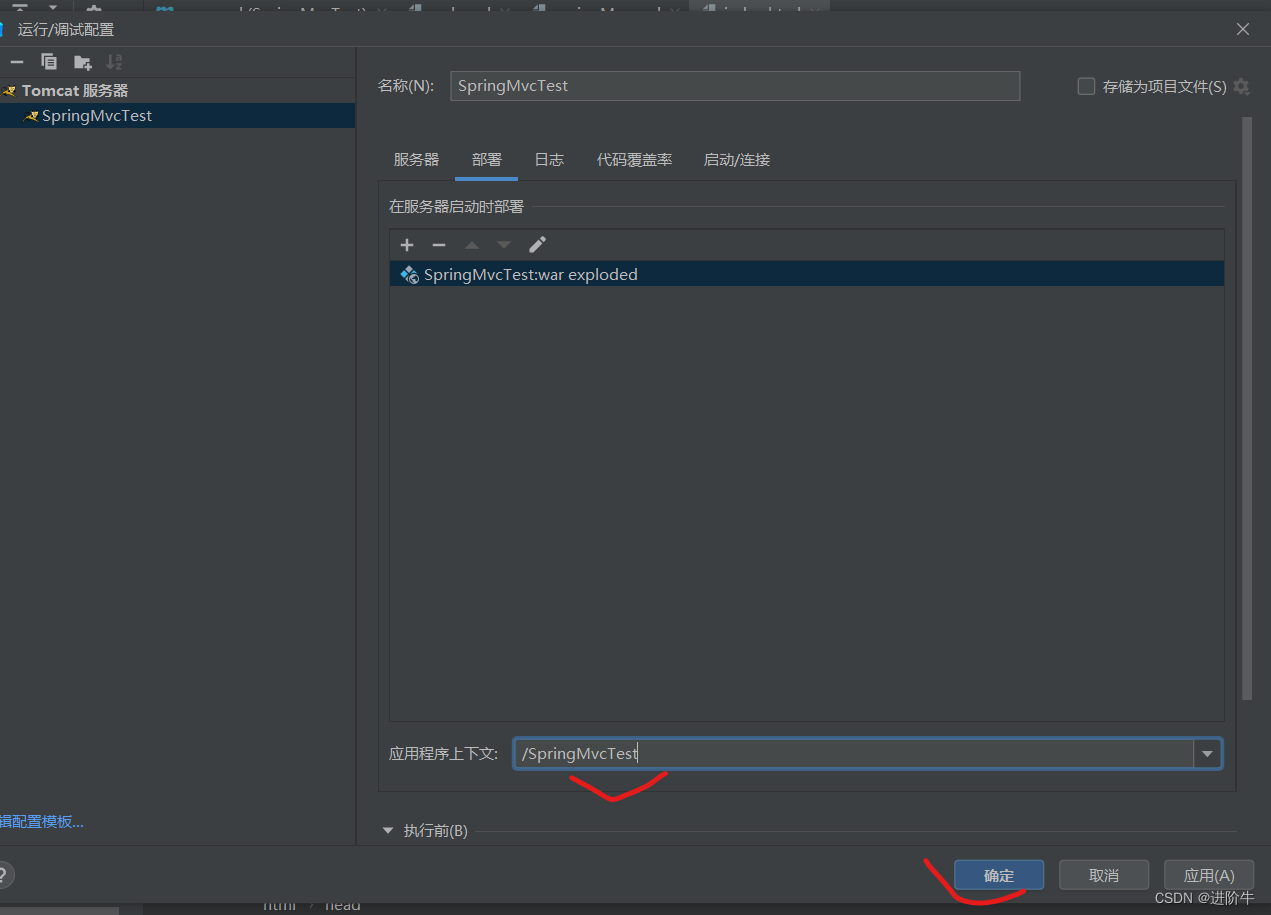
(21)部署工件
部署->+->工件


(22)在springMvc中添加如下代码
<mvc:view-controller path="/" view-name="index"></mvc:view-controller>
(23)启动tomcat 跳转到首页即表示成功

以上就是完整过程,希望有帮助到大家,如果有不清楚的地方欢迎大家留言。
版权归原作者 进阶牛 所有, 如有侵权,请联系我们删除。