一、环境
安装Node.js
Node.js环境可以使在系统上运行js代码
1.下载镜像文件:https://nodejs.org/download/release/v18.8.0/node-v18.8.0-x64.msi
2.按照安装向导完成node.js的安装
3.验证是否安装好:打开Windows的cmd命令行,输入npm --version,输出版本信息则安装成功,如下图所示

安装yarn工具
node.js自带npm包管理工具,yarn也是nodejs下的包管理工具,可以根据自身选择适合的工具
1.在cmd命令行输入:npm install yarn -g,进行全局安装
2.检验是否安装好:在cmd命令行中输入yarn -version,若输出版本信息则表示安装成功,如下图所示

二、创建项目
1.在想要创建项目的目录下进入命令行,输入:yarn create vite 项目名
 选择框架:
选择框架:
选择属性:
2.进入项目目录,输入:cd 项目名

3.安装依赖,输入:yarn

4.运行项目,输入:yarn dev --> 打开一个localhost:5173


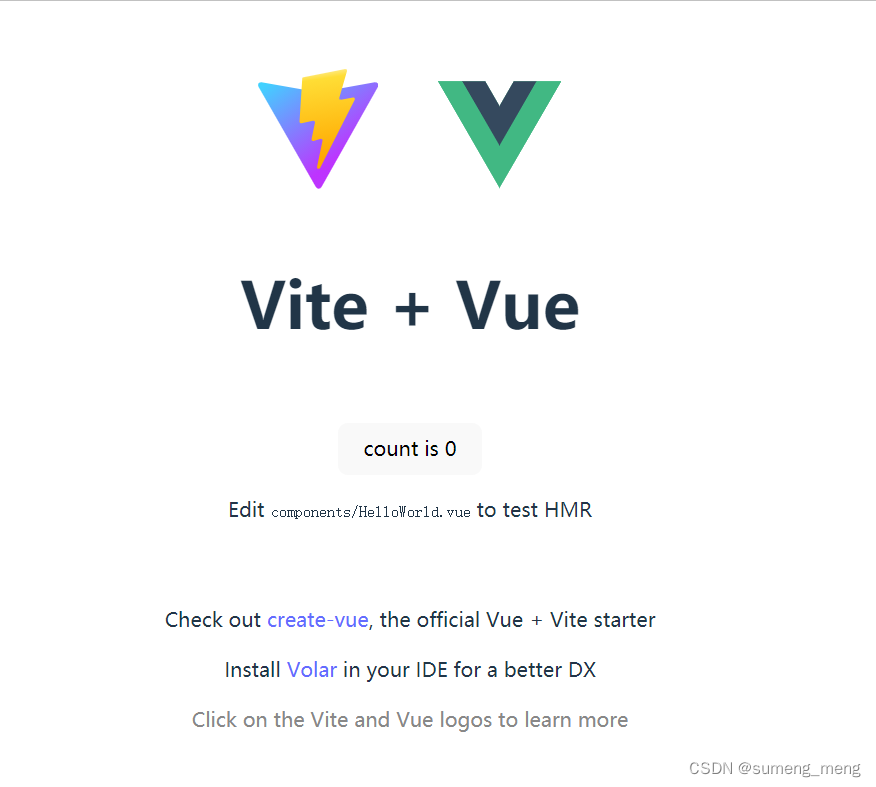
5.将地址输入浏览器访问,下图为初始页面

三、项目目录梳理
项目初始目录结构
public静态资源(图片、js文件)目录srcassets静态资源目录components组件目录main.js入口文件App.vue根组件node_modules项目依赖包index.html默认vue的挂载元素package.json当前项目基本信息、项目依赖信息、命令管理工具配置vite.config.js整个项目的配置信息yarn.lockyarn指令运行的时候记录的信息
项目加载过程
当使用yarn dev运行项目时,它会读取package.json文件中的scripts定义的命令去调用对应的指令

然后会读取入口文件:src/main.js
- 导入vue及自定义组件
- 实例化一个Vue,并挂载app到index.html文件的id为app的元素上
四、集成UI组件库vant
配置按需加载Vant
1.安装模块
//安装vant
yarn add vant
//按需加载模块
yarn add unplugin-vue-components -D
2.在vite.config.js文件中配置按需加载
import { defineConfig } from 'vite'
import vue from '@vitejs/plugin-vue'
import Components from 'unplugin-vue-components/vite'
import { VantResolver } from 'unplugin-vue-components/resolvers'
export default defineConfig({
    plugins: [

            vue(),

            Components({

                    resolvers: [VantResolver()],

            }),

    ],
});
使用组件
完成vant的安装与配置就可以直接在模板中使用Vant组件了unplugin-vue-components会解析模板并自动注册对应组件
Vant官方文档:https://vant-contrib.gitee.io/vant/#/zh-CN
在src/App.vue中使用组件 :
<template> <van-button type="primary">主要按钮</van-button> </template>
引入函数组件的样式
Vant 中有个别组件是以函数的形式提供的,包括
Toast
,
Dialog
,
Notify
和
ImagePreview
组件
在需要的位置导入并使用即可
// Toast
import { showToast } from 'vant';
import 'vant/es/toast/style';
// Dialog
import { showDialog } from 'vant';
import 'vant/es/dialog/style';
// Notify
import { showNotify } from 'vant';
import 'vant/es/notify/style';
// ImagePreview
import { showImagePreview } from 'vant';
import 'vant/es/image-preview/style';
五、集成UI组件库NutUI
配置按需加载NutUI
1.安装
yarn add @nutui/nutui
2.安装插件NutUI样式按需加载插件
yarn add consola
yarn add vite-plugin-style-import
3.在vite.config.js文件中配置NutUI样式按需加载
import { defineConfig } from 'vite'
import vue from '@vitejs/plugin-vue'
import Components from 'unplugin-vue-components/vite'
import { VantResolver } from 'unplugin-vue-components/resolvers'// add here
import { createStyleImportPlugin } from 'vite-plugin-style-import'export default defineConfig({
plugins: [
vue(),
Components({
resolvers: [VantResolver()],
}),
// add here
createStyleImportPlugin({
resolves: [{
libraryName: '@nutui/nutui',
libraryNameChangeCase: 'pascalCase',
resolveStyle: (name) => {
return@nutui/nutui/dist/packages/${name.toLowerCase()}/index.scss
},
}]
}),
],
// add here
css: {
preprocessorOptions: {
scss: {
// 配置 nutui 全局 scss 变量
additionalData:@import "@nutui/nutui/dist/styles/variables.scss";
}
}
},
})
使用组件
NutUI组件官方文档:https://nutui.jd.com/h5/vue/4x/#/zh-CN/component/button
NutUI不会像Vant一样自动导入,NutUI的按需自动加载只有样式文件,所以需要我们手动导入。
使用组件定义要加载的组件:
在src下新建plugins/nutui.js,以后需要增加组件只需要在该文件中添加即可
//用于定义要加载的组件名
import {
Button,
}from '@nutui/nutui'
//export导出,只有导出了,才能让别的文件进行import
export const nutUiComponents = [
Button,
];
- 在src/main.js文件中导入
//添加导入
import { nutUiComponents } from './plugins/nutUI';
//基于App.vue(根组件)创建一个vue实例
const app = createApp(App)//全局使用导入的NutUI组件
nutUiComponents.forEach((item)=>{
app.use(item)
})
//把vue实例挂载到index.html => #app
app.mount('#app')
- 在根组件App.vue中使用
<template> <nut-button type="primary">主要按钮</nut-button> </template>

六、常见错误
页面出现一片空白或页面无变化的解决措施:
- 代码有误时,运行yarn dev的时候会提示出来
- yarn dev为热加载不稳定,在命令行按Ctrl+c中断,重新yarn dev
版权归原作者 sumeng_meng 所有, 如有侵权,请联系我们删除。