
一、自动安装
使用官方脚本一键自动安装,因默认的国外镜像仓库下载比较慢,--mirror Aliyun表示设置镜像仓库为国内阿里云。
# curl -fsSL https://get.docker.com | bash -s docker --mirror Aliyun

# Executing docker install script, commit: e5543d473431b782227f8908005543bb4389b8de
+ sh -c 'yum install -y -q yum-utils'
+ sh -c 'yum-config-manager --add-repo https://mirrors.aliyun.com/docker-ce/linux/centos/docker-ce.repo'
...
+ sh -c 'yum install -y -q docker-ce docker-ce-cli containerd.io docker-compose-plugin docker-ce-rootless-extras docker-buildx-plugin'
...
二、手动安装
卸载旧版本
[root@node2 ~]# yum remove docker \
                  docker-client \
                  docker-client-latest \
                  docker-common \
                  docker-latest \
                  docker-latest-logrotate \
                  docker-logrotate \
                  docker-engine
设置Yum仓库
首先,安装以下软件包,其中,yum-utils是yum的一个工具包集合,提供了yum-config-manager命令,用于管理软件仓库,device mapper(物理块设备映射为逻辑块)存储驱动程序需要安装device-mapper-persistent-data(管理和持久化device mapper配置信息)和lvm2(磁盘分区管理)。
[root@node2 ~]# sudo yum install -y yum-utils \
  device-mapper-persistent-data \
  lvm2
接着,设置yum仓库地址,此处选择了阿里云,默认是国外源下载速度比较慢。
[root@node2 ~]# yum-config-manager \
    --add-repo \
    https://mirrors.aliyun.com/docker-ce/linux/centos/docker-ce.repo
安装 Docker Engine-Community(社区版)
# yum install docker-ce docker-ce-cli containerd.io docker-compose-plugin
三、Docker验证
查看Docker版本
[root@node2 ~]# docker -v
Docker version 24.0.6, build ed223bc
打印Docker安装详情
[root@node2 ~]# docker info
Client: Docker Engine - Community
 Version:    24.0.6
 Context:    default
 Debug Mode: false
 Plugins:
  buildx: Docker Buildx (Docker Inc.)
    Version:  v0.11.2
    Path:     /usr/libexec/docker/cli-plugins/docker-buildx
  compose: Docker Compose (Docker Inc.)
    Version:  v2.21.0
    Path:     /usr/libexec/docker/cli-plugins/docker-compose

Server:
ERROR: Cannot connect to the Docker daemon at unix:///var/run/docker.sock. Is the docker daemon running?
errors pretty printing info
Server报错:Cannot connect to the Docker daemon at unix:///var/run/docker.sock,原因是Docker安装后默认不启动,执行启动命令:
systemctl start docker
再次打印Docker安装详情
[root@node2 ~]# docker info
Client: Docker Engine - Community
 Version:    24.0.6
 Context:    default
 Debug Mode: false
 Plugins:
  buildx: Docker Buildx (Docker Inc.)
    Version:  v0.11.2
    Path:     /usr/libexec/docker/cli-plugins/docker-buildx
  compose: Docker Compose (Docker Inc.)
    Version:  v2.21.0
    Path:     /usr/libexec/docker/cli-plugins/docker-compose

Server:
 Containers: 0
  Running: 0
  Paused: 0
  Stopped: 0
 Images: 0
 Server Version: 24.0.6
 Storage Driver: overlay2
  Backing Filesystem: xfs
  Supports d_type: true
  Using metacopy: false
  Native Overlay Diff: true
  userxattr: false
 Logging Driver: json-file
 Cgroup Driver: cgroupfs
 Cgroup Version: 1
 Plugins:
  Volume: local
  Network: bridge host ipvlan macvlan null overlay
  Log: awslogs fluentd gcplogs gelf journald json-file local logentries splunk syslog
 Swarm: inactive
 Runtimes: runc io.containerd.runc.v2
 Default Runtime: runc
 Init Binary: docker-init
 containerd version: 61f9fd88f79f081d64d6fa3bb1a0dc71ec870523
 runc version: v1.1.9-0-gccaecfc
 init version: de40ad0
 Security Options:
  seccomp
   Profile: builtin
 Kernel Version: 3.10.0-1160.95.1.el7.x86_64
 Operating System: CentOS Linux 7 (Core)
 OSType: linux
 Architecture: x86_64
 CPUs: 16
 Total Memory: 38.83GiB
 Name: node2
 ID: 15c82aef-8778-4ccc-9a65-8f7a66798090
 Docker Root Dir: /var/lib/docker
 Debug Mode: false
 Experimental: false
 Insecure Registries:
  127.0.0.0/8
 Live Restore Enabled: false
运行hello-world镜像
默认先从本地查找hello-world镜像,如果找不到就从远程仓库拉取。
[root@node2 ~]# docker run hello-world
Unable to find image 'hello-world:latest' locally
latest: Pulling from library/hello-world
719385e32844: Pull complete
Digest: sha256:4f53e2564790c8e7856ec08e384732aa38dc43c52f02952483e3f003afbf23db
Status: Downloaded newer image for hello-world:latest

Hello from Docker!
This message shows that your installation appears to be working correctly.
查看hello-world镜像
[root@node2 ~]# docker images
REPOSITORY    TAG       IMAGE ID       CREATED        SIZE
hello-world   latest    9c7a54a9a43c   4 months ago   13.3kB
启停和查看状态
systemctl start|stop|status docker
设置开机启动
systemctl enable docker
配置镜像加速器
因为国外网络问题拉取镜像一般都会比较慢,可以设置国内的镜像仓库,这里以阿里云为例,地址:阿里云登录 - 欢迎登录阿里云,安全稳定的云计算服务平台。

根据文档配置阿里云加速器:
[root@node2 ~]# cat > /etc/docker/daemon.json << EOF
{
  "registry-mirrors": ["https://sy20zqmi.mirror.aliyuncs.com"]
}
> EOF
重新加载并重启
[root@node2 ~]# systemctl daemon-reload
[root@node2 ~]# systemctl restart docker
四、Docker体验
拉取最新Nginx镜像
[root@node3 ~]# docker pull nginx:latest
查看镜像
[root@node2 ~]# docker images
REPOSITORY   TAG                IMAGE ID       CREATED         SIZE
nginx        latest             605c77e624dd   21 months ago   141MB
运行容器
使用docker run启动一个容器
[root@node3 ~]# docker run \
--name my-nginx \
-p 8080:80 \
-v ~/nginx/conf/nginx.conf:/etc/nginx/nginx.conf \
-v ~/nginx/logs:/var/log/nginx \
-v ~/nginx/html:/usr/share/nginx/html \
-d nginx
5fc0a603a87cfb3377cf4c54a0d6763e96646a33a3b3e20956be7cb2f6721697
--name 表示给容器起个名字。
-p 宿主机端口:容器端口,表示发布容器的端口到主机,简单来说就是把宿主机端口和容器端口映射起来,此处就是把nginx容器端口80对应到宿主机端口8080,记住顺序不要颠倒。
-v 宿主机目录:容器目录,表示宿主机目录绑定挂载到容器目录,可以持久化容器目录数据,容器和宿主机目录内的数据是实时双向同步的,简单来说就是在宿主机和容器之间进行数据共享。docker支持挂载多个目录,通过多个-v指定。
-d 表示在后台运行容器并打印容器id。
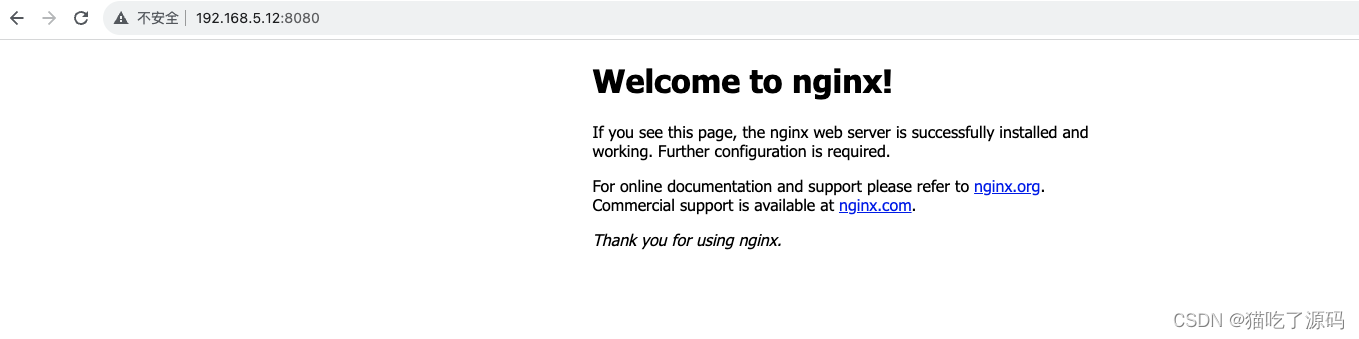
访问容器应用
浏览器输入主机IP:端口访问nginx首页,本机为http://192.168.5.12:8080/
五、Docker卸载
停止所有运行的容器
[root@node2 ~]# docker stop $(docker ps -aq)
删除所有容器
[root@node2 ~]# docker rm $(docker ps -aq)
删除所有镜像
[root@node2 ~]# docker rmi $(docker images -q)
删除安装包
[root@node2 ~]# yum remove -y docker-ce docker-ce-cli containerd.io
删除Docker数据目录
删除镜像、容器、配置文件等内容
rm -rf /var/lib/docker
版权归原作者 猫吃了源码 所有, 如有侵权,请联系我们删除。