1、Ueditor 资源下载
ueditor 官网:http://ueditor.baidu.com
ueditor API 文档:http://ueditor.baidu.com/doc
ueditor github 地址:http://github.com/fex-team/ueditor
2、资源下载之后的文件解压,改个名字,改为UEditor,复制放入项目public文件夹下

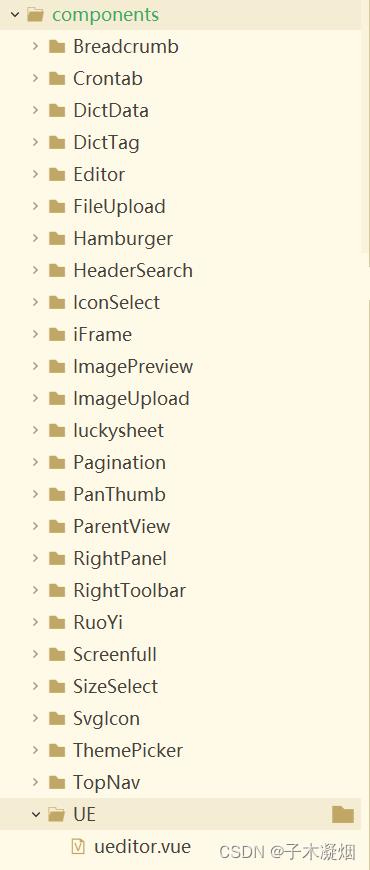
3、方便使用,形成组件,放入components文件夹下

ueditor.vue 代码,如果需要在headers中配置Authorization,在config中配置无效,需修改js文件,具体修改见下文
<template>
  <div>
    <div :id="id" type="text/plain"></div>
  </div>
</template>
<script>
 import '/public/static/Ueditor/ueditor.config.js'
 import '/public/static/Ueditor/ueditor.all.min.js'
 import '/public/static/Ueditor/lang/zh-cn/zh-cn.js'
 import '/public/static/Ueditor/ueditor.parse.min.js'

 import { getToken } from "@/utils/auth";

  export default {
    name: 'UEditor',
    props: {
      /* 编辑器的内容 */
      value: {
        type: String,
        default: "",
      },
      /* 只读 */
      readOnly: {
        type: Boolean,
        default: false,
      },
      id: {
          type: String,
          default: 'editor'
      }
    },
    data () {
      return {
        editor: null,
        defaultMsg:"",
        config: {
          initialFrameWidth: '100%',
          initialFrameHeight: 280,
          //上传文件接口
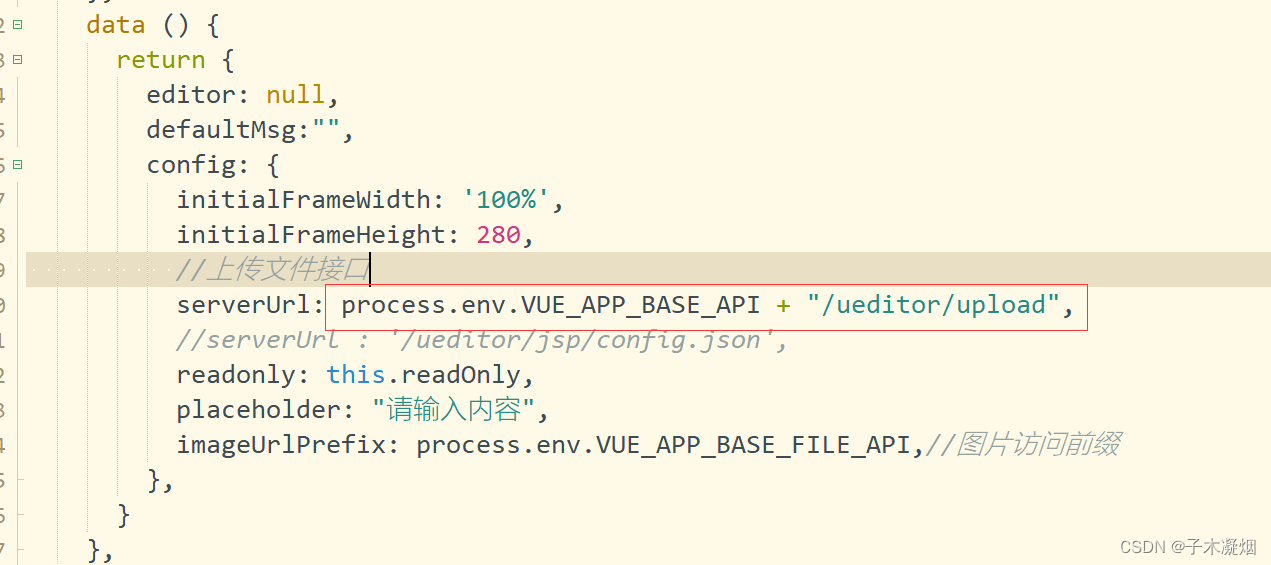
          serverUrl: process.env.VUE_APP_BASE_API + "/ueditor/upload",
          //serverUrl : '/ueditor/jsp/config.json',
          readonly: this.readOnly,
          placeholder: "请输入内容",
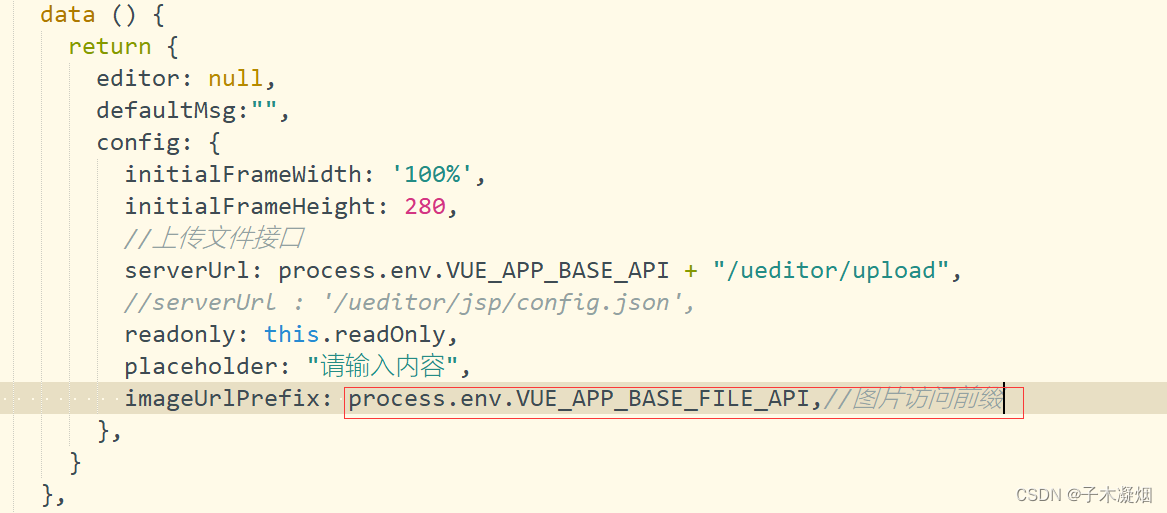
          imageUrlPrefix: process.env.VUE_APP_BASE_FILE_API,//图片访问前缀
        },
      }
    },
    mounted() {
        this.$nextTick(() => {
            this.editor = UE.getEditor(this.id,this.config); // 初始化UE
            this.editor.addListener("ready", () => {
                this.editor.execCommand('insertHtml', this.value);
                // 确保UE加载完成后,放入内容
                this.editor.focus()
            })
        })

    },
     watch: {
      value : function(val) {
        if(val==null||val==undefined){
          val="";
        }
        this.editor.setContent(val);
      }
    },
    methods: {
      // 获取内容方法
      getUEContent() {
        return this.editor.getContent()
      },
     // 清空编辑器内容
      clearContent() {
          return this.editor.execCommand('cleardoc');
      },
    },
    destroyed() {
      this.editor.destroy();
    },
    beforeDestroy() {
        // 组件销毁的时候,要销毁 UEditor 实例,下次进入页面才能重新加载出编辑器
       if (this.editor !== null && this.editor.destroy) {
           this.editor.destroy();
       }
    },
  }
</script>
4、在main.js中引入组件,可全局使用
// 百度富文本组件
import Editor from "@/components/Editor"
//全局组件挂载
Vue.component('UEditor', UEditor)

5、实现图片上传,配置后端接口
(1)Java端建个EditorController,配置图片上传接口,路径与serverUrl保持一致;

(2)将UEditorConfig.json文件放在项目的resources文件夹下,内容从 UEditor/jsp/config.json 下复制

(3)EditorController代码,文件文件和获取配置写成两个接口,获取配置使用get请求,上传使用post请求
/**
 * 百度编辑器图片上传
 *
 * @author ruoyi
 */
@RestController
@RequestMapping("/ueditor")
public class EditorController
{
    @Autowired
    private ServerConfig serverConfig;

    /**
     * 读取配置文件
     * @param action
     * @param noCache
     * @return
     * @throws IOException
     */
    @GetMapping("/upload")
    public String getConfig(String action,String noCache) throws IOException {
        Resource resource = new ClassPathResource("UEditorConfig.json");
        InputStream in=resource.getInputStream();
        if (in != null) {
            String  text = Utils.read(in);
            return text;
        }
        return null;
    }

    /**
     * editor通用上传请求(单个)
     */
    @PostMapping("/upload")
    public AjaxResult editorUploadFile(String action, MultipartFile upfile) {
        try{
            AjaxResult ajax = AjaxResult.success();
            // 上传文件路径
            String filePath = RuoYiConfig.getUploadPath()+"/ueditor";
            // 上传并返回新文件名称
            String fileName = FileUploadUtils.upload(filePath, upfile);
            //String url = serverConfig.getUrl() + fileName;
            ajax.put("state", "SUCCESS");
            ajax.put("url", fileName);
            ajax.put("original", upfile.getOriginalFilename());
            if (action.equals("uploadimage")) {
                ajax.put("title", "图片文件");
            } else if (action.equals("uploadvideo")) {
                ajax.put("title", "视频文件");
            } else {
                ajax.put("title", "文件");
            }
            return ajax;
        }catch (Exception e){
            e.printStackTrace();
            return AjaxResult.error("上传失败");
        }

    }

}
(4)配置授权认证,不配置,则访问授权报错
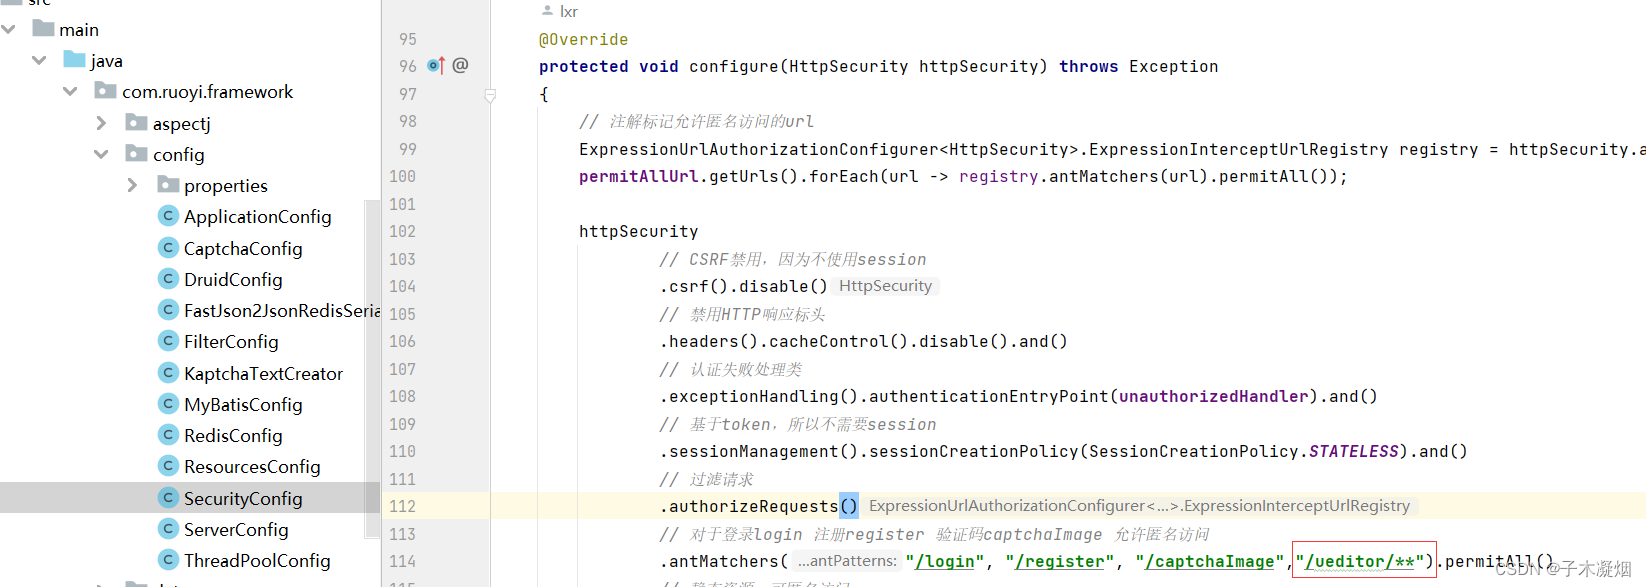
第一种不鉴权,在java端SecurityConfig 文件中开放/ueditor 接口,方便快捷;
 第二种增加授权,在前端,修改ueditor.all.js 文件,get请求时需加上Authorization权鉴信息

post请求上传图片并回显,需修改请求代码以及返回消息解析代码


  var fileForm = new FormData();
                fileForm.append("upfile",input.files[0]);

                var oReq = new XMLHttpRequest();
                var list = window.document.cookie.split(";")
                let filterList = list.filter(item =>{
                     return item.substring(0,11) === "Admin-Token";
                 })
                var token = filterList[0].substr(12);

                oReq.open("POST",imageActionUrl,true);
                oReq.setRequestHeader("Authorization", "Bearer "+token);
                oReq.send(fileForm);
                oReq.onreadystatechange = function(responseText) {
                    if (oReq.readyState == 4 && oReq.status == 200) {
                        var responseData = eval("("+oReq.responseText+")");
                        callback(responseData); //回调函数
                    }
                };
修改后,删除ueditor.all.min.js,复制ueditor.all.js并重命名为ueditor.all.min.js;
6、图片回显,若前后端部署在同一个服务器,可以不用配置imageUrlPrefix路径UEditorConfig.json保持不动,上传接口返回全路径;若不在同一服务器,可删除UEditorConfig.json中imageUrlPrefix,同时在ueditor.vue中配置访问前缀,且在上传接口返回路径使用半路径


7、项目使用
配置id,每次引用,配置不同id值;
<UEditor v-model="form.content" :id="ueidtorName" ref="ue"/>
获取编辑器内容,并赋值;
this.form.content = this.$refs.ue.getUEContent();
版权归原作者 子木凝烟 所有, 如有侵权,请联系我们删除。