系列文章目录
文章目录
背景与效果图
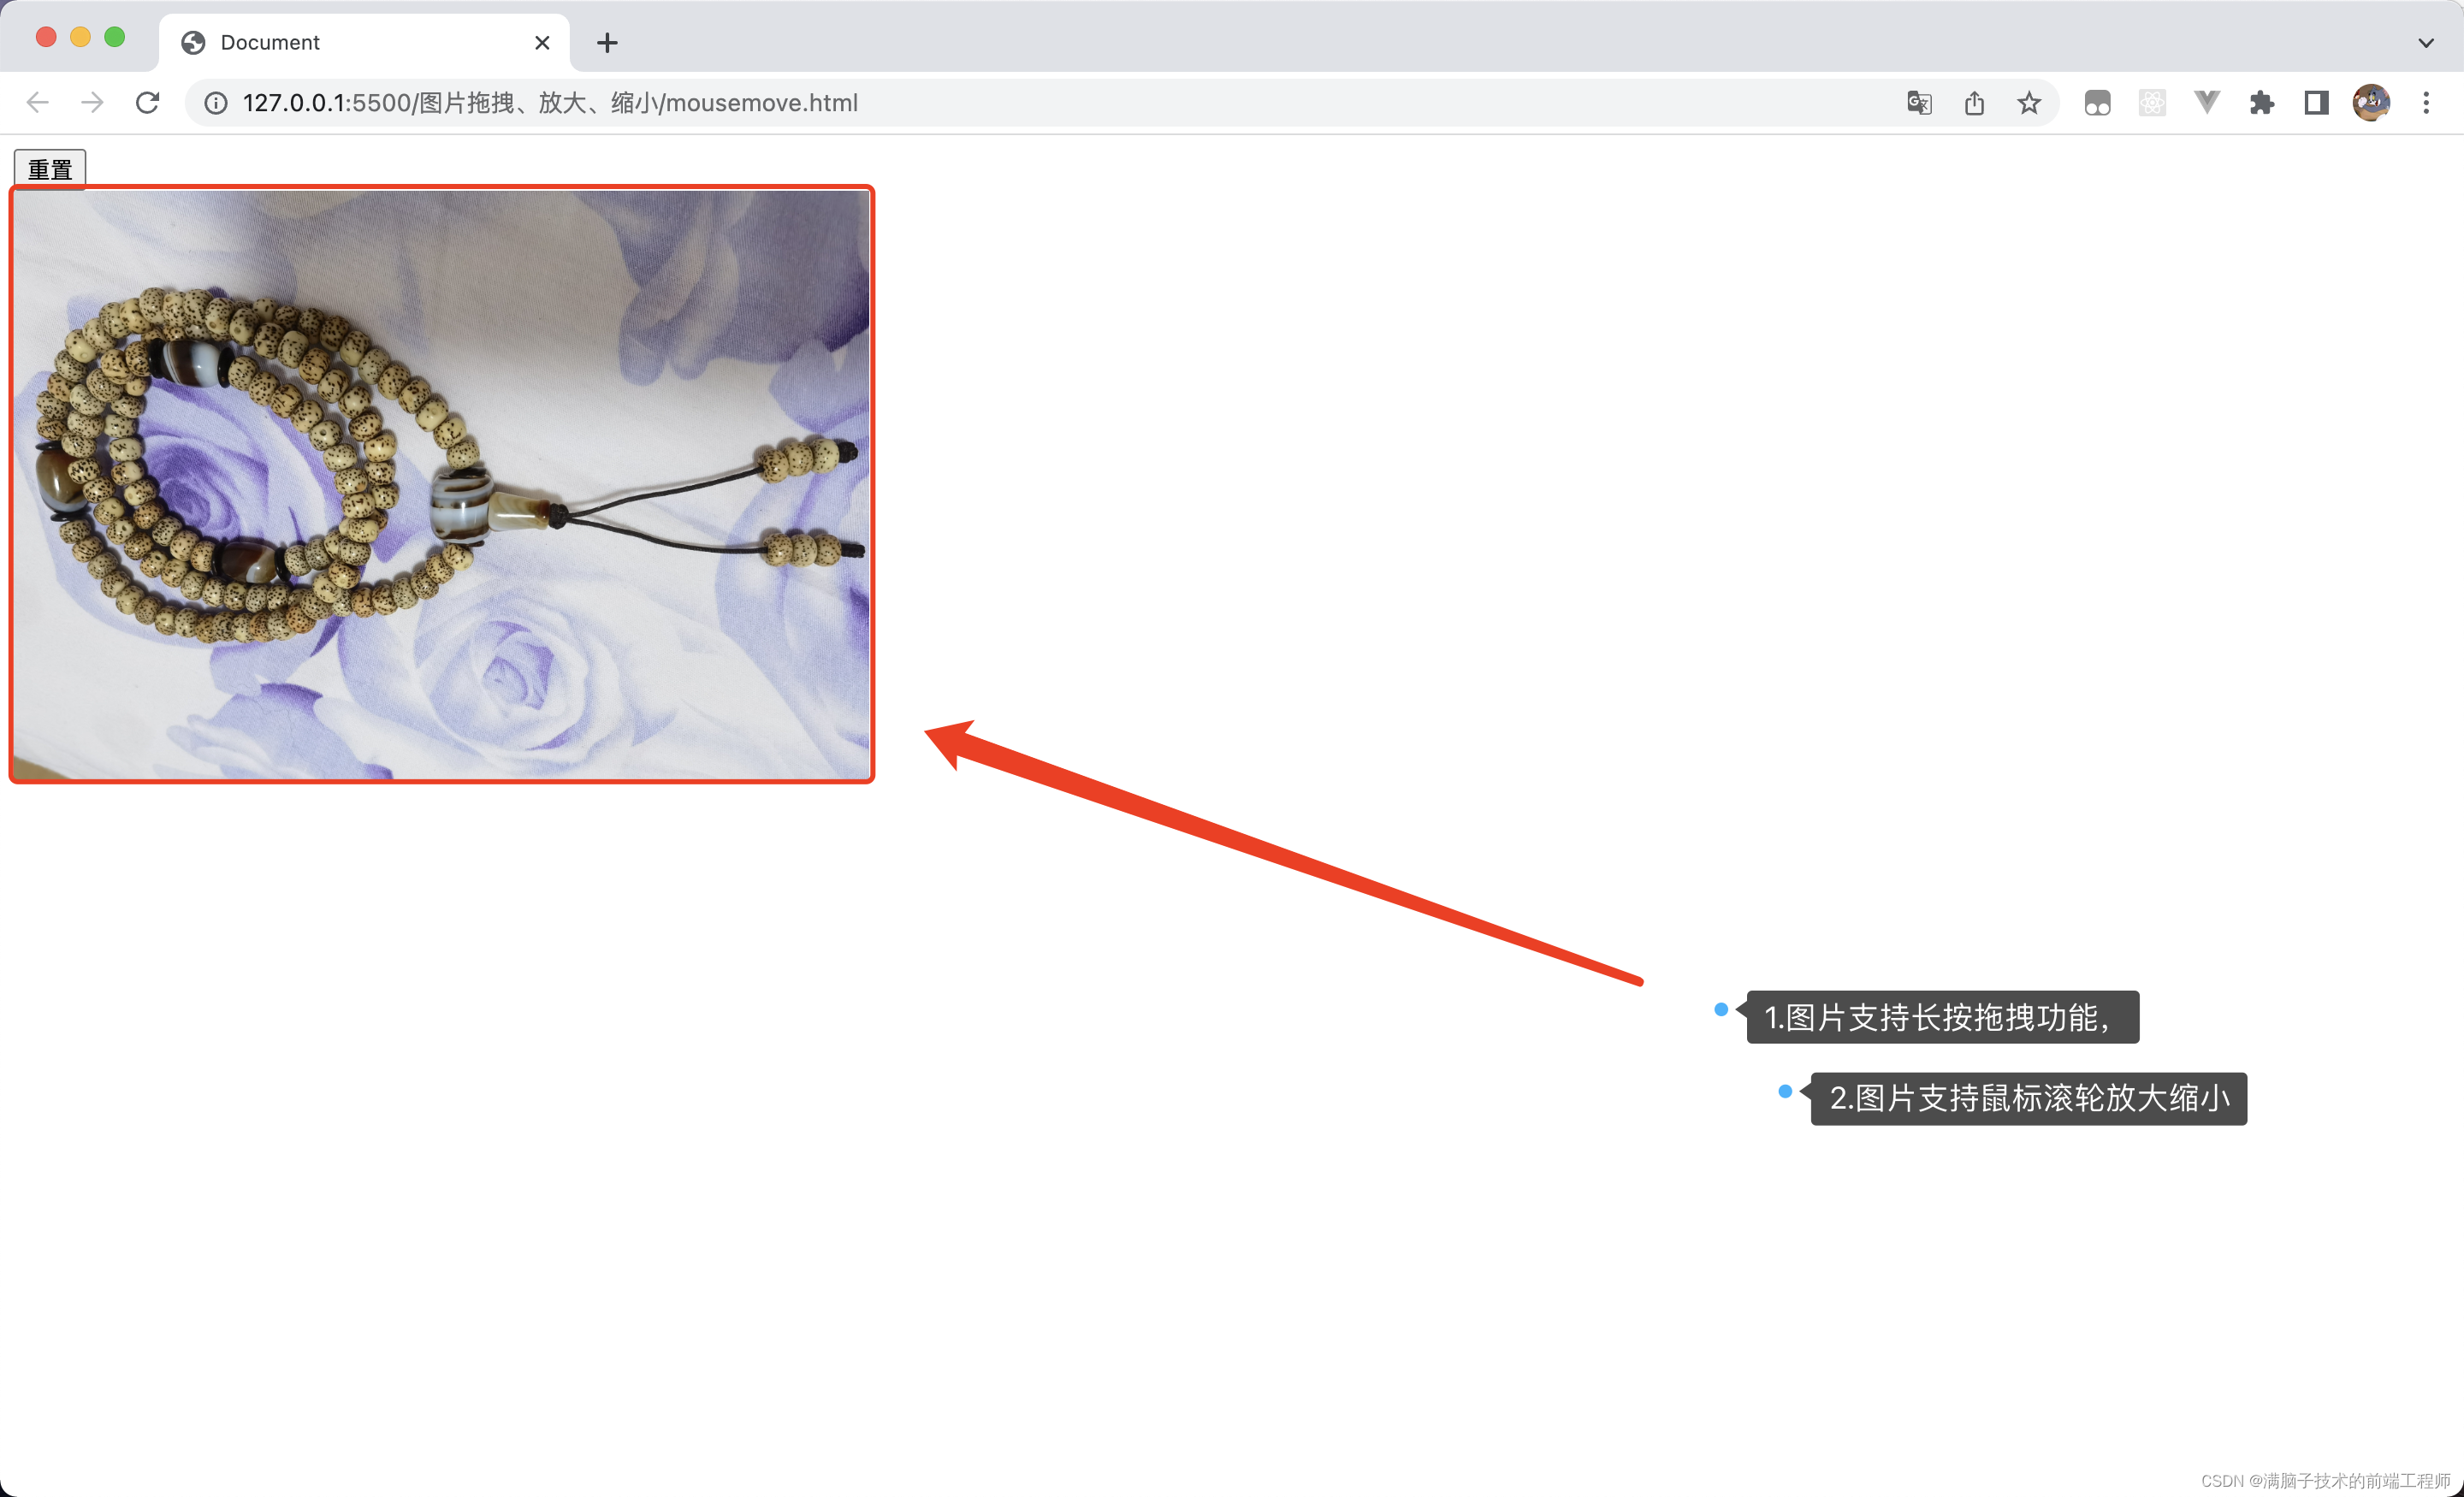
1.背景如下(功能图):
该功能的需求点事2个月前的一个需求,当时采用的是Element-UI中的image图片做的一个功能,但是不能满足产品真实的需求,只能定制化自己封装。
该功能在Vue2 的element-UI中还是比较鸡肋的 ⬇️ ⬇️
Element-UI
该功能在Emenent-UI-plus(vue3)版本已经很好的支持了。 完整功能如下link⬇️ ⬇️
Element-Plus的Image标签

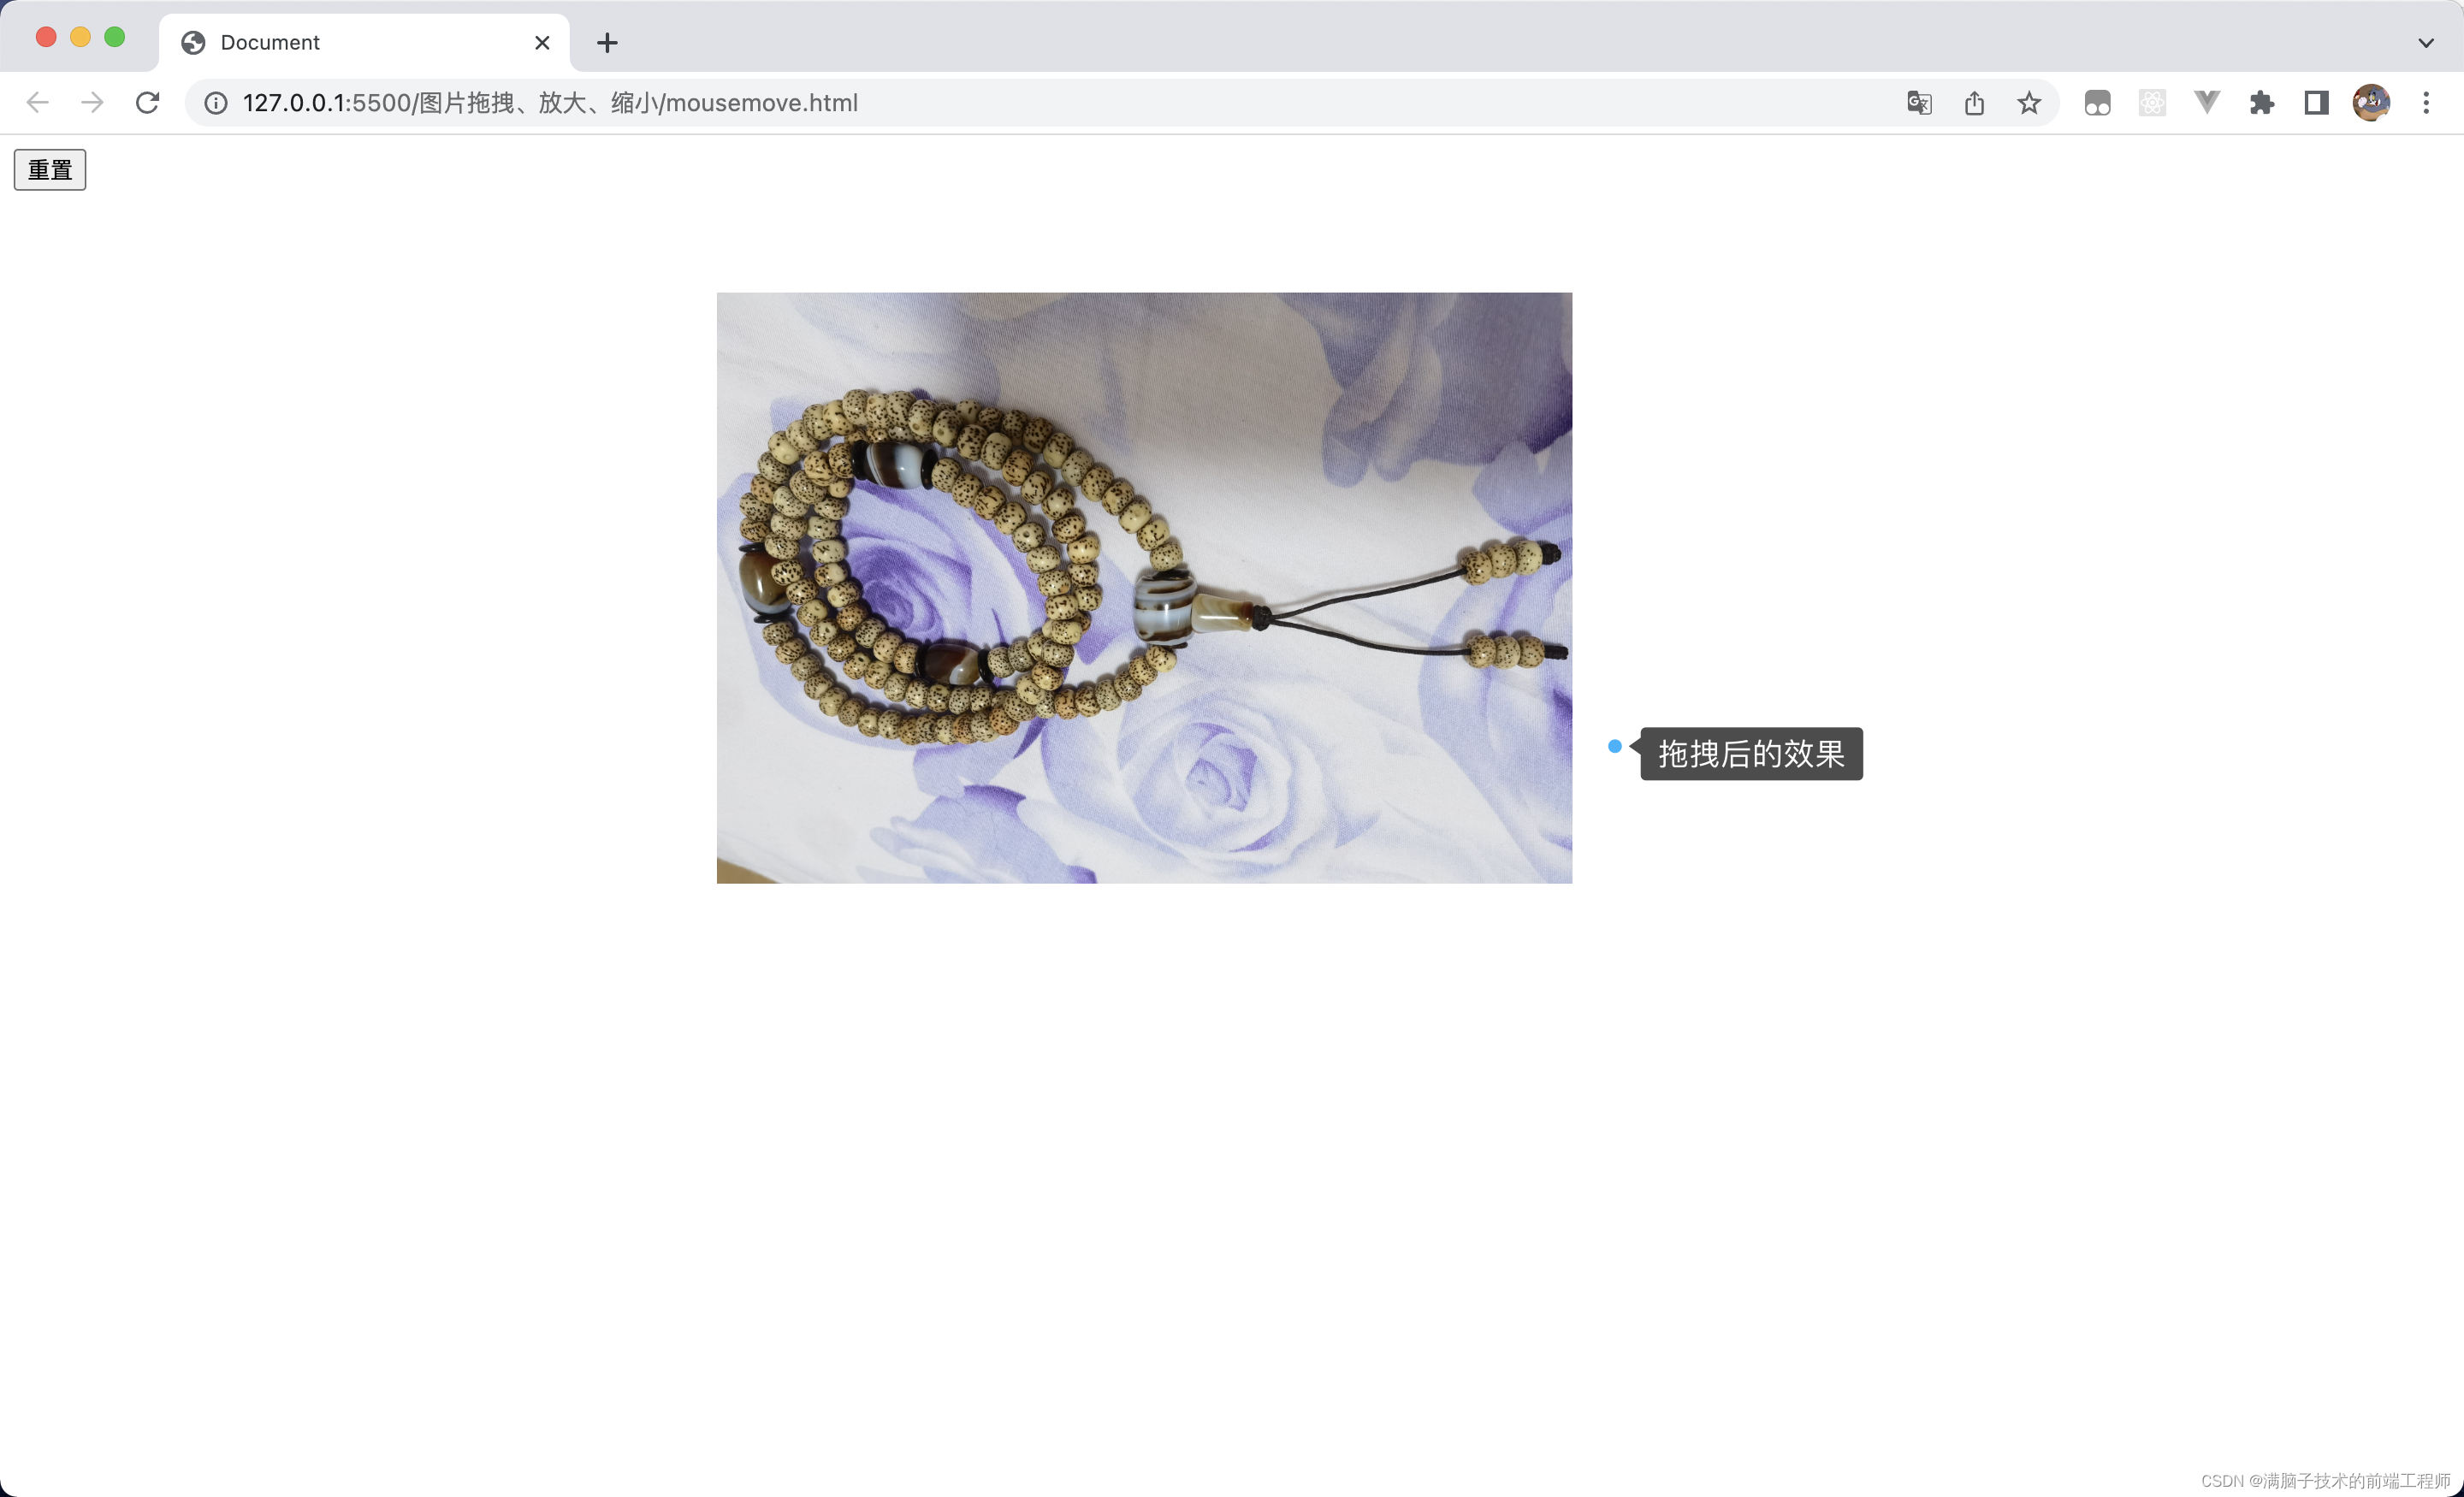
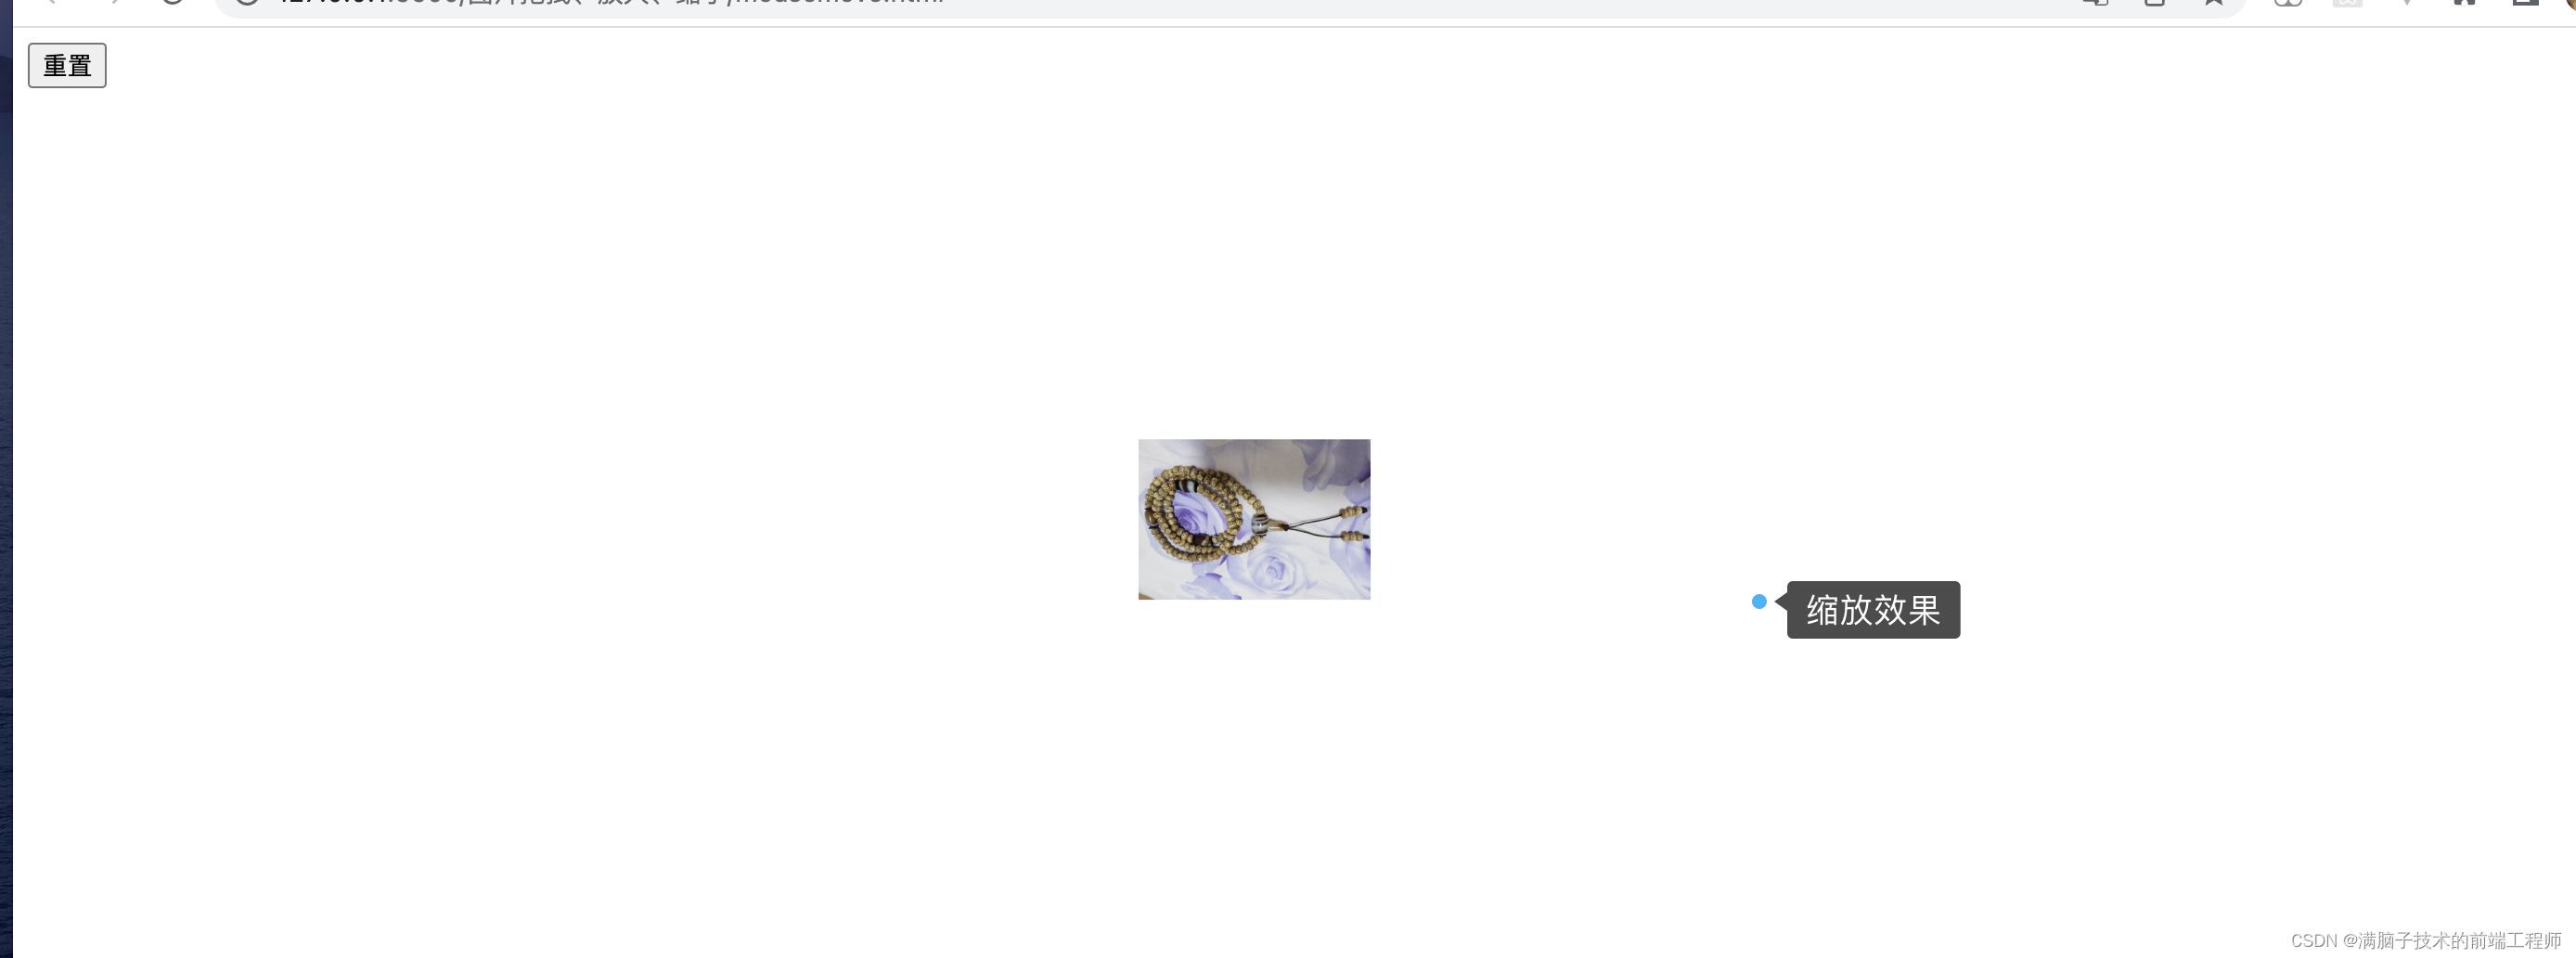
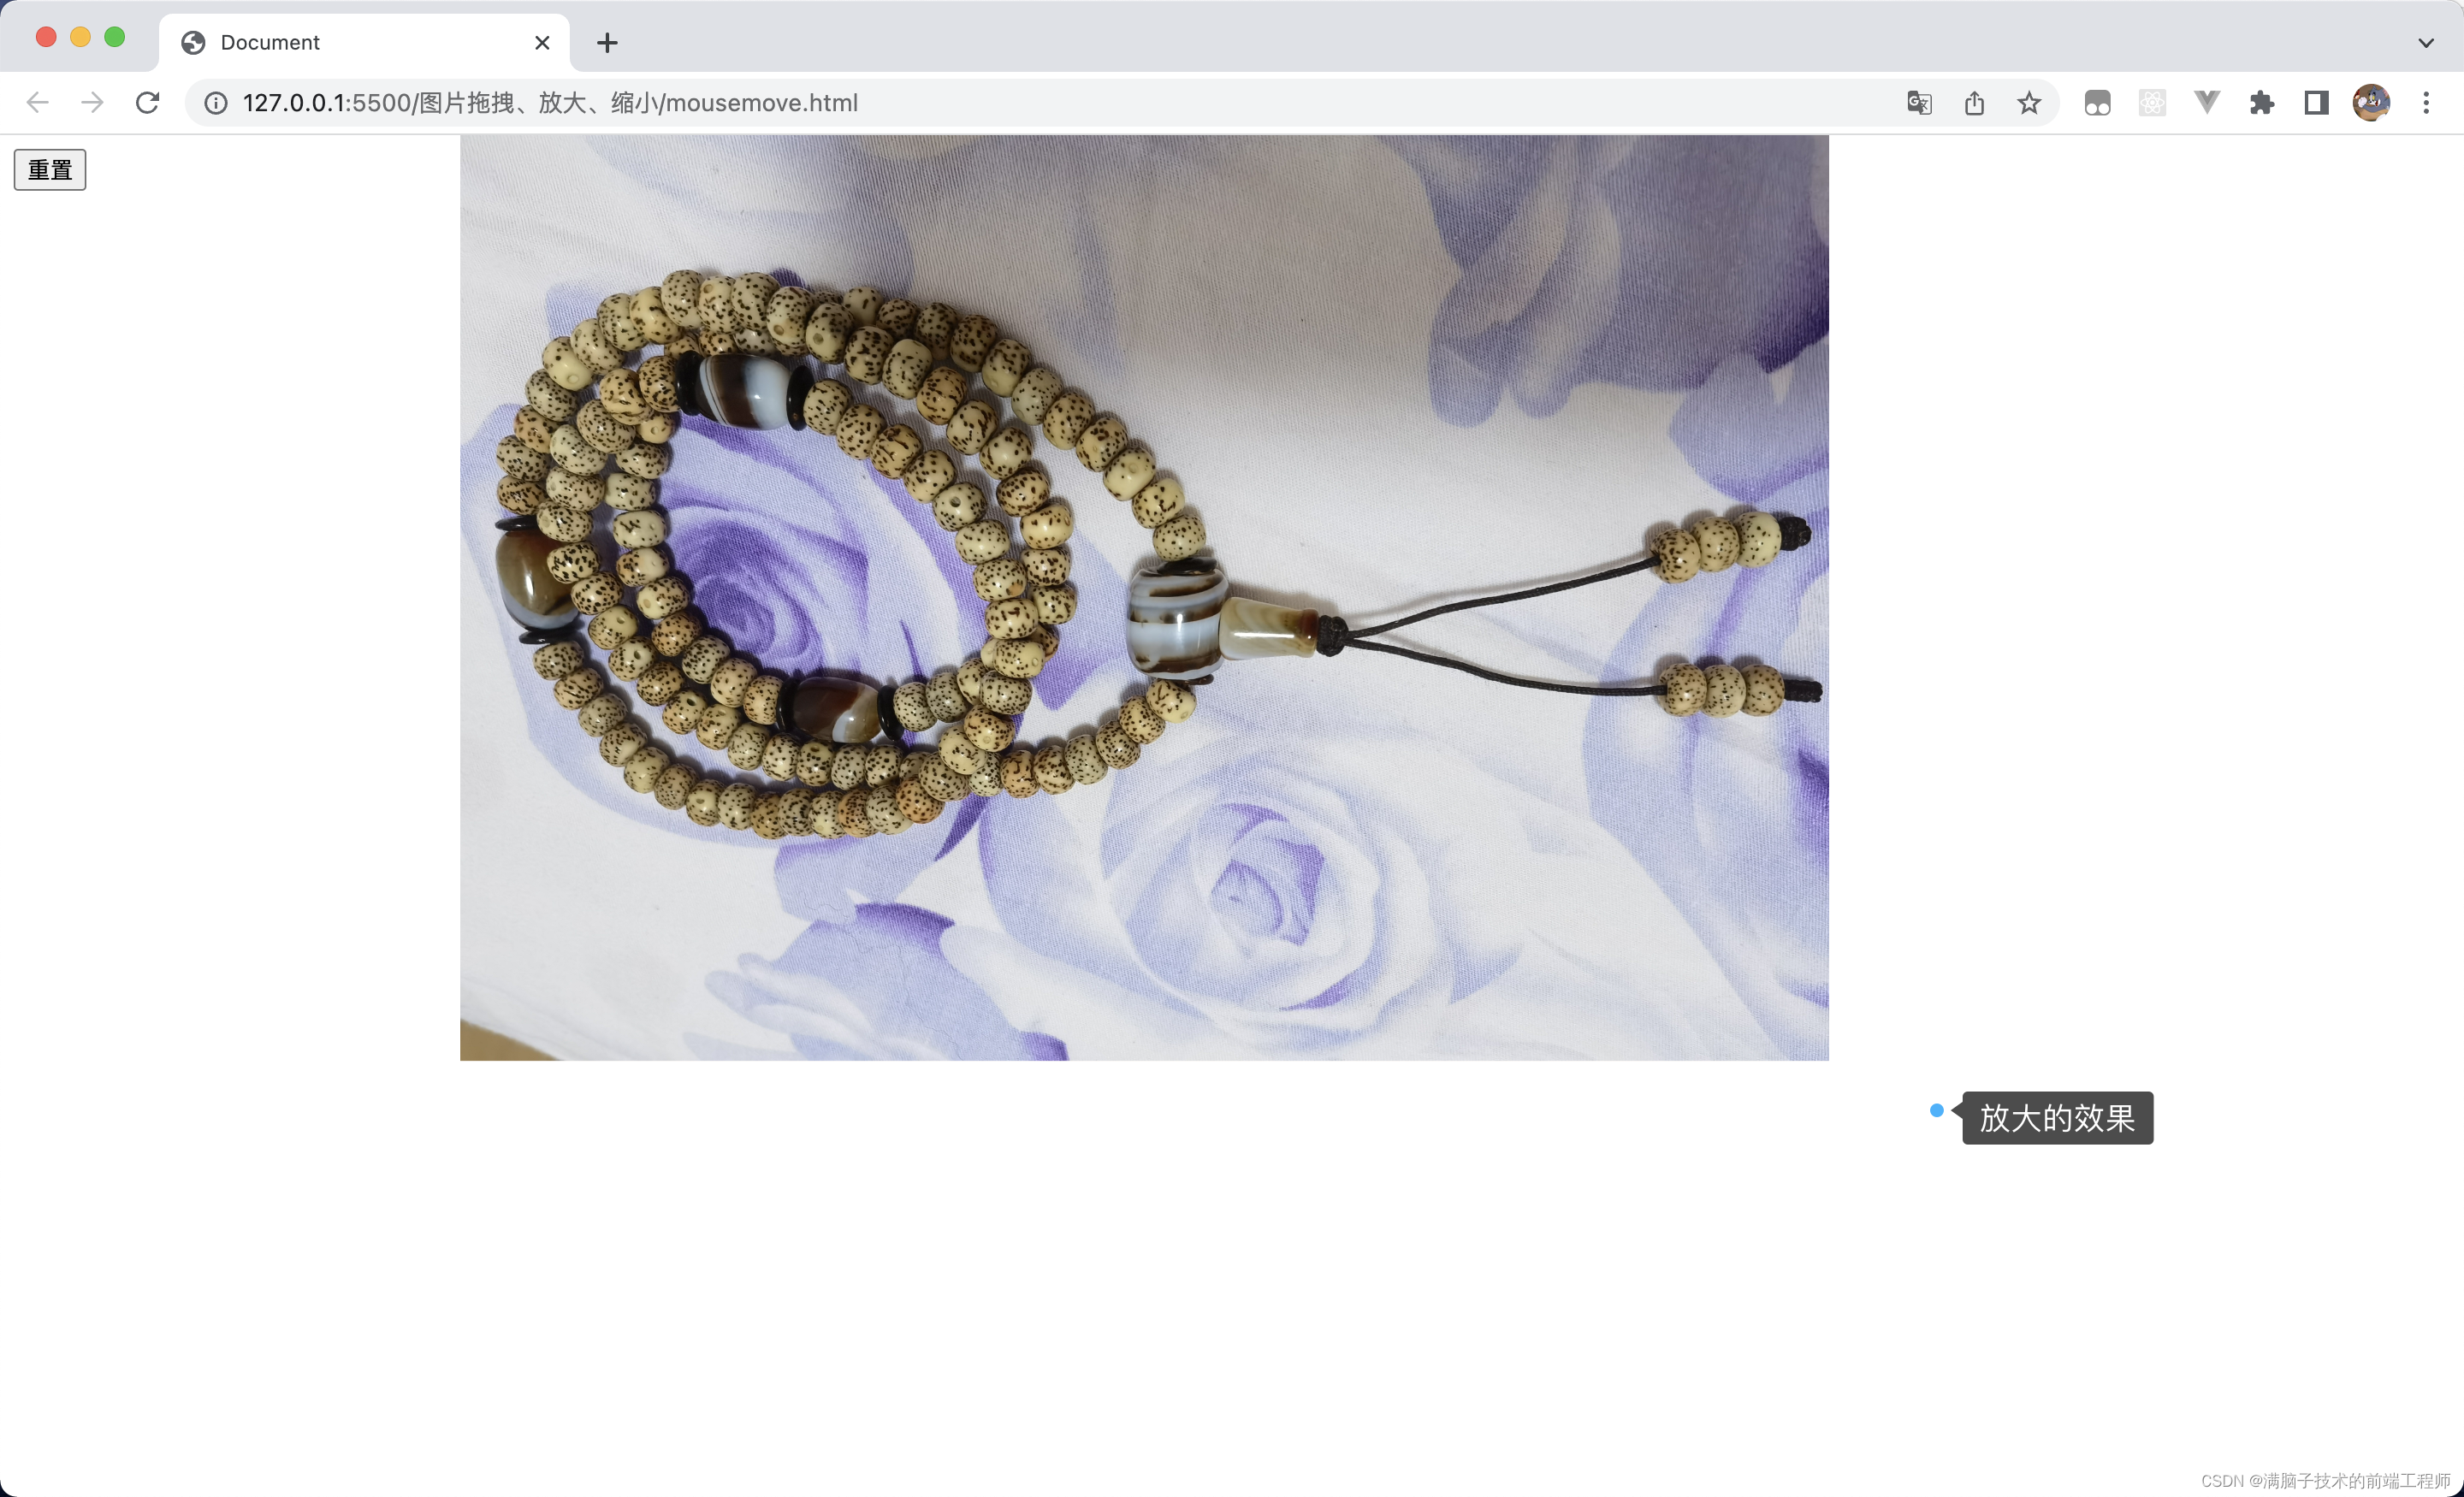
2.效果图如下:
拖拽后的效果

缩放的效果

放大的效果

一、功能:支持鼠标长按拖拽
1.鼠标事件:
onmouseup
:
按键弹起事件
onmousemove
:
鼠标移动事件
onmousedown
:
鼠标按下事件
2.拖拽功能流程
1.给
需要移动的盒子添加鼠标按下事件 : onmousedown
盒子要添加绝对定位。
2.并且给
全局(window)注册鼠标移动事件 : onmousemove
3.给
需要移动的盒子添加鼠标距离左侧和顶部的长度
4.在
鼠标按键松开后把
全局注册的鼠标事件移除(到此拖拽的功能基本完成)
**这里如果使用的是img标签作为图片展示的话,
一定要把img上的长按拖拽事件先去除,要不然就回出现BUG**
3.拖拽部分代码如下
var divMove = document.querySelector('div')
    divMove.onmousedown=function(e){
        window.onmousemove=function(event){
            divMove.style.left=event.clientX-e.target.offsetWidth/2+'px'
            divMove.style.top=event.clientY-e.target.offsetHeight/2+'px'}}
    divMove.onmouseup=function(){
        window.onmousemove =null}
二、功能:滚轮控制图片放大缩小
1.鼠标事件(推荐使用onwheel;mousewheel存在安全隐患)
onwheel:
wheel当用户旋转定点设备(通常是鼠标)上的滚轮按钮时会触发该事件。(现在主流的浏览器都支持该事件)mousewheel:
操作鼠标滚轮或类似设备时异步触发该事件。它由MouseWheelEvent界面表示
2.功能流程:
1.获取
需要放大缩小的盒子DOM
给盒子绑定
onwheel
事件
(这个事件里面存在在谷歌和火狐上放大和缩小的Api不准确,建议先尝试确认下)
2.给
需要放大缩小的盒子DOM
添加Css样式 scale控制图片的缩放
3.具体代码如下:
//scale是为了控制图片大小为正常渲染let  scale =1
    divMove.onwheel=function(e){if(e.wheelDelta>0){
            scale+=0.05
            divMove.style.transform=`scale(${scale})`}else{
            scale-=0.05
            divMove.style.transform=`scale(${scale})`}}
三、案例功能的完整代码如下:
<!DOCTYPE html><html lang="en"><head><meta charset="UTF-8"><meta http-equiv="X-UA-Compatible" content="IE=edge"><meta name="viewport" content="width=device-width, initial-scale=1.0"><title>Document</title><style>
        div {width: 500px;
            background-color: antiquewhite;position: absolute;
           background-image:url("https://top-mvp-img.xhscdn.com/miniimg/1000g1i81etmd8is4o0003oqd6mc015uq3uh1hcg");
           background-repeat: no-repeat;
           background-size:100%100%;}</style></head><body><button>重置</button><div><img style=" width: 100%; visibility: hidden;" src="https://top-mvp-img.xhscdn.com/miniimg/1000g1i81etmd8is4o0003oqd6mc015uq3uh1hcg" alt=""></div></body><script>var button =document.querySelector('button')
    button.onclick=function(){
        divMove.style.top=40+'px'
        divMove.style.left=10+'px'
        scale=1
        divMove.style.transform=`scale(${scale})`}var divMove = document.querySelector('div')
    divMove.onmousedown=function(e){
        window.onmousemove=function(event){
            divMove.style.left=event.clientX-e.target.offsetWidth/2+'px'
            divMove.style.top=event.clientY-e.target.offsetHeight/2+'px'}}
    divMove.onmouseup=function(){
        window.onmousemove =null}let  scale =1
    divMove.onwheel=function(e){if(e.wheelDelta>0){
            scale+=0.05
            divMove.style.transform=`scale(${scale})`}else{
            scale-=0.05
            divMove.style.transform=`scale(${scale})`}}</script></html>
四、总结(一定要看,功能是有坑的)
在完整的代码里面给出了,
多种解决图片拖拽和onmousemove冲突
的问题,
第一种:可以使用background-image代替img标签
;
第二种:可以使用img标签添加css的属性解决这个问题。
只是写了简易的功能,主要是为了给大家提供思路,可以通过这个小案例,完善自己的需求。
版权归原作者 满脑子技术的前端工程师 所有, 如有侵权,请联系我们删除。