
一、NGINX正向代理功能简介
Nginx的正向代理功能允许局域网中的客户端通过代理服务器访问Internet资源。具体来说,Nginx作为一种流行的Web服务器和反向代理服务器,在正向代理方面的应用也相当实用。以下是其正向代理功能的几个关键点:
- 访问外部资源:在正向代理的配置下,Nginx作为代理服务器,帮助内部网络的用户访问外部互联网上的资源。
- 安全性:通过正向代理,可以对内部用户的上网行为进行监控和管理,提高网络安全性。
- 配置简便:客户端需要配置代理服务器的信息,以便通过Nginx访问指定网站。
- 提高访问速度:代理服务器可以缓存经常访问的资源,从而提高后续请求的响应速度。
- 隐藏客户端信息:正向代理可以隐藏客户端的真实IP地址,增加匿名性。
- 负载均衡:虽然不直接属于正向代理的功能,但Nginx还可以用作负载均衡器,分散到多个服务器上,提高网站的可用性和稳定性。
博主将通过实验介绍nginx正向代理的配置和应用,实验环境说明如下:
- 操作系统:centos7.6
- nginx版本:1.26.0
二、NGINX正向代理配置
1、实验环境规划
实验环境规划如下,client和nginx server位于同一个局域网内,client无法之间访问外网,通过nginx server提供的正向代理访问互联网。
2、nginx server主机安装nginx
[root@s76 yum.repos.d]# yum install -y nginx
…
[root@s76 yum.repos.d]# nginx -Version
nginx version: nginx/1.26.0
3、添加百度网站正向代理配置
[root@s76 conf.d]# cat test.conf
server {
        listen 8888;   # 监听端口
        server_name localhost;

        #设置DNS解析器的地址为114.114.114.114,并且设置了解析器的缓存时间为300秒(这样每隔300s就会重新解析一次)
        resolver 114.114.114.114 valid=300 ipv6=off;
        resolver_timeout 3s;    # 设置解析DNS的超时时间为3秒

        proxy_read_timeout 30s;        #设置代理服务器读取超时时间,默认60s
        proxy_send_timeout 30s;        #该参数用于设置向后端服务器发送数据时的超时时间,默认60s
        proxy_connect_timeout 30s;  #该参数用于设置与后端服务器建立连接时的超时时间,默认60s

        set $url "www.baidu.com";       #这里设置url变量指向百度
        location / {
                proxy_pass http://$url; # 将请求转发到由 $url 变量表示的地址,如果目标网站服务是特定断开,可以使用http://$url:port方式
                proxy_buffers 256 4K;           # 设置用于缓存后端响应的缓冲区大小为256个,每个大小为4K。
                proxy_max_temp_file_size 0;     # 设置Nginx暂存响应数据的最大临时文件大小为0,即不使用临时文件。
                proxy_cache_valid 200 302 1m;   # 针对状态码为200和302的响应,设置缓存有效期为1分钟。
                proxy_cache_valid 301 1h;       # 针对状态码为301的响应,设置缓存有效期为1小时。
                proxy_cache_valid any 1m;       # 对于其他任何响应状态码,设置缓存有效期为1分钟。
         }
}
4、热加载nginx配置
[root@s76 conf.d]# nginx -t
nginx: the configuration file /etc/nginx/nginx.conf syntax is ok
nginx: configuration file /etc/nginx/nginx.conf test is successful
[root@s76 conf.d]# nginx -s reload
5、禁止client访问外网
博主这里采用的是去掉DNS参数配置,模拟client主机无法访问互联网网站。
[root@localhost]
# vim /etc/resolv.conf# ping www.baidu.com
[root@localhost]
ping: unknown host www.baidu.com
[root@localhost]~# curl -I http://www.baidu.com
curl: (6) Couldn’t resolve host ‘www.baidu.com’
6、client通过nginx正向代理访问百度
如下验证结果所示,client终端本来无法访问百度,通过局域网nginx正向代理地址实现了访问百度网站的需求。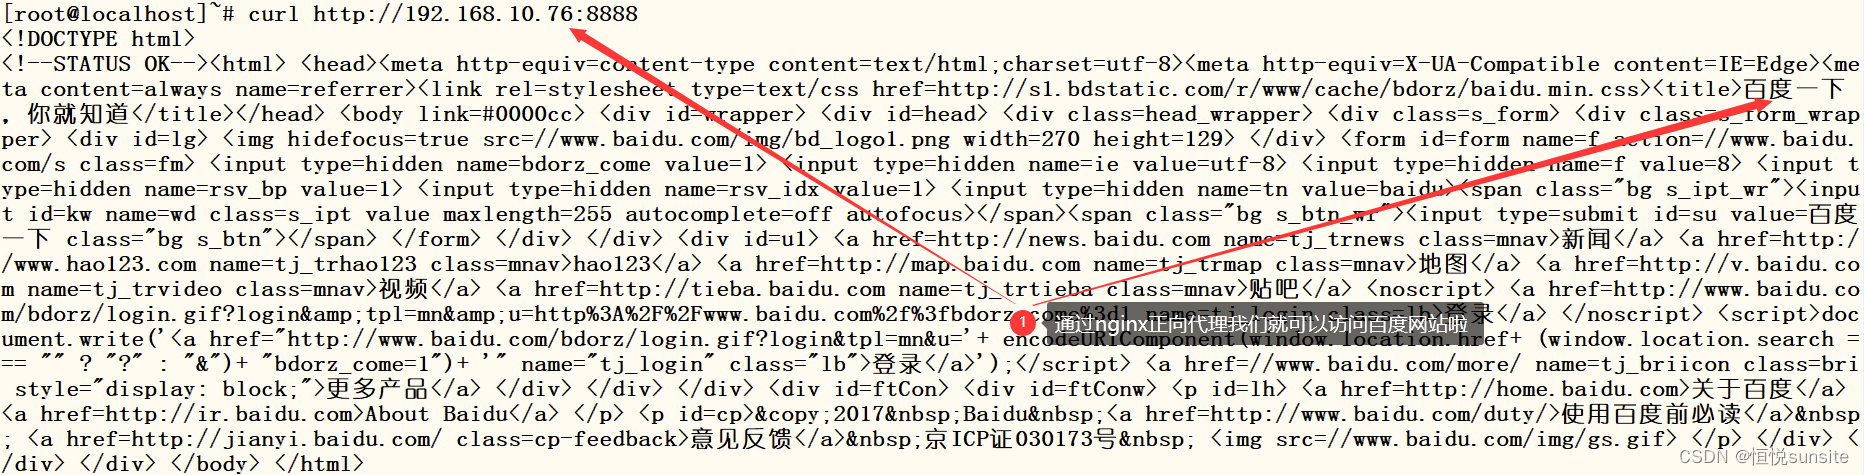
7、添加访问日志记录
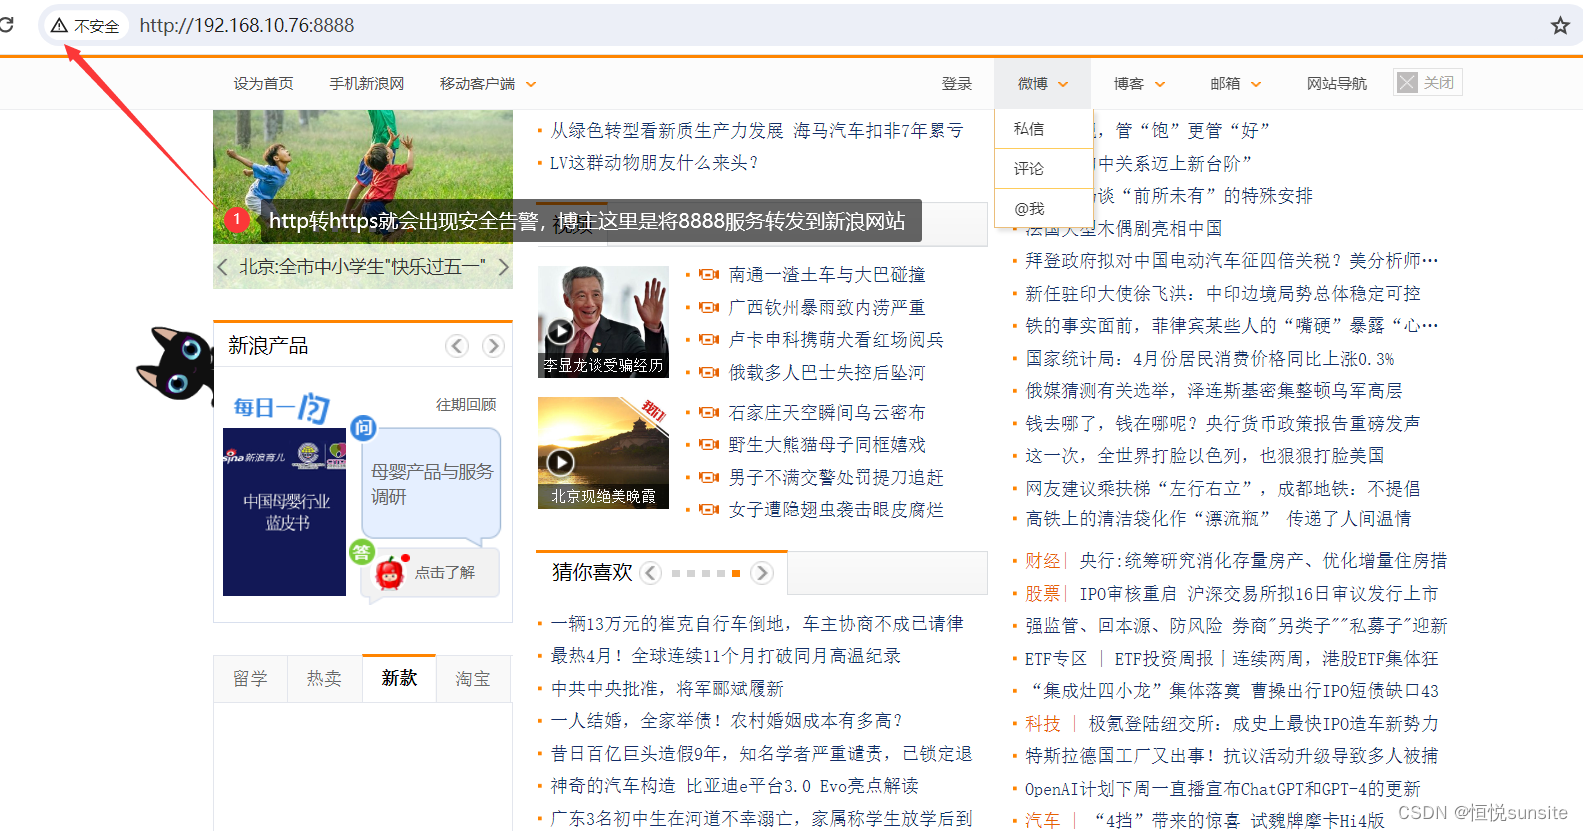
添加access_log参数,记录访问日志,重新热加载配置,访问记录日志就会被记录下来。这就是nginx正向代理的主要用途,用于严格管控和审计需要严格限制访问外网的终端用户。但是这种方式有一个大弊端,就是如果有多个网站都需要单独配置,配置就多而繁琐。对于https访问支持也不友好。
[root@s76 conf.d]# cat test.conf
…
access_log /var/log/nginx/test.access.log;
…

二、NGINX正向代理插件安装和使用
1、下载nginx源码文件
我们已经通过yum安装了nginx,安装正向代理插件ngx_http_proxy_connect_module模块,我们需要下载源码文件,将插件模块通过编译添加到nginx中。下载并解压软件包。该插件最新支持版本为1.25.x,所以我们下周上一个稳定版本。
[root@s76 opt]# wget https://nginx.org/download/nginx-1.25.5.tar.gz
…
[root@s76 opt]# tar -zxvf nginx-1.25.5.tar.gz
2、下载ngx_http_proxy_connect_module模块
[root@s76 opt]# wget --no-check-certificate https://github.com/chobits/ngx_http_proxy_connect_module/archive/refs/heads/master.zip
…
[root@s76 opt]# unzip master.zip
…
3、打补丁
[root@s76 nginx-1.25.5]# patch -p1 < /opt/ngx_http_proxy_connect_module-master/patch/proxy_connect.patch
…
4、安装依赖包
[root@s76 nginx-1.25.5]# yum install -y pcre pcre-devel openssl-devel
5、执行configure
[root@s76 nginx-1.25.5]# ./configure --prefix=/etc/nginx --sbin-path=/usr/sbin/nginx --modules-path=/usr/lib64/nginx/modules --conf-path=/etc/nginx/nginx.conf --error-log-path=/var/log/nginx/error.log --http-log-path=/var/log/nginx/access.log --pid-path=/var/run/nginx.pid --lock-path=/var/run/nginx.lock --http-client-body-temp-path=/var/cache/nginx/client_temp --http-proxy-temp-path=/var/cache/nginx/proxy_temp --http-fastcgi-temp-path=/var/cache/nginx/fastcgi_temp --http-uwsgi-temp-path=/var/cache/nginx/uwsgi_temp --http-scgi-temp-path=/var/cache/nginx/scgi_temp --user=nginx --group=nginx --with-compat --with-file-aio --with-threads --with-http_addition_module --with-http_auth_request_module --with-http_dav_module --with-http_flv_module --with-http_gunzip_module --with-http_gzip_static_module --with-http_mp4_module --with-http_random_index_module --with-http_realip_module --with-http_secure_link_module --with-http_slice_module --with-http_ssl_module --with-http_stub_status_module --with-http_sub_module --with-http_v2_module --with-mail --with-mail_ssl_module --with-stream --with-stream_realip_module --with-stream_ssl_module --with-stream_ssl_preread_module --with-cc-opt='-O2 -g -pipe -Wall -Wp,-D_FORTIFY_SOURCE=2 -fexceptions -fstack-protector-strong --param=ssp-buffer-size=4 -grecord-gcc-switches -m64 -mtune=generic -fPIC' --with-ld-opt='-Wl,-z,relro -Wl,-z,now -pie' --add-dynamic-module='/opt/ngx_http_proxy_connect_module'
6、执行make
[root@s76 nginx-1.25.5]# make
…
make[1]: Leaving directory `/opt/nginx-1.25.5’
7、验证nginx版本

8、替换nginx二进制文件
[root@s76 nginx-1.25.5]# make install
…
9、重新启动nginx
[root@s76 nginx-1.25.5]# systemctl start nginx
10、nginx配置文件加载正向代理插件模块
我们可以通过nginx -V查看modules的文件路径,这里博主实验证明需要make install才会生成.so文件,有些博文说的替换二进制文件的时候modules目录下是空的。make install的时候在日志记录中可以看到生成文件目录位置信息。
[root@s76 conf.d]# ll /usr/lib64/nginx/modules/
total 176
-rwxr-xr-x. 1 root root 178736 May 13 09:22 ngx_http_proxy_connect_module.so
[root@s76 conf.d]# cat /etc/nginx/nginx.conf
#配置文件最外层添加如下行
load_module /usr/lib64/nginx/modules/ngx_http_proxy_connect_module.so;
11、添加正向代理配置
[root@s76 conf.d]# cat zxdl.conf
# 参考https://github.com/chobits/ngx_http_proxy_connect_module
server {
     listen 9090;
     resolver 114.114.114.114 valid=60s ipv6=off;
     resolver_timeout 30s;
     proxy_connect ;
     proxy_connect_allow            443 80;
     proxy_connect_connect_timeout  10s;
     proxy_connect_read_timeout     10s;
     proxy_connect_send_timeout     10s;
     location / {
         proxy_pass $scheme://$http_host$request_uri;
         proxy_set_header Host $host;
         proxy_http_version  1.1;
         proxy_ssl_server_name on;
     }
}
12、验证配置并重新加载nginx配置
[root@s76 conf.d]# nginx -t
nginx: the configuration file /etc/nginx/nginx.conf syntax is ok
nginx: configuration file /etc/nginx/nginx.conf test is successful
[root@s76 conf.d]# nginx -s reload
13、客户端设置http代理
[root@localhost]
# export http_proxy=‘192.168.10.76:9090’# export https_proxy=‘192.168.10.76:9090’
[root@localhost]
14、代理上网验证
如下图所示该终端本来是无法访问互联网的,通过nginx的正向代理就实现了代理上网的需求。通过这个代理插件不仅可以访问百度还可以访问任意http和https网站。博主这里是通过取消DNS配置模拟无法上网,这种情况下yum安装是无法正常使用的,但是在配置了http_proxy之后我们就可以通过nginx的正向代理正常使用yum安装软件包了。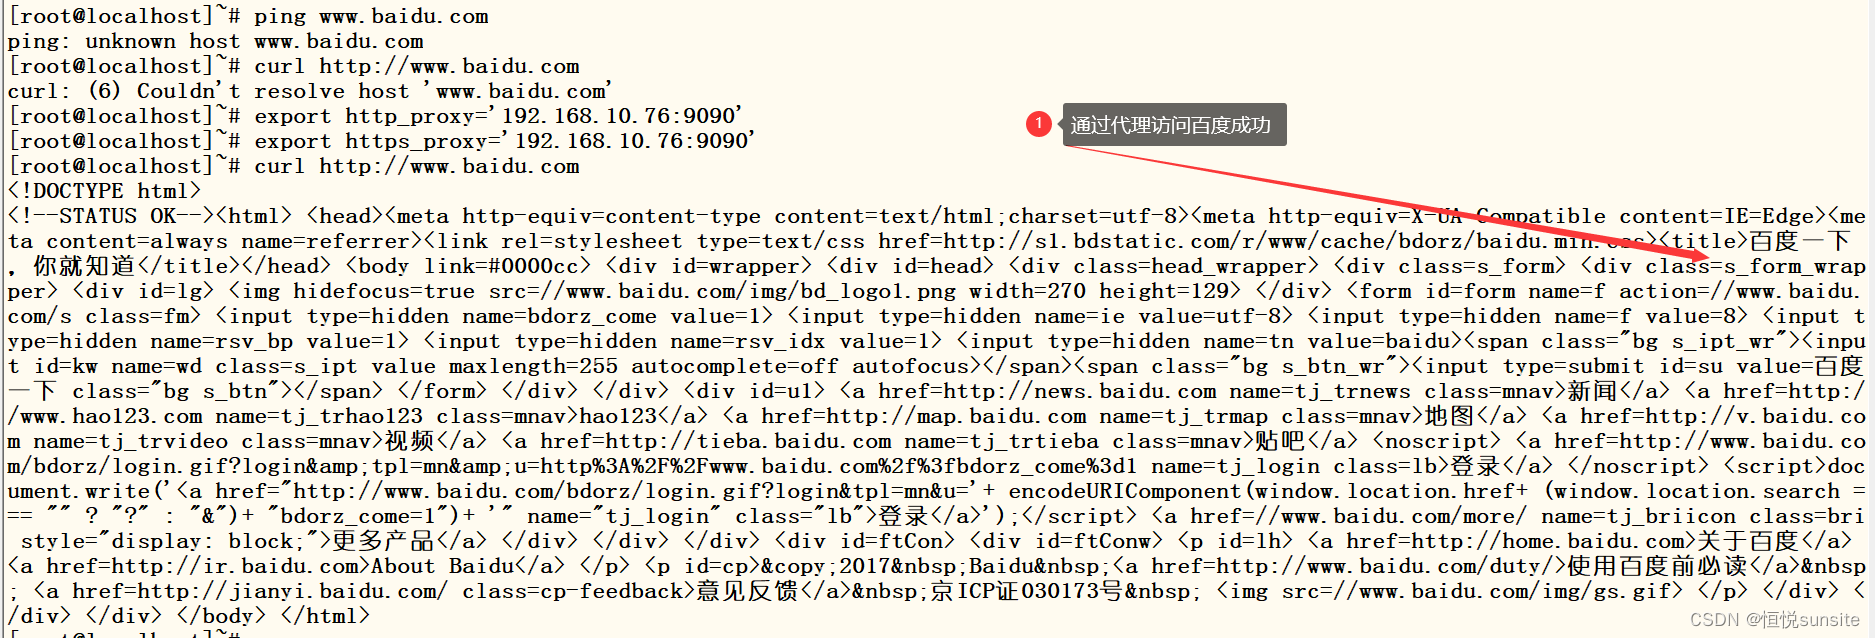
四、QA
1、执行configure的时候报错
- 报错信息:./configure: error: no =/opt/ngx_http_proxy_connect_module/config was found
- 报错原因:命令中多了一个“=”符号
- 解决方案:修改参数为–add-dynamic-module=‘/opt/ngx_http_proxy_connect_module’
2、执行configure的时候报错
- 报错信息:./configure: error: the HTTP rewrite module requires the PCRE library.
- 报错原因:系统未安装pcre依赖包
- 解决方案:执行yum install -y pcre pcre-devel安装pcre依赖包
3、执行configure的时候报错
- 报错信息:./configure: error: SSL modules require the OpenSSL library.
- 报错原因:未安装openssl库
- 解决方案:执行yum install -y openssl-devel安装openssl库
五、总结
其实不管是正向代理还是反向代理,代理的都是浏览器和真实服务器之间的流量,正向代理代理的是内部服务器出去的流量,客户端或者浏览器都通过nginx这个中间节点后访问互联网上真实服务器,这就是正向代理。互联网的终端或者浏览器通过nginx这个中间节点流量转发和访问控制确定最终访问的内部服务这就是反向代理。白话文来说正向代理和反向代理就是一个流量方向的不同,正向代理是出向的流量代理,反向代理是入向的流量代理。
版权归原作者 恒悦sunsite 所有, 如有侵权,请联系我们删除。