
文章目录
ref属性
我们拿出一个App组件:
<template><div><h2>欢迎来到{{n}}</h2><hr><SchoolName></SchoolName><StudentName></StudentName></div></template><script>import SchoolName from"@/components/School";import StudentName from"@/components/Student";exportdefault{components:{
                SchoolName,
                StudentName
            },data(){return{n:'CSDN'}}}</script><style></style>
现在我们如果想要拿到这个h2元素,我们的第一反应就是使用原生js,给h2标签取个id,然后使用getElementById这个方法把它拿到。但是这是Vue我们应该减少直接操作DOM的操作。
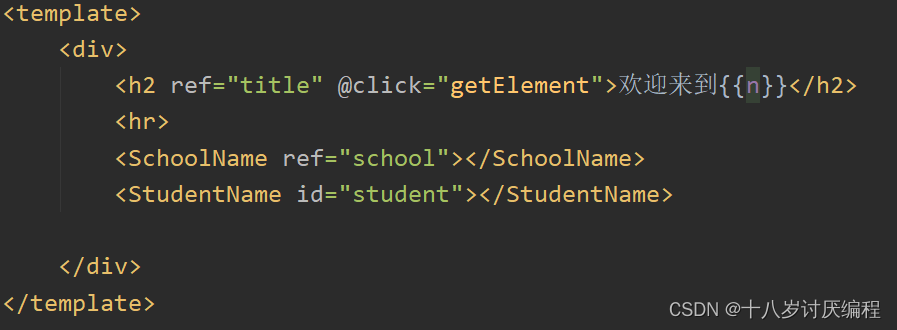
这个时候Vue给我们提供了一个属性ref,我们通过它给标签取一个名字:
<template><div><h2ref="title"@click="getElement">欢迎来到{{n}}</h2><hr><SchoolName></SchoolName><StudentName></StudentName></div></template>
我们打印此时的组件实例对象vc发现: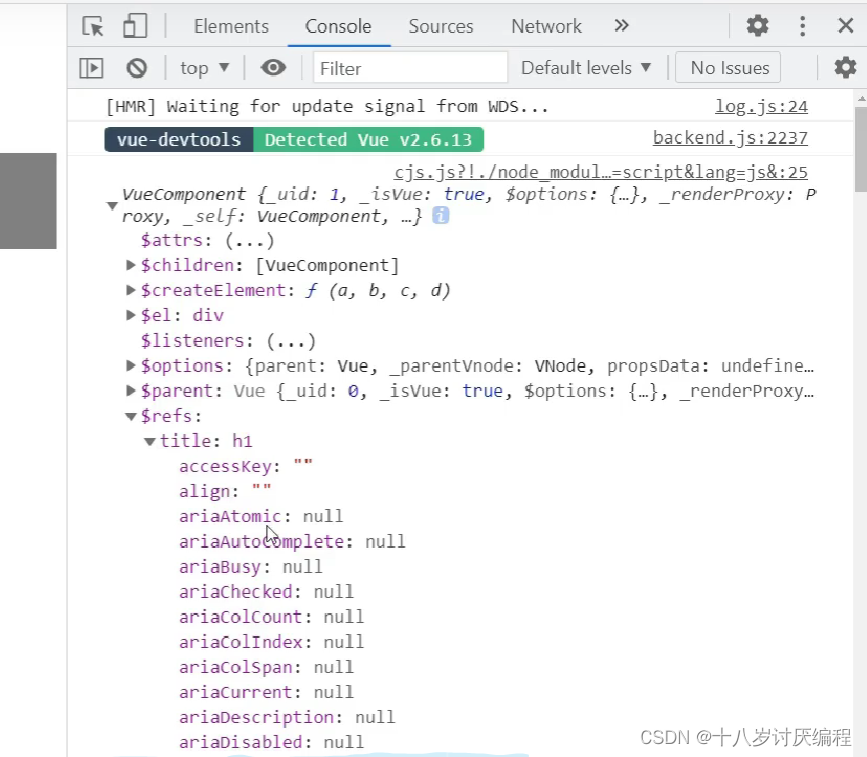
于是我们这样去获得:
<script>import SchoolName from"@/components/School";import StudentName from"@/components/Student";exportdefault{components:{
                SchoolName,
                StudentName
            },data(){return{n:'CSDN'}},methods:{getElement(){
                    console.log(this.$refs.title)}}}</script>
结果: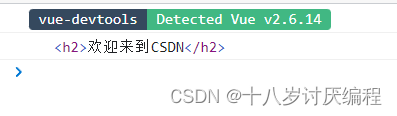
以上我们都是在html标签中去使用ref属性,如果我们在组件标签中去使用会怎么样呢?
<template><div><h2ref="title"@click="getElement">欢迎来到{{n}}</h2><hr><SchoolNameref="school"></SchoolName><StudentName></StudentName></div></template><script>import SchoolName from"@/components/School";import StudentName from"@/components/Student";exportdefault{components:{
                SchoolName,
                StudentName
            },data(){return{n:'CSDN'}},methods:{getElement(){
                    console.log(this.$refs.school)}}}</script>
结果: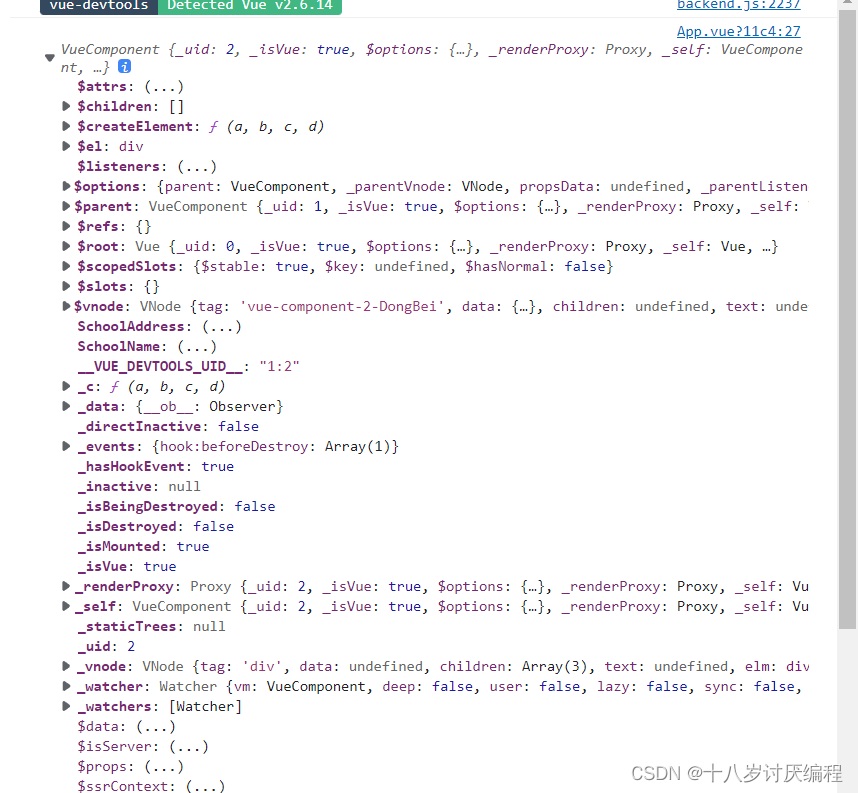
我们用这种办法可以拿到组件的实例对象vc。
使用了ref属性的元素,都会挂载到相应组件的$refs属性上,例如对于上面的代码:

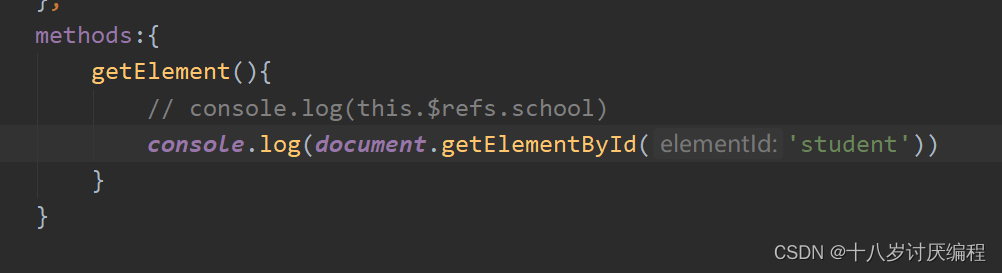
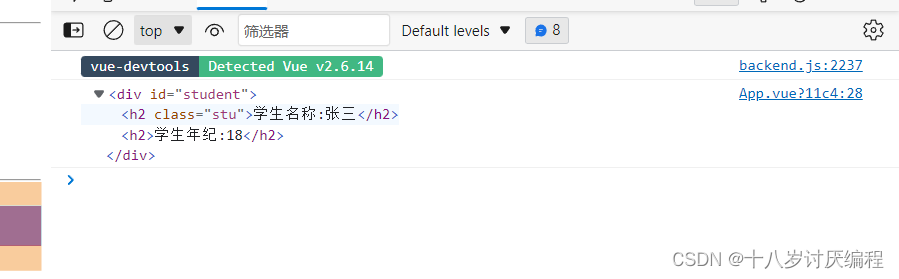
如果我们使用id的方法去获取组件会怎么样?
此时我们达到的是对应组件完整的DOM结构
我们给组件标签加的id属性其实跑到了组件最外侧的根标签上:

总结:
- 被用来给元素或子组件注册引用信息(id的替代者)
- 应用在html标签上获取的是真实DOM元素,应用在组件标签上是组件实例对象(vc)
- 使用方式: 1. 打标识:
<h1 ref="xxx">.....</h1>或<School ref="xxx"></School>2. 获取:this.$refs.xxx
props配置
我们知道组件时可以复用的。如果我们在复用的时候想把其中的数据修改成自己的该怎么呢?如果全部自己重新去配置非常的麻烦,这个时候我们就可以借助props配置项。
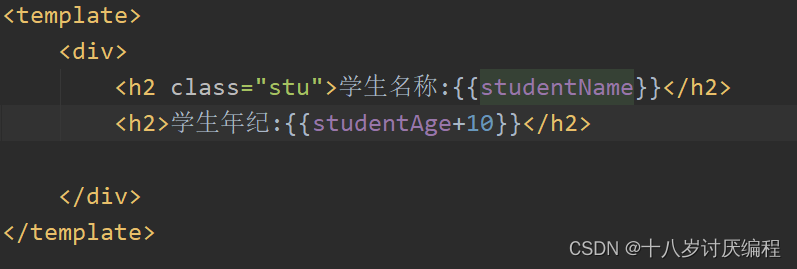
加入我们现在有一个组件:
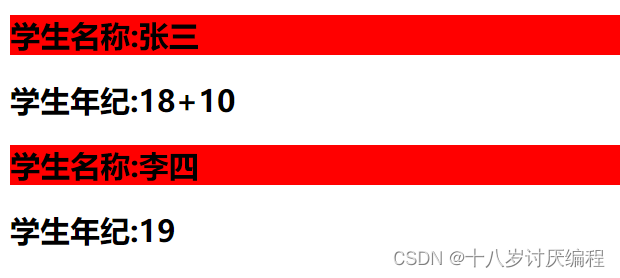
<template><div><h2class="stu">学生名称:{{studentName}}</h2><h2>学生年纪:{{studentAge}}</h2></div></template><script>exportdefault{name:'ZhouYou',data(){return{studentName:'张三',studentAge:18}}}</script><style>.stu{background-color:red;}</style>
我们在复用的时候想对其中的数据进行替换,那么我们可以这样:
<template><div><h2class="stu">学生名称:{{studentName}}</h2><h2>学生年纪:{{studentAge}}</h2></div></template><script>exportdefault{name:'MyStudent',props:['studentName','studentAge']}</script><style>.stu{background-color:red;}</style>
把要修改的数据从data里面拿掉,也就是说不在data里面写死,而是用的时候你指定是什么,他就是什么。
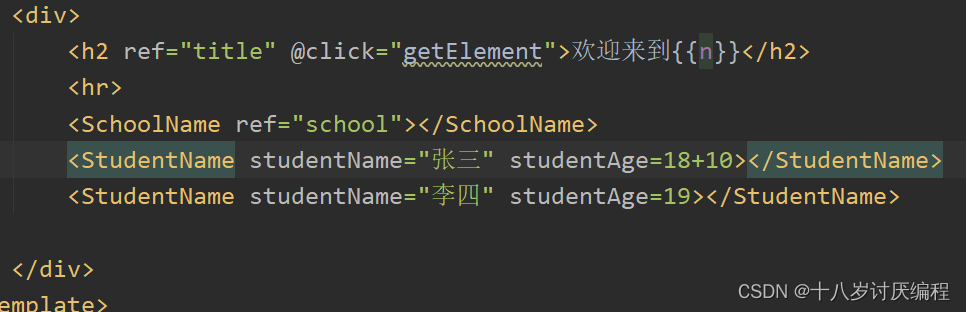
在App组件中:
<template><div><h2ref="title"@click="getElement">欢迎来到{{n}}</h2><hr><SchoolNameref="school"></SchoolName><StudentNamestudentName="张三"studentAge=18></StudentName><StudentNamestudentName="李四"studentAge=19></StudentName></div></template>
结果:
有一个注意点:
不管你标签中的属性写的是studentAge=18还是studentAge=‘‘18’’,其实它给我们传入的都是字符串,我们可以举两个例子:
或者我们这样:
那么怎么解决呢?有两种方法:
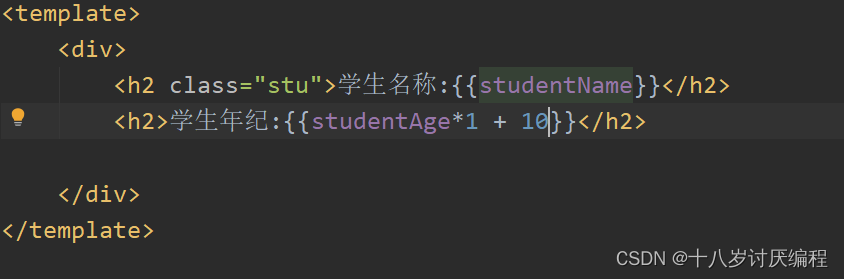
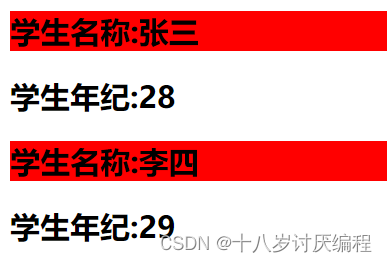
①类型转换
②数据绑定
如果使用类型转换:
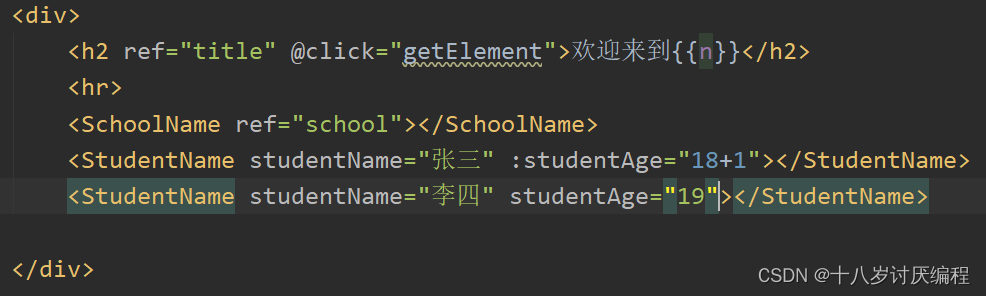
如果使用数据绑定:
原理是:使用数据绑定的时候,Vue会将""中的代码当作表达式去执行。


我们前面使用的props后面跟一个数组的方式叫做
简单声明接收
,下面我们来介绍另一种方式,我们可以用它对数据进行类型限制:
<template><div><h2class="stu">学生名称:{{studentName}}</h2><h2>学生年纪:{{studentAge}}</h2></div></template><script>exportdefault{name:'MyStudent',// props:['studentName','studentAge']props:{studentName:String,studentAge:Number
        }}</script><style>.stu{background-color:red;}</style>
在App组件中:
<template><div><h2ref="title"@click="getElement">欢迎来到{{n}}</h2><hr><SchoolNameref="school"></SchoolName><StudentNamestudentName="张三":studentAge="18+1"></StudentName><StudentNamestudentName="李四"studentAge="19"></StudentName></div></template>
运行项目之后我们发现: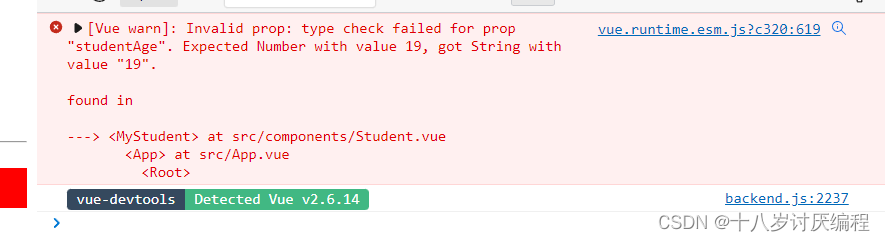
他会提醒我们传入的数据类型与要求的不符合。
除了这两种我们还有一种接收方式:
<template><div><h2class="stu">学生名称:{{studentName}}</h2><h2>学生年纪:{{studentAge}}</h2></div></template><script>exportdefault{name:'MyStudent',// props:['studentName','studentAge']// props:{//     studentName:String,//     studentAge:Number// }props:{studentName:{required:true,type:String
            },studentAge:{type: Number,default:10}}}</script><style>.stu{background-color:red;}</style>
在这里我们可以对接收的每一个数据进行详细配置,常见的配置项有三个:
- type – 限制类型
- default – 在不是必须传入的数据时,默认的数据值
- required – 是否必须传入
- 一般default与required不会同时出现
在App组件中:
<template><div><h2ref="title">欢迎来到{{n}}</h2><hr><SchoolNameref="school"></SchoolName><StudentNamestudentName="张三":studentAge="18+1"></StudentName><StudentNamestudentName="李四"></StudentName></div></template>
结果: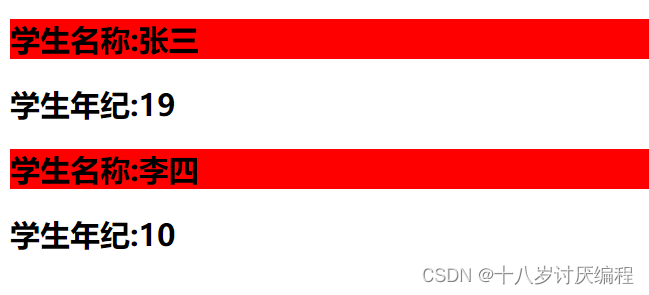
如果我们没有传入studentName,那么控制台时会报错提醒我们的: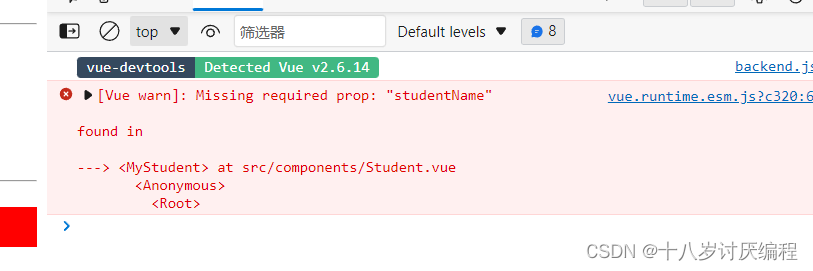
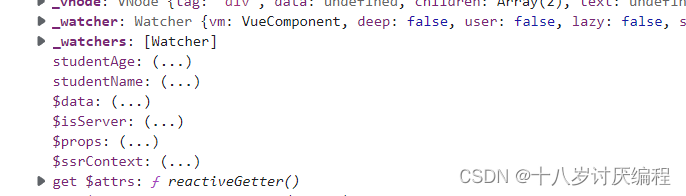
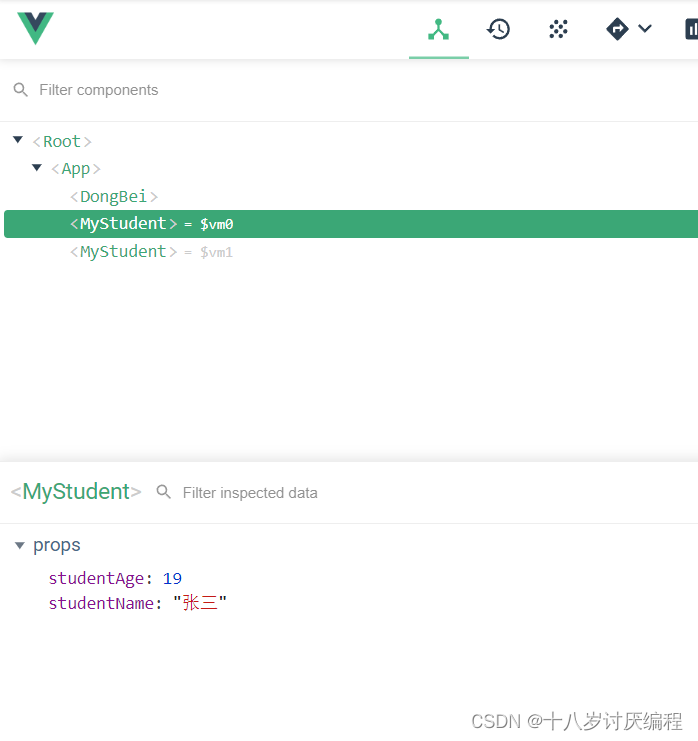
使用props接收到的数据Vue也会直接帮你挂载到当前组件vc的身上。
例如:
我们可以在Vue的开发者工具上对props和普通数据进行区分:
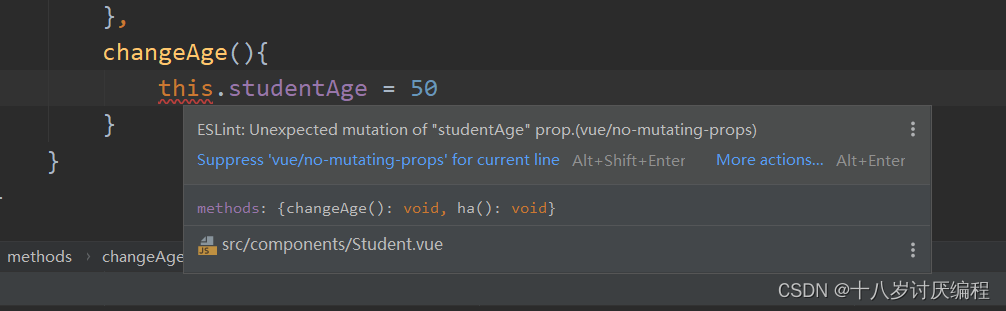
注意:用props接收到的数据是不允许修改的!
例如:
那如果我们想要修改怎么办呢?
我们可以利用props接收到的数据优先级比data里的数据高的特性。
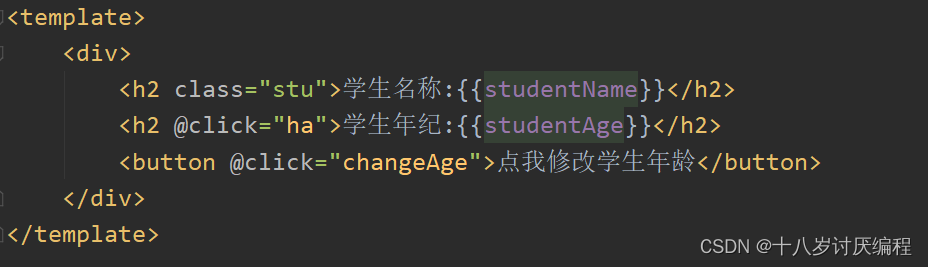
<template><div><h2class="stu">学生名称:{{studentName}}</h2><h2@click="ha">学生年纪:{{changingAge}}</h2><button@click="changeAge">点我修改学生年龄</button></div></template><script>exportdefault{name:'MyStudent',// props:['studentName','studentAge'],// props:{//     studentName:String,//     studentAge:Number// }props:{studentName:{required:true,type:String
            },studentAge:{type: Number,default:10}},methods:{ha(){
                console.log(this)},changeAge(){this.changingAge++}},data(){return{changingAge:this.studentAge
            }}}</script><style>.stu{background-color:red;}</style>
也就是初始值是接收到的并传递到data中去,我们修改的值其实是data上的
总结:
- 功能:让组件接收外部传过来的数据
- 传递数据:
<Demo name="xxx"/> - 接收数据:1. 第一种方式(只接收):
props:['name']2. 第二种方式(限制类型):props:{name:String}3. 第三种方式(限制类型、限制必要性、指定默认值):props:{name:{type:String,//类型required:true,//必要性default:'老王'//默认值}}> 备注:props是只读的,Vue底层会监测你对props的修改,如果进行了修改,就会发出警告,若业务需求确实需要修改,那么请复制props的内容到data中一份,然后去修改data中的数据。
版权归原作者 十八岁讨厌编程 所有, 如有侵权,请联系我们删除。