
实验过程
ps:
阿里云盘Xnode1获取
xnode1 https://www.alipan.com/s/HgLXfoeBWG2
提取码: eb70
1、xnode1克隆两台虚拟机并修改ip
zabbix-server192.168.224.3
zabbix-agent192.168.224.4
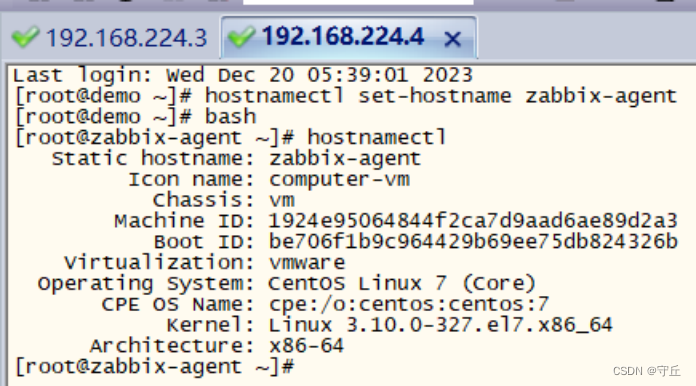
2、修改主机名
[root@localhost ~]# hostnamectl set-hostname zabbix-server
[root@localhost ~]#bash
1、修改/etc/hosts文件(2个节点)
[root@zabbix-server ~]#vi /etc/hosts
添加:
1******92.168.***224.3 ***zabbix-server
1******92.168.224.4* *zabbix-******agent

[root@zabbix-agent ~]#vi /etc/hosts
添加:
1******92.168.***224.3 ***zabbix-server
1******92.168.224.4* *zabbix-******agent

2.配置yum源
1> Zabbix-server
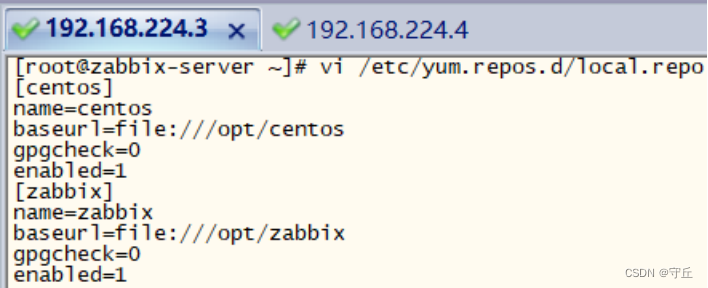
[root@zabbix-server ~]# vi /etc/yum.repos.d/local.repo
添加
[zabbix]
name=zabbix
baseurl=file:///opt/zabbix
gpgcheck=0
enabled=1
[root@zabbix-server ~]#mv zabbix /opt

2>Zabbix-agent
[root@zabbix-agent ~]# vi /etc/yum.repos.d/local.repo
添加
[zabbix]
name=zabbix
baseurl=ftp://192.168.224.3/zabbix
gpgcheck=0
enabled=1

3.在zabbix-server节点上安装vsftpd服务
[root@zabbix-server ~]# yum install vsftpd -y
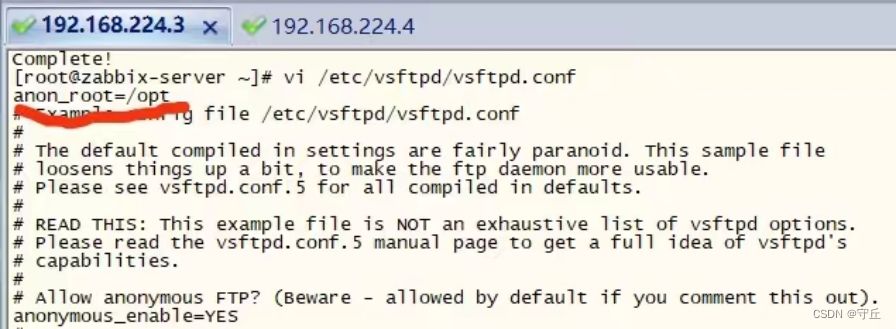
修改vsftpd.conf配置文件
[root@zabbix-server ~]# vi /etc/vsftpd/vsftpd.conf
添加:
******anon_root=/opt ******(配置文件最上面)
启动vsftpd服务
[root@zabbix-server ~]# systemctl start vsftpd
[root@zabbix-server ~]# systemctl status vsftpd

4.安装LAMP+Zabbix服务(在zabbix-server节点上)
1>安装httpd服务
[root@zabbix-server ~]# yum install httpd -y

2>安装数据库服务
[root@zabbix-server ~]# yum install -y mariadb mariadb-server
3>安装zabbix服务
[root@zabbix-server ~]# yum install -y zabbix-server-mysql zabbix-web-mysql zabbix-agent

4>升级trousers服务
[root@zabbix-server ~]# yum install trousers -y

5.配置并启动zabbix服务
1>启动httpd服务
[root@zabbix-server ~]# systemctl start httpd
[root@zabbix-server ~]# systemctl enable httpd

2>启动并配置数据库服务
[root@zabbix-server ~]# systemctl start mariadb
[root@zabbix-server ~]# systemctl enable mariadb

登录数据库创建zabbix数据库
[root@zabbix-server ~]# mysql
如果不行的话初始化一下数据库
mysql_secure_installation
Enter current password for root (enter for none): #默认按回车
Set root password? [Y/n] y
New password:123456
Re-enter new password:123456
Remove anonymous users? [Y/n] y
Disallow root login remotely? [Y/n] n
Remove test database and access to it? [Y/n] y
Reload privilege tables now? [Y/n] y
MariaDB [(none)]> create database zabbix character set utf8 collate utf8_bin;
授予zabbix用户访问权限
MariaDB [(none)]> grant all privileges on zabbix.* to zabbix@'%' identified by 'zabbix';
MariaDB [(none)]> grant all privileges on zabbix.* to zabbix@localhost identified by 'zabbix';
导入数据库文件
[root@zabbix-server ~]# cd /usr/share/doc/zabbix-server-mysql-3.4.15/
[root@zabbix-server zabbix-server-mysql-3.4.15]# zcat create.sql.gz |mysql -uroot zabbix


6.设置时区
1>编辑/etc/php.ini文件,在[Date]字段下,设置 date.timezone=PRC
Vim查找:/+内容 一开始的;别忘了删除

2>编辑/etc/httpd/conf.d/zabbix.conf 文件,修改时区,
修改 php_value date.timezone 为 Asia/Shanghai

重启httpd服务:
root@zabbix-server ~]# systemctl restart httpd

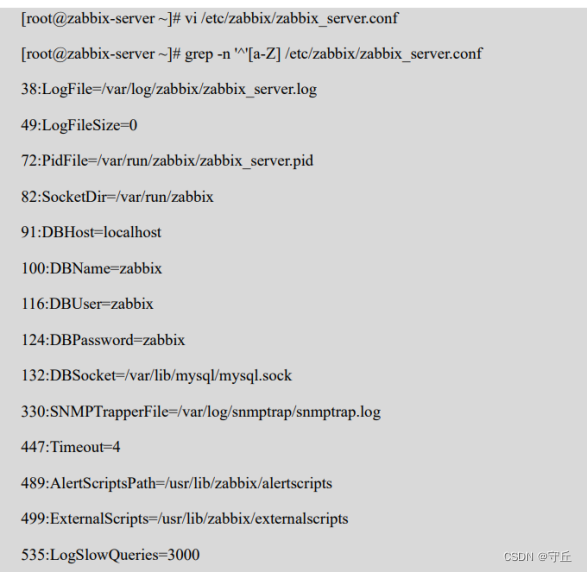
7.修改zabbix配置文件并启动显示行数:set nu
修改/etc/zabbix/zabbix_server.conf 配置文件
91#去掉
124修改
131/132修改
启动zabbix服务:
[root@zabbix-server ~]# systemctl start zabbix-server
查看端口号,验证 zabbix-server 的服务端口 10051 是否存在
[root@zabbix-server ~]# yum install net-tools

[root@zabbix-server ~]# netstat -ntpl

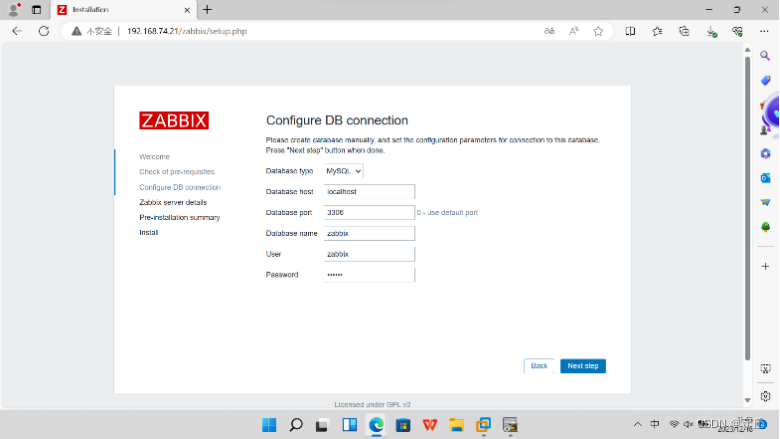
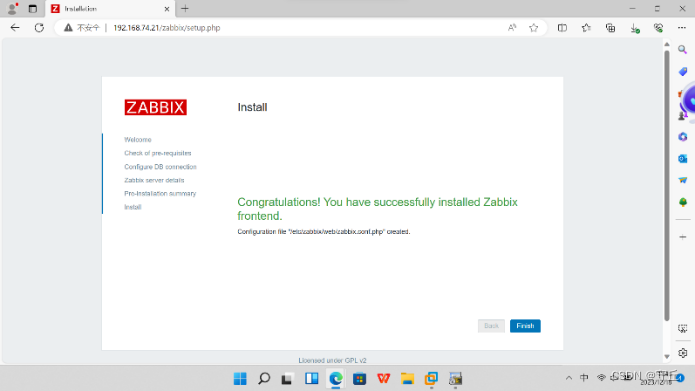
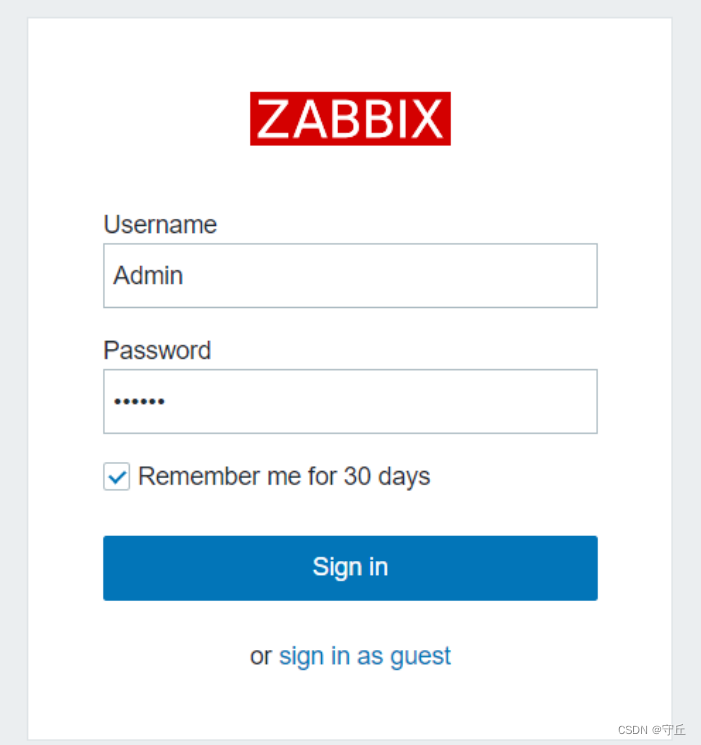
8.登录界面http://192.168.224.3/zabbix
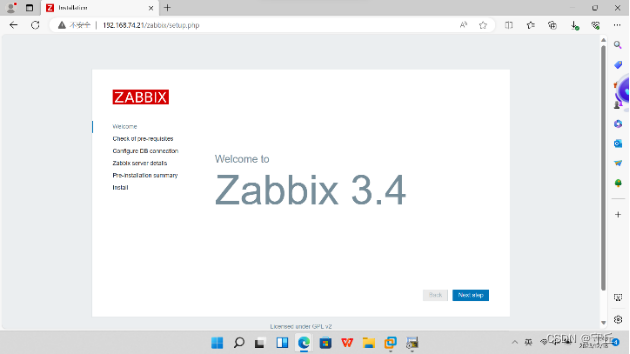
密码:zabbix

9.Zabbix-agent
vim中给列排序号: :set nu
安装zabbix-agent服务
[root@zabbix-agent ~]# yum install -y zabbix-agent
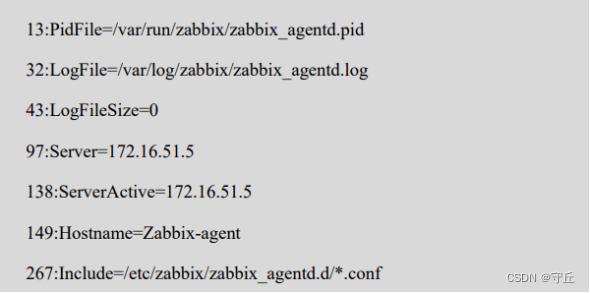
修改/etc/zabbix/zabbix_agentd.conf 配置文件,配置 zabbix-agent,
[root@zabbix-agent ~]# vi /etc/zabbix/zabbix_agentd.conf
Server=192.168.224.3
serverActive=192.168.224.3
启动 zabbix-agent 服务,并查看 10050 端口是否存在
[root@zabbix-agent ~]# systemctl start zabbix-agent
[root@zabbix-agent ~]# yum install net-tools
[root@zabbix-agent ~]# netstat -ntpl

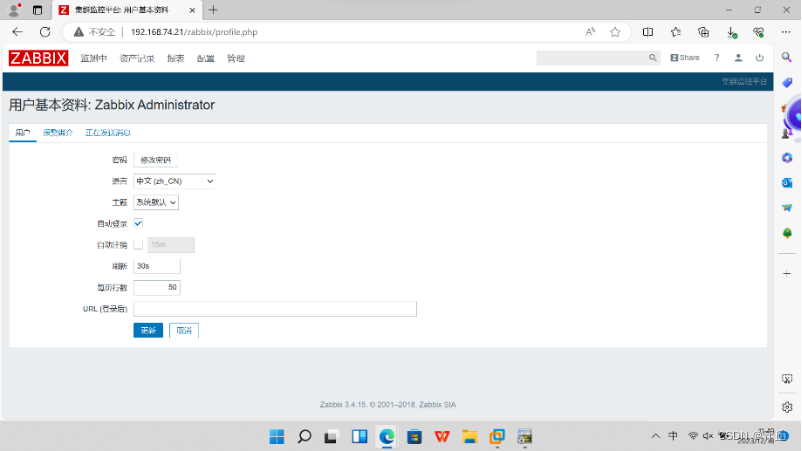
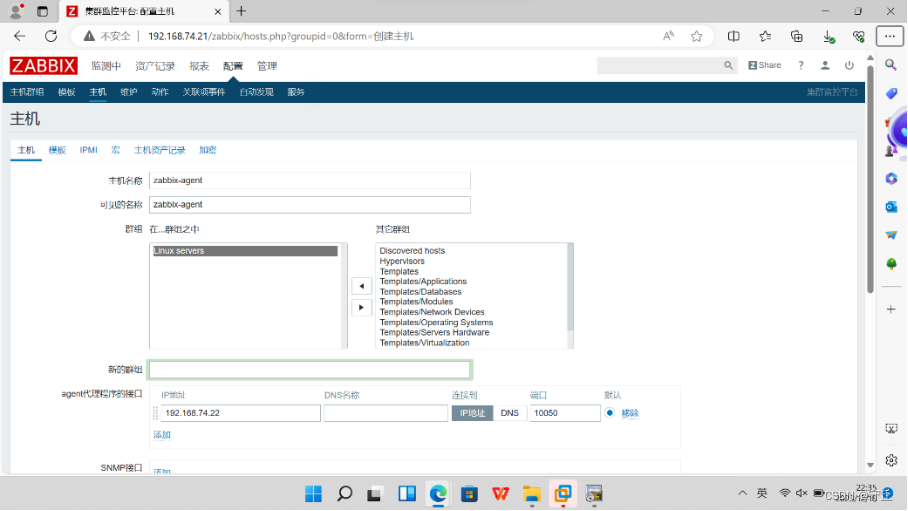
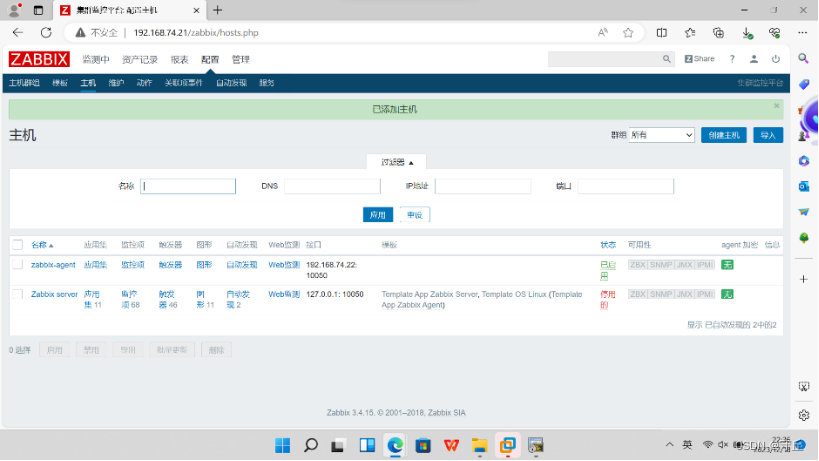
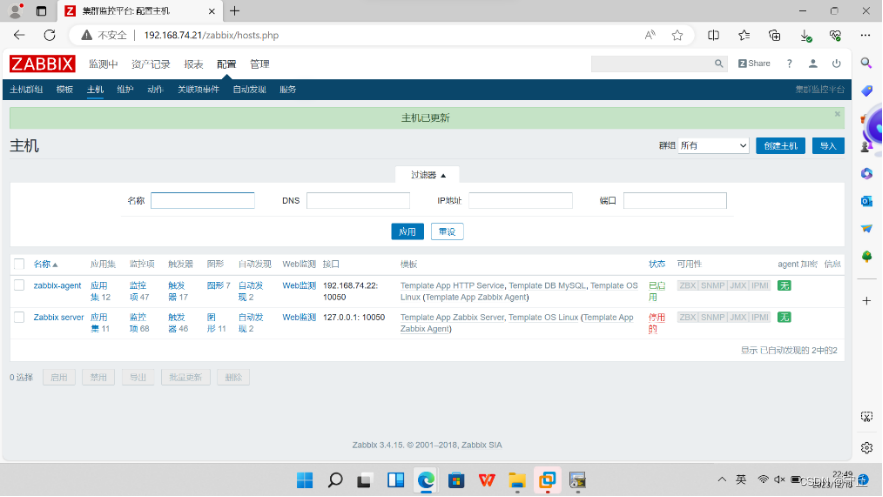
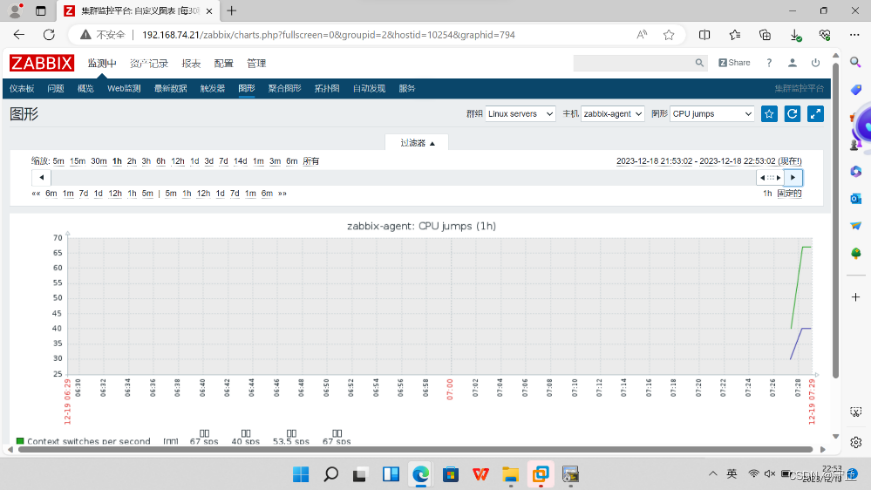
10.Web界面

版权归原作者 守丘 所有, 如有侵权,请联系我们删除。