上一篇:(四)selenium自动化测试之上传本地文件_要开朗的spookypop的博客-CSDN博客_selenium上传本地文件
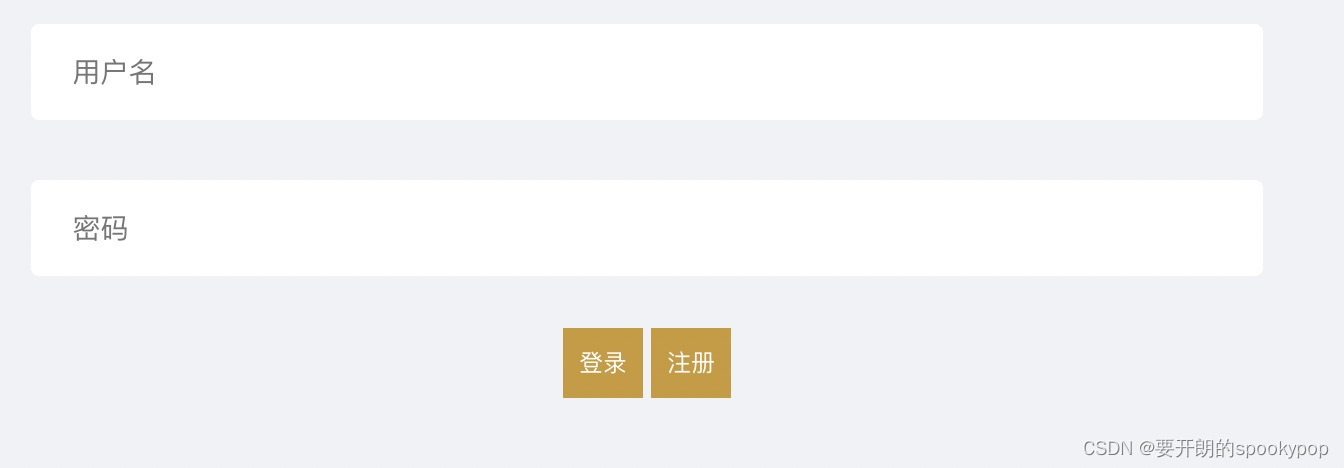
先看下测试代码运行效果:
自动化测试演示
在做自动化测试时,测试框架设计很重要,测试代码写法也很多种。最简单的莫过于流水式的写法,比如一个简单的登录功能

import time
from selenium import webdriver
from selenium.webdriver.common.by import By
from selenium.webdriver.chrome.service import Service as ChromeService
from selenium.webdriver.support.relative_locator import locate_with
from webdriver_manager.chrome import ChromeDriverManager

service = ChromeService(executable_path=ChromeDriverManager().install())
driver = webdriver.Chrome(service=service)
driver.get('http://www.softwarebox.club/pages/OnlineTools/AutoLearn')
driver.implicitly_wait(3)
driver.maximize_window()
driver.find_element(By.ID, 'username').send_keys('小明')
driver.find_element(By.ID, 'password').send_keys('123456Xm')
# 通过XPath定位登录按钮,并点击
driver.find_element(By.XPATH, '//*[@id="contentmain"]/section/div[2]/form/button[1]').click()
time.sleep(3)
assert driver.current_url == 'http://www.softwarebox.club/', '用例不通过'
print('用例通过')
上面的写法没有问题,只是测试方法与定位器耦合过于严重,维护起来很头疼,尤其是当UI发生变化的时候。
可以使用selenium官网推荐的最佳实践PO(page object)模式,就是将测试代码与页面定位代码分离。当页面元素发生变化时只需要改定位代码,测试用例本身是不需要更改的。
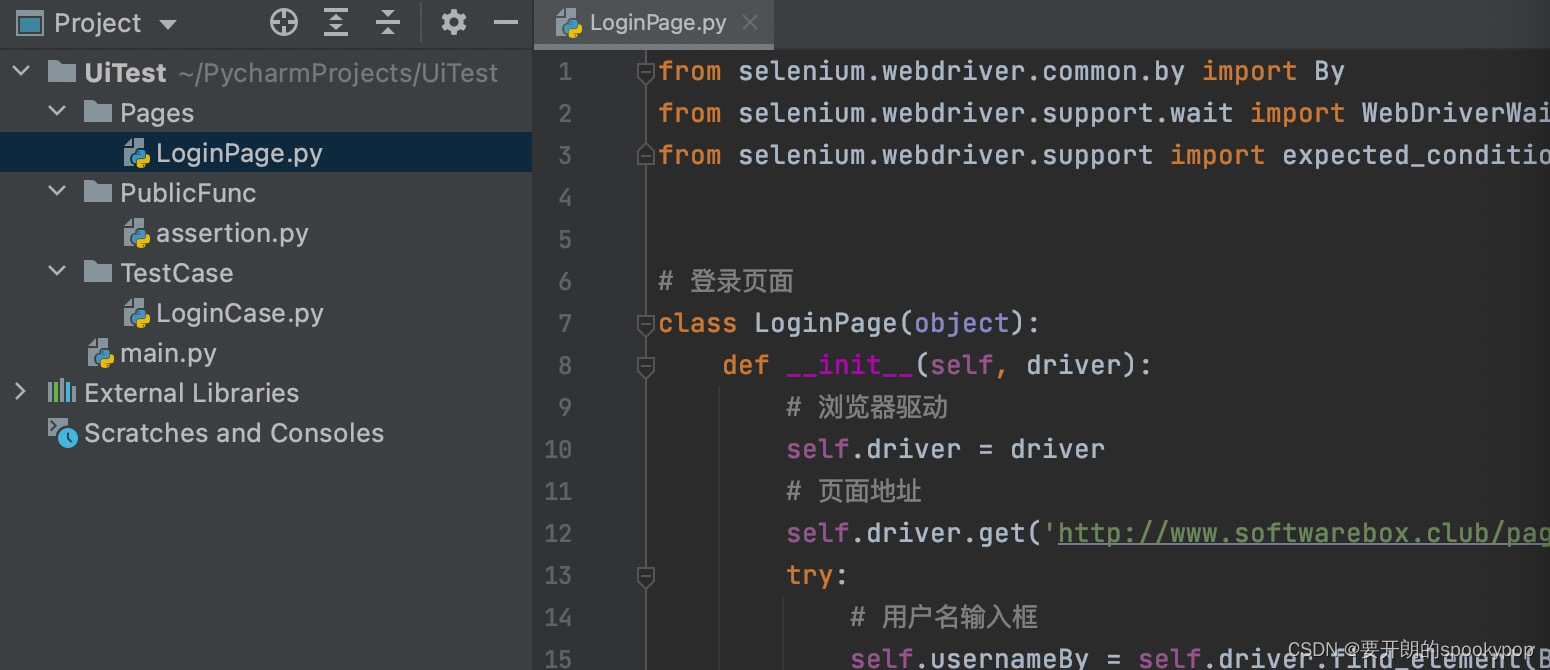
还是一样的登录功能,将上面的代码再重新设计,将页面的元素定位和该页面提供的方法放在独立的一个类中(Pages->LoginPage.py),登录的用例代码单独一个类(Testcase->LoginCase.py)

登录页面包含元素/方法:
1、元素定位:用户名、密码、登录按钮位置
2、页面的地址信息
3、登录方法
4、登录失败弹窗获取方法
LoginPage.py
from selenium.webdriver.common.by import By
from selenium.webdriver.support.wait import WebDriverWait
from selenium.webdriver.support import expected_conditions

# 登录页面
class LoginPage(object):
    def __init__(self, driver):
        # 浏览器驱动
        self.driver = driver
        # 页面地址
        self.driver.get('http://www.softwarebox.club/pages/OnlineTools/AutoLearn')
        try:
            # 用户名输入框
            self.usernameBy = self.driver.find_element(By.ID, 'username')
            # 密码输入框
            self.passwordBy = self.driver.find_element(By.ID, 'password')
            # 登录按钮
            self.submitBy = self.driver.find_element(By.XPATH, '//*[@id="contentmain"]/section/div[2]/form/button[1]')
        except Exception as e:
            message = '元素定位失败'
            print(e)
            print(message)

    # 登录功能
    def login_valid(self, username, password):
        # 输入用户名
        self.usernameBy.send_keys(username)
        # 输入密码
        self.passwordBy.send_keys(password)
        # 点击登录按钮
        self.submitBy.click()

    # 获取页面弹窗
    def alert_message(self):
        wait = WebDriverWait(self.driver, 10)
        alert = wait.until(expected_conditions.alert_is_present())
        # 返回弹窗和弹窗信息
        return alert, alert.text
登录的3个测试用例示例:
LoginCase.py
import time
from Pages.LoginPage import LoginPage
from PublicFunc.assertion import assertion_equal
from selenium import webdriver
from selenium.webdriver.chrome.service import Service as ChromeService
from webdriver_manager.chrome import ChromeDriverManager

class LoginCase:
    def __init__(self):
        service = ChromeService(executable_path=ChromeDriverManager().install())
        self.driver = webdriver.Chrome(service=service)

    def test_login_success(self):
        case_description = '输入正确的用户名密码,登录成功,跳转到首页'
        login = LoginPage(self.driver)
        login.login_valid('小明', '123456Xm')
        time.sleep(3)
        assertion_equal(self.driver.current_url, 'http://www.softwarebox.club/', case_description)

    def test_login_fail_username(self):
        case_description = '输入的用户名不存在,系统提示用户不存在'
        login = LoginPage(self.driver)
        login.login_valid('小朱', '123')
        time.sleep(3)
        alert, message = login.alert_message()
        assertion_equal(message, '用户不存在', case_description)
        # 关闭弹窗
        alert.accept()

    def test_login_fail_password(self):
        case_description = '输入的密码不正确,登录失败'
        login = LoginPage(self.driver)
        login.login_valid('小明', '123')
        time.sleep(3)
        alert, message = login.alert_message()
        assertion_equal(message, '账号或密码不正确', case_description)
        alert.accept()

    def __str__(self):
        print('**登录模块**')

    # 执行用例
    def run_test(self):
        self.__str__()
        self.test_login_success()
        self.test_login_fail_username()
        self.test_login_fail_password()
        self.driver.quit()
上面代码有个自己写的断言方法assertion_equal(),判断实际结果与预期是否一致,返回用例执行结果。
assertion.py
def assertion_equal(actual, expect, case_description='用例', success_msg='成功', fail_msg='失败'):
    if actual == expect:
        print(case_description + '--' + success_msg)

    else:
        print(case_description + '--' + fail_msg)
执行用例,main.py
from TestCase.LoginCase import LoginCase

if __name__ == '__main__':
    login_case = LoginCase()
    login_case.run_test()
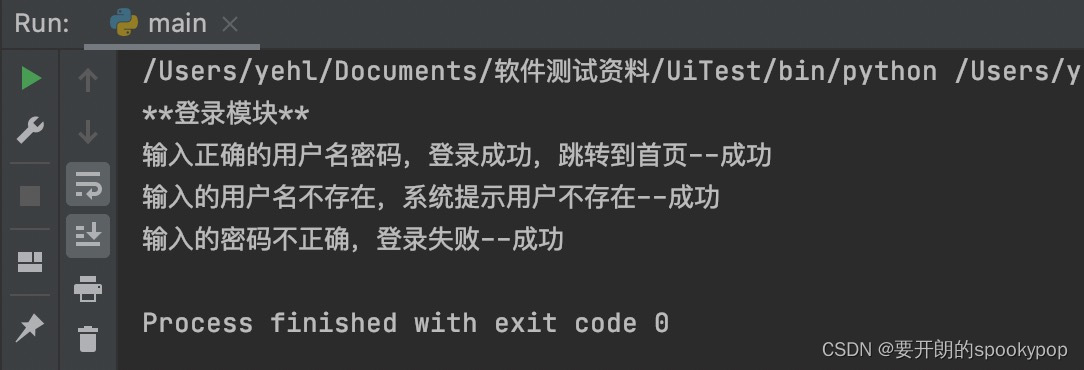
运行结果:

完整代码地址:https://github.com/spookypop/UiTeast.git
下一篇:(六)Selenium自动化测试实战—unittest框架_要开朗的spookypop的博客-CSDN博客
版权归原作者 要开朗的spookypop 所有, 如有侵权,请联系我们删除。