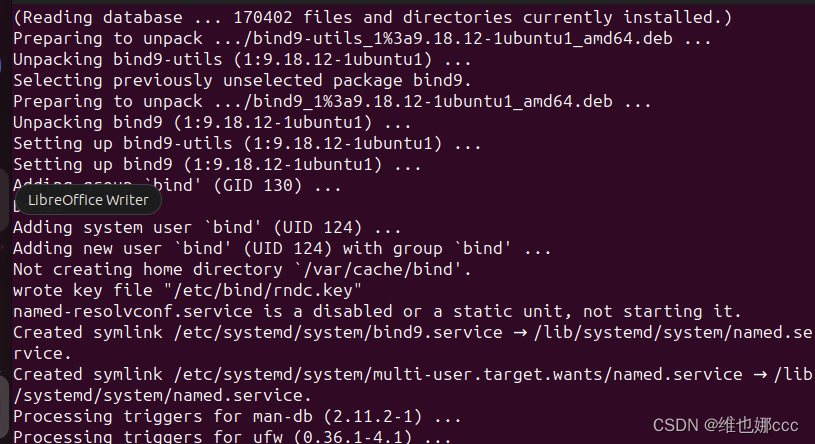
首先安装bind9


进入安装目录
查看是否有相应文件

先编辑named.conf.default-zones文件


添加下面两个内容
wyn.com可以自定义,例如xxx.com
240.165.10IP地址和你的电脑IP地址是反的
file对应的文件需要创建
创建文件

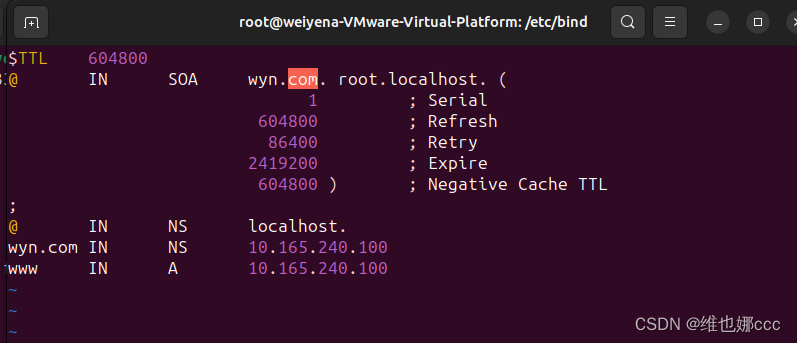
编辑文件

内容如下

创建文件

编辑文件


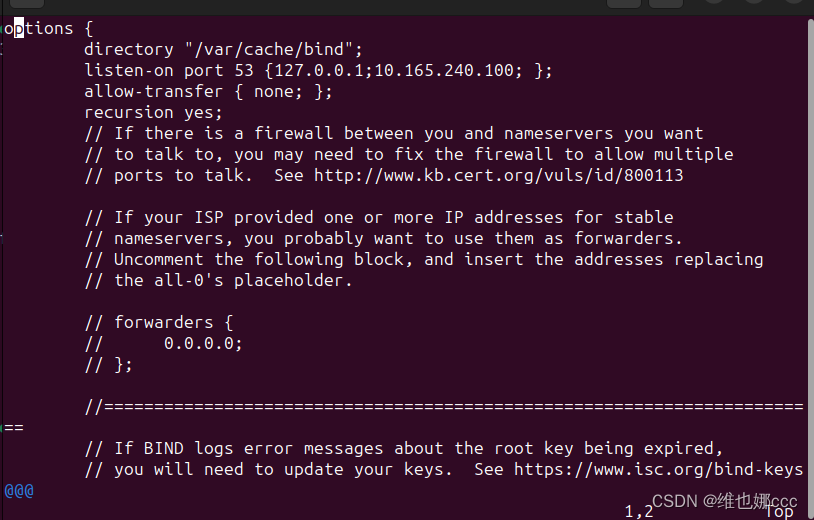
编辑文件

options {
directory "/var/cache/bind";
listen-on port 53 {127.0.0.1;10.165.240.100; };
allow-transfer { none; };
recursion yes;
// If there is a firewall between you and nameservers you want
// to talk to, you may need to fix the firewall to allow multiple
// ports to talk. See http://www.kb.cert.org/vuls/id/800113
    // If your ISP provided one or more IP addresses for stable
     // nameservers, you probably want to use them as forwarders.
     // Uncomment the following block, and insert the addresses replacing
     // the all-0's placeholder.

    // forwarders {
     //      0.0.0.0;
     // };
//========================================================================
// If BIND logs error messages about the root key being expired,
// you will need to update your keys. See https://www.isc.org/bind-keys
//========================================================================
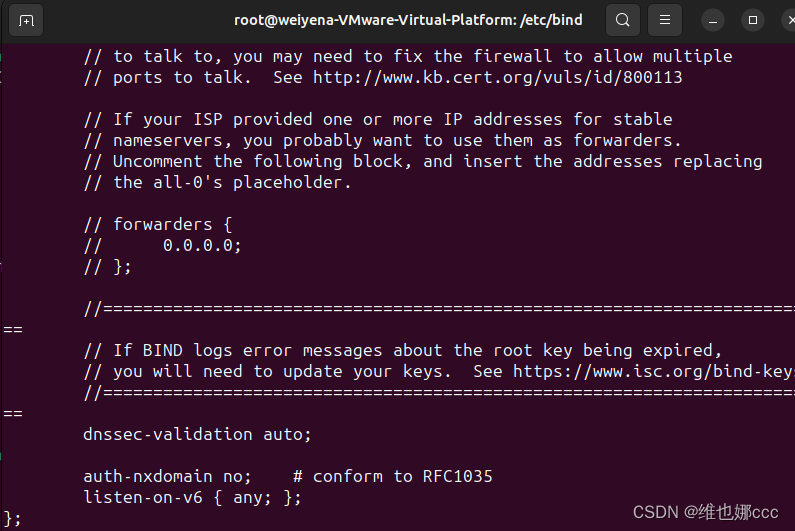
dnssec-validation auto;
    auth-nxdomain no;    # conform to RFC1035
     listen-on-v6 { any; };
};


最后一步。编辑resolv.conf文件

这里需要设置为自己的IP地址

解析


如果只想解析wyn.com添加最下面那一行

即可
版权归原作者 C9ccc00 所有, 如有侵权,请联系我们删除。