Flink中有一个过时的
sink
方法:
writeAsCsv
,这个方法是将数据写入
CSV
文件中,有时候我们会发现程序启动后,打开文件查看没有任何数据,日志信息中也没有任何报错,这里我们结合源码分析一下这个原因.
这里先看一下数据处理的代码
代码中我是使用的自定义数据源生产数据的方式,为了方便测试
importlombok.*;importorg.apache.commons.lang3.RandomUtils;importorg.apache.flink.core.fs.FileSystem;importorg.apache.flink.streaming.api.datastream.DataStreamSource;importorg.apache.flink.streaming.api.environment.StreamExecutionEnvironment;importorg.apache.flink.streaming.api.functions.source.SourceFunction;importjava.util.Random;/**
 * @Author: J
 * @Version: 1.0
 * @CreateTime: 2023/6/19
 * @Description: 自定义数据源测试
 **/publicclassFlinkCustomizeSource{publicstaticvoidmain(String[] args)throwsException{// 创建流环境StreamExecutionEnvironment env =StreamExecutionEnvironment.getExecutionEnvironment();// 设置并行度
        env.setParallelism(1);// 这里的并行度设置为几就会生成多少个csv文件// 添加自定义数据源DataStreamSource<CustomizeBean> dataStreamSource = env.addSource(newcustomizeSource());// 先将数据转换成Tuple类型,这样才能写入csv中SingleOutputStreamOperator<Tuple4<String,Integer,String,String>> tuple4Stream = dataStreamSource.map(
                bean ->Tuple4.of(bean.getName(), bean.getAge(), bean.getGender(), bean.getHobbit())).returns(newTypeHint<Tuple4<String,Integer,String,String>>(){});// 选择csv类型的sink,模式使用的覆盖
        tuple4Stream.writeAsCsv("/Users/xxx/data/testData/test.csv",FileSystem.WriteMode.OVERWRITE);
        env.execute();}}// 自定义数据源需要实现SourceFunction接口,注意这个接口是单机的数据源,如果是想自定义分布式的数据源需要集成RichParallelSourceFunction类class customizeSource implementsSourceFunction<CustomizeBean>{int flag;// Job执行的线程@Overridepublicvoidrun(SourceContext ctx)throwsException{/*这个方法里就是具体的数据逻辑,实际内容要根据业务需求编写,这里只是为了演示方便*/CustomizeBean customizeBean =newCustomizeBean();String[] genders ={"M","W"};String[] hobbits ={"篮球运动爱好者","钓鱼爱好者","乒乓球运动爱好者","美食爱好者","羽毛球运动爱好者","天文知识爱好者","旅游爱好者","书法爱好者","非遗文化爱好者","网吧战神"};while(flag !=100){// 这里自定义的Bean作为数据源
            customizeBean.setAge(RandomUtils.nextInt(18,80));// 年龄
            customizeBean.setName("A-"+newRandom().nextInt());// 姓名
            customizeBean.setGender(genders[RandomUtils.nextInt(0, genders.length)]);// 性别
            customizeBean.setHobbit(hobbits[RandomUtils.nextInt(0, hobbits.length)]);// 爱好// 将数据收集
            ctx.collect(customizeBean);// 睡眠时间是为了控制数据生产的速度,演示效果更加明显Thread.sleep(1000);}}// Job取消时就会调用cancel方法@Overridepublicvoidcancel(){// flag为100时就会停止程序
        flag =100;}}@Getter@Setter@ToString@NoArgsConstructor@AllArgsConstructorclassCustomizeBean{privateString name;privateint age;privateString gender;privateString hobbit;}
上面的代码中我们使用自定义数据源的方式(
java bean[CustomizeBean]
),通过设置
Thread.sleep(1000)
可以固定每秒生成一条数据.这里我们先看一下存储
CSV
文件的目录
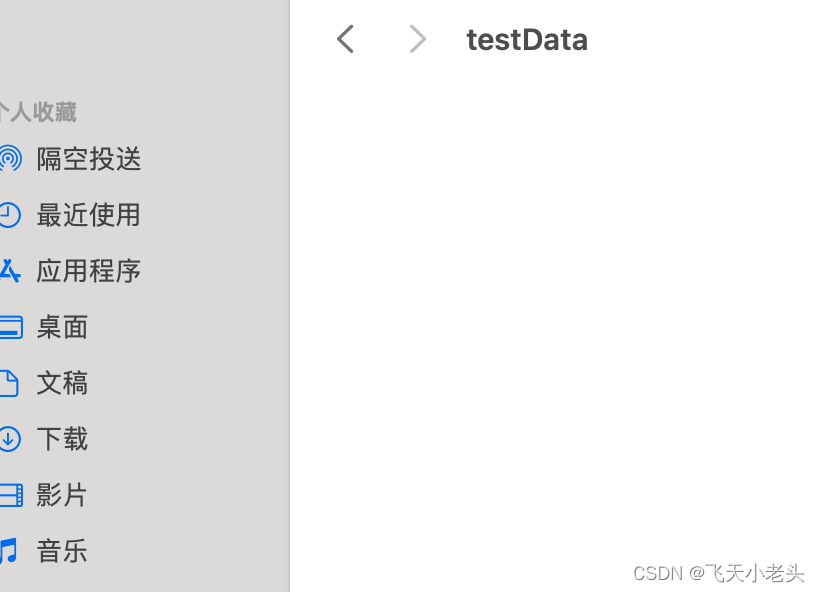
通过上图可以看到程序没有启动时,目录是空的,这里我们启动一下程序
日志内容如下
[2023-06-19 15:26:37,755]-[INFO] -org.apache.flink.runtime.state.changelog.StateChangelogStorageLoader -3206 -org.apache.flink.runtime.state.changelog.StateChangelogStorageLoader.load(StateChangelogStorageLoader.java:98).load(98) | Creating a changelog storage with name 'memory'.
[2023-06-19 15:26:37,766]-[INFO] -org.apache.flink.runtime.taskexecutor.TaskExecutor -3217 -org.apache.flink.runtime.taskexecutor.TaskExecutor.submitTask(TaskExecutor.java:757).submitTask(757) | Received task Source: Custom Source -> Map -> Sink: Unnamed (1/1)#0 (965035c5eef2b8f28ffcfc309b92e203), deploy into slot with allocation id b691e34573507d585516decbedb36384.
[2023-06-19 15:26:37,768]-[INFO] -org.apache.flink.runtime.taskmanager.Task -3219 -org.apache.flink.runtime.taskmanager.Task.transitionState(Task.java:1080).transitionState(1080) | Source: Custom Source -> Map -> Sink: Unnamed (1/1)#0 (965035c5eef2b8f28ffcfc309b92e203) switched from CREATED to DEPLOYING.
[2023-06-19 15:26:37,769]-[INFO] -org.apache.flink.runtime.taskexecutor.slot.TaskSlotTableImpl -3220 -org.apache.flink.runtime.taskexecutor.slot.TaskSlotTableImpl.markExistingSlotActive(TaskSlotTableImpl.java:388).markExistingSlotActive(388) | Activate slot b691e34573507d585516decbedb36384.
[2023-06-19 15:26:37,773]-[INFO] -org.apache.flink.runtime.taskmanager.Task -3224 -org.apache.flink.runtime.taskmanager.Task.doRun(Task.java:623).doRun(623) | Loading JAR files for task Source: Custom Source -> Map -> Sink: Unnamed (1/1)#0 (965035c5eef2b8f28ffcfc309b92e203) [DEPLOYING].
[2023-06-19 15:26:37,788]-[INFO] -org.apache.flink.streaming.runtime.tasks.StreamTask -3239 -org.apache.flink.runtime.state.StateBackendLoader.loadFromApplicationOrConfigOrDefaultInternal(StateBackendLoader.java:257).loadFromApplicationOrConfigOrDefaultInternal(257) | No state backend has been configured, using default (HashMap) org.apache.flink.runtime.state.hashmap.HashMapStateBackend@4e1fcd2f
[2023-06-19 15:26:37,789]-[INFO] -org.apache.flink.runtime.state.StateBackendLoader -3240 -org.apache.flink.runtime.state.StateBackendLoader.fromApplicationOrConfigOrDefault(StateBackendLoader.java:315).fromApplicationOrConfigOrDefault(315) | State backend loader loads the state backend as HashMapStateBackend
[2023-06-19 15:26:37,789]-[INFO] -org.apache.flink.streaming.runtime.tasks.StreamTask -3240 -org.apache.flink.runtime.state.CheckpointStorageLoader.createJobManagerCheckpointStorage(CheckpointStorageLoader.java:274).createJobManagerCheckpointStorage(274) | Checkpoint storage is set to 'jobmanager'
[2023-06-19 15:26:37,793]-[INFO] -org.apache.flink.runtime.taskmanager.Task -3244 -org.apache.flink.runtime.taskmanager.Task.transitionState(Task.java:1080).transitionState(1080) | Source: Custom Source -> Map -> Sink: Unnamed (1/1)#0 (965035c5eef2b8f28ffcfc309b92e203) switched from DEPLOYING to INITIALIZING.
[2023-06-19 15:26:37,795]-[INFO] -org.apache.flink.runtime.executiongraph.ExecutionGraph -3246 -org.apache.flink.runtime.executiongraph.Execution.transitionState(Execution.java:1416).transitionState(1416) | Source: Custom Source -> Map -> Sink: Unnamed (1/1) (965035c5eef2b8f28ffcfc309b92e203) switched from DEPLOYING to INITIALIZING.
[2023-06-19 15:26:37,836]-[INFO] -org.apache.flink.runtime.taskmanager.Task -3287 -org.apache.flink.runtime.taskmanager.Task.transitionState(Task.java:1080).transitionState(1080) | Source: Custom Source -> Map -> Sink: Unnamed (1/1)#0 (965035c5eef2b8f28ffcfc309b92e203) switched from INITIALIZING to RUNNING.
[2023-06-19 15:26:37,837]-[INFO] -org.apache.flink.runtime.executiongraph.ExecutionGraph -3288 -org.apache.flink.runtime.executiongraph.Execution.transitionState(Execution.java:1416).transitionState(1416) | Source: Custom Source -> Map -> Sink: Unnamed (1/1) (965035c5eef2b8f28ffcfc309b92e203) switched from INITIALIZING to RUNNING.
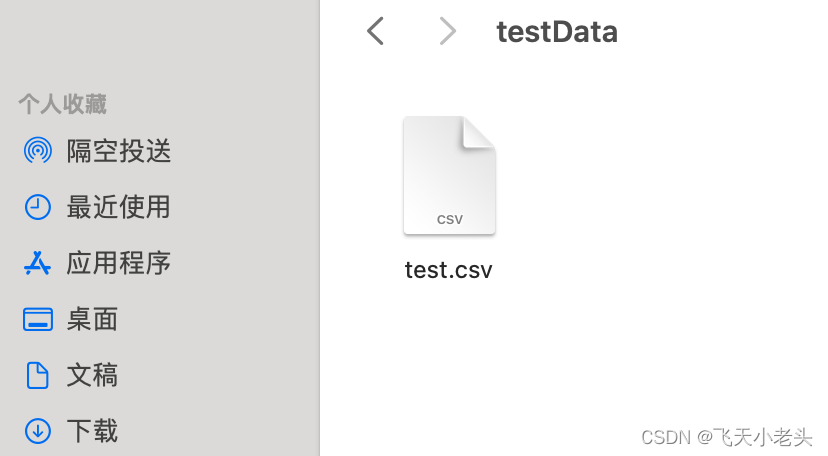
这里的日志我截取了最后的部分,可以看到没有任何报错的,我们在看一下生成的
CSV
文件
这里我们再将文件打开,看一下有没有数据
通过图片可以看到这个文件中是没有任何数据的.
这里我先说一下原因,然后再结合源码看一下,没有数据的原因是数据在内存中还没有达到
4k
的缓存,没有到这个数据量就不会将数据刷新到磁盘上,代码中我们加入了睡眠时间
Thread.sleep(1000)
就是为了看到这个效果,接下来我们就结合源码看一下
.writeAsCsv
这个方法的缓存刷新是不是
4k
,我们先看一下
.writeAsCsv
的内容,点击去源码后我们先找到下面这段代码
@Deprecated@PublicEvolvingpublic<XextendsTuple>DataStreamSink<T>writeAsCsv(String path,WriteMode writeMode,String rowDelimiter,String fieldDelimiter){Preconditions.checkArgument(getType().isTupleType(),"The writeAsCsv() method can only be used on data streams of tuples.");CsvOutputFormat<X> of =newCsvOutputFormat<>(newPath(path), rowDelimiter, fieldDelimiter);// 着重看这里,我们在看一下CsvOutputFormat里面的内容if(writeMode !=null){
            of.setWriteMode(writeMode);}returnwriteUsingOutputFormat((OutputFormat<T>) of);}
这里我们在点击去看
CsvOutputFormat
这个输出,找到如下内容
@OverridepublicvoidwriteRecord(T element)throwsIOException{int numFields = element.getArity();for(int i =0; i < numFields; i++){Object v = element.getField(i);if(v !=null){if(i !=0){this.wrt.write(this.fieldDelimiter);}if(quoteStrings){if(v instanceofString|| v instanceofStringValue){this.wrt.write('"');// 我们要注意到wrt这个变量this.wrt.write(v.toString());this.wrt.write('"');}else{this.wrt.write(v.toString());}}else{this.wrt.write(v.toString());}}else{if(this.allowNullValues){if(i !=0){this.wrt.write(this.fieldDelimiter);}}else{thrownewRuntimeException("Cannot write tuple with <null> value at position: "+ i);}}}// add the record delimiterthis.wrt.write(this.recordDelimiter);}
这里我们先看一下
writeRecord(T element)
这个方法,实际上在我们调用
writeAsCsv
的时候底层就是通过
writeRecord
方法将数据写入
csv
文件,我们看上面代码的时候要注意到
this.wrt
这个变量,通过
wrt
我们就可以找到,对数据刷新到磁盘定义的数据量的大小,看一下对
wrt
的定义,源码内容如下
@Overridepublicvoidopen(int taskNumber,int numTasks)throwsIOException{super.open(taskNumber, numTasks);this.wrt =this.charsetName ==null?newOutputStreamWriter(newBufferedOutputStream(this.stream,4096))// 看一下这里:newOutputStreamWriter(newBufferedOutputStream(this.stream,4096),this.charsetName);// 还有这里}
通过上面的源码我们可以看到
BufferedOutputStream
的缓冲流定义死了为
4096
,也就是
4k
大小,这个参数是写死的,我们改变不了,所以在使用
writeAsCsv
这个方法时,代码没有报错,并且文件中也没有数据时先不要慌,通过源码先看看具体的实现逻辑,我们就可以很快定位到问题,如果代码中我将
Thread.sleep(1000)
这行代码删除掉的话
CSV
文件中很快就会有数据的,代码中我使用的自定义数据源,并且每条数据其实很小,还有睡眠
1
秒的限制,所以导致很久
CSV
文件中都没有数据生成.
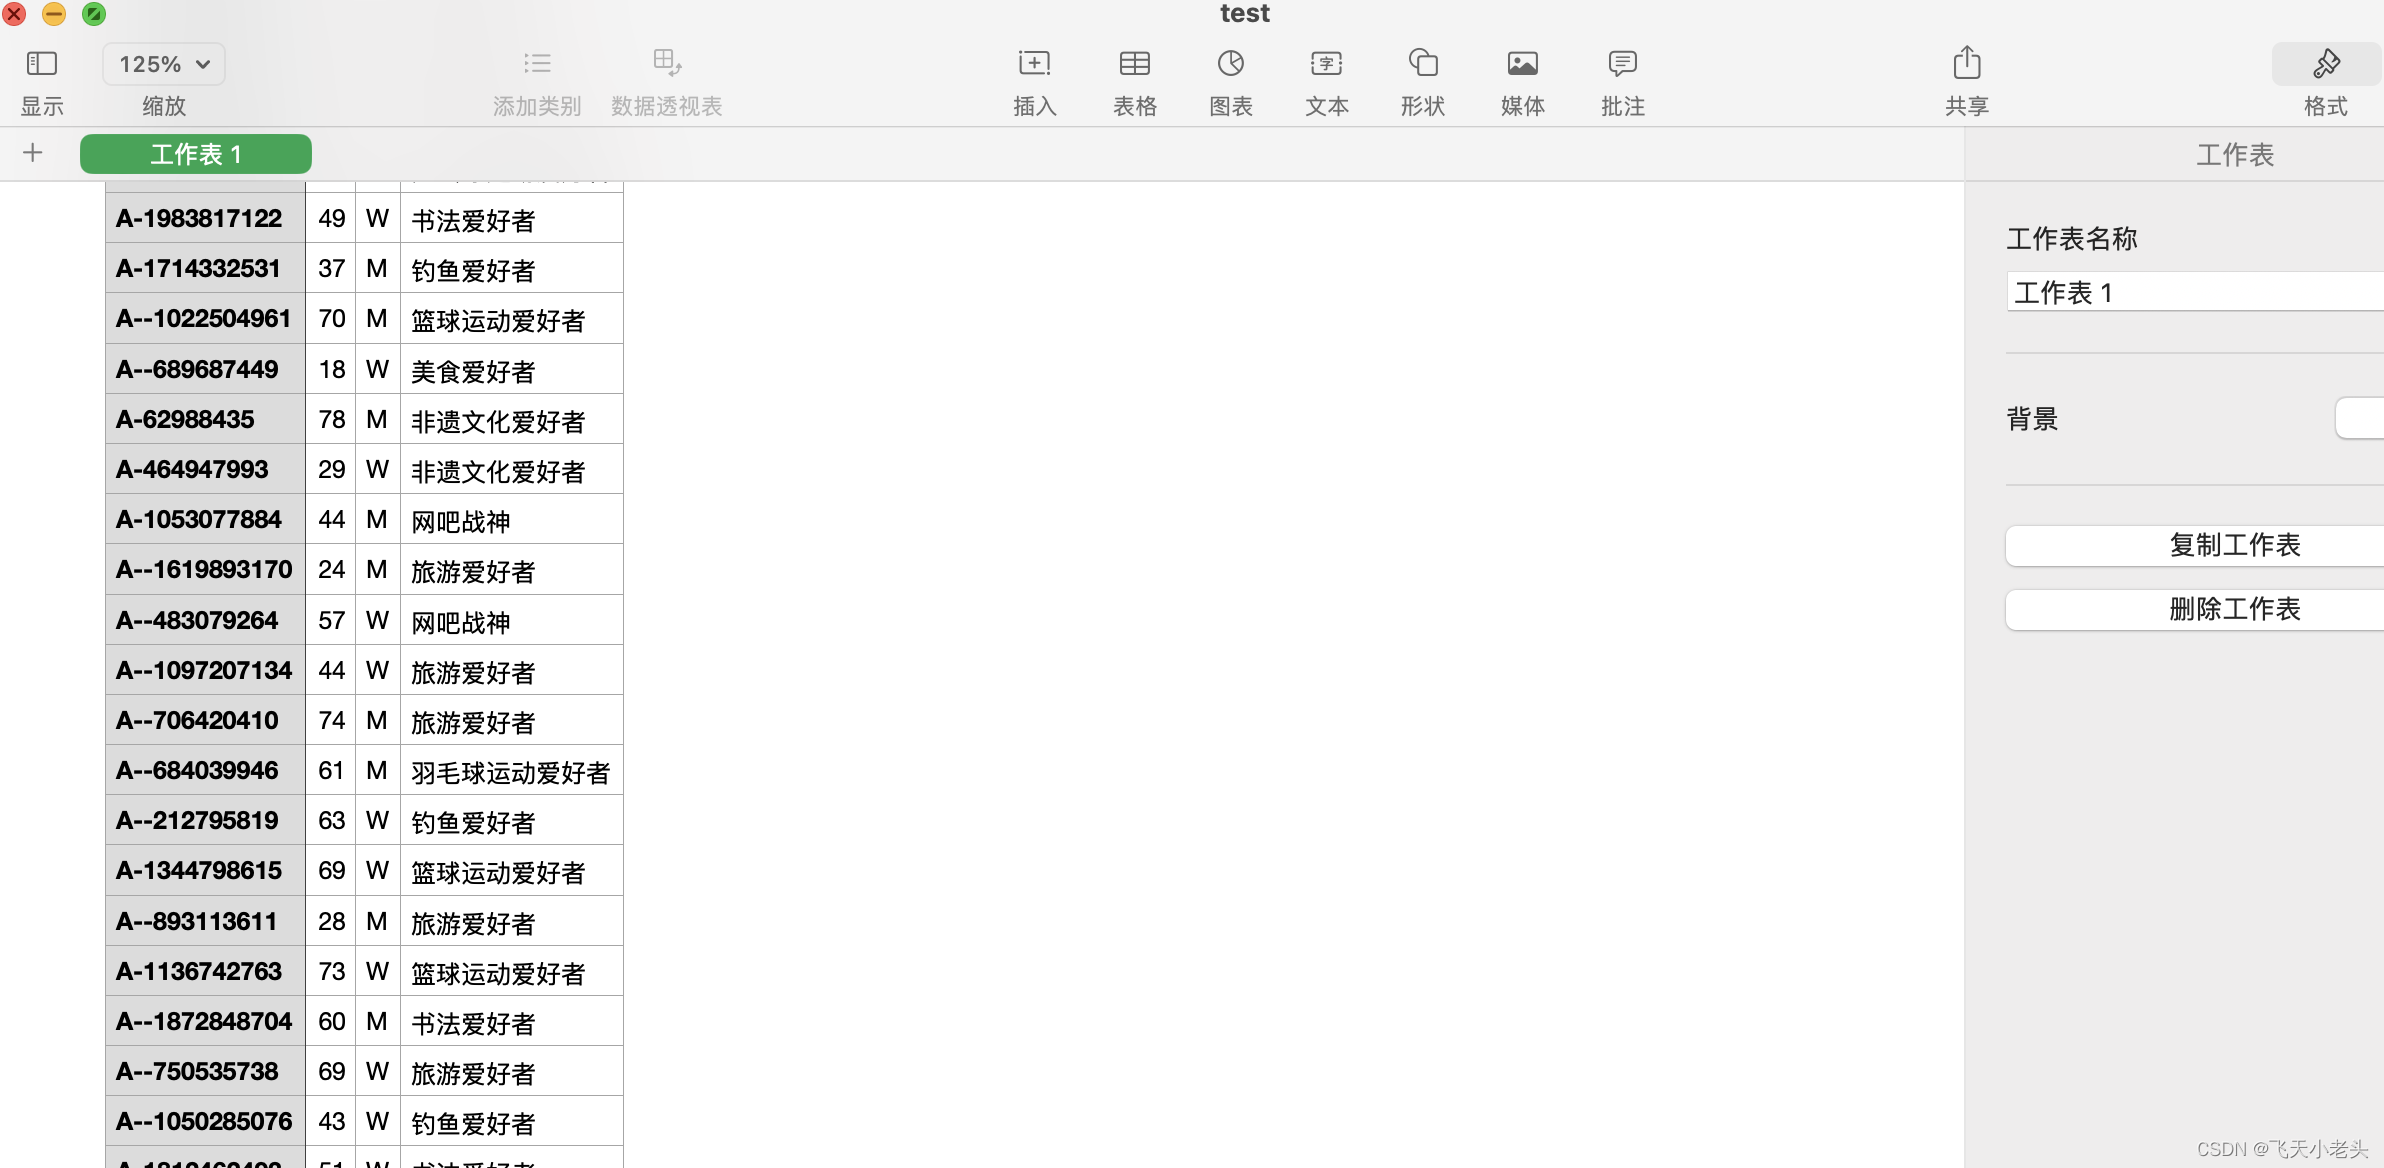
文章内容写到现在也过了很久了,数据的大小也满足
4k
的条件了,我们看一下文件内容
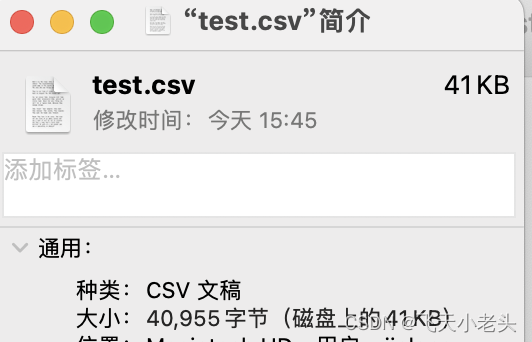
可以看到文件中已经生成了数据,我们在看一下文件的大小
说到这里我想大家应该都理解了,虽然说了这么多关于
writeAsCsv
这个方法的内容,但是不建议大家使用这个方法毕竟属于过时的方法,用起来弊端也比较大.
版权归原作者 飞天小老头 所有, 如有侵权,请联系我们删除。