部署FLINK-CDC及配置
介质获取
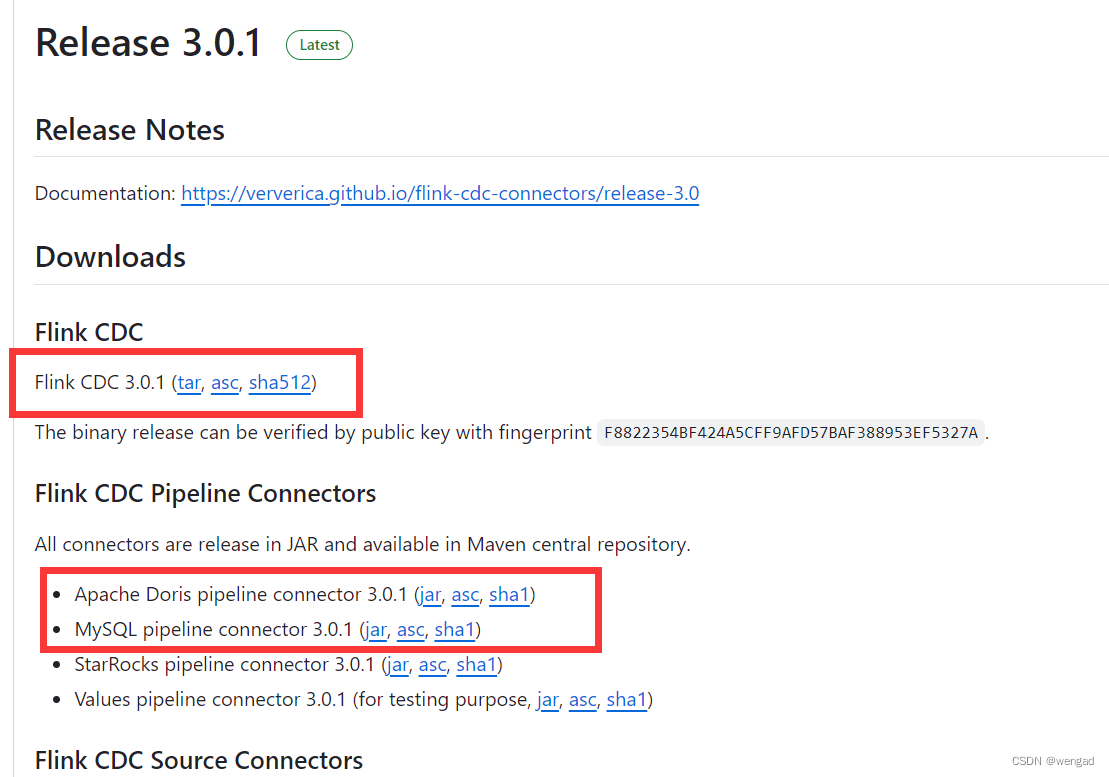
到github上下载FLINK-CDC及connector的jar包,这里用的是3.0.1的版本
https://github.com/apache/flink-cdc/releases
解压及部署 connector JAR
解压后得到 flink-cdc-3.0.1,同样做一个软连接
ln -s flink-cdc-3.0.1 flink-cdc
下载connector到flink-cdc的lib目录
配置CDC任务
配置CDC任务配置文件,文件名为cdcjob.yaml,直接放在flink-cdc目录下,放到其他地方也可以,后续提交CDC任务的时候指定绝对或者相对路径即可。

source:
   type: mysql
   name: MySQL Source
   hostname: xx.xx.xx.xx
   port: 3306
   username: cdc_user
   password: cdc_passwordxx
   tables: app_db.\.*
   server-id: 5401-5404

sink:
  type: doris
  name: Doris Sink
  fenodes: 91.91.91.xx:8030
  username: root
  password: ""
  table.create.properties.light_schema_change: true
  table.create.properties.replication_num: 1

pipeline:
  name: MySQL to Doris Pipeline
  parallelism: 1
其中table.create.properties.replication_num设置成1,默认是3,因为这里的doris BE只有一个节点
source里面的用户和密码,数据库信息就是前面创建的。
提交CDC任务
在flink-cdc下执行如下,提交CDC任务,其中的cdcjob.yaml即为CDC的配置文件,可以使用绝对路径
bash bin/flink-cdc.sh cdcjob.yaml 注意:以上是提交任务,提交成功或者失败后,不会有守护进程在OS系统中。
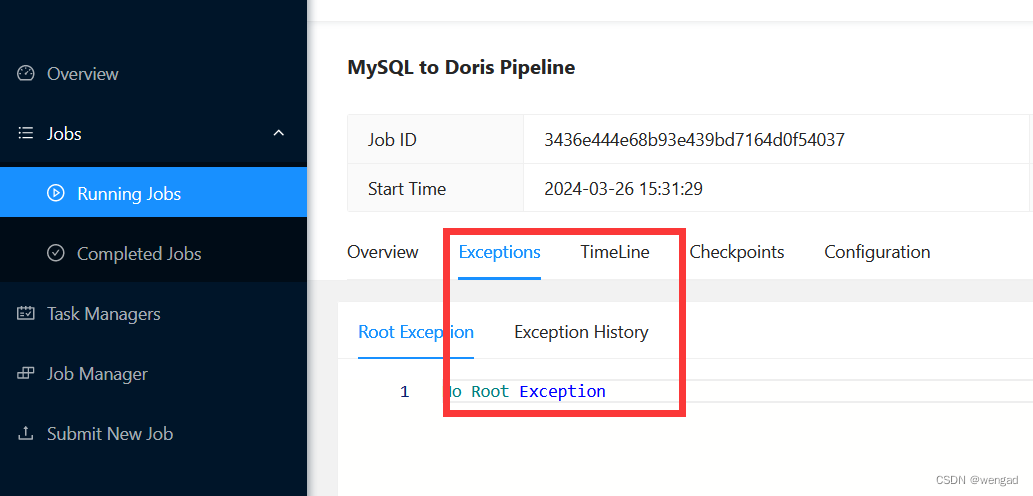
如果提交成功,那么可以在flink dashboard中看到任务。 如果任务提交成功了,但是执行有异常,可以看日志:
 具体的日志,也可以在flink的log目录下去查看。
测试
如果没什么异常,那么可以登录doris里面,看app_db下有新生成了表,且已经将数据同步过来,接着可以在mysql中做数据更新、删除、插入等操作,会发现,数据会同步更新到doris中。
注:完成
FAQ
java.lang.RuntimeException: Failed to schema change, CreateTableEvent{tableId=app_db.orders, schema=columns={
id
INT NOT NULL,
price
DECIMAL(10, 2) NOT NULL}, primaryKeys=id, options=()}, reason: SchemaChange request error with Failed to schemaChange, response: {“msg”:“Error”,“code”:1,“data”:“Failed to execute sql: java.sql.SQLException: (conn=311) errCode = 2, detailMessage = replication num should be less than the number of available backends. replication num is 3, available backend num is 1”,“count”:0}
需要在CDC任务配置中设置 table.create.properties.replication_num: 1
版权归原作者 wengad 所有, 如有侵权,请联系我们删除。