
** Apache HTTP Server(简称Apache)是Apache软件基金会的一个开放源码的网页服务器,Apache是世界使用排名第一的Web服务器软件。它可以运行在几乎所有广泛使用的计算机平台上,由于其跨平台和安全性被广泛使用,是最流行的Web服务器端软件之一。**
一.安装Apache
1关闭防火墙和selinux
[root@testhost ~]# systemctl  stop firewalld
[root@testhost ~]# systemctl  disable  firewalld
[root@testhost ~]# setenforce 0
setenforce: SELinux is disabled
2.yum安装httpd
yum - y install  httpd    #安装httpd
systemctl   start   httpd    #开启httpd  (推荐)
netstat -ntlp | grep httpd    #查看httpd端口
tcp6       0      0 :::80                   :::*                    LISTEN      63101/httpd

方法二:
httpd  -k  start #启动
httpd  -k  stop  #关闭
3.apache的目录介绍
conf 存储配置文件
conf.d 存储配置子文件
logs 存储日志
modules 存储模块
run 存储Pid文件,存放的pid号码。是主进程号
主配置文件:
vim /etc/httpd/conf/httpd.conf
ServerRoot "/etc/httpd" #定义工作目录
Listen 80 #监听端口User apache # 子进程的用户,有可能被人改称www账户
Group apache # 子进程的组
ServerAdmin root@localhost # 设置管理员邮件地址
DocumentRoot "/var/www/html" # 发布网站的默认目录,想改改这里。
IncludeOptional conf.d/.conf # 包含conf.d目录下的所有.conf配置文件设置DocumentRoot指定目录的属性
<Directory "/var/www/html"> # 网站容器开始标识
Options Indexes FollowSymLinks # 找不到主页时,链接到网站目录以外,如测试页面
AllowOverride None # 对网站设置特殊属性:none不设置特殊属性,all允许
Require all granted # granted表示允许所有人访问,denied表示拒绝所有人访问
</Directory> # 容器结束
DirectoryIndex index.html # 定义主页文件,会自动访问该文件。
二.访问控制
1.准备测试页面
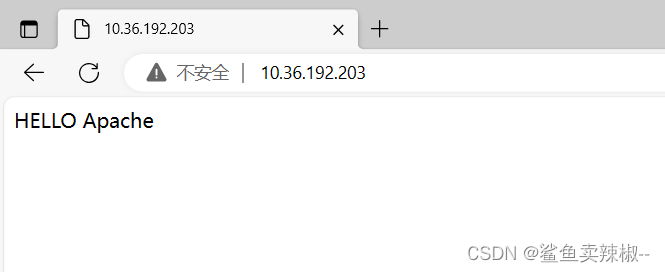
echo 'HELLO Apache' > /var/www/html/index.html #编写测试文件
浏览器访问
2.访问测试
[root@testhost ~]# vim /etc/httpd/conf/httpd.conf

允许所有人都可以访问。
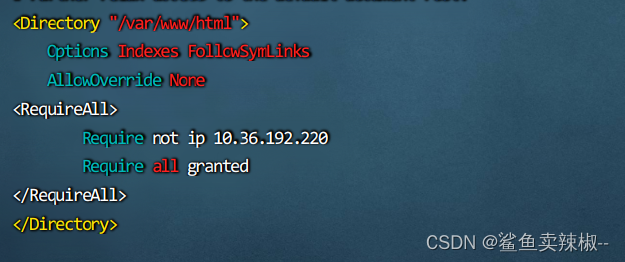
2.1拒绝一个人(10.36.192.220)访问其他人可以访问。
用10.36.192.220主机访问测试:发现403 Forbidden服务器拒接访问。
[root@localhost ~]# curl -I http://10.36.192.203    #访问测试
HTTP/1.1 403 Forbidden
Date: Thu, 14 Sep 2023 11:19:43 GMT
Server: Apache/2.4.6 (CentOS)
Last-Modified: Thu, 16 Oct 2014 13:20:58 GMT
ETag: "1321-5058a1e728280"
Accept-Ranges: bytes
Content-Length: 4897
Content-Type: text/html; charset=UTF-8

######################
访问网站服务器反回的状态码:403 没有权限访问
200:表示访问网站成功
######################
2.2其他权限
#只许一个人访问
<RequireAll>
        Require  ip 10.36.192.220
</RequireAll>

#禁止所有人访问
<RequireAll>
        Require  all   denied
</RequireAll>
3.修改默认网站发布地址
[root@testhost ~]# vim /etc/httpd/conf/httpd.conf

画红线的地方可改为如下:
DocumentRoot "/www" # 修改网站根目录为/www
<Directory "/www"> # 把这个也对应的修改为/www[root@testhost ~]# mkdir /www #创建网站发布的目录
[root@testhost ~]# echo "这是新修改的网站根目录/www" > /www/index.html #创建测试页面
[root@testhost www]# systemctl restart httpd #重启httpd
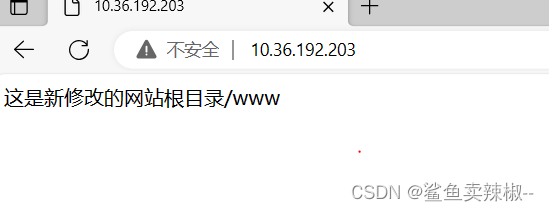
可以访问表明修改成功。
三.虚拟主机
虚拟主机:将多个网站放在一台服务器上。web服务器都可以实现。
三种:基于域名, 基于端口 ,基于Ip
①基于端口
[root@testhost ~]# vim /etc/httpd/conf/httpd.conf #添加新端口

添加子配置文件:
[root@testhost ~]# vim /etc/httpd/conf.d/test.conf #添加子配置文件
<VirtualHost *:80>
DocumentRoot /www/test1 #80端口的网站地址
<Directory "/www/test1">
AllowOverride None
Require all granted
</Directory>
</VirtualHost>
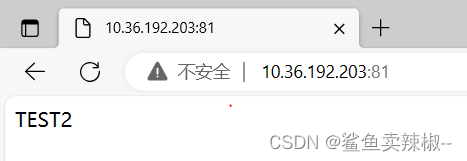
<VirtualHost *:81>
DocumentRoot /www/test2 #81端口的网站地址
<Directory "/www/test2">
AllowOverride None
Require all granted
</Directory>
</VirtualHost>
重启httpd并测试:80端口可以访问。
81端口也可以访问。
②基于域名
只用一个IP共用一个端口,访问不同的域名会呈现不同的网页。
[root@testhost ~]# cd /etc/httpd/conf.d/   #进入子配置文件
[root@testhost conf.d]# vim test.conf          #创建配置文件
<VirtualHost *:80>
DocumentRoot /www/test1            #指定发布网站目录
ServerName www.test1.com        #设置第一个域名
<Directory "/www/test1">
  AllowOverride None            #设置目录的特性,不设置目录的特性
  Require all granted            #允许所有人访问
</Directory>
</VirtualHost>

<VirtualHost *:80>
DocumentRoot /www/test2            #指定发布网站目录
ServerName www.test2.com        #设置第二个域名
<Directory "/www/test2">
  AllowOverride None
  Require all granted
</Directory>
</VirtualHost>
~
创建测试页面:
[root@testhost conf.d]# echo '第一个网站' >> /www/test1/index.html
[root@testhost conf.d]# echo '第二个网站' >> /www/test2/index.html
配置本地域名解析
在wind电脑上面打开C:\Windows\System32\drivers\etc\hosts文件。可以用管理员身份打开。
添加:10.36.192.203 www.test1.com www.test2.com (和上面设置的域名一致)
重启httpd服务并测试:
[root@testhost conf.d]# systemctl restart httpd
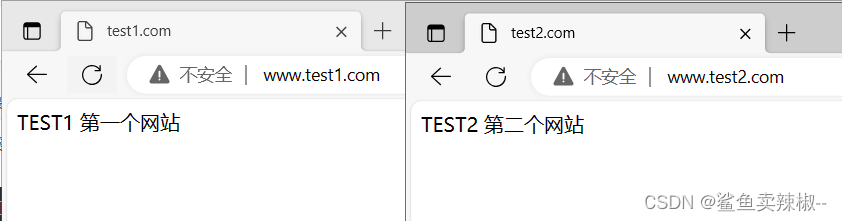
测试成功。
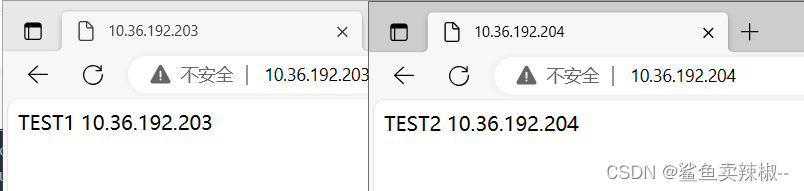
③基于IP
添加一个临时IP
##########添加临时IP
[root@testhost ~]# ip a a 10.36.192.204/24 dev ens33
或者
[root@testhost ~]# ifconfig ens33:0  10.36.192.204/24

###########删除临时IP
[root@testhost ~]# ip a d 10.36.192.204、24 dev ens33
添加子配置:不同ip对应不同域名。
[root@testhost ~]# vim /etc/httpd/conf.d/test.conf

<VirtualHost 10.36.192.203:80>
DocumentRoot /www/test1
ServerName www.test1.com
<Directory "/www/test1">
  AllowOverride None
  Require all granted
</Directory>
</VirtualHost>

<VirtualHost 10.36.192.204:80>
DocumentRoot /www/test2
ServerName www.test2.com
<Directory "/www/test2">
  AllowOverride None
  Require all granted
</Directory>
</VirtualHost>
创建测试页面并重启httpd:
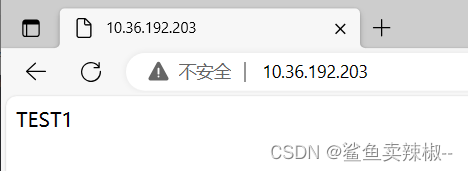
[root@testhost ~]# echo 'TEST1 10.36.192.203' > /www/test1/index.html
[root@testhost ~]# echo 'TEST2 10.36.192.204' > /www/test2/index.html
[root@testhost ~]# systemctl  restart   httpd
访问测试:测试成功。
版权归原作者 鲨鱼卖辣椒-- 所有, 如有侵权,请联系我们删除。