
前端
ry的前端文件上传单独写了一个FileUpload.Vue文件。在main.js中进行了全局的注册,可以在页面中直接使用文件上传的组件。全局导入
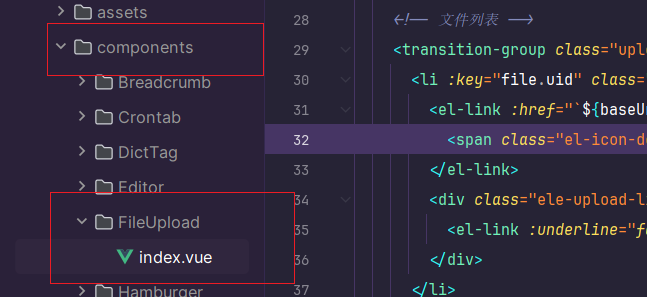
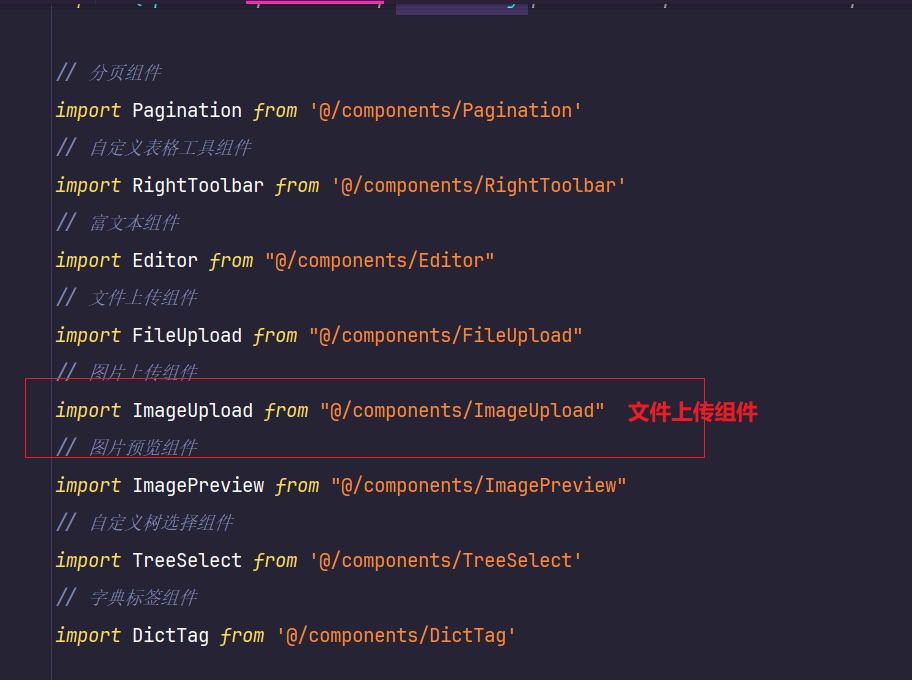
在main.js中
import 组件名称 from '@/components/FileUpLoad'
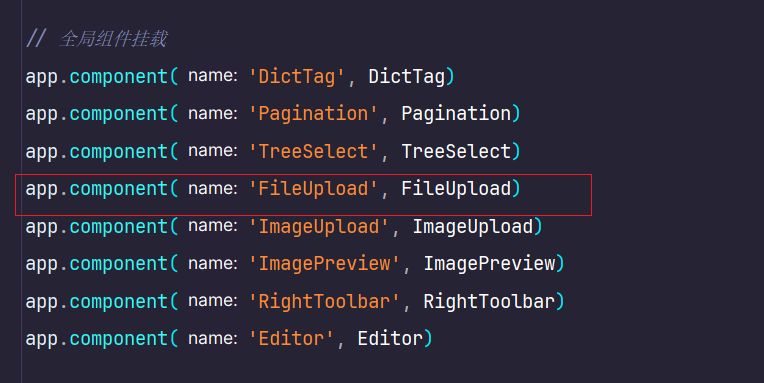
app.compoent(组件名称) //全局挂载组件
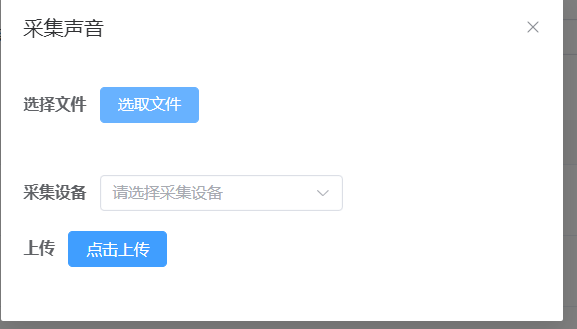
在项目中使用
组件命令 中间有一个-。因为这是两个大写的单词拼接在一起的
<el-form-item label="选择文件" prop="file">
  <file-upload v-model="fileData"/>
</el-form-item>
对于上传FileUpload组件。
使用element-plus的el-upload组件
 <el-upload
      multiple   允许多个文件上传
      :action="uploadFileUrl"  上传的地址
      :before-upload="handleBeforeUpload"  在山川之间检查
      :file-list="fileList"
      :limit="limit"
      :on-error="handleUploadError"
      :on-exceed="handleExceed"
      :on-success="handleUploadSuccess"
      :show-file-list="false"
      :headers="headers"  //请求头
      class="upload-file-uploader"
      ref="fileUpload"  //拿到这个fileupload
    >
   //展示上传的文件列表

   <transition-group class="upload-file-list el-upload-list el-upload-list--text" name="el-fade-in-linear" tag="ul">
      <li :key="file.uid" class="el-upload-list__item ele-upload-list__item-content" v-for="(file, index) in fileList">
        <el-link :href="`${baseUrl}${file.url}`" :underline="false" target="_blank">
          <span class="el-icon-document"> {{file.fileName}}</span>
        </el-link>
        <div class="ele-upload-list__item-content-action">
          <el-link :underline="false" @click="handleDelete(index)" type="danger">删除</el-link>
        </div>
      </li>
    </transition-group>
上传文件需要携带token。所以需要导入
import { getToken } from "@/utils/auth";
 //请求头是键值对的形式
const headers = ref({ Authorization: "Bearer " + getToken() });
//上传组件绑定
:headers="headers"
基本的方法包括 上传之前需要校验文件格式和大小、文件数量、成功回调函数、失败回调函数、删除文件、上传结束。
defineProps
是 Vue 3 中的一个组合式 API,用于在组件中定义接收的 props。它允许你声明组件的属性及其类型和默认值,使得组件能够接收父组件传递的数据。具体功能如下:
定义父组件传过来的内容
const props = defineProps({
  modelValue: [String, Object, Array],
  // 数量限制
  limit: {
    type: Number,
    default: 10,
  },
  // 大小限制(MB)
  fileSize: {
    type: Number,
    default: 100,
  },
  // 文件类型, 例如['png', 'jpg', 'jpeg']
  fileType: {
    type: Array,
    default: () => ["doc", "xls", "ppt", "txt", "pdf",'mp3'],
  },
  // 是否显示提示
  isShowTip: {
    type: Boolean,
    default: true
  }
});
文件数据
//上传的数据
const uploadList = ref([]);  //这个是每一次点击上传后的内容

const fileList = ref([]);  //所有的文件列表
上传成功回调函数
function handleUploadSuccess(res, file) {
  if (res.code ==200) {
  //将后端返回的数据赋值给uploadlist数组
    uploadList.value.push({ fileName: res.data.fileName, url: res.data.url });
    uploadedSuccessfully();
  } else {
    number.value--;
    proxy.$modal.closeLoading();
    proxy.$modal.msgError(res.msg);
    proxy.$refs.fileUpload.handleRemove(file);
    uploadedSuccessfully();
  }
}

function uploadedSuccessfully() {
  if (number.value > 0 && uploadList.value.length === number.value) {
  //fileList 加上uploadlist
    fileList.value = fileList.value.concat(uploadList.value);
    //将filelist床穿给父组件
    emit("update:modelValue", fileList.value);
    proxy.$modal.closeLoading();
    uploadList.value = [];
    number.value = 0;
  }
}
v-model的语法糖使用。
emit 向父组件传递消息

在 Vue 3 中,`v-model` 语法糖用于实现双向数据绑定,默认情况下,它实际上是通过发出 `update:modelValue` 事件与父组件进行通信的。

### 工作原理

1. **v-model 绑定**:
   - 当你在父组件中使用 `v-model="fileData"` 时,Vue 会自动将其转换为 `:modelValue="fileData"` 和 `@update:modelValue="value => fileData = value"` 的组合。

2. **子组件的 emit**:
   - 在子组件中,调用 `emit("update:modelValue", fileList.value);` 会发出 `update:modelValue` 事件,并将当前的 `fileList.value` 作为新值传递。

3. **父组件接收更新**:
   - 父组件通过 `@update:modelValue` 监听这个事件,接收到的值会自动更新到 `fileData` 中,实现双向绑定。

### 总结

因此,使用 `v-model` 使得父组件能够方便地接收子组件通过 `emit("update:modelValue", ...)` 发送的数据更新,从而实现了更简洁的状态管理和组件通信。
watch(() => props.modelValue, val => {
  if (Array.isArray(val) && val.length) {
    fileList.value = val.map(item => {
      return {
        fileName: item.fileName || item,
        url: item.url || item,
        // uid: item.uid || new Date().getTime()
        uid: item.uid || new Date().getTime()
      };
    });
  } else {
    fileList.value = [];
  }
}, { deep: true, immediate: true });
这段代码使用 Vue 3 的 `watch` API 来监视 `props.modelValue` 的变化,并根据这个变化更新 `fileList`。具体来说,它的功能如下:

### 代码分析

1. **监视 `props.modelValue`**:
   ```javascript
   watch(() => props.modelValue, val => { ... }, { deep: true, immediate: true });
() => props.modelValue:这是一个计算属性,用于获取modelValue的值。val:当modelValue发生变化时,这个回调函数将被调用,val是新的值。
- 判断类型和内容:
if(Array.isArray(val)&& val.length){...}else{ fileList.value =[];}- 检查val是否是一个数组且非空。如果是,执行下一步;否则,将fileList.value设置为空数组。 - **映射
fileList**:fileList.value = val.map(item=>{...});- 使用map方法遍历val数组,将每个元素转换为一个对象,包含fileName、url和uid。如果item没有提供fileName或url,则使用item本身。 - 选项:-
{ deep: true }:如果modelValue是一个嵌套对象,深度监视将确保任何内部属性的变化也会触发回调。-{ immediate: true }:在组件初始挂载时立即调用回调,以便在初始渲染时更新fileList。
总结
这段代码的主要作用是确保当
modelValue
更新时,
fileList
也会随之更新,从而保持两个数据状态的一致性。如果
modelValue
是一个有效的数组,
fileList
将根据其内容进行填充;如果不是,
fileList
将被清空。这种方式适用于处理上传文件列表或类似的场景。
本文转载自: https://blog.csdn.net/ngczx/article/details/142654091
版权归原作者 全栈阿星 所有, 如有侵权,请联系我们删除。
版权归原作者 全栈阿星 所有, 如有侵权,请联系我们删除。