
文章目录
一、场景
Java实现文件上传到服务器本地,并通过url访问
有个需求,前端上传文件,需要用开关的方式同时支持上传七牛和服务器本地,方便不同的用户需求合理分配资源。本篇主要介绍文件上传到本地,然后通过url访问。
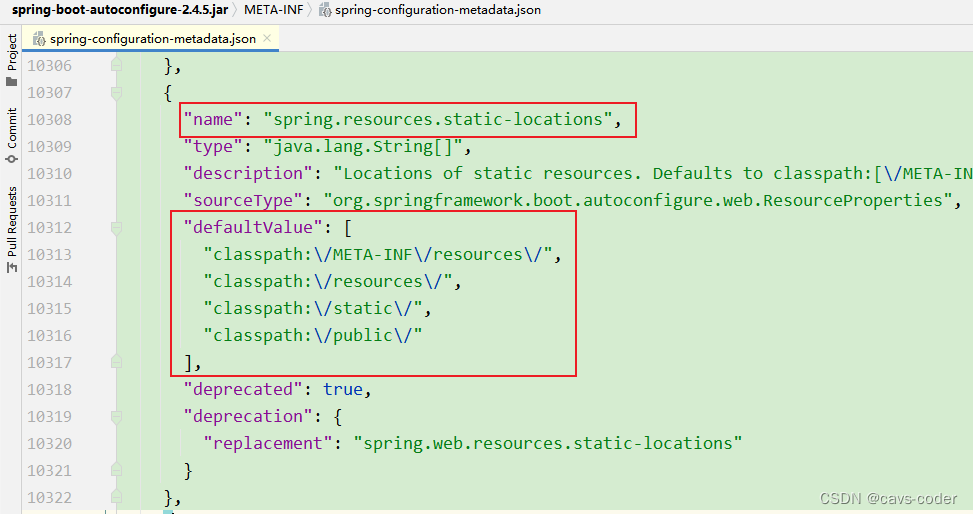
二、SpringBoot默认静态资源访问方式
首先想到的就是可以通过SpringBoot通常访问静态资源的方式,当访问:项目根路径 + / + 静态文件名时,SpringBoot会依次去类路径下的四个静态资源目录下查找(默认配置)。
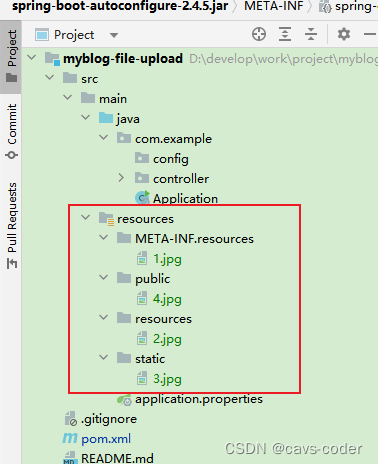
在资源文件resources目录下建立如下四个目录:
重启Spring boot,访问
http://localhost:8080/1.jpg
http://localhost:8080/2.jpg
http://localhost:8080/3.jpg
http://localhost:8080/4.jpg
结果: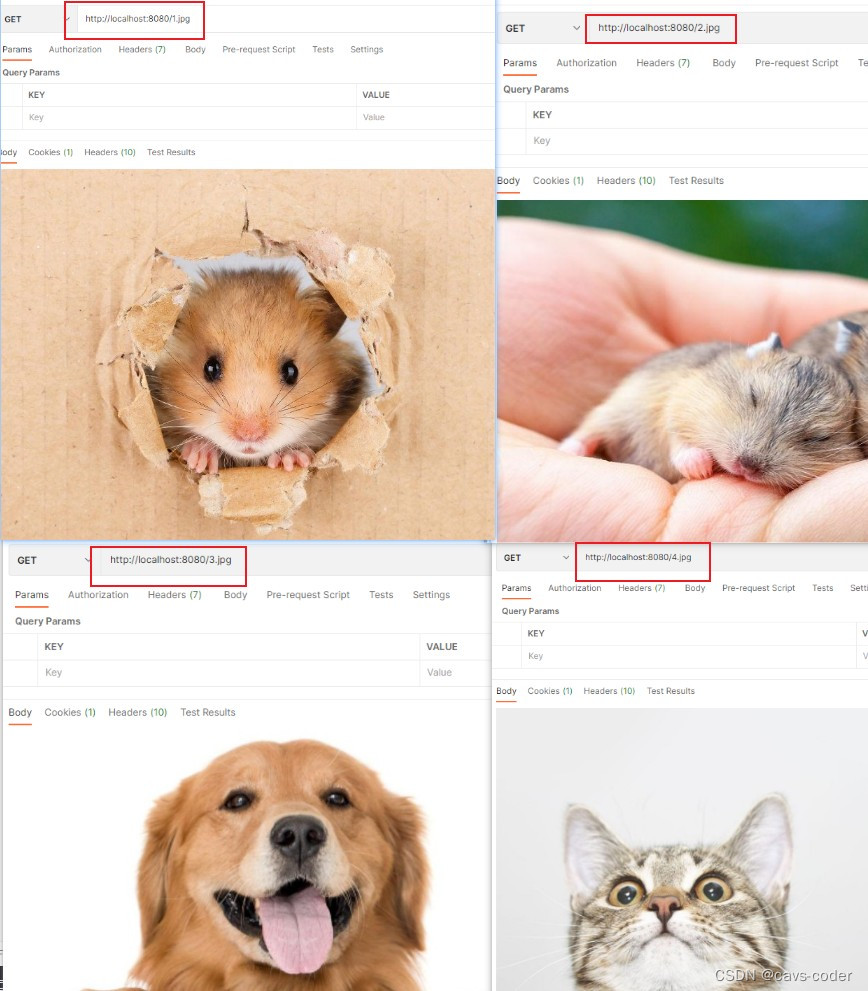
三、上传的文件应该存储在哪?怎么访问?
1.文件存储在哪?
前文所说外部用户可通过url访问服务器资源文件resources目录下的静态资源,但若是将上传的文件都保存在resources相关目录下,将会导致后续打包过大,程序和代码不分离,无法查看等问题。
解决方案:文件上传到服务器某个目录,然后SpringBoot配置虚拟路径,映射到此目录。
2.怎么访问?
通过WebMvcConfigurer 的addResourceHandlers将匹配上虚拟路径的url映射到文件上传到服务器的目录,这样就可以通过url来获取服务器上的静态资源了。
示例代码
代码仓库github路径
目标:windows本地测试,将文件上传到 D:\develop\work\project\myblog\myblog-file-upload\fileStorage 目录下,然后通过http://localhost:8080/files/文件名 访问。
配置类
@ConfigurationpublicclassWebMvcConfigimplementsWebMvcConfigurer{@AutowiredFileServiceImpl fileService;@OverridepublicvoidaddResourceHandlers(ResourceHandlerRegistry registry){//将匹配上/files/**虚拟路径的url映射到文件上传到服务器的目录,获取静态资源
        registry.addResourceHandler("/"+ fileService.pathPattern +"/**").addResourceLocations("file:"+ fileService.filePath);WebMvcConfigurer.super.addResourceHandlers(registry);}}
Controller
@RestController@RequestMapping("/file")publicclassFileController{@AutowiredprivateFileServiceImpl fileService;@PostMapping("/upload")publicFileUploadResponseupload(@RequestParam("file")MultipartFile file){return fileService.upload(file);}}
上传文件目录创建好后,主要通过 file.transferTo(new File(absolutePath)) 完成。
Service
@Slf4j@ServicepublicclassFileServiceImpl{//拦截的url,虚拟路径publicString pathPattern ="files";//自己设置的目录privatestaticfinalString fileDir ="fileStorage";//上传文件存放目录  =  工作目录绝对路径 + 自己设置的目录,也可以直接自己指定服务器目录//windows本地测试//绝对路径: D:\develop\work\project\myblog\myblog-file-upload\fileStorage\202302021010345680.jpg//System.getProperty("user.dir")   D:\develop\work\project\myblog\myblog-file-upload//fileDir                          fileStorage//fileName                         202302021010345680.jpgpublicString filePath =System.getProperty("user.dir")+File.separator + fileDir +File.separator;privatestaticfinalAtomicIntegerSUFFIX=newAtomicInteger(0);@Value(value ="${file.upload.suffix:jpg,jpeg,png,bmp,xls,xlsx,pdf}")privateString fileUploadSuffix;publicFileUploadResponseupload(MultipartFile file){FileUploadResponse result =newFileUploadResponse();if(file.isEmpty()){
            log.error("the file to be uploaded is empty");return result;}List<String> suffixList =Lists.newArrayList(fileUploadSuffix.split(","));try{//校验文件后缀String originalFilename = file.getOriginalFilename();String suffix = originalFilename.substring(originalFilename.lastIndexOf(".")+1);if(!suffixList.contains(suffix)){
                log.error("unsupported file format");return result;}//首次需生成目录File folder =newFile(filePath);if(!folder.exists()){
                folder.mkdirs();}String fileName =timeFormat(System.currentTimeMillis())+SUFFIX.getAndIncrement()+"."+ suffix;String absolutePath = filePath + fileName;
            log.info("absolutePath is {}", absolutePath);
            file.transferTo(newFile(absolutePath));String separator ="/";String path = separator + pathPattern + separator + fileName;
            result.setPath(path);
            result.setFileName(fileName);}catch(Exception e){
            log.error("the file upload error occurred. e ", e);}return result;}publicstaticStringtimeFormat(Long time){if(Objects.isNull(time)){returnnull;}DateFormat sdf =newSimpleDateFormat("yyyyMMddHHmmssSSS");return sdf.format(time);}}
四、测试
查看文件夹,已上传成功

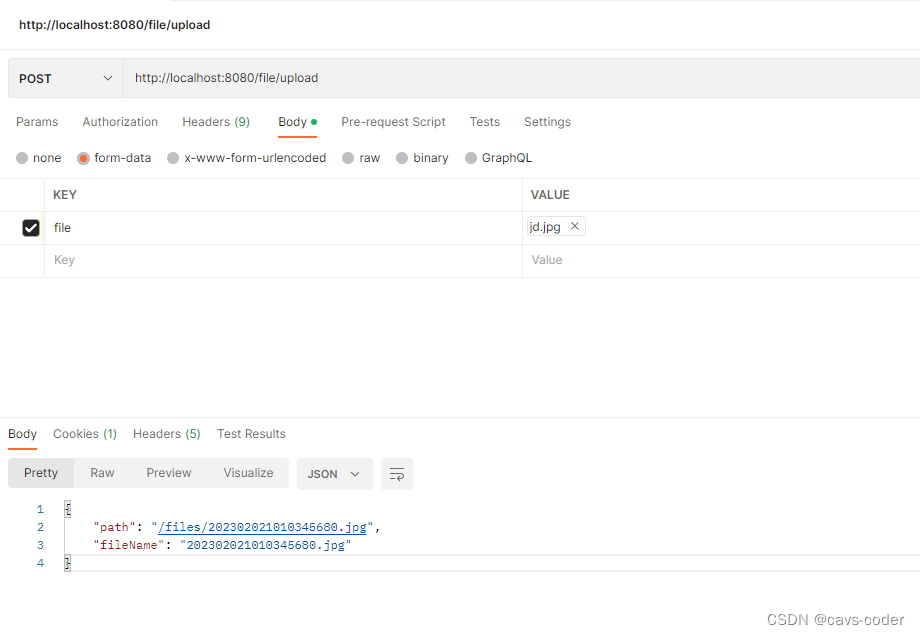
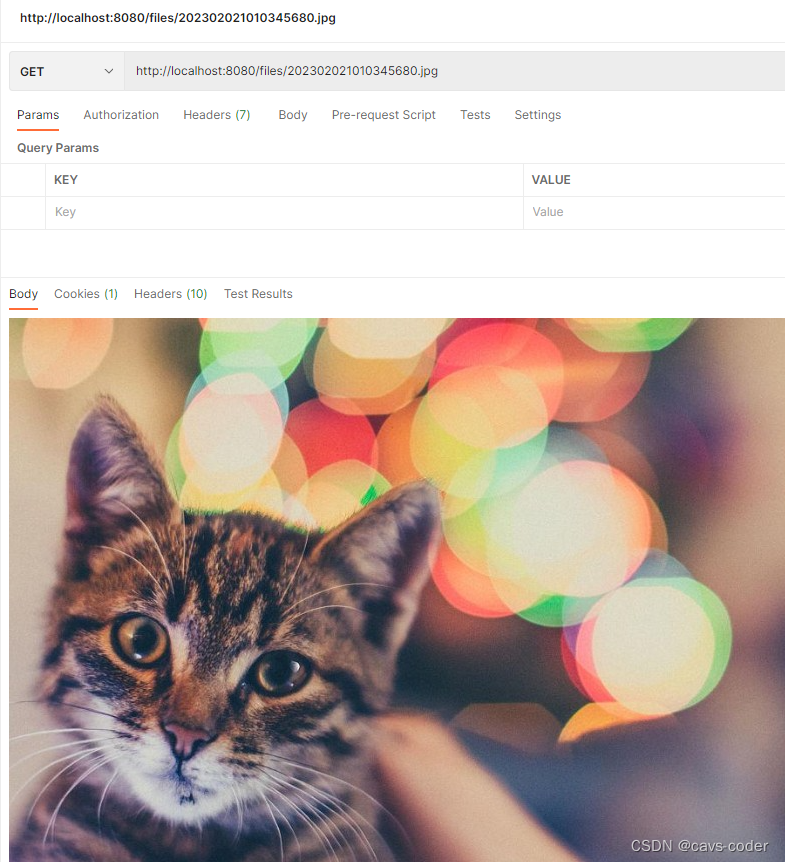
将上传接口返回的path拼接上域名或者ip端口、访问 http://localhost:8080/files/202302021010345680.jpg,得到:
五、总结
其实这和最初的SpringBoot获取静态资源的方式又有点不一样,针对url做拦截,实际上resources目录下并没有files这个文件夹,它只是一个虚拟路径,通过映射转发到文件夹上传目录,在该目录下通过文件名去定位。
另外,如果有用nginx,也可以在其配置中设置转发。
版权归原作者 cavs-coder 所有, 如有侵权,请联系我们删除。