
前言
某天张三对小花说,我需要在一台新电脑上实现一个前端的漂亮页面:比如京东手机首页(m.jd.com)。
小花这时吭哧吭哧的去新电脑上安装nodejs、npm,然后在本地使用npm构建vue3项目,在项目里下载安装element-plus、axios。下一步进入编码阶段,写好的文件最后打包dist文件,放在nginx里去运行。
一套流程走下来,耗时耗力,此时我们应该使用更简单的方法来构建这种单页面的项目:单页面html直接引入Vue3。
1、单页面Vue架构
1、构建html项目;
2、创建单个html页面;
3、在head区域引入Vue3、Element-plus、Axios等组件;
4、在< div id=“app”>区域编写前端代码;
5、在App里定义data、methods,创建VueApp;
6、在data里定义数据模型;
7、在methods里写事件交互,业务逻辑;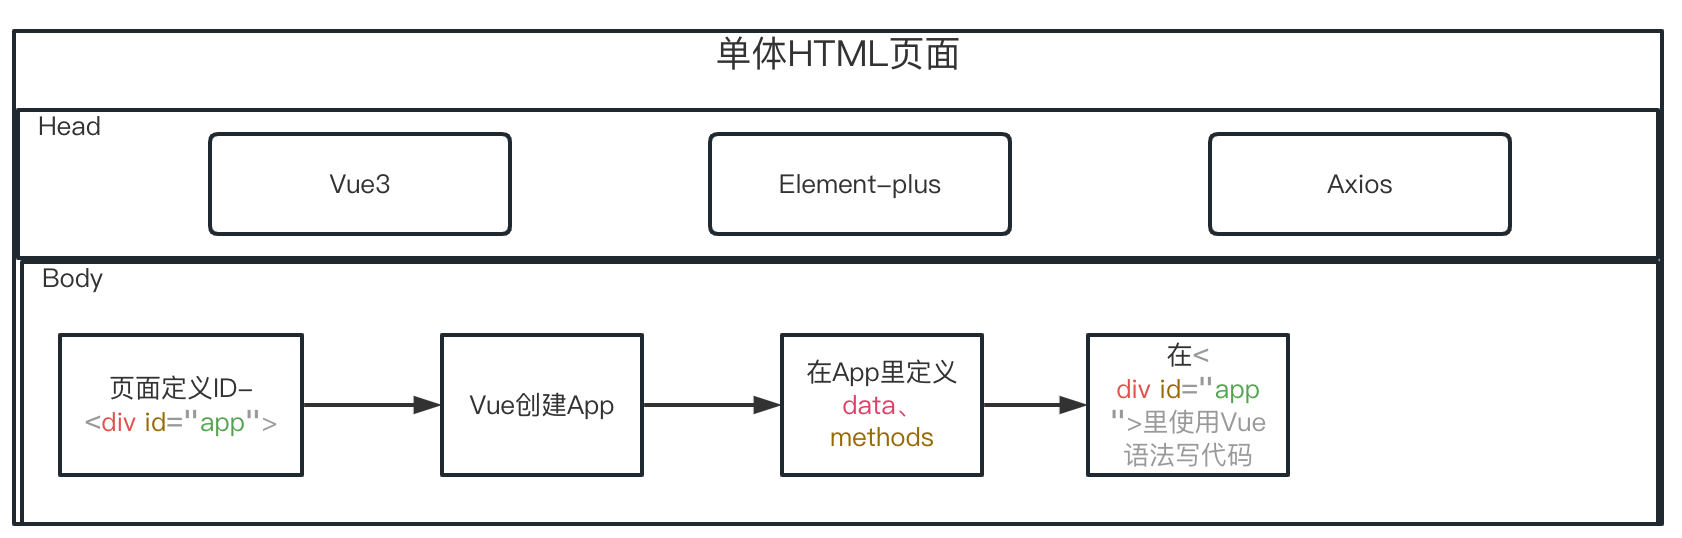
2、构建html项目
通过Idea新建一个空项目,设置项目名称、项目存储路径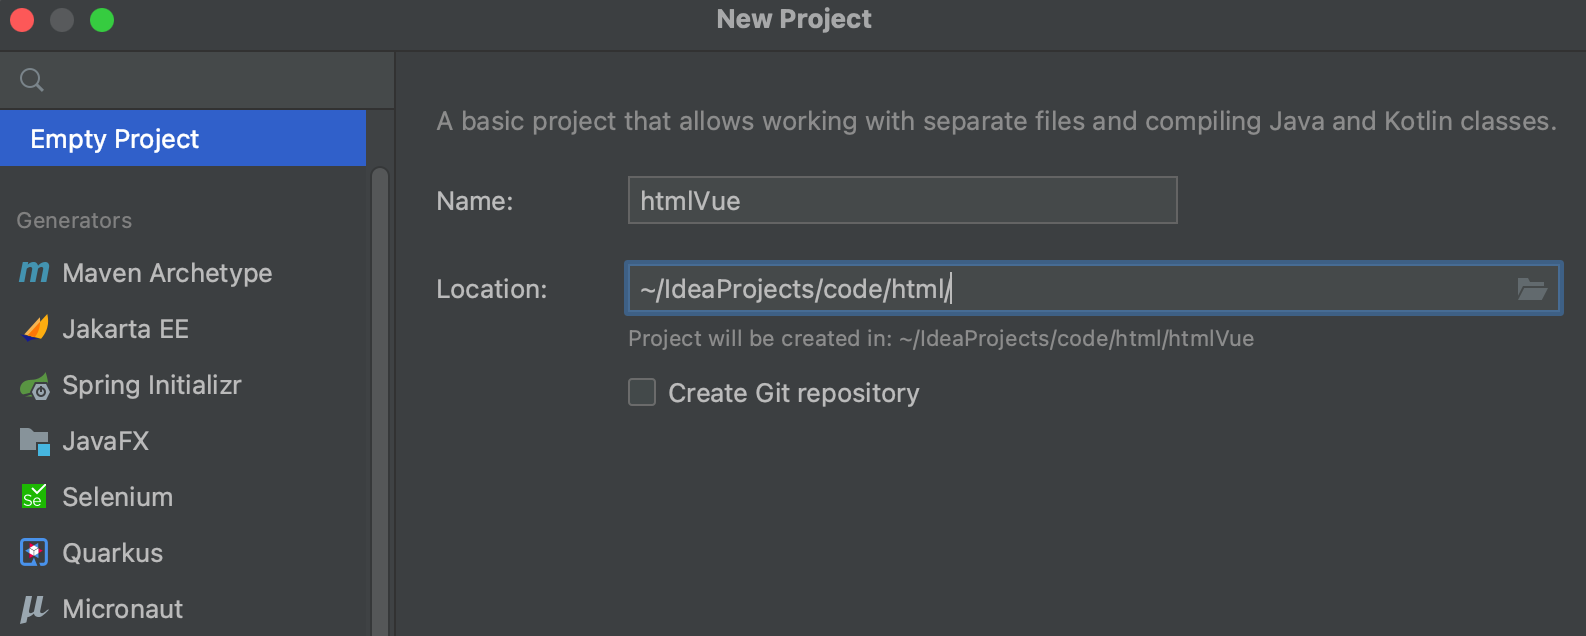
2、创建单个html页面
2.1、创建html目录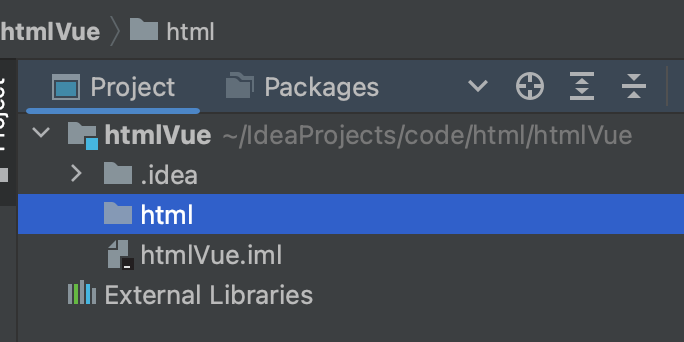
2.2、创建html页面
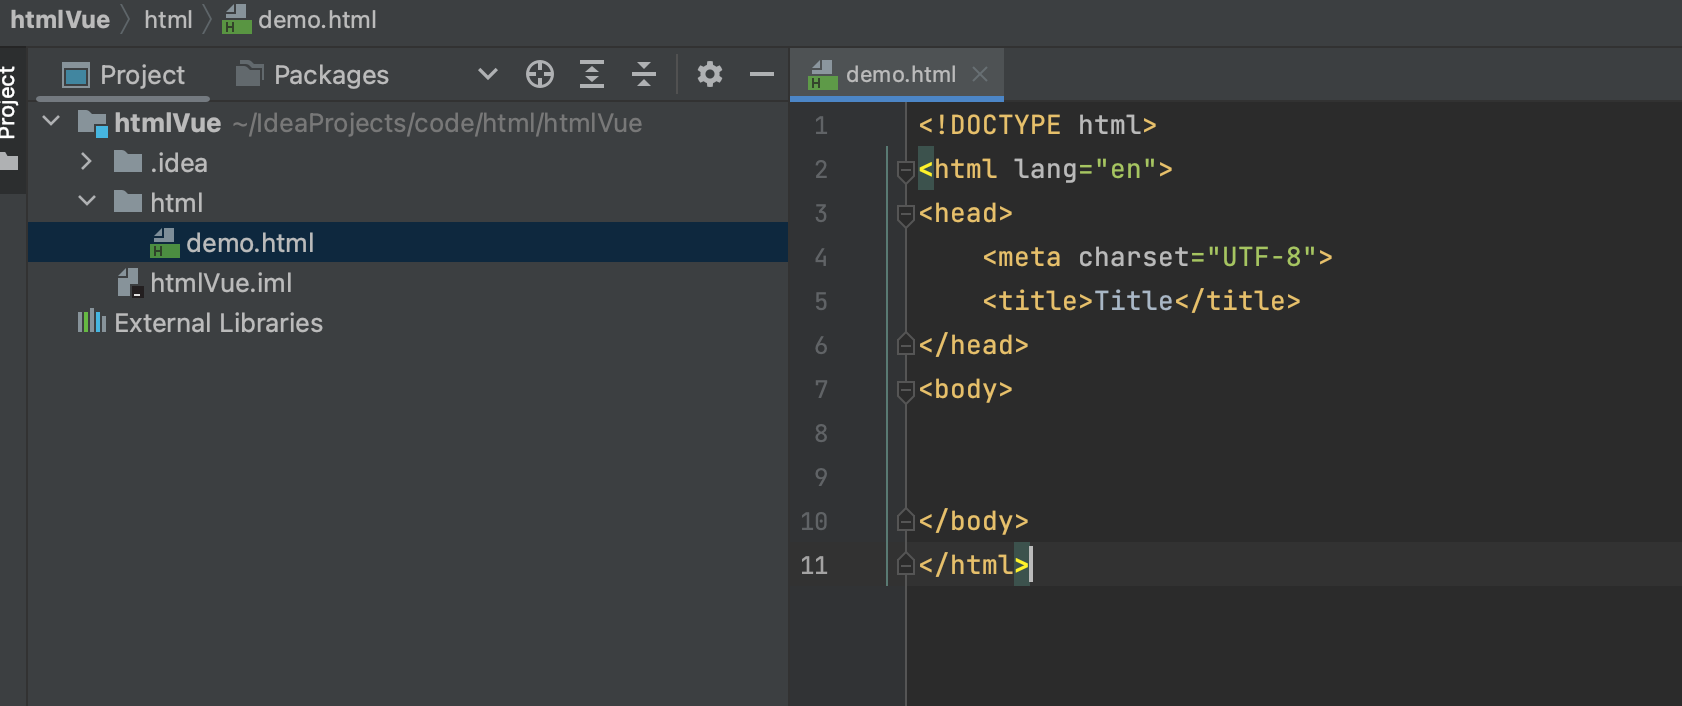
在html目录下,创建HTML 文件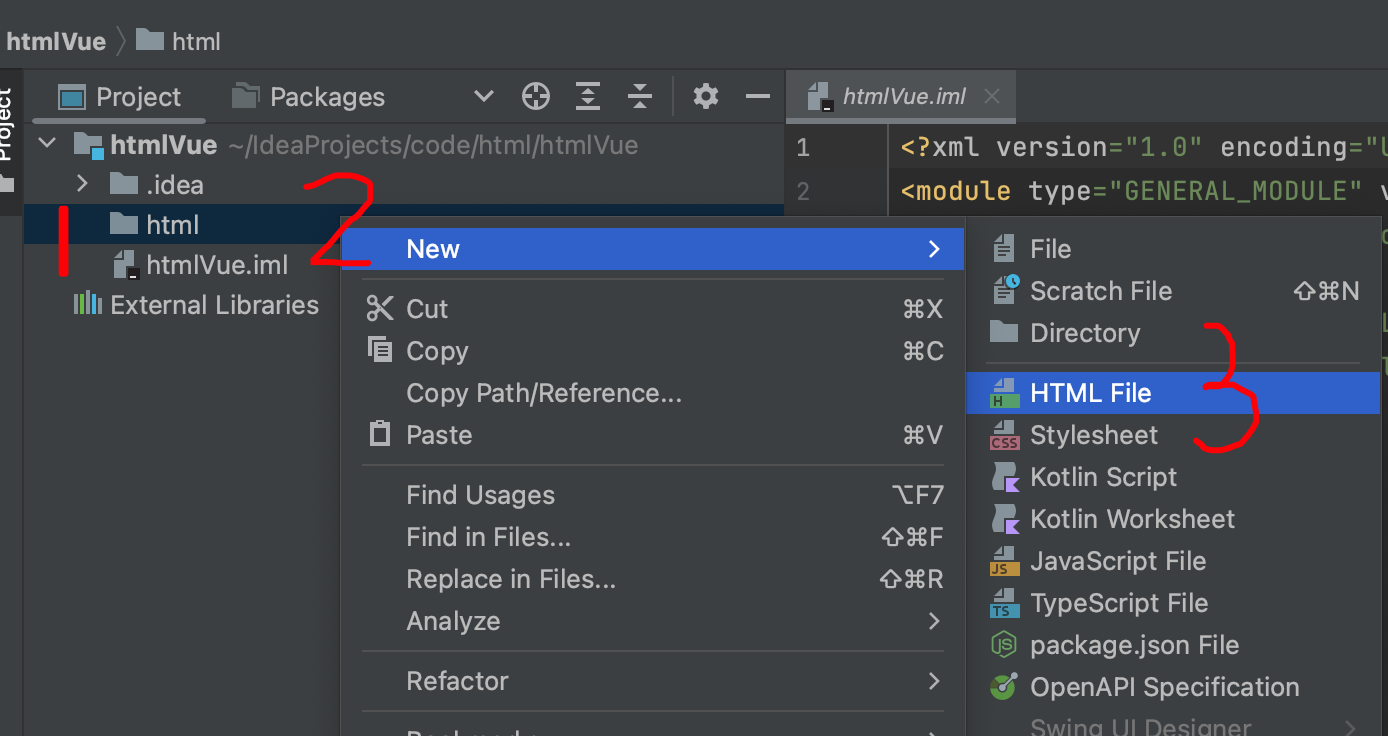
2.3、在head区域引入Vue3、Element-plus、Axios等组件
以CDN文件形式,引入Vue3、Element-plus、Axios等组件
<!DOCTYPEhtml><htmllang="en"><head><metacharset="UTF-8"><title>单页面引入Vue3演示</title><!-- Import element-plus style --><linkrel="stylesheet"href="//unpkg.com/element-plus/dist/index.css"/><!-- Import Vue 3 --><scriptsrc="//unpkg.com/vue@3"></script><!-- Import axios --><scriptsrc="//unpkg.com/axios/dist/axios.min.js"></script><!-- Import element-plus --><scriptsrc="//unpkg.com/element-plus"></script></head><body></body></html>
2.4、在< div id=“app”>区域编写前端代码
<divid="app"><h2>{{msg}}</h2></div>
2.5、在App里定义data、methods,创建VueApp
<script>const App ={data(){return{loading:false}},mounted(){},methods:{}}const App2 = Vue.createApp(App)
    App2.use(ElementPlus)
    App2.mount(app)</script>
2.6、在data里定义数据模型
<script>const App ={data(){return{msg:"",loading:false}},mounted(){},methods:{}}const App2 = Vue.createApp(App)
    App2.use(ElementPlus)
    App2.mount(app)</script>
2.7、在methods里写事件交互,业务逻辑
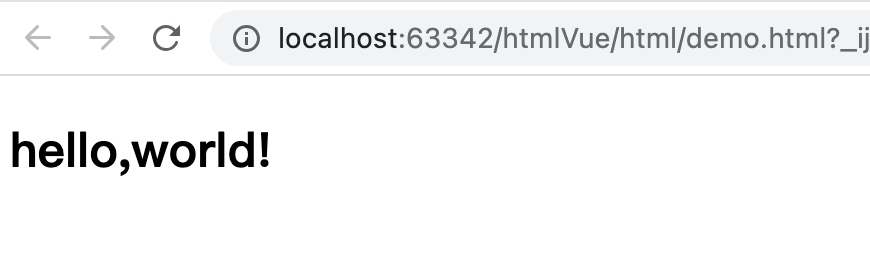
<script>const App ={data(){return{msg:"",loading:false}},mounted(){init();},methods:{init(){this.msg ="hello,world!"}}}const App2 = Vue.createApp(App)
    App2.use(ElementPlus)
    App2.mount(app)</script>
2.8、查看效果
3、构建首页轮播图
3.1、html区域使用Element-plus的Carousel 走马灯组件
<divid="app"><h2>{{msg}}</h2><!-- 轮播图 --><divclass="block"><el-carousel:interval="4000"height="400px"><el-carousel-itemv-for="item in carouseData":key="item"><divclass="pic_item"><img:src="item.picture"style="width: 100%;height: 400px;"alt=""/><spanclass="title">{{item.title}}</span><spanclass="subTitle">{{item.subTitle}}</span></div></el-carousel-item></el-carousel></div><!-- 轮播图END --></div>
3.2、脚本区域
<script>const App ={data(){return{msg:"",carouseData:[],loading:false}},created(){//初始化数据this.init();//获取首页轮播图this.getCarouseData("carouseData");},methods:{init(){this.msg ="hello,world!";},//获取首页轮播图getCarouseData(val){
                axios.get("../static/mock/carouse/data.json").then((response)=>{this[val]= response.data.success.data;});}}}const App2 = Vue.createApp(App)
    App2.use(ElementPlus)
    App2.mount(app)</script>
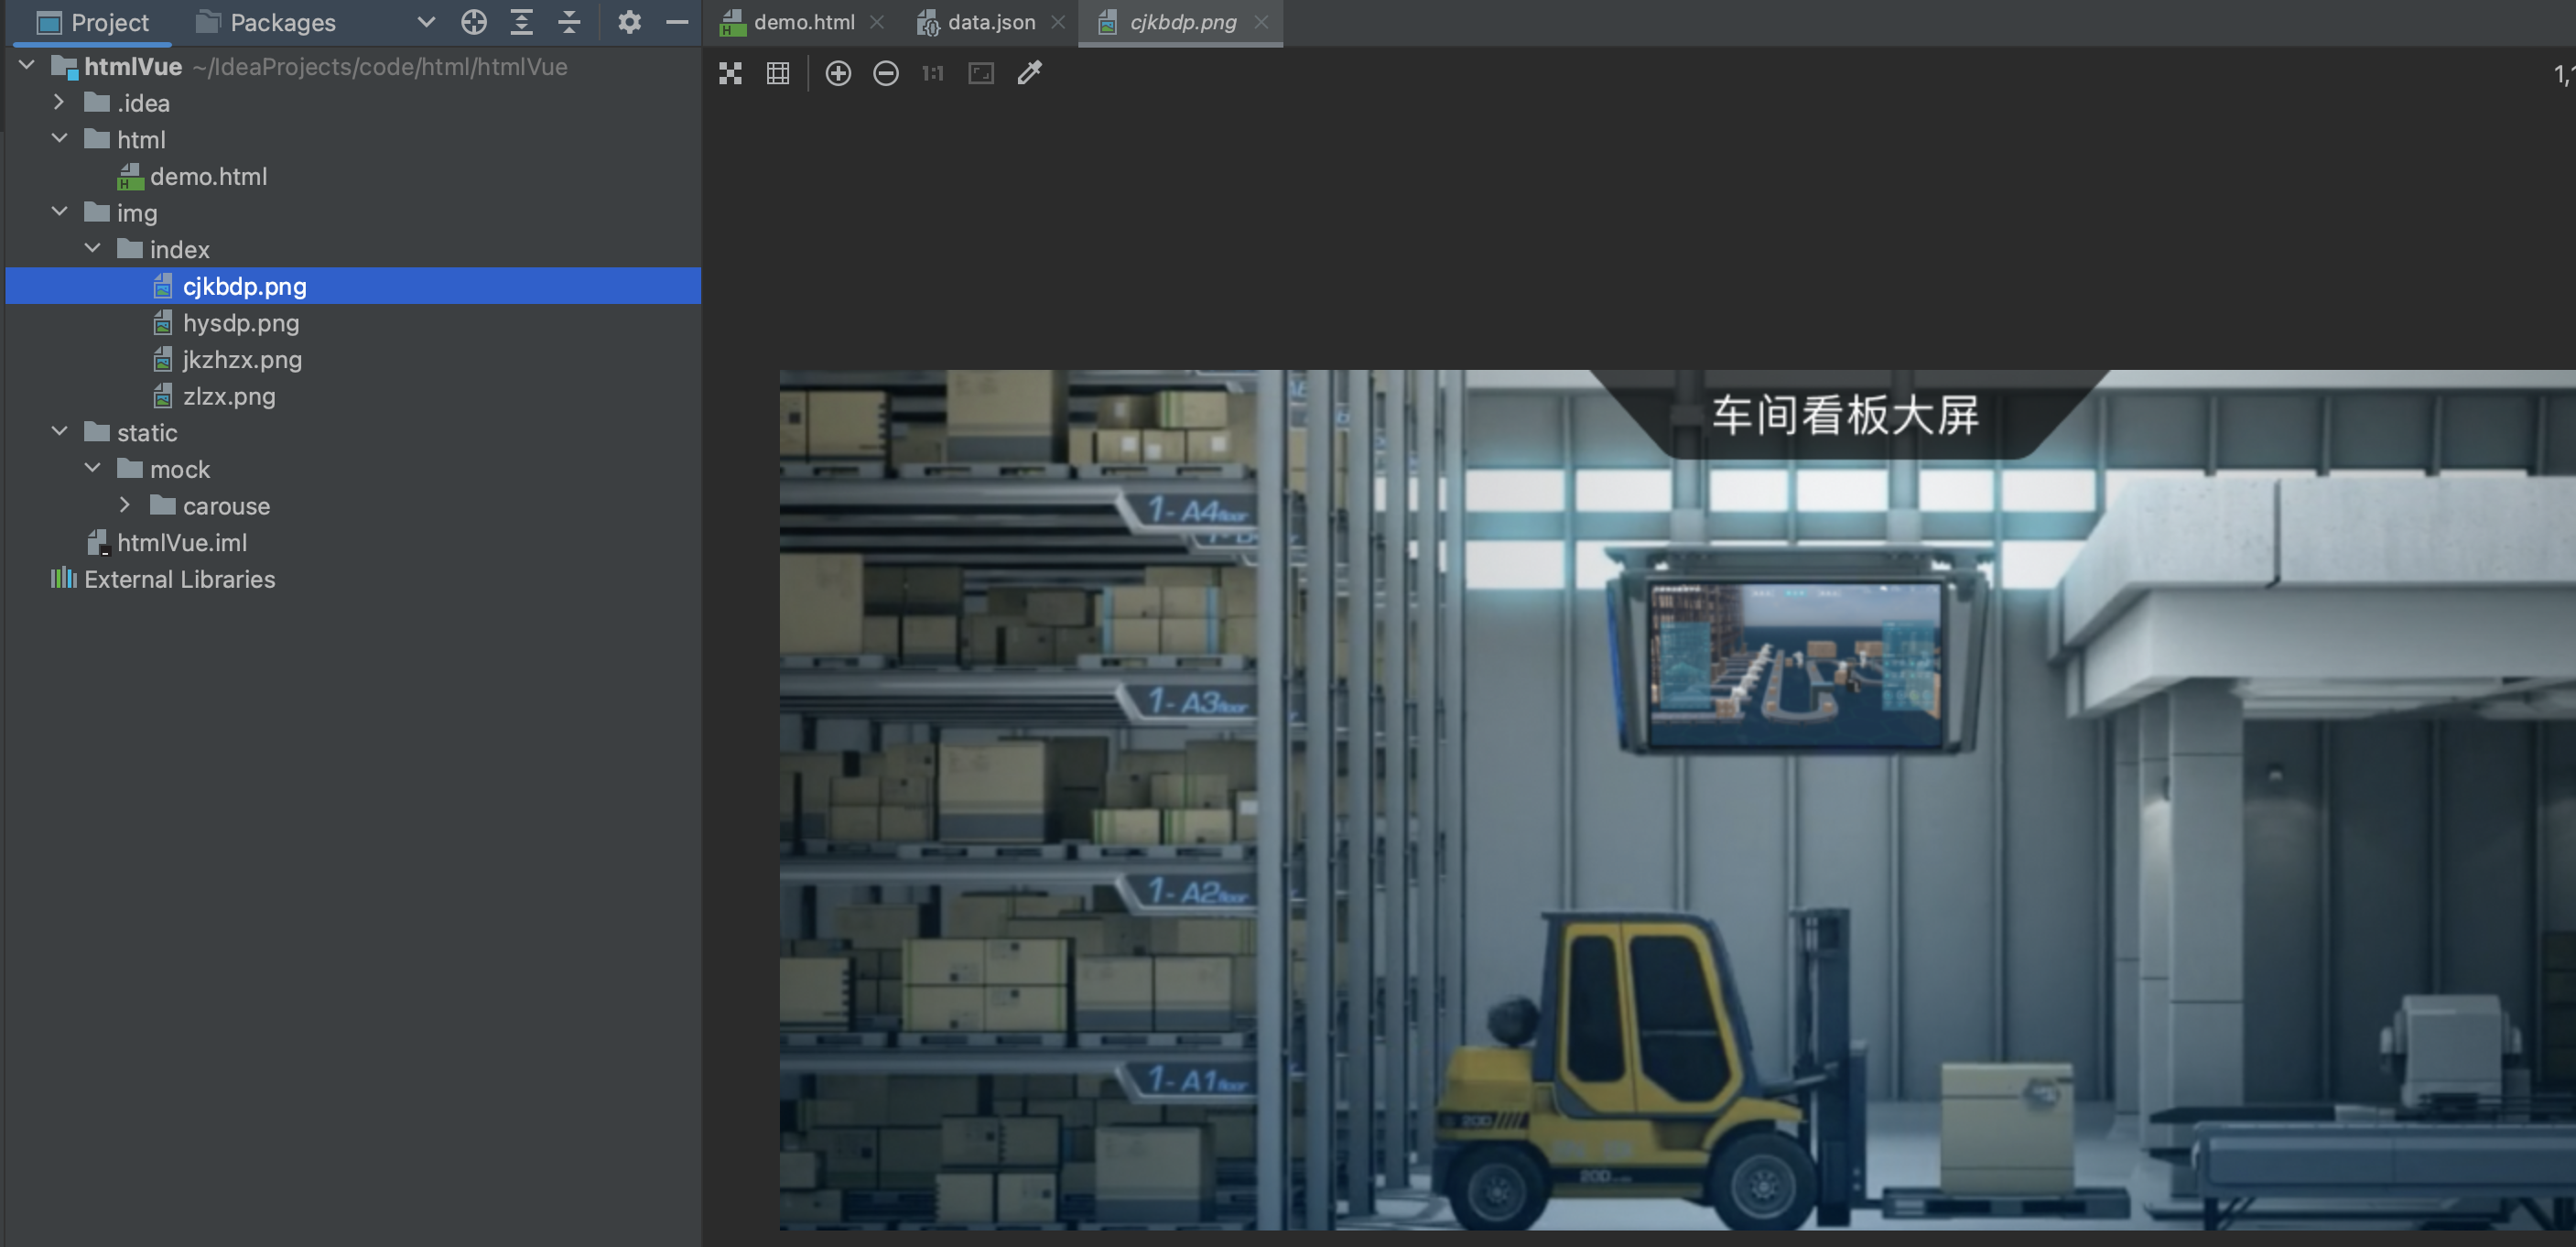
3.3、准备图片数据
3.4、轮播图mock数据 data.json
{"success":{"code":200,"message":"成功","data":[{"picture":"../img/index/zlzx.png","title":"专注Web软件定制开发","subTitle":"平台软件+定制开发+多端互联"},{"picture":"../img/index/jkzhzx.png","title":"服务为本 客户至上","subTitle":"专业,敬业,周到"},{"picture":"../img/index/hysdp.png","title":"让技术驱动进步成长","subTitle":"以快捷,安全,自主,轻便技术能力为核心宗旨"},{"picture":"../img/index/cjkbdp.png","title":"让技术驱动进步成长","subTitle":"以快捷,安全,自主,轻便技术能力为核心宗旨"}]},"fail":{"code":400,"message":"请求失败,请稍后再试!"}}
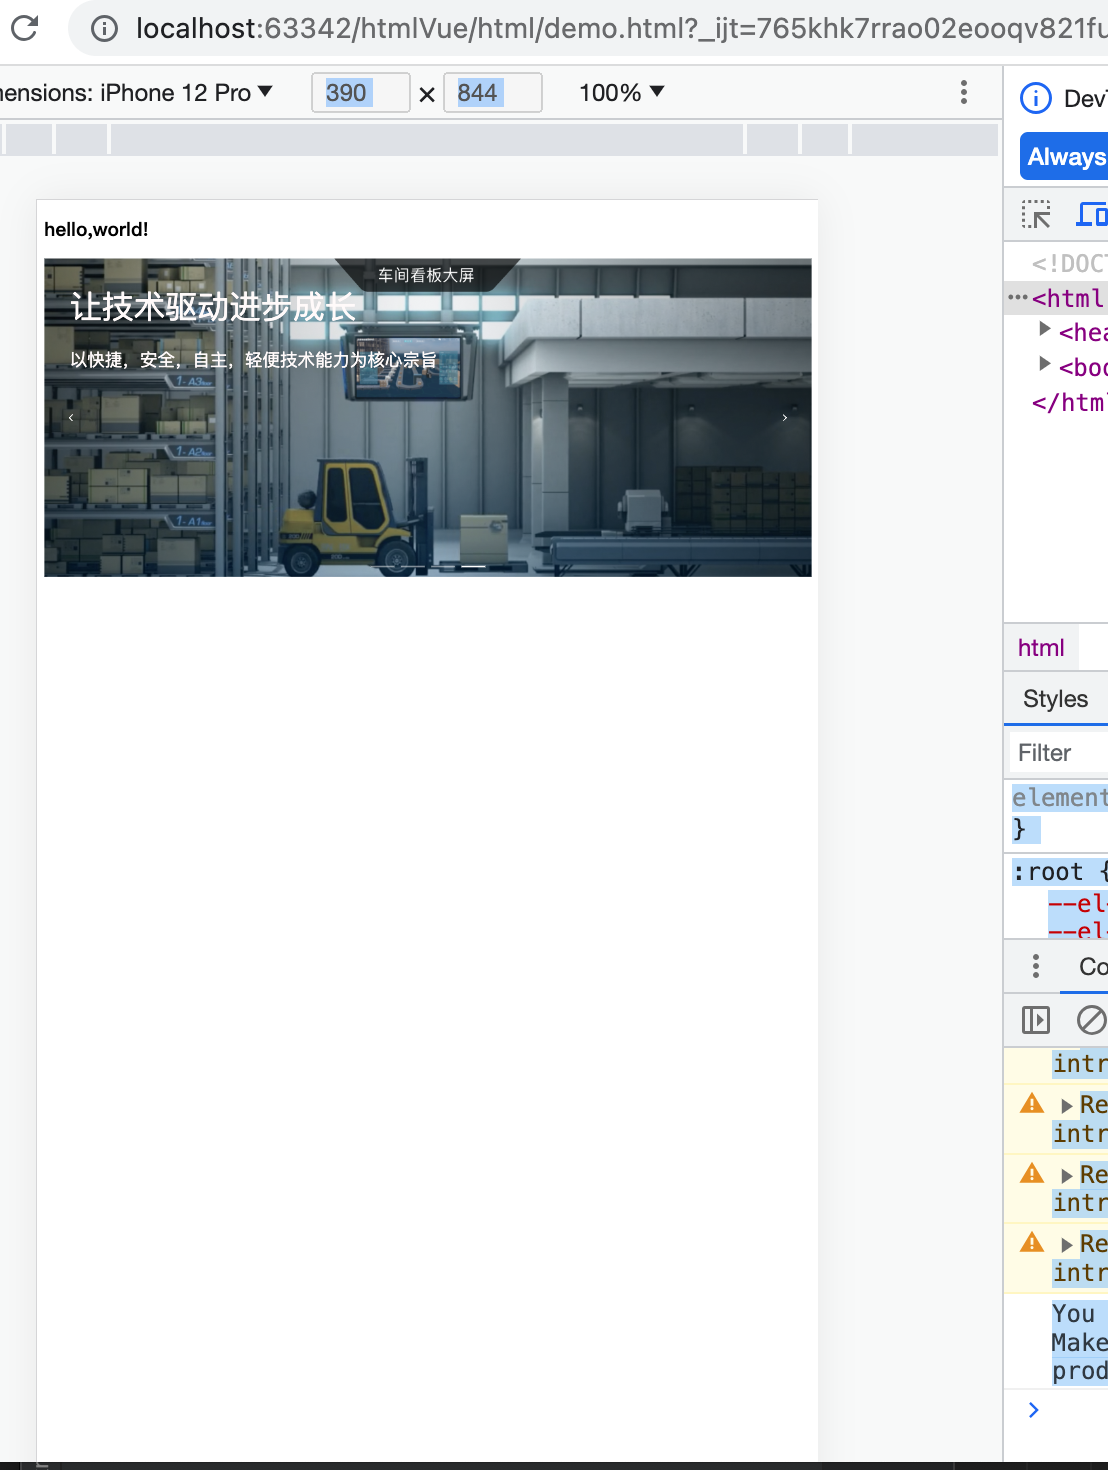
3.5、效果图
总结
通过单页面加载Vue3,可以在感受Vue3便捷的语法同时,还不需要安装node.js、npm等繁琐的工具,在独立的1-2个页面开发时,非常方便。
本文转载自: https://blog.csdn.net/s445320/article/details/131691719
版权归原作者 青花锁 所有, 如有侵权,请联系我们删除。
版权归原作者 青花锁 所有, 如有侵权,请联系我们删除。