
前提:nvidia、cuda、nvidia-fabricmanager等相关的组件已经在宿主机正确安装,如果没有安装可以参考我之前发的文章
GPU A800 A100系列NVIDIA环境和PyTorch2.0基础环境配置【建议收藏】_a800多卡运行环境配置-CSDN博客文章浏览阅读1.1k次,点赞8次,收藏16次。Ant系列GPU支持 NvLink & NvSwitch,若您使用多GPU卡的机型,需额外安装与驱动版本对应的nvidia-fabricmanager服务使GPU卡间能够互联,否则可能无法正常使用GPU实例。【摘要】 Nvidia A系列裸金属服务器安装NVIDIA和CUDA驱动,安装conda和pytorch2.0并验证cuda的有效性。选择安装环境相关版本: GPU驱动版本为530.30.02、CUDA版本为12.1.0。注意事项: 不能选择Driver, 否则会覆盖已安装的NVIDIA驱动._a800多卡运行环境配置https://blog.csdn.net/weixin_43798031/article/details/136853839?spm=1001.2014.3001.5501
一、k8s环境配置
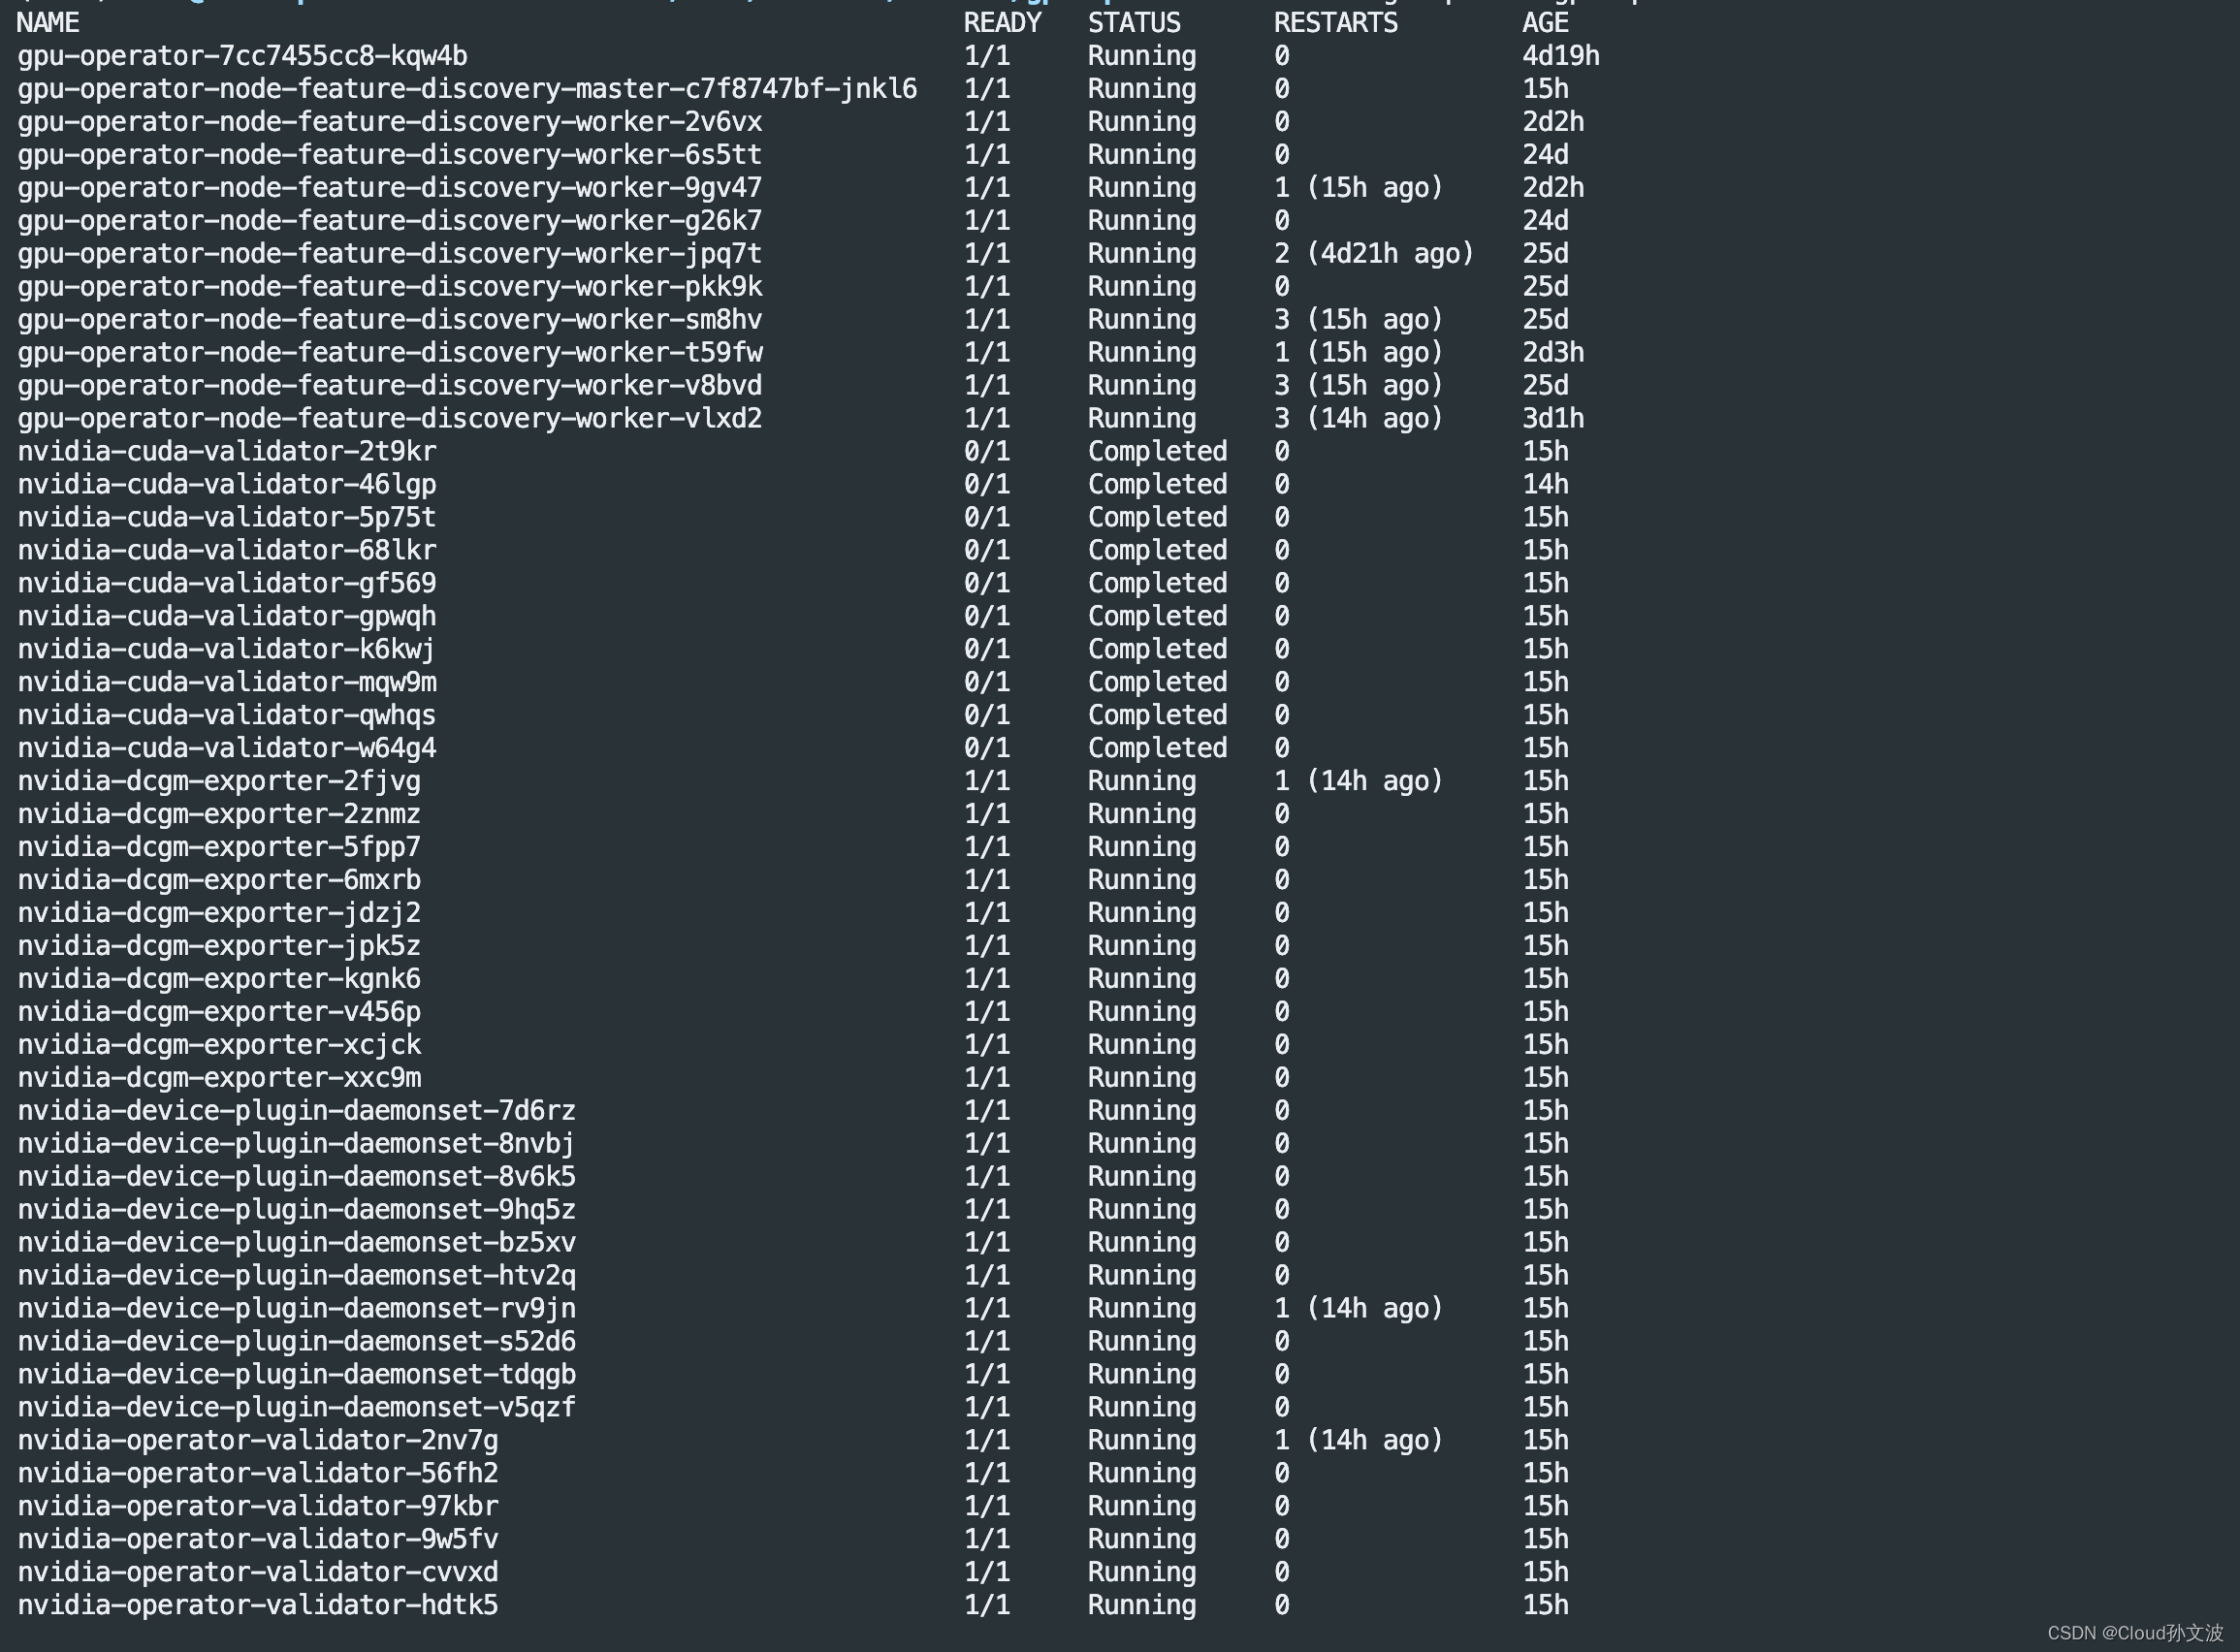
1.安装gpu-operator
使用官方的helm chart进行安装 gpu-operator-v24.3.0.tgz
# 创建namespace
kubectl  create  ns gpu-operator

# 下载chart
wget https://github.com/NVIDIA/gpu-operator/releases/download/v24.3.0/gpu-operator-v24.3.0.tgz

# 解压
tar xf gpu-operator-v24.3.0.tgz

# 其中有一些插件是可选择的,可以根据环境的情况进行修改
# 安装
helm isntall -f values.yaml  gpu-operator -n gpu-operator
2. 安装 rdma-shared-plugin
特此说明一下,这篇文章用的是RDMA ROCE方案,采用的宿主机网络模式所以下面的这个插件可以选择性的安装,
k8s-rdma-shared-dev-plugin-config-map.yaml
apiVersion: v1
kind: ConfigMap
metadata:
  name: rdma-devices
  namespace: kube-system
data:
  config.json: |
    {
        "periodicUpdateInterval": 300,
        "configList": [
           {
             "resourceName": "shared_ibs",
             "rdmaHcaMax": 1000,
             "selectors": {
               "ifNames": ["GPU0", "GPU1", "GPU2", "GPU3"]  #根据实际的ib网卡名称修改
             }
           }
        ]
    }
k8s-rdma-shared-dev-plugin-ds.yaml
apiVersion: apps/v1
kind: DaemonSet
metadata:
  name: rdma-shared-dp-ds
  namespace: kube-system
spec:
  selector:
    matchLabels:
      name: rdma-shared-dp-ds
  template:
    metadata:
      labels:
        name: rdma-shared-dp-ds
    spec:
      hostNetwork: true
      priorityClassName: system-node-critical
      containers:
      - image: mellanox/k8s-rdma-shared-dev-plugin
        name: k8s-rdma-shared-dp-ds
        imagePullPolicy: IfNotPresent
        securityContext:
          privileged: true
        volumeMounts:
          - name: device-plugin
            mountPath: /var/lib/kubelet/
          - name: config
            mountPath: /k8s-rdma-shared-dev-plugin
          - name: devs
            mountPath: /dev/
      volumes:
        - name: device-plugin
          hostPath:
            path: /var/lib/kubelet/
        - name: config
          configMap:
            name: rdma-devices
            items:
            - key: config.json
              path: config.json
        - name: devs
          hostPath:
            path: /dev/
测试是否安装成功,登陆到容器中查看ib网卡
rdma-test-pod.yaml
apiVersion: v1
kind: Pod
metadata:
  name: mofed-test-pod
spec:
  restartPolicy: OnFailure
  containers:
  - image: mellanox/rping-test
    name: mofed-test-ctr
    securityContext:
      capabilities:
        add: [ "IPC_LOCK" ]
    resources:
      limits:
        rdma/shared_ibs: 1
    command:
    - sh
    - -c
    - |
      ls -l /dev/infiniband /sys/class/infiniband /sys/class/net
      sleep 1000000
3. 安装volcano调度器
相关的部署文件在这里,具体的调度规则大家可以根据实际的情况去配置,第一次接触volcano的同学可能要增加一些学习成本
kubectl  apply -f volcano-development.yaml

#测试一下
kubectl  apply -f  test-job.yaml

apiVersion: batch.volcano.sh/v1alpha1
kind: Job
metadata:
  name: test-job4
spec:
  minAvailable: 1
  schedulerName: volcano
  policies:
    - event: PodEvicted
      action: RestartJob
  plugins:
    ssh: []
    env: []
    svc: []
  maxRetry: 5
  queue: default
  tasks:
    - name: "postproc"
      replicas: 1
      template:
        metadata:
          name: postproc
        spec:
          containers:
            - image: nginx
              imagePullPolicy: IfNotPresent
              name: postproc
              resources:
                requests:
                  cpu: "1"
          restartPolicy: OnFailure
    - name: "agent"
      replicas: 1
      template:
        metadata:
          name: agent
        spec:
          containers:
            - image: nginx
              imagePullPolicy: IfNotPresent
              name: agent
              resources:
                requests:
                  cpu: "1"
          restartPolicy: OnFailure
4. 创建research rbac认证
可以参考我的这篇文章
k8s rbac 权限管理控制创建过程+理论知识_子账号无权限执行kubectl config get-contexts命令-CSDN博客
openssl genrsa -out research.key 2048

opensopenssl req -new -key research.key -out research.csr -subj "/CN=research/O=default"

openssl x509 -req -in research.csr -CA /etc/kubernetes/pki/ca.crt -CAkey /etc/kubernetes/pki/ca.key -CAcreateserial -out research.crt -days 3650


kubectl config set-credentials research --client-certificate=research.crt --client-key=research.key


kubectl config set-context research-context --cluster=kubernetes --namespace=default --user=research --kubeconfig=research.conf

切到research-context 用户上下文
kubectl config use-context research-context

显示当前上下文
kubectl config get-contexts

切回admin
kubectl config use-context kubernetes-admin@kubernetes
二、宿主机环境配置
1. 安装docker 客户端
因为我们已经使用containerd 为runtime,
2. 创建系统用户
# 创建research用户并指定uid和gid, 指定uid和gid时一定要选择一个没有占用的,因为我们要在每台机器都要指定
ansible -i ip.txt all -m shell -a 'sudo useradd -m -s /bin/bash -u 2000 -g 2000 research'

# 将research用户加入到docker 组,这样research 用户就可以使用docker命令了
ansible -i ip.txt all -m shell -a 'sudo usermod -aG docker research'

# 创建.kube目录
ansible -i ip.txt all -m shell -a 'mkdir /home/research/.kube/'

# 将上面的k8s config 发送到每台机器
ansible -i ip.txt  all -m copy -a 'src=/home/sunwenbo/rbac/research.conf dest=/home/research/.kube/config'

# 修改权限
ansible -i ip.txt all -m shell -a 'chown -R research:research /home/research/.kube/'
3. 修改docker /etc/docker/daemon.json 文件如下
普通用户启动docker 挂载宿主机目录,如果容器使用的root用户,则输出的文件权限为root,那么普通用户在宿主机则无法读取和使用则会有问题
{
  "userns-remap": "research",
  "max-concurrent-downloads": 10,
  "log-driver": "json-file",
  "log-level": "warn",
  "log-opts": {
    "max-size": "10m",
    "max-file": "5"
    },
  "data-root": "/var/lib/data/docker",
  "exec-opts": ["native.cgroupdriver=systemd"],
  "registry-mirrors": ["https://uyah70su.mirror.aliyuncs.com"],
  "insecure-registries": [ "a800-harbor.bigmodel.cn"],
  "storage-driver": "overlay2",
  "storage-opts": [
    "overlay2.override_kernel_check=true"
  ]
}
配置说明: "userns-remap": "research", 这个配置代表Docker将会使用research用户和组进行用户命名空间映射,说白了就是将系统的research用户映射到容器里,但是这么设置会有一个问题就是root导入到镜像或者是容器就看不到了。
4. 修改系统 /etc/subuid 和subgid
每台机器都要修改research的uid为2000
research:2000:65536
ansible -i ip.txt all -m shell -a "sed  -i  's/^research:[0-9]\+:65536/research:2000:65536/' /etc/subuid"

ansible -i ip.txt all -m shell -a "sed  -i  's/^research:[0-9]\+:65536/research:2000:65536/' /etc/subgid"
简单描述一下3,4步骤,主要目的就是为了解决当启动一个容器挂载宿主机数据时解决文件权限的问题。通过3,4的设置我们在容器中产生的数据的权限会保持为research
5. 设置cuda环境
playbook
update_baashrc.yml
- name: Update .bashrc for research user
  hosts: all
  become: yes
  tasks:
    - name: Ensure the CUDA paths are added to .bashrc
      blockinfile:
        path: /home/research/.bashrc
        block: |
          export PATH=$PATH:/usr/local/cuda-12.1/bin
          export LD_LIBRARY_PATH=$LD_LIBRARY_PATH:/usr/local/cuda-12.1/lib64
          export LIBRARY_PATH=$LIBRARY_PATH:/usr/local/cuda-12.1/lib64
        insertafter: EOF
      become_user: research
# 执行命令
ansible-playbook  -i ip.txt  update_baashrc.yml
6. 安装conda环境
install_conda.yml
---
- name: Install Miniconda for research user
  hosts: all  # 这里可以替换为你的目标主机组,比如具体的IP地址或者其他定义的组名
  become: true  # 使用sudo进行安装

  tasks:
    - name: Install Miniconda for research user
      become_user: research  # 切换到research用户进行安装
      shell: "/home/bmm-system/data/private/sunwenbo/env-install/Miniconda3-py310_23.1.0-1-Linux-x86_64.sh -b -p /home/research/miniconda3"
      args:
        executable: /bin/bash
      environment:
        PATH: "/home/research/miniconda3/bin:{{ ansible_env.PATH }}"

    - name: Add Conda binaries to PATH for research user
      become_user: research
      lineinfile:
        dest: /home/research/.bashrc
        line: 'export PATH="/home/research/miniconda3/bin:$PATH"'
        create: yes

    - name: Source .bashrc for research user
      become_user: research
      shell: source /home/research/.bashrc
ansible-playbook -i ip.txt install_conda.yml
三、制作基于deepspeed的基础镜像
所需要的文件
Dockerfile  ssh  ssh_config  sshd_config  start.sh

./ssh:
authorized_keys  id_rsa  id_rsa.pub  known_hosts  known_hosts.old
文件说明:
Dockerfile:制作镜像
**ssh: **我们需要提前创建好公钥和私钥并下发给集群的每台机器,实现可以免密ssh登陆
**ssh_config: ** 镜像中sshd服务的客户端配置文件,需要指定连接时使用的默认端口和关闭登录时验证
**sshd_config: **镜像中sshd服务的服务端配置文件, 需要修改默认端口
start.sh: 镜像启动脚本
- Dockerfile
research用户说明:
考虑到安全问题,因为我们在gpu服务器上同时部署了共享存储Glusterfs,我们的每台机器只对算法开放普通用户权限。
过程中遇到使用k8s时启动训练任务因为挂载了宿主机共享存储的数据,而容器中默认情况下使用的都是root用户,这个时候就会导致训练输出的产物权限变为了root。 系统用户research 则没有权限去对这个文件进行操作
# 使用基础镜像
FROM nvcr.io/nvidia/pytorch:23.12-py3

# 创建research用户并设置密码
RUN groupadd -g 2000 research && \
    useradd -m -u 2000 -g 2000 -s /bin/bash research

# COPY start script
COPY start.sh /start.sh

#COPY ssh config to /etc/ssh
COPY ssh /home/research/.ssh/

# Install SSH server
RUN apt-get update && apt-get install -y --no-install-recommends openssh-server ssh net-tools pdsh && \
    apt-get clean && \
    chown -R root:root /usr/lib && \
    chown -R research:research /home/research/.ssh && \
    rm -rf /var/lib/apt/lists/* && \
    chmod 600 /home/research/.ssh/authorized_keys && \
    chmod 700 /home/research/.ssh && \
    mkdir /var/run/sshd

# 安装deepspeed
RUN pip config set global.index-url https://pypi.tuna.tsinghua.edu.cn/simple && \
    pip install deepspeed && \
    pip install tiktoken && \
    pip install lmdb  && \
    pip install sentencepiece

# 设置环境变量,指定时区
ENV TZ=Asia/Shanghai \
    DEBIAN_FRONTEND=noninteractive

ENV CUDA_DEVICE_MAX_CONNECTIONS="1"

RUN apt update \
    && apt install -y tzdata \
    && ln -fs /usr/share/zoneinfo/${TZ} /etc/localtime \
    && echo ${TZ} > /etc/timezone \
    && dpkg-reconfigure --frontend noninteractive tzdata \
    && rm -rf /var/lib/apt/lists/*

COPY ssh_config sshd_config /etc/ssh/

EXPOSE 2222

CMD ["/start.sh"]
2. ssh_config
Include /etc/ssh/ssh_config.d/*.conf

Host *
    StrictHostKeyChecking no
    Port 2222
    SendEnv LANG LC_*
    HashKnownHosts yes
    GSSAPIAuthentication yes
3. sshd_config
Include /etc/ssh/sshd_config.d/*.conf
Port 2222
KbdInteractiveAuthentication no
UsePAM yes
X11Forwarding yes
PrintMotd no
AcceptEnv LANG LC_*
Subsystem       sftp    /usr/lib/openssh/sftp-server
4. start.sh
#!/bin/bash

# Start the SSH server
/usr/sbin/sshd -D

# 执行传入的命令
exec "$@"
执行docker build后我们会得到一个镜像
docker build -t xxx.service.xxx.cn/xxx/xxx-base:v2 .
备注:根据docker 可以看到我们创建了一个research用户,当开始训练时我们需要使用research 用户去连接其他机器。同时需要做到免密登陆和认证 。另外
四、k8s yaml文件
apiVersion: batch.volcano.sh/v1alpha1
kind: Job
metadata:
  name: xxxxxx  #可以修改名字,防止跟别人冲突导致K8S Pod无法启动
  namespace: default
spec:
  minAvailable: 5
  schedulerName: volcano
  policies:
    - event: PodFailed
      action: TerminateJob
    - event: PodEvicted
      action: TerminateJob
    - event: TaskFailed
      action: TerminateJob
    - event: TaskCompleted
      action: CompleteJob
  plugins:
    env: []
    svc: []
  maxRetry: 5
  queue: default
  ttlSecondsAfterFinished: 10
  tasks:
    - name: "main"
      replicas: 1
      template:
        metadata:
          name: training
        spec:
          securityContext:
            runAsUser: 2000   # research 用户的 UID
            fsGroup: 2000     # research 用户的 GID
          volumes:
            - name: dshm
              emptyDir:
                medium: Memory
                sizeLimit: 50Gi
            - name: xxx-code-path
              hostPath:
                path: /home/bmm-system/data/private/xxx   #挂载代码路径
                type: Directory
          containers:
            - name: main
              image: xxx.service.xxx.cn/delivery/xxxx:v2.1
                #imagePullPolicy: IfNotPresent
              imagePullPolicy: Always
              securityContext:
                capabilities:
                  add:
                  - IPC_LOCK
              volumeMounts:
                - name: dshm
                  mountPath: /dev/shm
                - name: xxx-code-path
                  mountPath: /home/bmm-system/data/private/xxx    #挂载代码路径
                    #args: ["/bin/sh", "-c", "cd xxxx"]  #执行的命令
              args: ["/bin/sh", "-c", "sleep 600000"]  # 根据实际运行命令去做修改
              env:
                - name: NODE_NAME
                  valueFrom:
                    fieldRef:
                      fieldPath: spec.nodeName
                - name: NODE_IP
                  valueFrom:
                    fieldRef:
                      fieldPath: status.hostIP
                - name: TRITON_CACHE_DIR
                  value: "/tmp/.triton"
          restartPolicy: OnFailure
          imagePullSecrets:
          - name: xxx-registry
    - name: "worker"
      replicas: 4    #副本数,也就是训练所需要的节点数
      template:
        metadata:
          name: training
        spec:
          hostNetwork: true  # 采用宿主机网络模式
          affinity:
            nodeAffinity:
              requiredDuringSchedulingIgnoredDuringExecution:
                nodeSelectorTerms:
                - matchExpressions:
                  - key: TrainingMachine
                    operator: In
                    values: ["5", "6", "7", "8"]        #制定训练用的节点,A800的10台机器按照1,2...10来指定
          volumes:
            - name: dshm
              emptyDir:
                medium: Memory
                sizeLimit: 50Gi
            - name: user-root
              hostPath:
                path: /home/bmm-system/data/private/xxxx   #宿主机挂载路径,指定数据所在位置
                type: Directory
            - name: xxx-ckpt-path
              hostPath:
                path: /home/bmm-system/data/ckpt   #宿主机挂载路径,指定到权重所在位置
                type: Directory
          containers:
            - name: worker
              image: xxx.service.xxx.cn/delivery/xxx-base:v2.1
                #imagePullPolicy: IfNotPresent
              imagePullPolicy: Always
              securityContext:
                capabilities:
                  add:
                  - IPC_LOCK
              volumeMounts:
                - name: dshm
                  mountPath: /dev/shm
                - name: user-root
                  mountPath: /home/bmm-system/data/private/xxx   #宿主机挂载路径,指定数据所在位置
                - name: xxx-ckpt-path
                  mountPath: /home/bmm-system/data/ckpt   #宿主机挂载路径,指定到权重所在位置
                  readOnly: true
              command: ["/bin/bash"]
              args: ["-c", "/start.sh"]
              env:
                - name: NODE_NAME
                  valueFrom:
                    fieldRef:
                      fieldPath: spec.nodeName
                - name: NODE_IP
                  valueFrom:
                    fieldRef:
                      fieldPath: status.hostIP
                - name: TRITON_CACHE_DIR
                  value: "/tmp/.triton"
              resources:
                requests:
                  nvidia.com/gpu: 8
                limits:
                  nvidia.com/gpu: 8
          restartPolicy: OnFailure
          imagePullSecrets:
          - name: xxx-registry
说明:
- 可以看到该yaml中在main pod 指定了research的uid和gid,即代表使用该用户去启动训练任务
runAsUser: 2000 # research 用户的 UID
fsGroup: 2000 # research 用户的 GID
这样就可以解决挂载数据权限的问题和上面docker启动容器遇到的问题同理。
- 还有一个配置得说明一下就是env中的
- name: TRITON_CACHE_DIR
value: "/tmp/.triton"
由于使用了deepspeed 框架,在启动训练任务时框架内部逻辑会在当前目录下创建一些临时的隐藏文件,而我们不需要对这些文件进行存储个人建议将这个目录修改为/tmp下。这样当训练任务结束后这个文件就会自动被清理
版权归原作者 Cloud孙文波 所有, 如有侵权,请联系我们删除。