
前言
如果对 vue3 的语法不熟悉的,可以移步 Vue3.0 基础入门Vue3.0 基础入门快速入门。
UI 组件请参考官网:Naive Ui 官网
为什么选择 naive ui 不继续用 element ui,因为尤大大推荐,可以尝试下,而且 naive ui 更贴近 vue3 的语法,当然易上手还是element ui 好一点。
github 开源库:Vue3-Vite-Pinia-Naive-Js
gitee 开源库:Vue3-Vite-Pinia-Naive-Js
1. 安装依赖
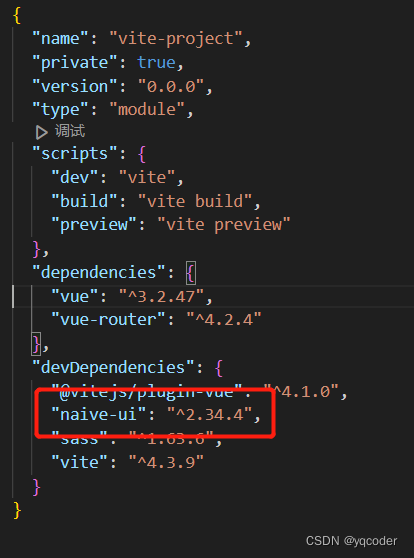
yarn add naive-ui -D
// or
npm install naive-ui -D
2. 在 SFC (单文件组件) 中使用
直接引入(推荐),你可以直接导入组件并使用它。这种情况下,只有导入的组件才会被打包。
2.1 编辑 src/pages/login.vue 引入naive-ui 组件
<script setup>
import router from "@/router/index.js";
import { NButton } from "naive-ui";

let handleLogin = () => {
  router.push({ name: 'home' })
}
</script>

<template>
  <div class="login">
    <n-button type="primary" size="small" @click="handleLogin">登录</n-button>
  </div>
</template>

<style lang="scss" scoped></style>

3. 编辑 src/App.vue 引入 naive-ui 组件
<script setup>
import MessageApi from "@/components/MessageApi.vue";
import {
  NMessageProvider,
  NDialogProvider,
  NConfigProvider,
  zhCN,
  dateZhCN,
} from "naive-ui";
</script>

<template>
  <!-- 如果你想使用信息,你需要把调用其方法的组件放在 n-message-provider 内部并且使用 useMessage 去获取 API。 -->
  <n-message-provider>
    <!-- 将 message API 通过 message-api 组件注入 window.$msg,之后在其他 SFC 可以直接使用 window.$msg -->
    <message-api></message-api>
  </n-message-provider>

  <!-- 如果你想使用对话框,你需要把调用其方法的组件放在 n-dialog-provider 内部并且使用 useDialog 去获取 API。 -->
  <n-dialog-provider>
    <!-- 将 n-config-provider 的 locale 设为从 naive-ui 导入的 zhCN 来设定全局中文。 -->
    <!-- 将 n-config-provider 的 date-locale 设为从 naive-ui 导入的 dateZhCN 来设定全局日期中文。 -->
    <n-config-provider :locale="zhCN" :date-locale="dateZhCN">
      <router-view></router-view>
    </n-config-provider>
  </n-dialog-provider>
</template>

<style scoped></style>
4. 新增 src/components/MessageApi.vue 全局注册 window.$msg 组件
<script setup>
import { useMessage } from 'naive-ui'

window.$msg = useMessage();
</script>

<template>
  <div></div>
</template>
5. 编辑 src/pages/home.vue 引入 naive-ui 组件
<script setup>
import router from "@/router/index.js";
import { NButton, useDialog } from "naive-ui";

let toPage = (name) => {
  router.push({ name });
};

let handleShowMsg = () => {
  window.$msg.success("success message");
};

const dialog = useDialog();
let handleShowDialog = () => {
  dialog.warning({
    title: "警告",
    content: "你确定?",
    positiveText: "确定",
    negativeText: "不确定",
    onPositiveClick: () => {
      window.$msg.success("确定");
    },
    onNegativeClick: () => {
      window.$msg.error("不确定");
    },
  });
};
</script>

<template>
  <div class="home">
    home
    <n-button @click="toPage('demo')" type="primary">goDemo</n-button>
    <n-button @click="toPage('login')" type="warning">goLogin</n-button>
    <n-button @click="handleShowMsg" type="info">show message</n-button>
    <n-button @click="handleShowDialog" type="error">show dialog</n-button>
  </div>
</template>

<style lang="scss" scoped></style>


综上
Naive UI 安装完成。下一章: Vue3+Vite+Pinia+Naive后台管理系统搭建之五:Pinia 状态管理
本文转载自: https://blog.csdn.net/weixin_64684095/article/details/131644674
版权归原作者 yqcoder 所有, 如有侵权,请联系我们删除。
版权归原作者 yqcoder 所有, 如有侵权,请联系我们删除。