
一、创建一个next项目
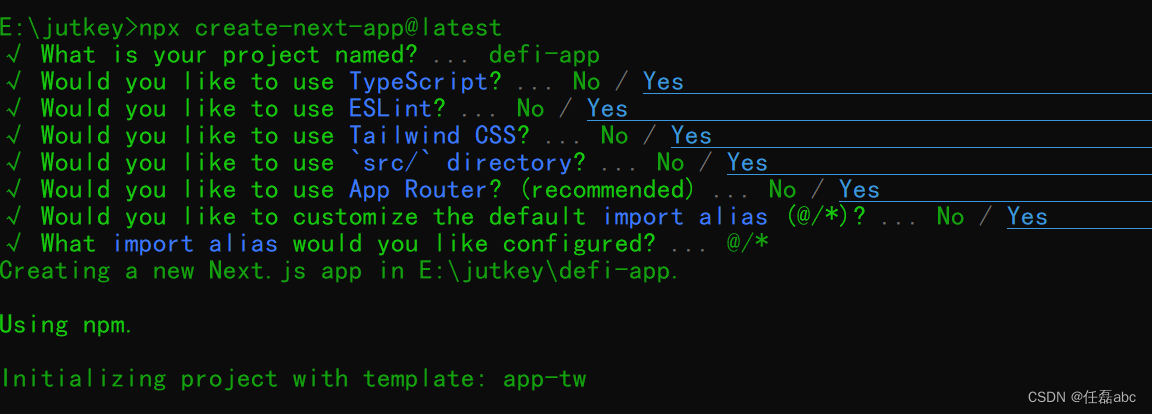
使用create-next-app来启动一个新的Next.js应用,它会自动为你设置好一切
运行命令:
npx create-next-app@latest
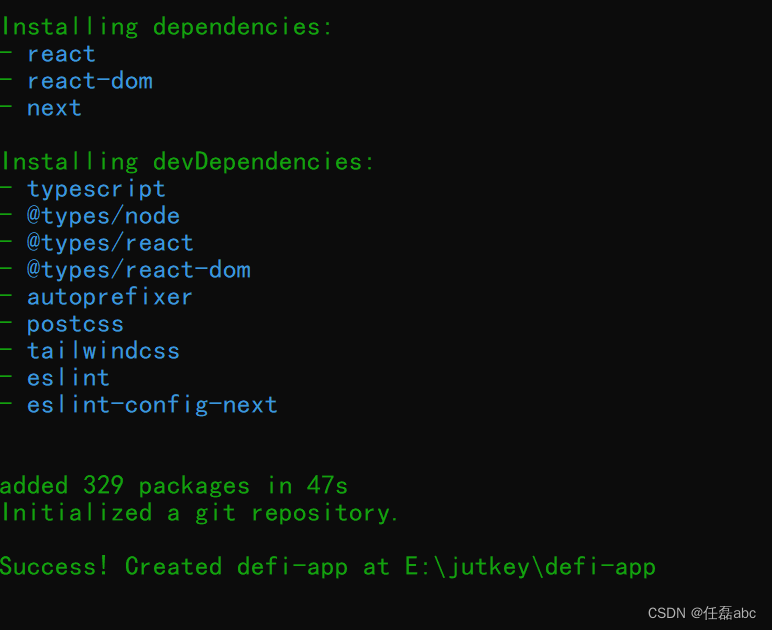
执行结果如下:
启动项目:
pnpm dev
执行结果:
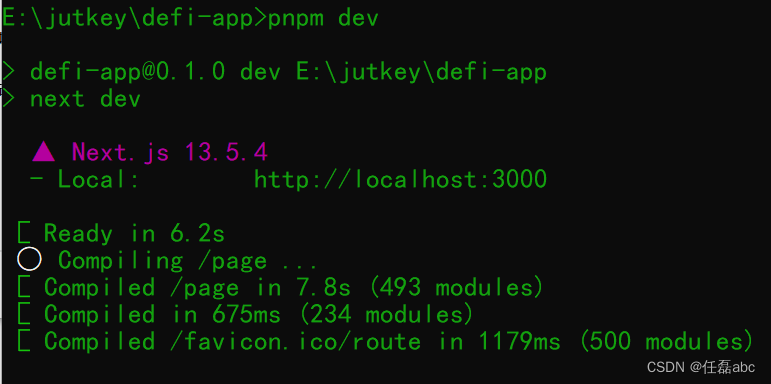
启动成功!
二、安装Material UI依赖
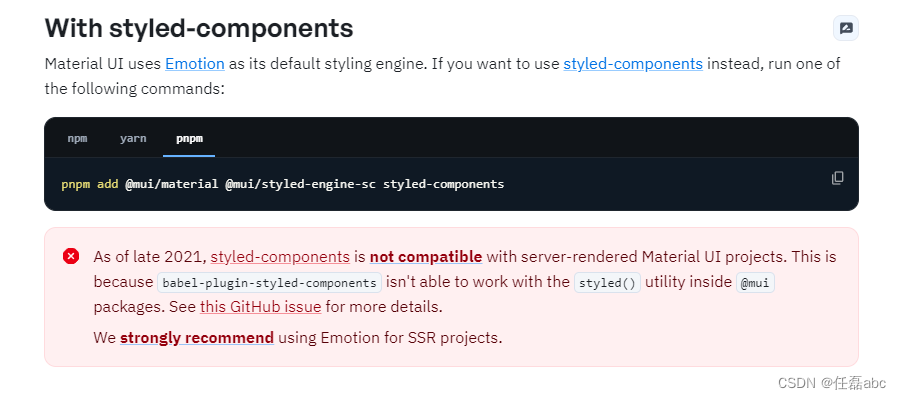
根据Material UI官网介绍,截至2021年底,样式组件与服务器渲染的材质UI项目不兼容。这是因为babel-plugin风格的组件不能与@mui包中的styled()实用程序一起工作。有关详细信息,请参阅此GitHub问题。我们强烈建议在SSR项目中使用Emotion。
运行命令:
pnpm add @mui/material @emotion/styled @emotion/react @emotion/cache @mui/icons-material
三、使用prettier美化项目代码
安装prettier相关依赖,及其文件配置
运行命令:
pnpm add prettier eslint-config-prettier eslint-plugin-prettier eslint-plugin-react-hooks -D
prettier文件配置.prettierrc.json
{
  "semi": true,
  "endOfLine": "auto",
  "singleQuote": true,
  "trailingComma": "none",
  "bracketSpacing": true,
  "jsxBracketSameLine": false,
  "vueIndentScriptAndStyle": false,
  "jsxBracketSameLine:": true,
  "htmlWhitespaceSensitivity": "ignore",
  "wrapAttributes": true,
  "overrides": [
    {
      "files": "*.html",
      "options": {
        "parser": "html"
      }
    }
  ]
}
安装eslint相关依赖:
运行命令:
pnpm add @typescript-eslint/parser @typescript-eslint/eslint-plugin eslint-import-resolver-typescript -D
eslint文件.eslintrc.json配置:
{
  "root": true,
  "extends": ["eslint:recommended", "next","prettier"],
  "env": {
    "es6": true,
    "node": true,
    "browser": true
  },
  "parserOptions": {
    "ecmaVersion": 12,
    "parser": "@typescript-eslint/parser"
  },
  "plugins": ["prettier", "react-hooks","@typescript-eslint"],
  "parser": "@typescript-eslint/parser",
  "globals": {
    "chrome": true,
    "React":true
  },
  "settings": {
    "import/resolver": {
      "node": {
        "extensions": [".js", ".jsx", ".ts", ".tsx"]
      }
    }
  },
  "rules": {
    "prettier/prettier":"error"
  }
}
四、使用Prettier自动排序tailwind CSS类
为了使用Prettier自动排序tailwind CSS类,我们需要安装Prettier -plugin-tailwindcss。
运行如下命令安装插件:
pnpm add -D prettier-plugin-tailwindcss
prettier文件配置.prettierrc.json:
{
  "semi": true,
  "endOfLine": "auto",
  "singleQuote": true,
  "trailingComma": "none",
  "bracketSpacing": true,
  "jsxBracketSameLine": false,
  "vueIndentScriptAndStyle": false,
  "jsxBracketSameLine:": true,
  "htmlWhitespaceSensitivity": "ignore",
  "wrapAttributes": true,
  "plugins": ["prettier-plugin-tailwindcss"],
  "overrides": [
    {
      "files": "*.html",
      "options": {
        "parser": "html"
      }
    }
  ]
}
五、安装sass
虽然项目当中已经安装了tailwind css进行样式处理,但是有时候不可避免的需要写点样式.因此,安装sass进行,样式的编写:
pnpm add sass -D
至此,一个使用Material UI组件,使用eslint、Prettier进行规范、美化代码的next项目就搭建完毕了。开始你的炫酷旅程吧!
本文转载自: https://blog.csdn.net/sinat_36728518/article/details/133794534
版权归原作者 任磊abc 所有, 如有侵权,请联系我们删除。
版权归原作者 任磊abc 所有, 如有侵权,请联系我们删除。