
前言 实现内网通过IP地址访问某系统,需要使用 https,而且不能有不安全的提示,如下图:
不允许这样的情况存在,这就需要使用 openssl 进行自签解决。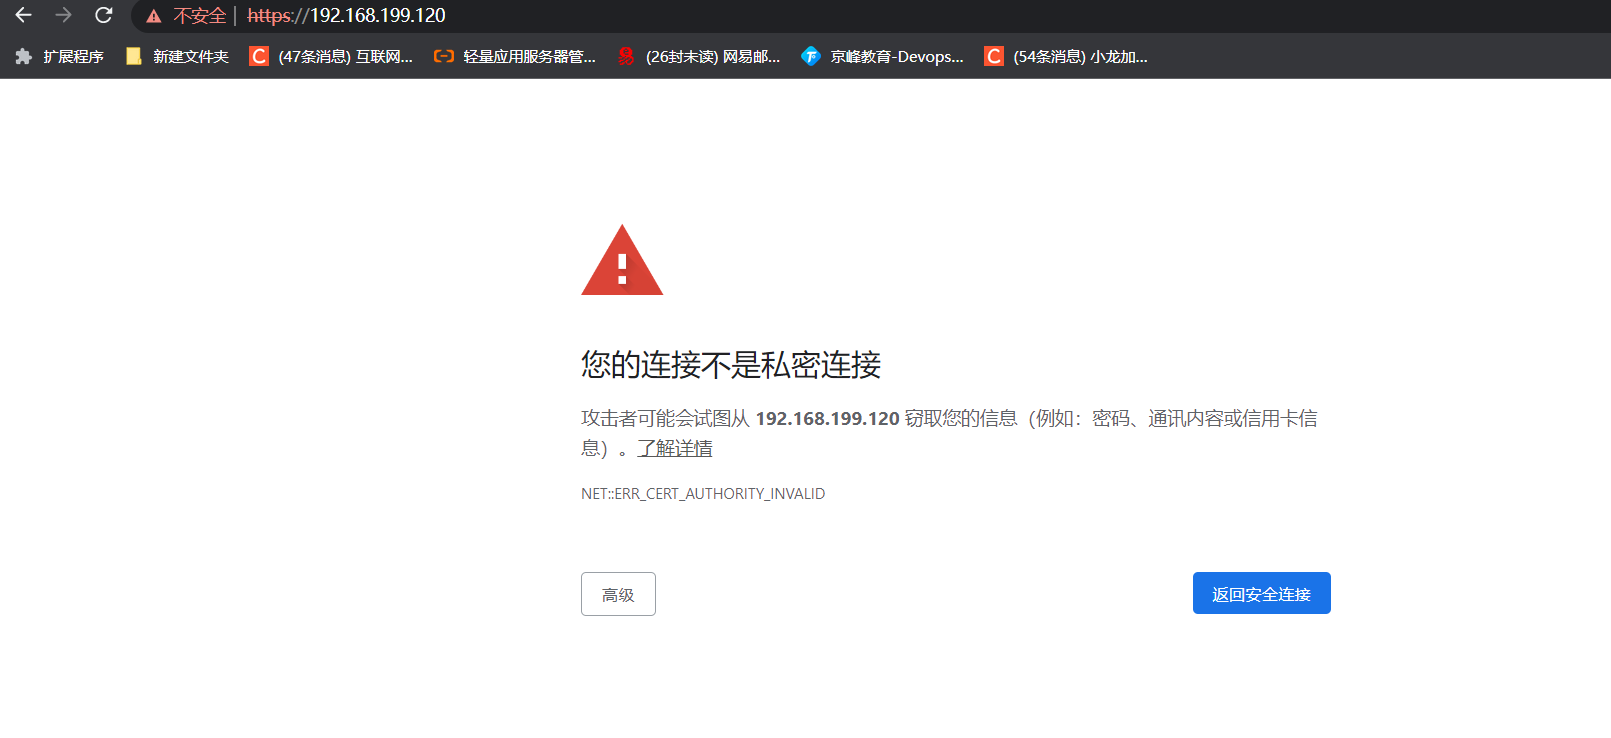
1.OpenSSL 自签证书
1.1 安装openssl
[root@master1 ~]# yum install openssl openssl-devel -y
1.2 创建证书存放位置
[root@master1 ~]# mkdir -p /etc/ssl/private
1.3 生成SSL key和CSR
    192.168.199.120为安装好的网站服务机器
     写入脚本
vim sh.sh
#!/bin/bash

openssl req -new -newkey rsa:2048 -sha256 -nodes -out 192.168.199.120.csr -keyout 192.168.199.120.key -subj "/C=CN/ST=Beijing/L=Beijing/O=Super Inc./OU=Web Security/CN=192.168.199.120"

openssl x509 -req -days 365 -in 192.168.199.120.csr -signkey 192.168.199.120.key -out 192.168.199.120.crt -extfile http.ext
~
[root@master1 private]#[root@master1 private]# sh sh.sh192.168.199.120.crt  192.168.199.120.csr  192.168.199.120.key   sh.sh
[root@master1 private]#
1.4 在nginx修改配置文件
前提
nginx必须支持ssl 如果没有ssl模块需要先添加nginx模块
[root@master1 private]# /usr/local/nginx/sbin/nginx -V
nginx version: nginx/1.22.0
built by gcc 4.8.5 20150623(Red Hat 4.8.5-44)(GCC)
built with OpenSSL 1.0.2k-fips  26 Jan 2017
TLS SNI support enabled
configure arguments: --prefix=/usr/local/nginx/ --user=www --group=www --with-http_ssl_module --with-http_stub_status_module --with-pcre
[root@master1 private]#
修改nginx配置文件
修改端口号 并且添加ssl
    server {
        listen       443 ssl;
        server_name  localhost;

        ssl_certificate    /etc/ssl/private/192.168.199.120.crt;
        ssl_certificate_key  /etc/ssl/private/192.168.199.120.key;
        ssl_session_cache   shared:SSL:1m;
        ssl_session_timeout  5m;
        ssl_ciphers  HIGH:!aNULL:!MD5;
        ssl_prefer_server_ciphers  on;

        location / {
            root   html;
            index  index.html index.htm;}
        error_page   500502503504  /50x.html;
        location = /50x.html {
            root   html;}}
[root@master1 private]# /usr/local/nginx/sbin/nginx -t
nginx: the configuration file /usr/local/nginx//conf/nginx.conf syntax is ok
nginx: configuration file /usr/local/nginx//conf/nginx.conf test is successful
[root@master1 private]# /usr/local/nginx/sbin/nginx -s reload[root@master1 private]#
2.将生成的crt证书导入到chrome浏览器
将192.168.199.120.crt下载到桌面 并导入到chrome
步骤:
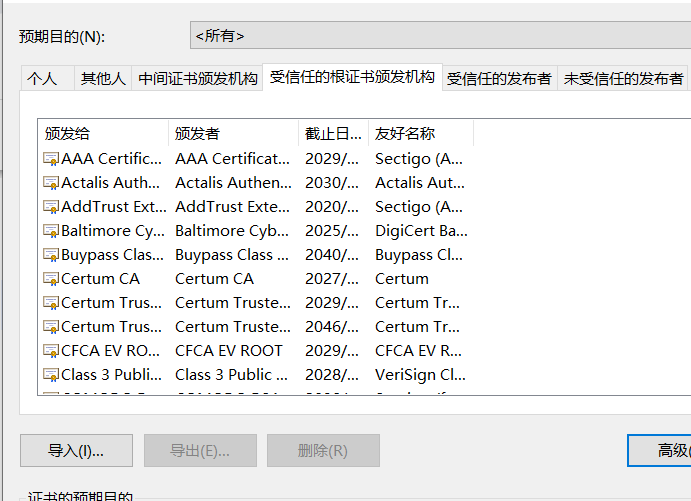
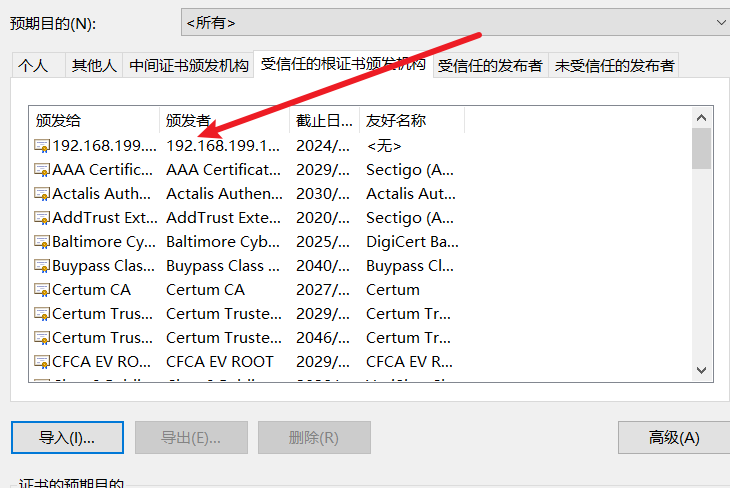
浏览器—设置—隐私设置和安全性—安全—管理设备证书—导入证书(在收信人的根证书办法机构)
在chrome浏览器导入证书访问
还是不能够安全的访问
3.解决谷歌导入证书不能安全访问的问题
3.1 删除所有生成的ssl文件
[root@master1 private]# rm -rf 192*
3.2 删除添加到本地的crt认证证书
3.3 创建一个http.ext文件
[root@master1 private]# vim http.ext

keyUsage = nonRepudiation, digitalSignature, keyEncipherment
extendedKeyUsage = serverAuth, clientAuth
subjectAltName=@SubjectAlternativeName

[ SubjectAlternativeName ]
IP.1=127.0.0.1
IP.2=192.168.199.120   指定需要访问的ip
3.4 在生成key的ssl后面添加-extfile http.ext
#!/bin/bash
openssl req -new -newkey rsa:2048 -sha256 -nodes -out 192.168.199.120.csr -keyout 192.168.199.120.key -subj "/C=CN/ST=Beijing/L=Beijing/O=Super Inc./OU=Web Security/CN=192.168.199.120"

openssl x509 -req -days 365 -in 192.168.199.120.csr -signkey 192.168.199.120.key -out 192.168.199.120.crt -extfile http.ext
3.5 重新运行脚本
[root@master1 private]# sh sh.sh
Generating a 2048 bit RSA private key
......................................................................+++
........................+++
writing new private key to '192.168.199.120.key'
-----
Signature ok
subject=/C=CN/ST=Beijing/L=Beijing/O=Super Inc./OU=Web Security/CN=192.168.199.120
Getting Private key
[root@master1 private]# ls192.168.199.120.crt  192.168.199.120.csr  192.168.199.120.key  http.ext  sh.sh
[root@master1 private]#
3.6 重新在本地端导入证书
重点
清空浏览器缓存
重新加载nginx配置文件
[root@master1 private]# /usr/local/nginx/sbin/nginx -s reload
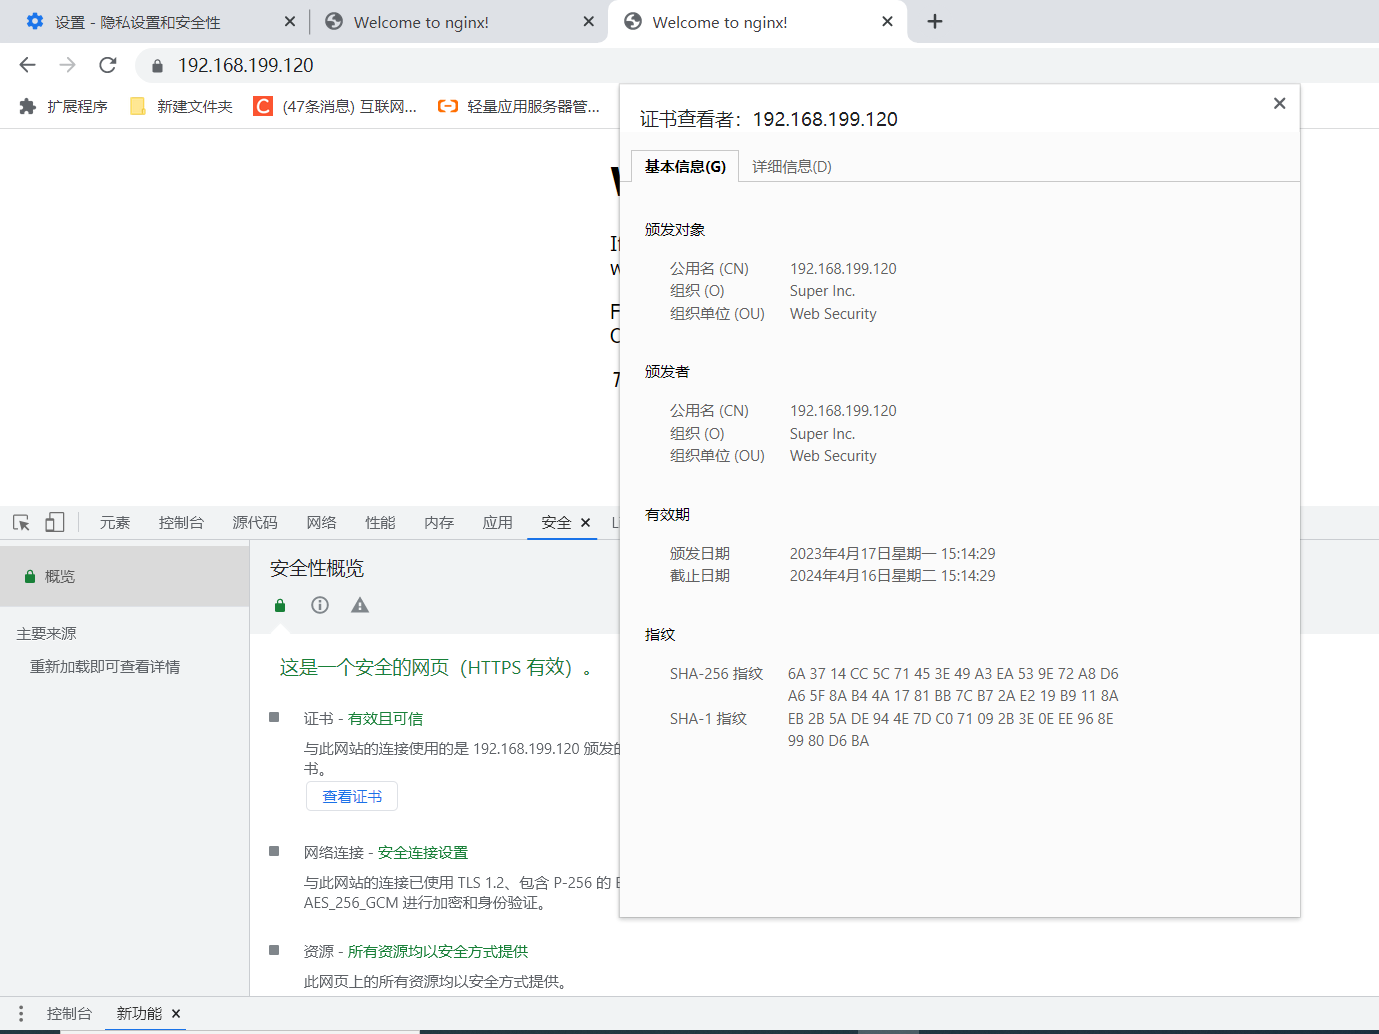
4.访问

本文转载自: https://blog.csdn.net/xiaolong1155/article/details/130201629
版权归原作者 小龙加油!!! 所有, 如有侵权,请联系我们删除。
版权归原作者 小龙加油!!! 所有, 如有侵权,请联系我们删除。