

文章目录
🎈个人主页:程序员 小侯
🎐CSDN新晋作者
🎉欢迎 👍点赞✍评论⭐收藏
✨收录专栏:Java框架
✨文章内容:构建安全的Web应用
🤝希望作者的文章能对你有所帮助,有不足的地方请在评论区留言指正,大家一起学习交流!🤗
Spring Security是一个强大的身份验证和访问控制框架,用于保护Spring应用程序。它提供了全面的安全服务,包括身份验证、授权、攻击防护等。本文将介绍如何在Spring Boot应用程序中整合Spring Security,以构建一个安全可靠的Web应用。
1. 添加依赖
首先,需要在
pom.xml
文件中添加Spring Security的依赖:
<dependencies><!-- Spring Security --><dependency><groupId>org.springframework.boot</groupId><artifactId>spring-boot-starter-security</artifactId></dependency><!-- 其他依赖... --></dependencies>
2. 配置Spring Security
在Spring Boot应用程序中,可以通过创建一个配置类来配置Spring Security。创建一个类,并添加
@EnableWebSecurity
注解,继承
WebSecurityConfigurerAdapter
类:
importorg.springframework.context.annotation.Bean;importorg.springframework.context.annotation.Configuration;importorg.springframework.security.config.annotation.web.configuration.EnableWebSecurity;importorg.springframework.security.config.annotation.web.configuration.WebSecurityConfigurerAdapter;@Configuration@EnableWebSecuritypublicclassSecurityConfigextendsWebSecurityConfigurerAdapter{@Overrideprotectedvoidconfigure(HttpSecurity http)throwsException{
        http
            .authorizeRequests().antMatchers("/","/home").permitAll().anyRequest().authenticated().and().formLogin().loginPage("/login").permitAll().and().logout().permitAll();}}
这个配置类指定了一些基本的安全规则,包括允许所有用户访问首页和登录页面,要求其他页面进行身份验证。登录页面的路径为
/login
。
3. 创建用户服务
接下来,需要创建一个实现
UserDetailsService
接口的用户服务类。这个类负责从数据库或其他地方加载用户信息。
importorg.springframework.security.core.userdetails.User;importorg.springframework.security.core.userdetails.UserDetails;importorg.springframework.security.core.userdetails.UserDetailsService;importorg.springframework.security.core.userdetails.UsernameNotFoundException;importorg.springframework.stereotype.Service;@ServicepublicclassCustomUserDetailsServiceimplementsUserDetailsService{@OverridepublicUserDetailsloadUserByUsername(String username)throwsUsernameNotFoundException{// 此处应从数据库加载用户信息returnUser.withUsername(username).password("password").roles("USER").build();}}
在实际应用中,应该从数据库中加载用户信息,并根据实际需求进行密码加密等处理。
4. 控制器和视图
创建一个简单的控制器来处理首页、登录页和其他页面:
importorg.springframework.stereotype.Controller;importorg.springframework.web.bind.annotation.GetMapping;@ControllerpublicclassHomeController{@GetMapping("/")publicStringhome(){return"home";}@GetMapping("/login")publicStringlogin(){return"login";}@GetMapping("/hello")publicStringhello(){return"hello";}}
在
resources/templates
目录下创建
home.html
、
login.html
和
hello.html
文件。
5. 运行应用
现在,可以运行Spring Boot应用程序,并访问
http://localhost:8080
。应用程序将重定向到登录页面,输入用户名和密码后,将跳转到首页。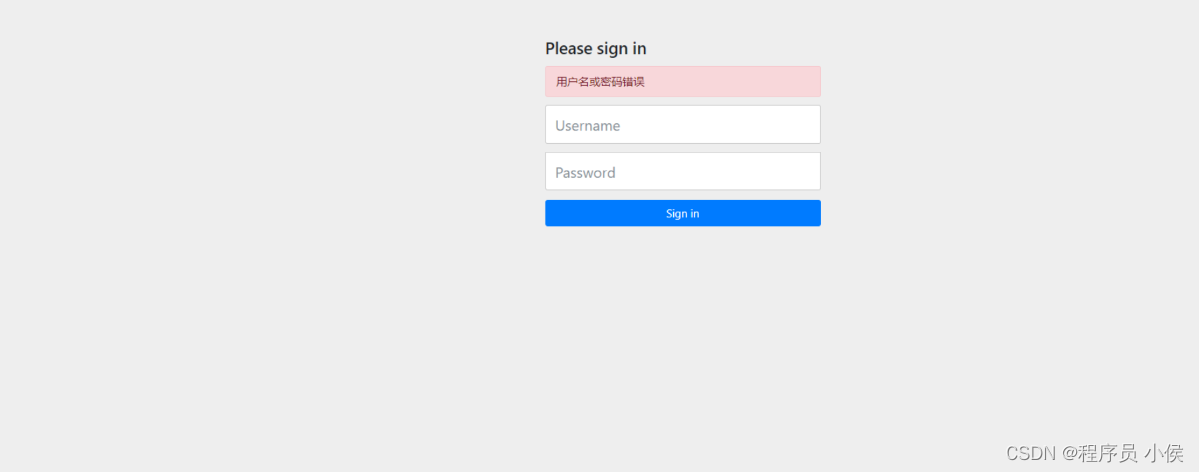
这只是一个简单的Spring Security配置,实际项目中可能需要更复杂的配置,包括数据库认证、角色控制等。但通过这个简单的例子,你可以了解到如何快速集成Spring Security,并建立一个基本的安全框架。
后记 👉👉💕💕美好的一天,到此结束,下次继续努力!欲知后续,请看下回分解,写作不易,感谢大家的支持!! 🌹🌹🌹
本文转载自: https://blog.csdn.net/weixin_65175398/article/details/135390606
版权归原作者 程序员 小侯 所有, 如有侵权,请联系我们删除。
版权归原作者 程序员 小侯 所有, 如有侵权,请联系我们删除。