springboot入门程序撰写并启动

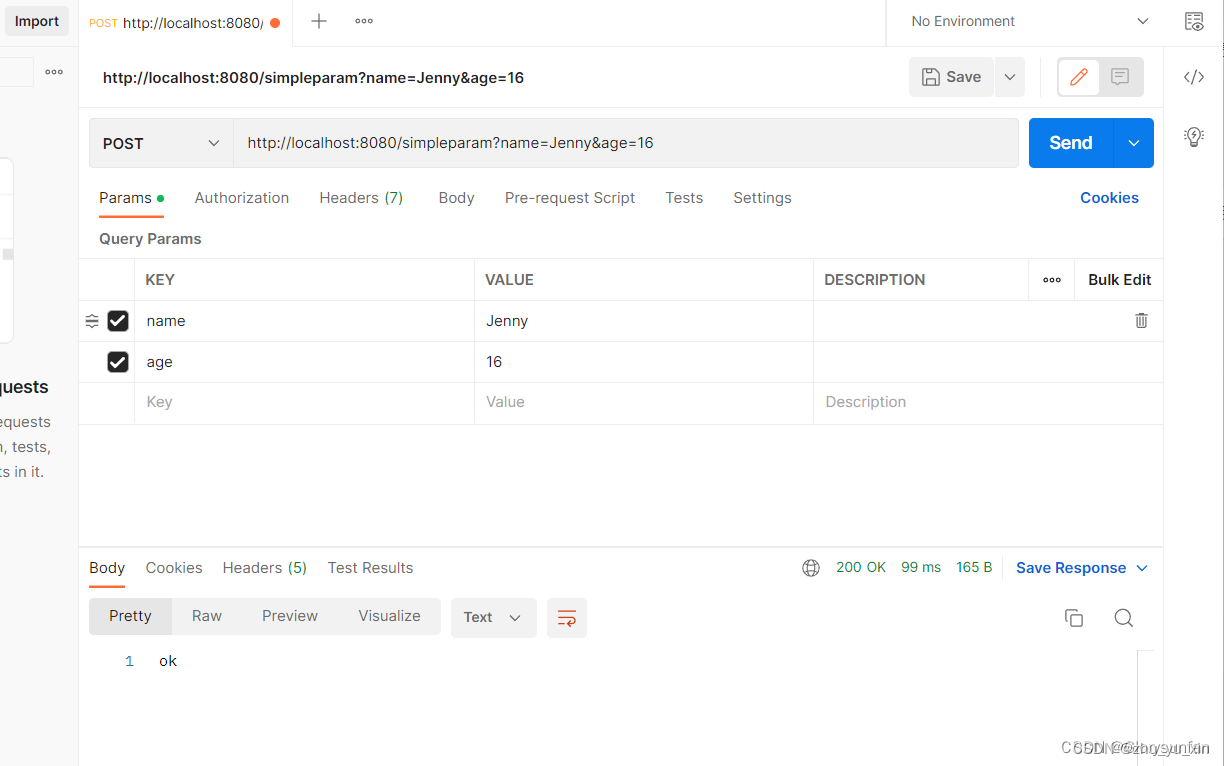
使用postman练习参数的获取

体会前端页面向后端发送数据的过程
**<!DOCTYPE html>
<html lang="en">
<head>
<meta charset="UTF-8">
<title>Title</title>
</head>
<body style="font-size: 30px">
<form action="addProduct">产品名称 :<input type="text" name="name" value="">
<input type="submit" value="增加商品">
产品价格: <input type="text" name="price" value="">
test2,addProduct1 ,productResult.html
</form>
</body>
</html>**
package edu.wust.pojo;
public class Product {
 private String name;
 private float price;


 public String getName() {
     return name;
 }
 public void setName(String name) {
     this.name = name;
 }
 public float getPrice() {
     return price;
 }
 public void setPrice(float price) {
     this.price = price;
 }
}
package edu.wust.controller;
import edu.wust.pojo.Result;
import org.springframework.stereotype.Controller;
import org.springframework.web.bind.annotation.ModelAttribute;
import org.springframework.web.bind.annotation.RequestMapping;
import org.springframework.web.bind.annotation.RequestParam;
import org.springframework.web.bind.annotation.RestController;
import org.springframework.web.servlet.ModelAndView;import edu.wust.pojo.Product;
import javax.servlet.http.HttpServletRequest;
@RestController
public class ProductController {@RequestMapping("/addProduct1") public String simpleParam1(HttpServletRequest request) { String name = request.getParameter("name"); String ageStr = request.getParameter("price"); int price = Integer.parseInt(ageStr); System.out.println("addProduct1:"+name + " : " + price); return "OK"; } @RequestMapping("/addProduct") public String simpleParam(String name , Integer price){ System.out.println("您输入的信息是:"+name+" : "+price); return "OK"; } @RequestMapping("/addProduct2") public String simpleParam2(Product product){ System.out.println(product); return "OK"; }}
2、使用postman练习参数的获取。
2.1简单参数获取

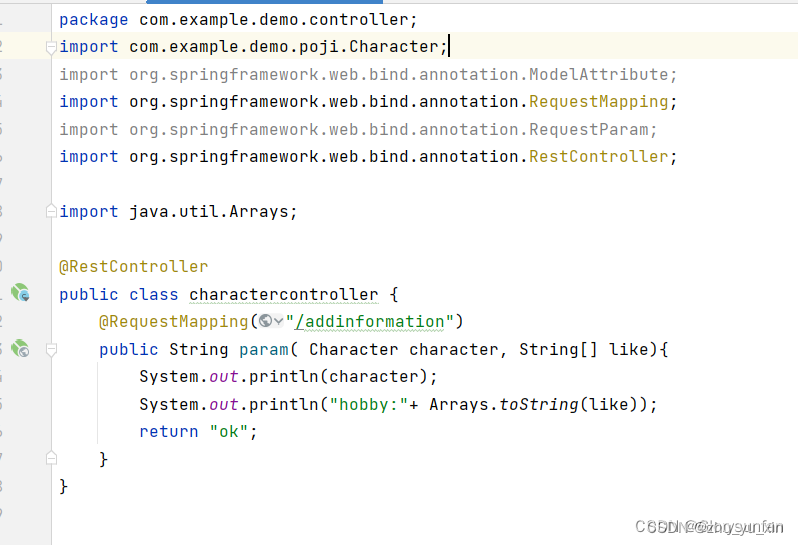
 2.2实体参数获取


 2.3数组集合参数获取


2.4日期参数获取


 2.5json参数获取


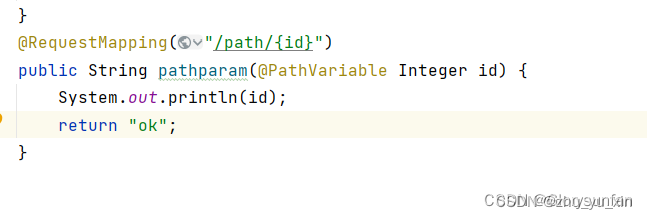
 2.6路径参数获取


三、体会前端页面向后端发送数据的过程。并且自己尝试将之前的注册页面的信息发送到服务端。
3.1product.html的操作代码,输入产品名称和价格,点击“增加商品”按钮,页面返回“ok”。服务台返回用户输入的值。相关页面如下:


 3.2尝试将之前的注册页面的信息发送到服务端。


版权归原作者 zhu_yu_xin 所有, 如有侵权,请联系我们删除。