1、前提
必须安装了homebrew,可在终端输入命令
brew -v
查看是否已经安装,如果输入指令出现版本号说明已经安装成功
如果未安装先安装 homebrew官网地址
/bin/bash -c"$(curl-fsSL https://raw.githubusercontent.com/Homebrew/install/HEAD/install.sh)"
安装完之后再次输入
brew -v
查看是否有版本号
2、执行
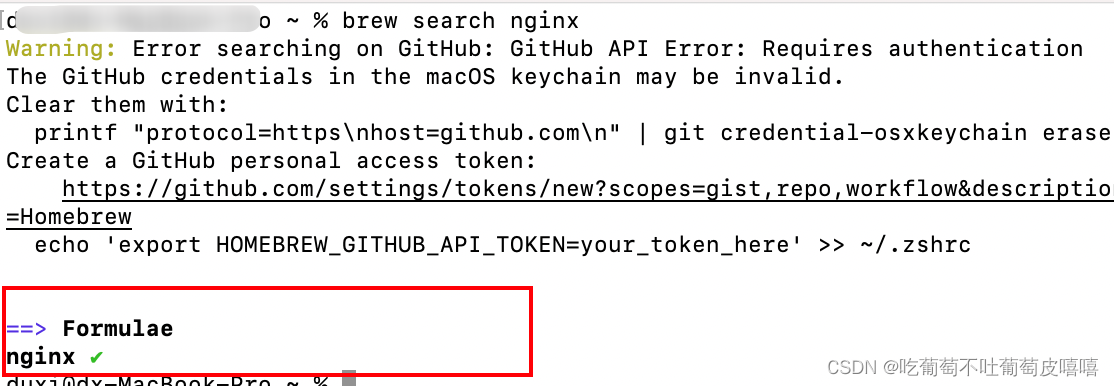
brew search nginx
命令查询要安装的软件是否存在
3、执行
brew install nginx
安装nginx

4、执行
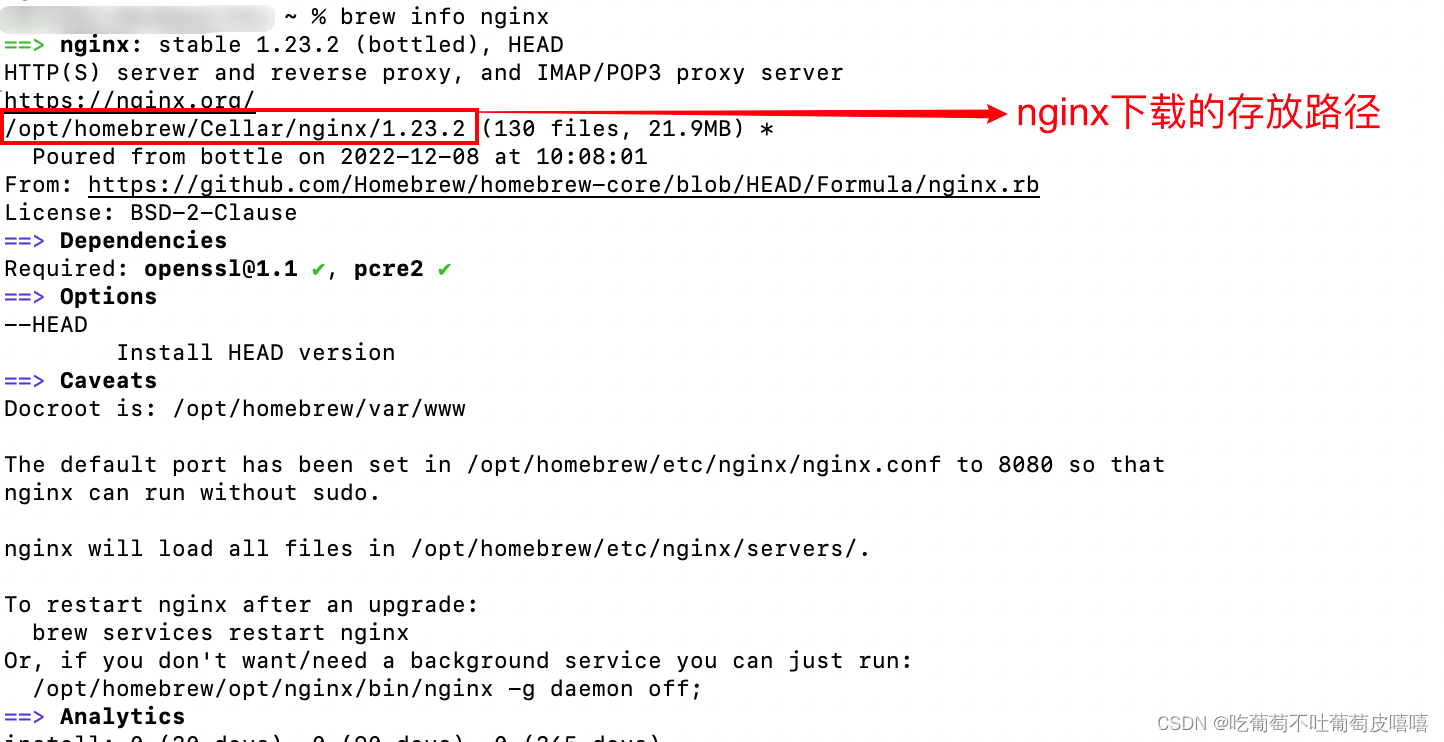
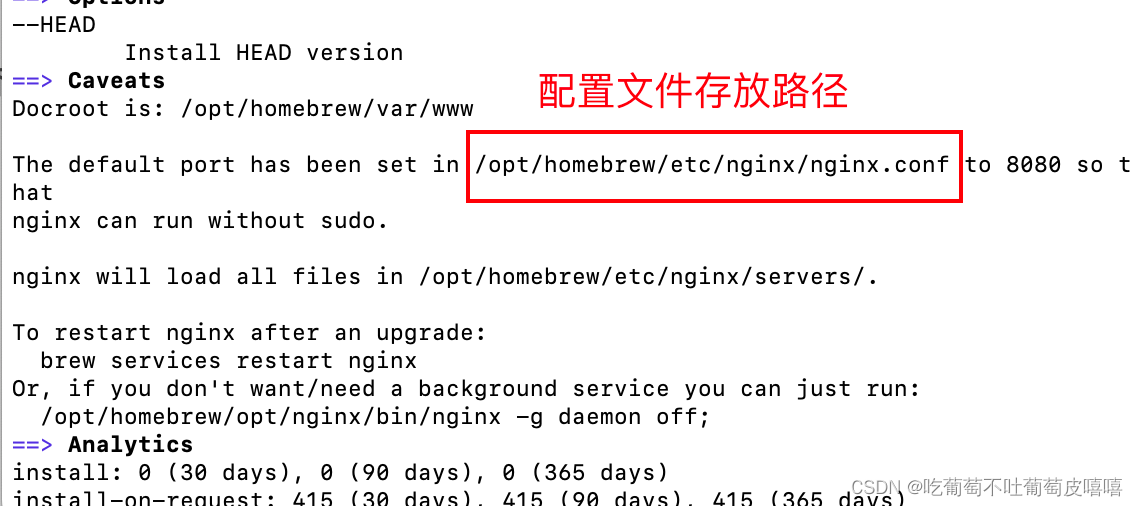
brew info nginx
信息,可以查看ngxin下载的位置以及nginx配置文件存放路径等信息(以下是安装成功所展示的信息,不成功会提示其他信息)路径不用死记硬背,忘记了执行命令查看就可以了
5、查看nginx存放目录是不是如第4步所说的一致
终端执行以下命令: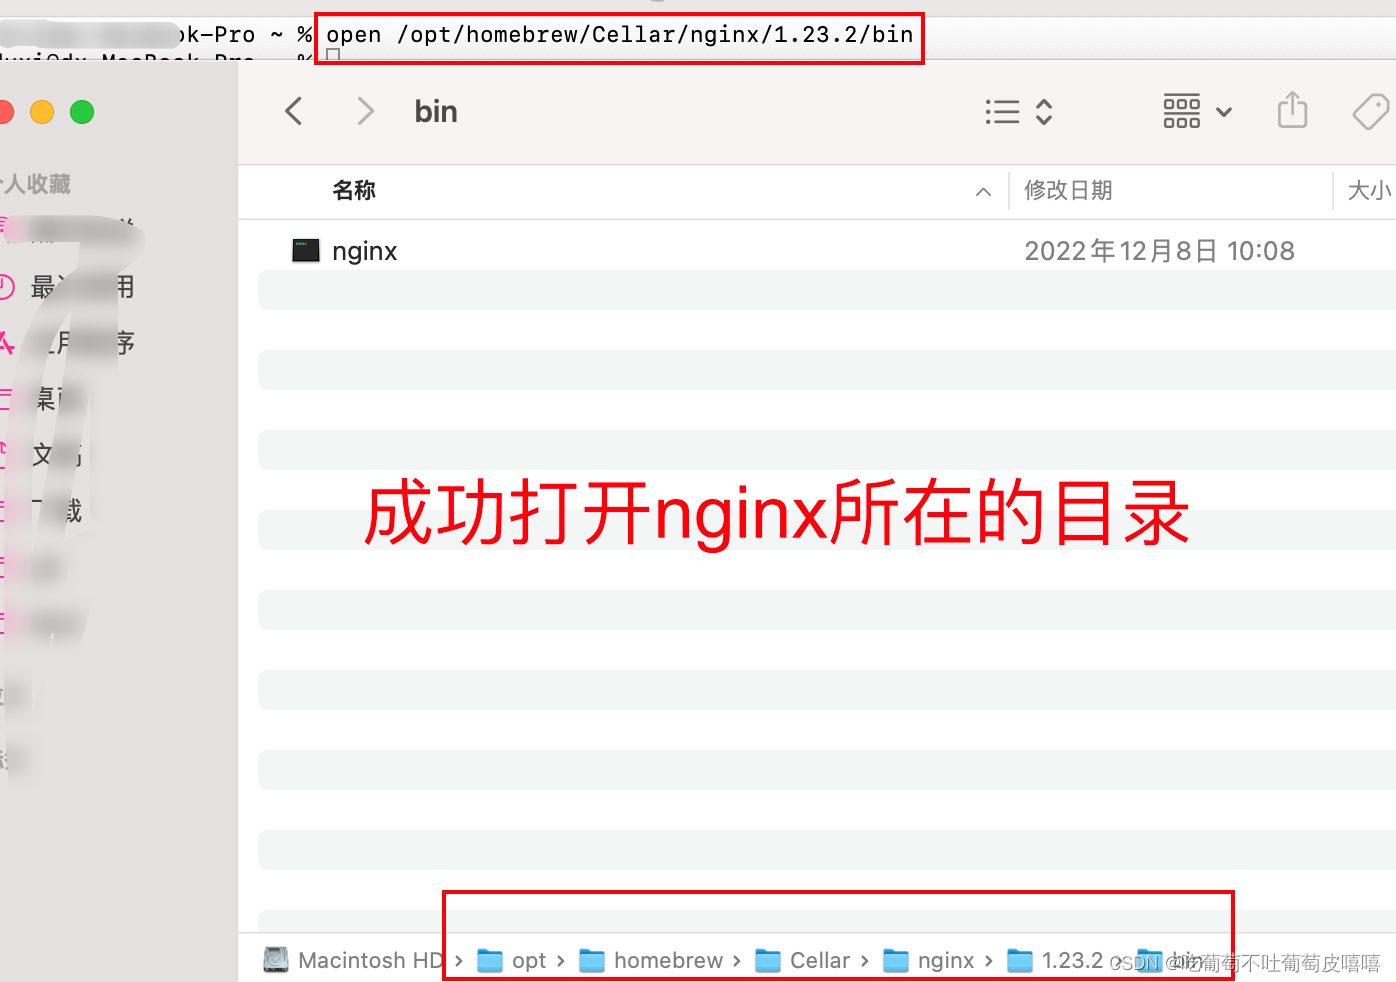
终端执行以下命令: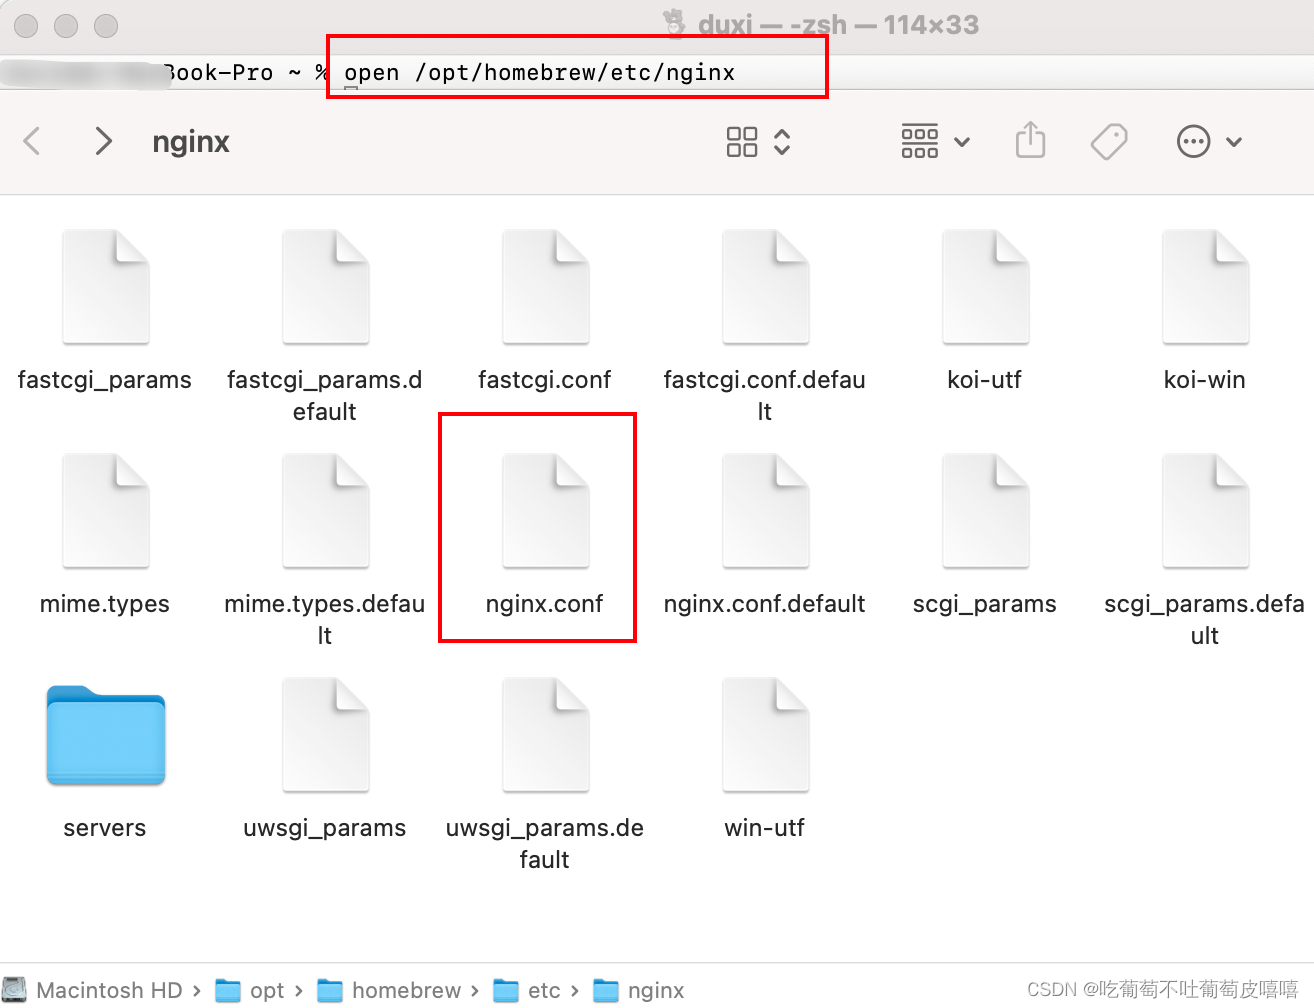
六、在终端
cd /opt/homebrew/Cellar/nginx/1.23.2/bin
进入bin目录,然后执行nginx命令(没有报错就是启动成功)下图显示的端口号等下会说

7、根据需求或者实际情况,修改nginx的配置文件:
上图看到的端口号需要在
open /opt/homebrew/Cellar/nginx/1.23.2/bin
此目录下的
nginx.conf
里面修改,
修改之后重新运行
nginx -s reload
命令就能打开你自定义的端口号啦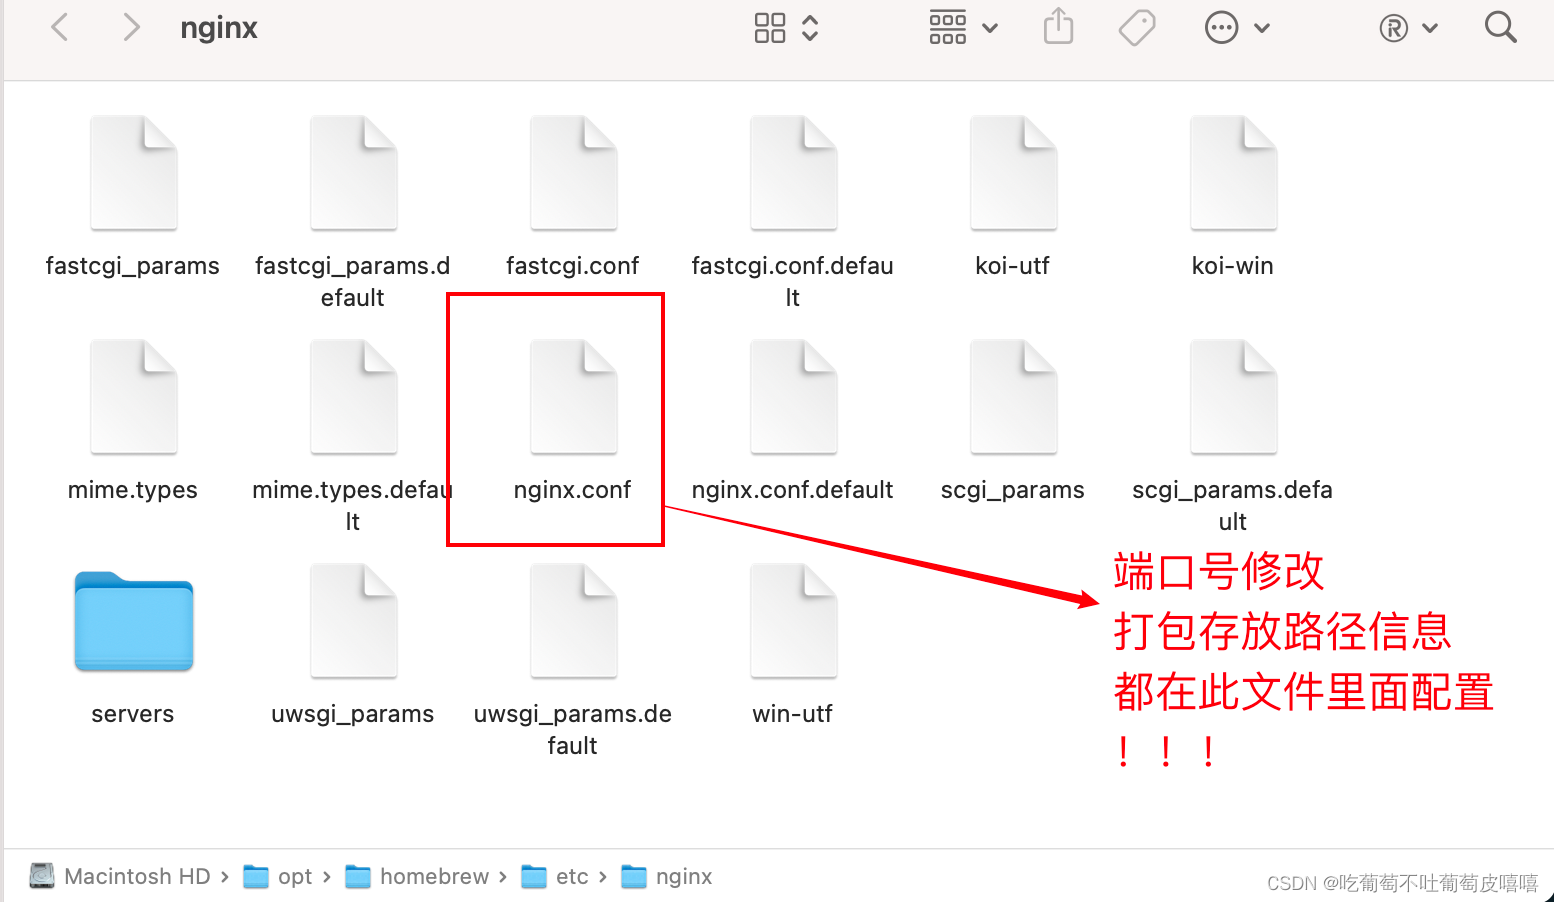
编辑器打开: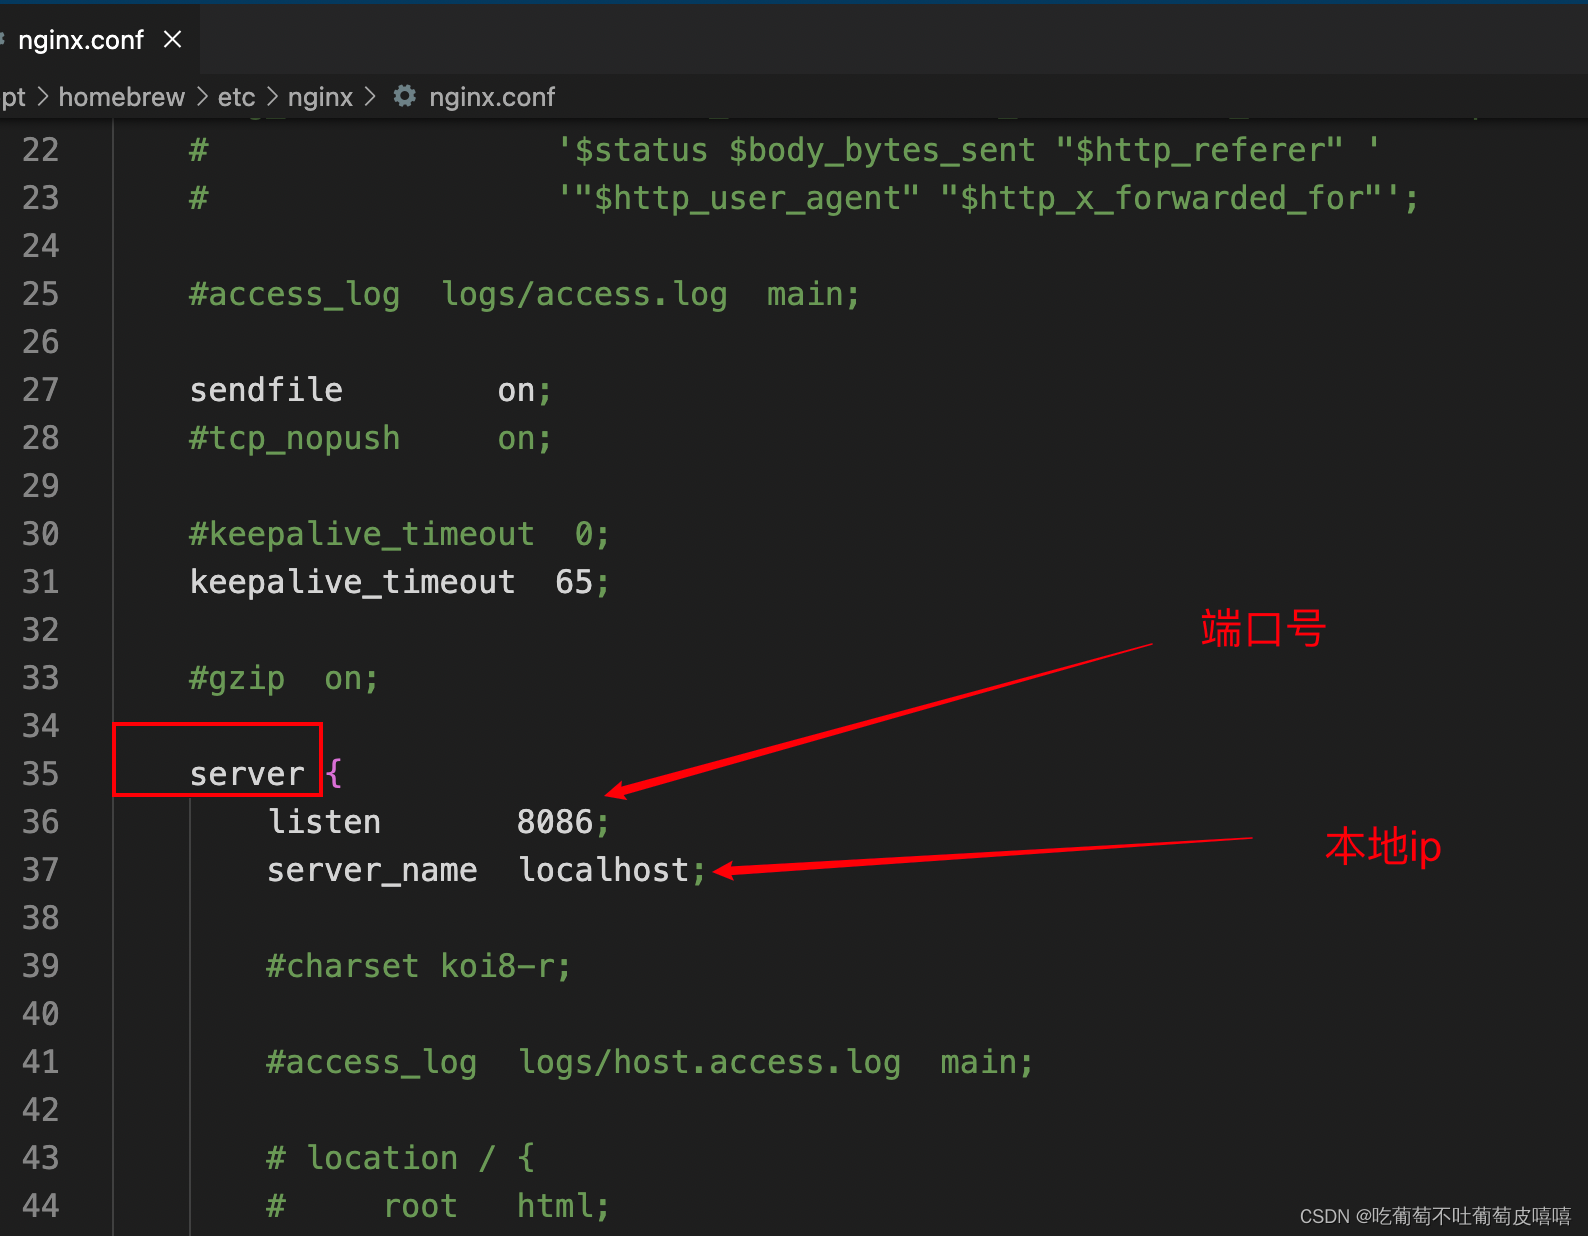
八、部署项目
1.首先需要将打包好的项目放到你指定的的路径下
我是存放在
open /opt/homebrew/Cellar/nginx/1.23.2/duxi
此目录下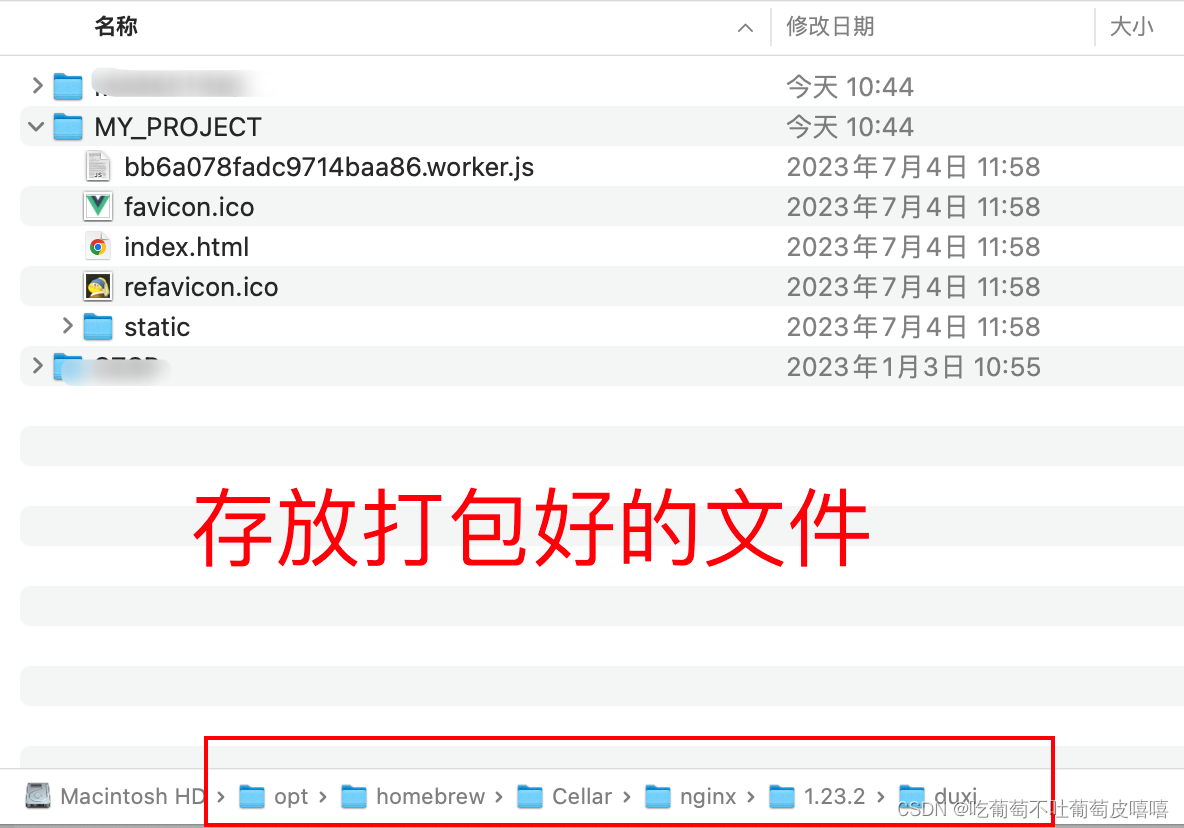
在nginx.conf里面的server对象下配置
本地测试没有配置代理如下配置
本地测试配置了代理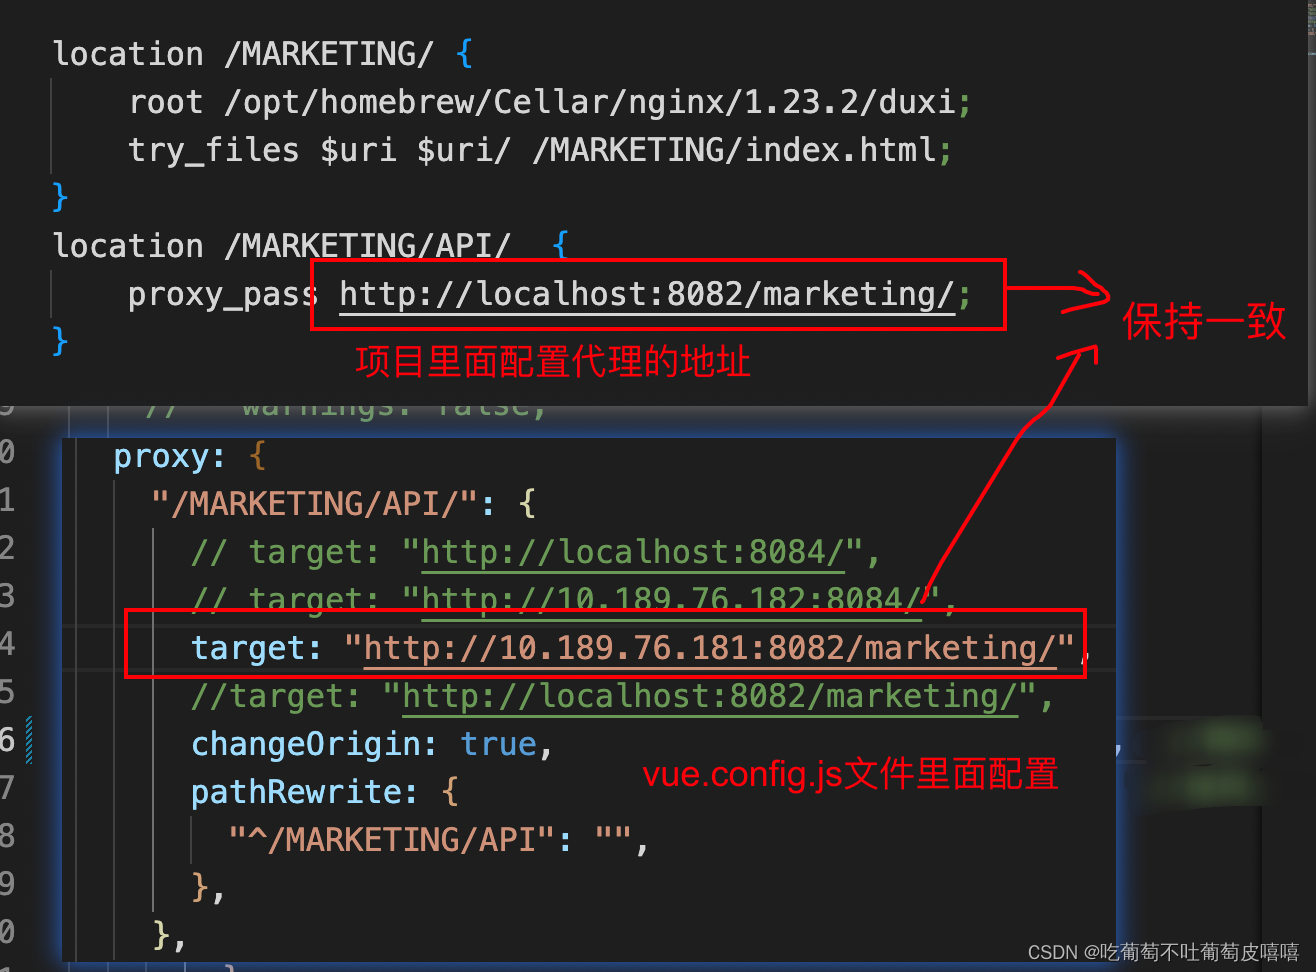
nginx.conf配置文件如下:
#user  nobody;
worker_processes  1;#error_log  logs/error.log;#error_log  logs/error.log  notice;#error_log  logs/error.log  info;#pid        logs/nginx.pid;

events {
    worker_connections  1024;}

http {
    include       mime.types;
    default_type  application/octet-stream;#log_format  main  '$remote_addr - $remote_user [$time_local] "$request" '#                  '$status $body_bytes_sent "$http_referer" '#                  '"$http_user_agent" "$http_x_forwarded_for"';#access_log  logs/access.log  main;

    sendfile        on;#tcp_nopush     on;#keepalive_timeout  0;
    keepalive_timeout  65;#gzip  on;

    server {
        listen       8086;
        server_name  localhost;#charset koi8-r;#access_log  logs/host.access.log  main;# location / {#     root   html;#     index  index.html index.htm;# }

        location /MARKETING/ {
            root /opt/homebrew/Cellar/nginx/1.23.2/duxi;
            try_files $uri$uri/ /MARKETING/index.html;}
        location /MARKETING/API/  {
            proxy_pass http://localhost:8082/marketing/;}# 测试
        location /MY_PROJECT/ {
            root /opt/homebrew/Cellar/nginx/1.23.2/duxi;
            try_files $uri$uri/ /MY_PROJECT/index.html;}# location /MARKETING/API/  {#     proxy_pass http://localhost:8082/marketing/;# }#error_page  404              /404.html;# redirect server error pages to the static page /50x.html#
        error_page   500502503504  /50x.html;
        location = /50x.html {
            root   html;}# proxy the PHP scripts to Apache listening on 127.0.0.1:80##location ~ \.php$ {#    proxy_pass   http://127.0.0.1;#}# pass the PHP scripts to FastCGI server listening on 127.0.0.1:9000##location ~ \.php$ {#    root           html;#    fastcgi_pass   127.0.0.1:9000;#    fastcgi_index  index.php;#    fastcgi_param  SCRIPT_FILENAME  /scripts$fastcgi_script_name;#    include        fastcgi_params;#}# deny access to .htaccess files, if Apache's document root# concurs with nginx's one##location ~ /\.ht {#    deny  all;#}}# another virtual host using mix of IP-, name-, and port-based configuration##server {#    listen       8000;#    listen       somename:8080;#    server_name  somename  alias  another.alias;#    location / {#        root   html;#        index  index.html index.htm;#    }#}# HTTPS server##server {#    listen       443 ssl;#    server_name  localhost;#    ssl_certificate      cert.pem;#    ssl_certificate_key  cert.key;#    ssl_session_cache    shared:SSL:1m;#    ssl_session_timeout  5m;#    ssl_ciphers  HIGH:!aNULL:!MD5;#    ssl_prefer_server_ciphers  on;#    location / {#        root   html;#        index  index.html index.htm;#    }#}
    include servers/*;}
配置完毕之后,重启nginx(nginx -s reload),然后把本地项目运行起来(npm run serve),然后把端口号改成nginx里面配置的端口号即可看到本地部署的项目
版权归原作者 吃葡萄不吐葡萄皮嘻嘻 所有, 如有侵权,请联系我们删除。