
第一步:老规矩了,来一个基础框架
<!DOCTYPE html>
<html>
  <head>
    <meta charset="utf-8" />
    <title></title>
  </head>
  <body>

  </body>
</html>
第二步:我们写一个超链接,并且把登录框的样式一并写好
<!DOCTYPE html>
<html>
<head>
<meta charset="utf-8" />
<title></title>
</head>
<body>
<a href="javascript:;" id="loginA">注册/登录</a>
<!-- 登录弹框 -->
<div class="login">
<div class="title">
用户登录 <a href="javascript:;" id="close">关闭</a>
</div>
<div class="content">
<p> 用户名:<input type="text" value="" /></p>
<p> 密 码:<input type="password" value="" /></p>
<p> <input type="button" value="提交" id="submit" /></p>
</div>
</div>
<div class="bg"></div>
</body>
</html>
这里的话我们写了一个a和一个div盒子,盒子里包裹了一个提示框,下方是样图
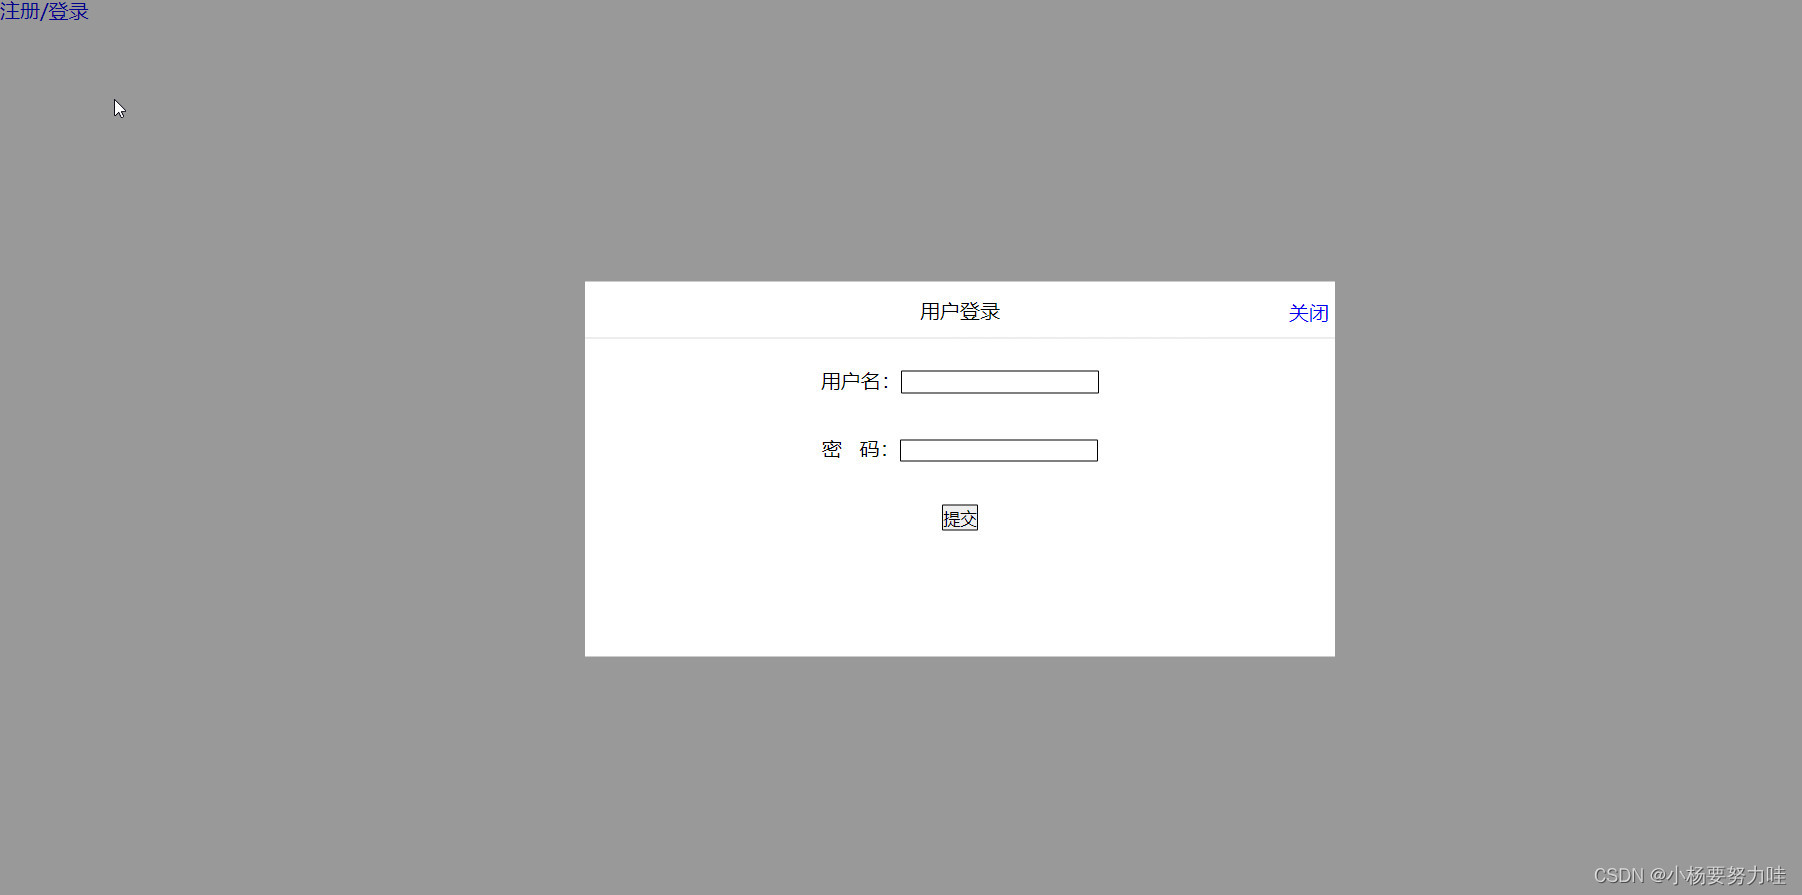
这个是现在的效果图,接下来我们写关闭的效果,所以就要开始写js部分代码
先把整个页面中该获取到的获取到
<script>
      var aonclick = document.querySelector('a')
      var login = document.querySelector('.login')
      var down = document.querySelector('.title #close')
      var bdcolor = document.querySelector('.bg')
      var sub = document.querySelector('#submit')
      var title = document.querySelector('.title')
  </script>
第三步:之前忘记先把css样式放出来,现在放出来
        *{
                padding: 0px;
                margin: 0px;
            }
            li{
                list-style: none;
            }
            a{
                text-decoration: none;
            }

            .bg{
                width: 100%;
                height: 100%;
               position: fixed;
                top: 0px;
                left:0px;
                 background: rgb(0,0,0,.4);
                 z-index: 9998;
                 display: none;
            }
            .login{
                 width: 600px;
                 height: 300px;
                 position: fixed;
                 top:50%;
                left:50%;
                transform: translate(-50%,-50%);
                z-index: 9999;
                background: #fff;
                display: none;

            }
            .title{
            height: 45px;
             line-height: 45px;
            text-align: center;
            border-bottom: 1px solid #DCDCDC;
            position: relative;
            cursor: move;
            }
            .content p{
                 text-align: center;
                 line-height: 45px;
                 padding-top: 10px;

            }

            .content>p>input{
                border: 1px solid black;
                border-radius: 1px;
            }

            .title a{
                 display: block;
                 position: fixed;
                top:2px;
                 right: 5px;
                 z-index: 9999;
            }
第四步:添加点击事件,一个是点击注册,登录框出现,一个是点击关闭,登录框消失
        <script>
            var aonclick = document.querySelector('a')
            var login = document.querySelector('.login')
            var down = document.querySelector('.title #close')
            var bdcolor = document.querySelector('.bg')
            var sub = document.querySelector('#submit')
            var title = document.querySelector('.title')
            // console.log(down)
            // console.log(login)

            aonclick.onclick = function(){
                login.style.display = 'block';
                bdcolor.style.display = 'block';
            }

            down.onclick = function(){
                login.style.display = 'none';
                bdcolor.style.display = 'none';
            }

        </script>
第五步:这里我们添加上拖拽的样式,因为我们正常界面都是在页面顶部拖拽,所以我们给,title添加样式
        <script>
            var aonclick = document.querySelector('a')
            var login = document.querySelector('.login')
            var down = document.querySelector('.title #close')
            var bdcolor = document.querySelector('.bg')
            var sub = document.querySelector('#submit')
            var title = document.querySelector('.title')
            // console.log(down)
            // console.log(login)

            aonclick.onclick = function(){
                login.style.display = 'block';
                bdcolor.style.display = 'block';
            }

            down.onclick = function(){
                login.style.display = 'none';
                bdcolor.style.display = 'none';
            }

            // sub.onclick = function(){

            // }

            title.addEventListener('mousedown',function(e){
                    var x1 = e.pageX - (login.offsetLeft);
                    var y1 = e.pageY - (login.offsetTop);

                    document.addEventListener('mousemove',sumer)
                        function sumer(e){
                            var newx = e.pageX - x1;
                            var newy = e.pageY - y1;

                            login.style.left = newx + 'px';
                            login.style.top = newy + 'px';
                            }

                            document.addEventListener('mouseup',function(){
                                document.removeEventListener('mousemove',sumer)
                            })
                        })


        </script>
到这里,整个样式就全部写完了,拖拽和关闭,出现的样式就写完了,接下来附上完整代码
<!DOCTYPE html>
<html>
<head>
<meta charset="utf-8">
<title></title>
<style>
*{
padding: 0px;
margin: 0px;
}
li{
list-style: none;
}
a{
text-decoration: none;
}
.bg{
width: 100%;
height: 100%;
position: fixed;
top: 0px;
left:0px;
background: rgb(0,0,0,.4);
z-index: 9998;
display: none;
}
.login{
width: 600px;
height: 300px;
position: fixed;
top:50%;
left:50%;
transform: translate(-50%,-50%);
z-index: 9999;
background: #fff;
display: none;
}
.title{
height: 45px;
line-height: 45px;
text-align: center;
border-bottom: 1px solid #DCDCDC;
position: relative;
cursor: move;
}
.content p{
text-align: center;
line-height: 45px;
padding-top: 10px;
}
.content>p>input{
border: 1px solid black;
border-radius: 1px;
}
.title a{
display: block;
position: fixed;
top:2px;
right: 5px;
z-index: 9999;
}
</style>
</head>
<body>
<!-- 制作登录框 -->
<a href="javascript:;" id="loginA">注册/登录</a>
<!-- 登录弹框 -->
<div class="login">
<div class="title">
用户登录 <a href="javascript:;" id="close">关闭</a>
</div>
<div class="content">
<p> 用户名:<input type="text" value="" /></p>
<p> 密 码:<input type="password" value="" /></p>
<p> <input type="button" value="提交" id="submit" /></p>
</div>
</div>
<div class="bg"></div>
<script>
var aonclick = document.querySelector('a')
var login = document.querySelector('.login')
var down = document.querySelector('.title #close')
var bdcolor = document.querySelector('.bg')
var sub = document.querySelector('#submit')
var title = document.querySelector('.title')
// console.log(down)
// console.log(login)
aonclick.onclick = function(){
login.style.display = 'block';
bdcolor.style.display = 'block';
}
down.onclick = function(){
login.style.display = 'none';
bdcolor.style.display = 'none';
}
// sub.onclick = function(){
// }
title.addEventListener('mousedown',function(e){
var x1 = e.pageX - (login.offsetLeft);
var y1 = e.pageY - (login.offsetTop);
document.addEventListener('mousemove',sumer)
function sumer(e){
var newx = e.pageX - x1;
var newy = e.pageY - y1;
login.style.left = newx + 'px';
login.style.top = newy + 'px';
}
document.addEventListener('mouseup',function(){
document.removeEventListener('mousemove',sumer)
})
})
</script>
</body>
</html>
标签:
大数据
本文转载自: https://blog.csdn.net/tea_tea_/article/details/125792487
版权归原作者 小杨要努力哇 所有, 如有侵权,请联系我们删除。
版权归原作者 小杨要努力哇 所有, 如有侵权,请联系我们删除。