
目录
安装Nginx
1、下载docker的nginx镜像
docker pull nginx
2、查看下载完成的镜像
docker images
3、运行一个nginx的镜像的实例
docker run --name nginx -p 8080:80 -d nginx:latest
4、进入nginx容器
docker exec -it nginx /bin/bash
5、在物理机创建对应文件夹
mdkir /opt/nginx/conf
mkdir /opt/nginx/html
mkdir /opt/nginx/log
6、拷贝容器中的对应的文件夹到物理机下对应的文件夹
dockercp nginx:/etc/nginx/conf.d /opt/nginx/conf
dockercp nginx:/etc/nginx/nginx.conf /opt/nginx/conf/nginx.conf
dockercp nginx:/usr/share/nginx/html /opt/nginx/html
dockercp nginx:/var/log/nginx /opt/nginx/log
7、删除nginx镜像的mynginx容器
docker rm -f nginx
8、重新执行run命令,挂载对应的文件到物理机
docker run --name nginx -p80:80 --nethost\-v /opt/nginx/conf/conf.d:/etc/nginx/conf.d \-v /opt/nginx/conf/nginx.conf:/etc/nginx/nginx.conf \-v /opt/nginx/html:/etc/nginx/html \-v /opt/nginx/log:/var/log/nginx \-d nginx
说明:
–name: 启动容器的名字
-d:后台运行
-p: 将容器的 端口映射到主机的端口
-v:挂载配置文件
9、测试
在浏览器访问主机ip
nginx安装成功。
Centos部署
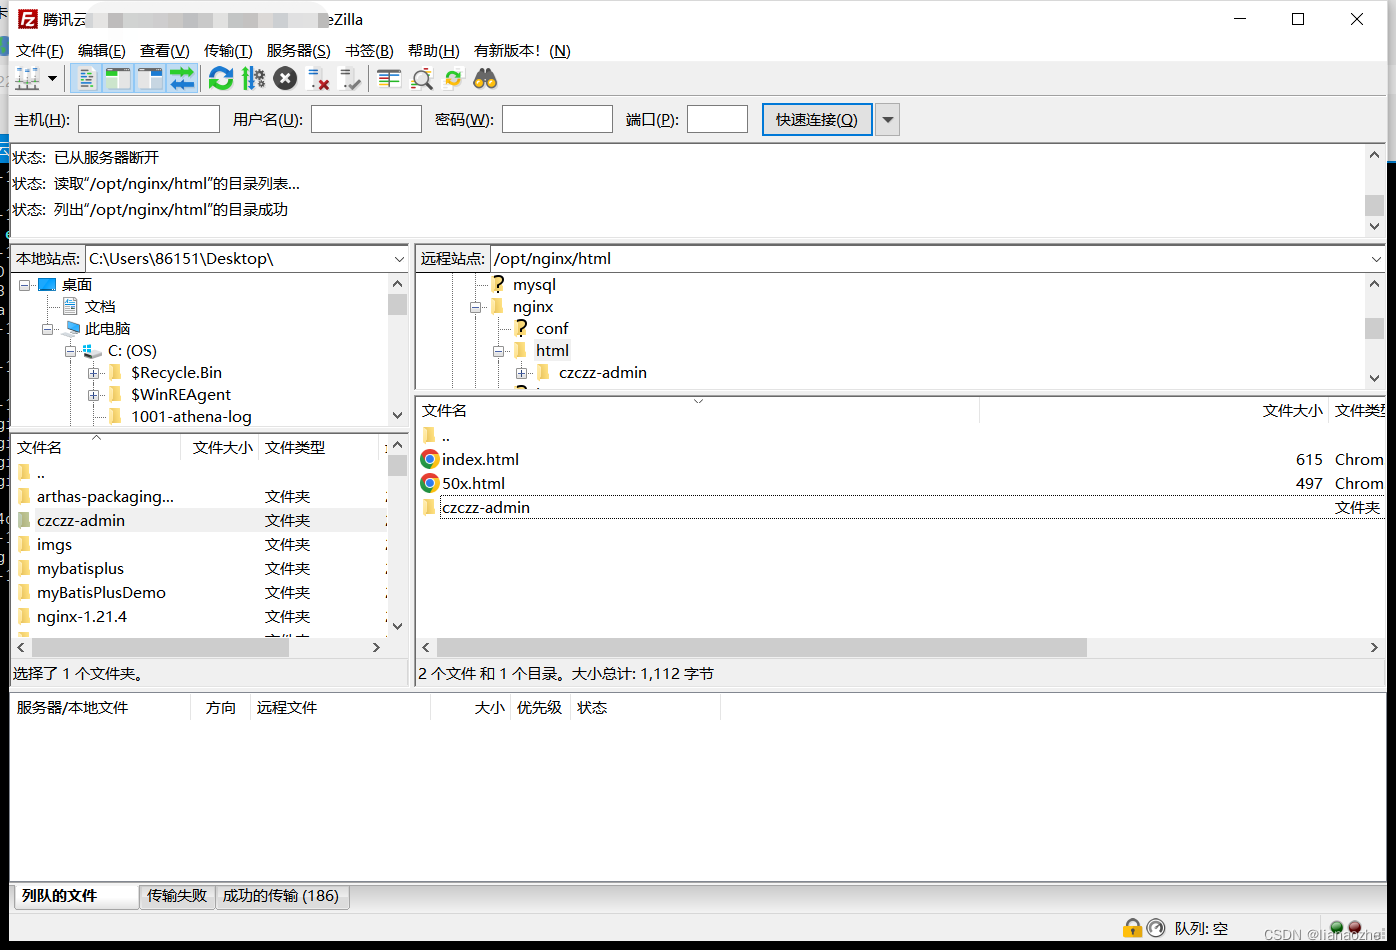
1、上传前端项目
使用FileZilla或者其他工具上传前端项目到nginx的html目录。
2、编辑nginx.conf文件
#user  nobody;
worker_processes  1;#error_log  logs/error.log;#error_log  logs/error.log  notice;#error_log  logs/error.log  info;#pid        logs/nginx.pid;

events {
    worker_connections  1024;}

http {
    include       mime.types;
    default_type  application/octet-stream;#log_format  main  '$remote_addr - $remote_user [$time_local] "$request" '#                  '$status $body_bytes_sent "$http_referer" '#                  '"$http_user_agent" "$http_x_forwarded_for"';#access_log  logs/access.log  main;

    sendfile        on;#tcp_nopush     on;#keepalive_timeout  0;
    keepalive_timeout  65;#gzip  on;

    server {
        listen       80;
        server_name  8.139.16.13;#charset koi8-r;#access_log  logs/host.access.log  main;


        location /czczz {
            proxy_pass http://127.0.0.1:8889;}


        location /czczz-admin {
            root html;
            index index.html index.htm;}

        error_page   500502503504  /50x.html;
        location = /50x.html {
            root   html;}}}
主要配置这块:
        server {#监听端口80 即当访问服务器的端口是80时,进入这个server块处理
        listen       80;
        server_name  8.139.16.13;#charset koi8-r;#access_log  logs/host.access.log  main;#location后面代表访问路径 当是/czczz 请求时,代理的地址
        location /czczz {## 使用proxy_pass 后面跟要代理服务器地址
            proxy_pass http://127.0.0.1:8889;}#当访问路径带czczz-admin时,去到html下的czczz-admin文件下,访问改路径下的index.html文件
        location /czczz-admin {
            root html;
            index index.html index.htm;}

        error_page   500502503504  /50x.html;
        location = /50x.html {
            root   html;}}
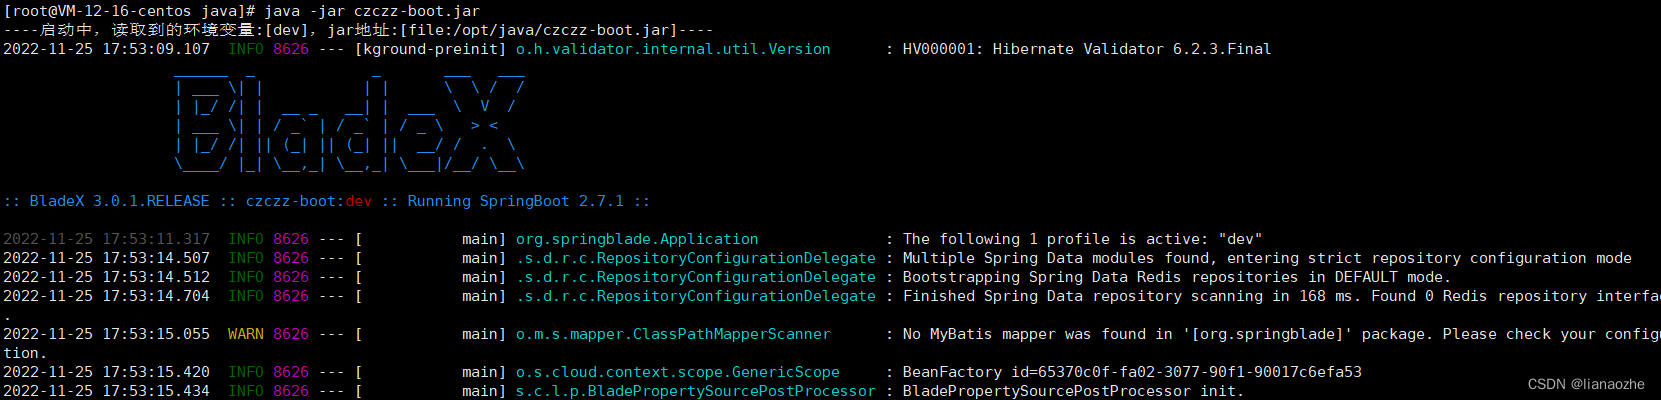
3、启动提前准备好的后端项目
4、测试
重启nginx:
docker restart nginx
浏览器访问:http://43.139.56.13/czczz-admin


可以看到,成功访问到前端页面并且调用了后端的接口。
这样,一个简单去前后端分离项目就部署完毕了!
windows部署
1、安装nginx
官网下载nginx并解压到本地


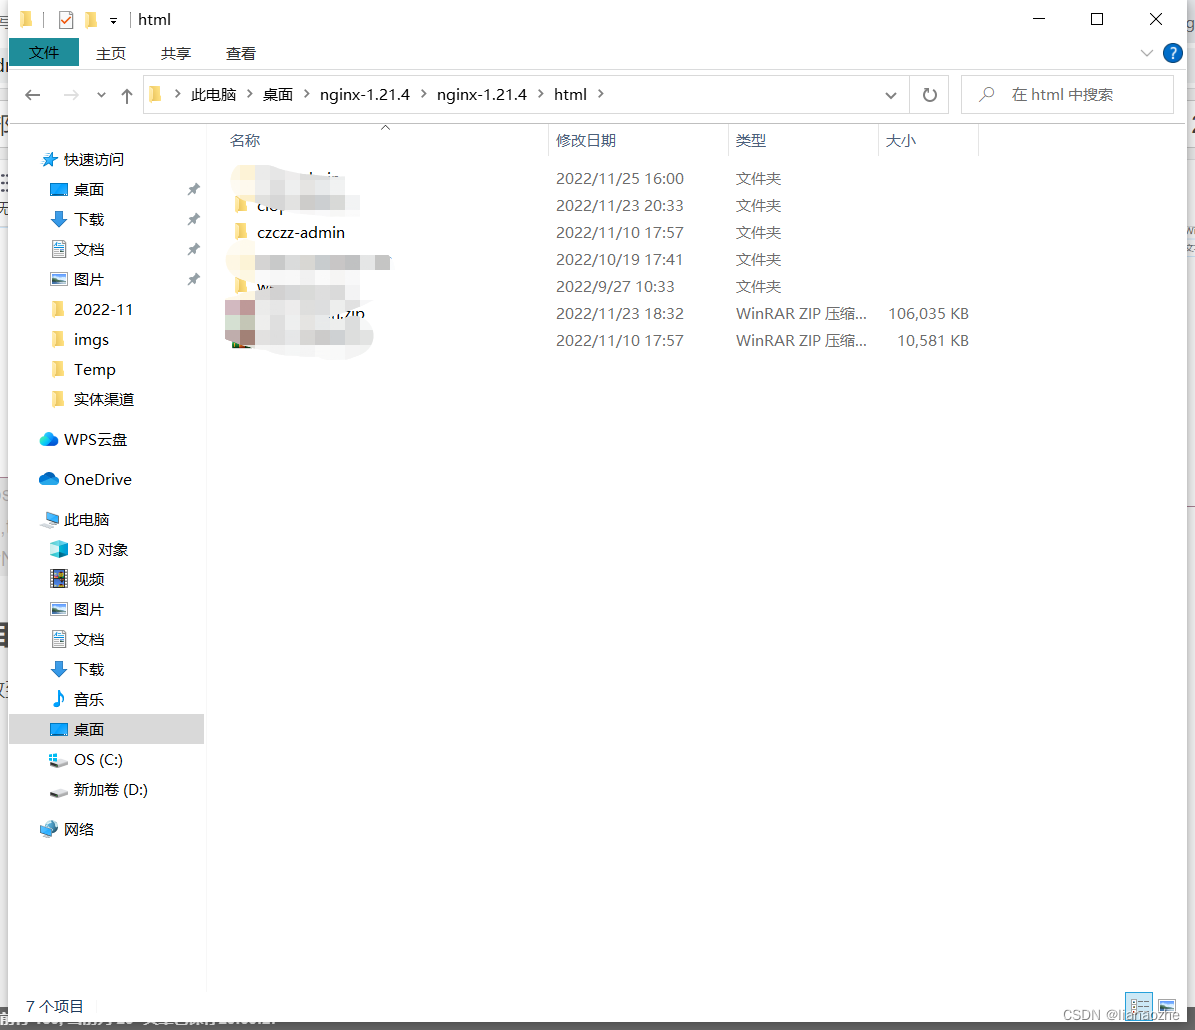
2、配置前端项目
将我们要执行的项目同样放到nginx下html目录下
3、配置nginx.conf
#user  nobody;
worker_processes  1;#error_log  logs/error.log;#error_log  logs/error.log  notice;#error_log  logs/error.log  info;#pid        logs/nginx.pid;

events {
    worker_connections  1024;}

http {
    include       mime.types;
    default_type  application/octet-stream;#log_format  main  '$remote_addr - $remote_user [$time_local] "$request" '#                  '$status $body_bytes_sent "$http_referer" '#                  '"$http_user_agent" "$http_x_forwarded_for"';#access_log  logs/access.log  main;

    sendfile        on;#tcp_nopush     on;#keepalive_timeout  0;
    keepalive_timeout  65;#gzip  on;


    server {
        listen       80;
        server_name  localhost;

        location /czczz{
            proxy_pass http://127.0.0.1:8888/czczz;}

        location /czczz-admin {
            root html;
            index index.html index.htm;}


        error_page   500502503504  /50x.html;
        location = /50x.html {
            root   html;}}}
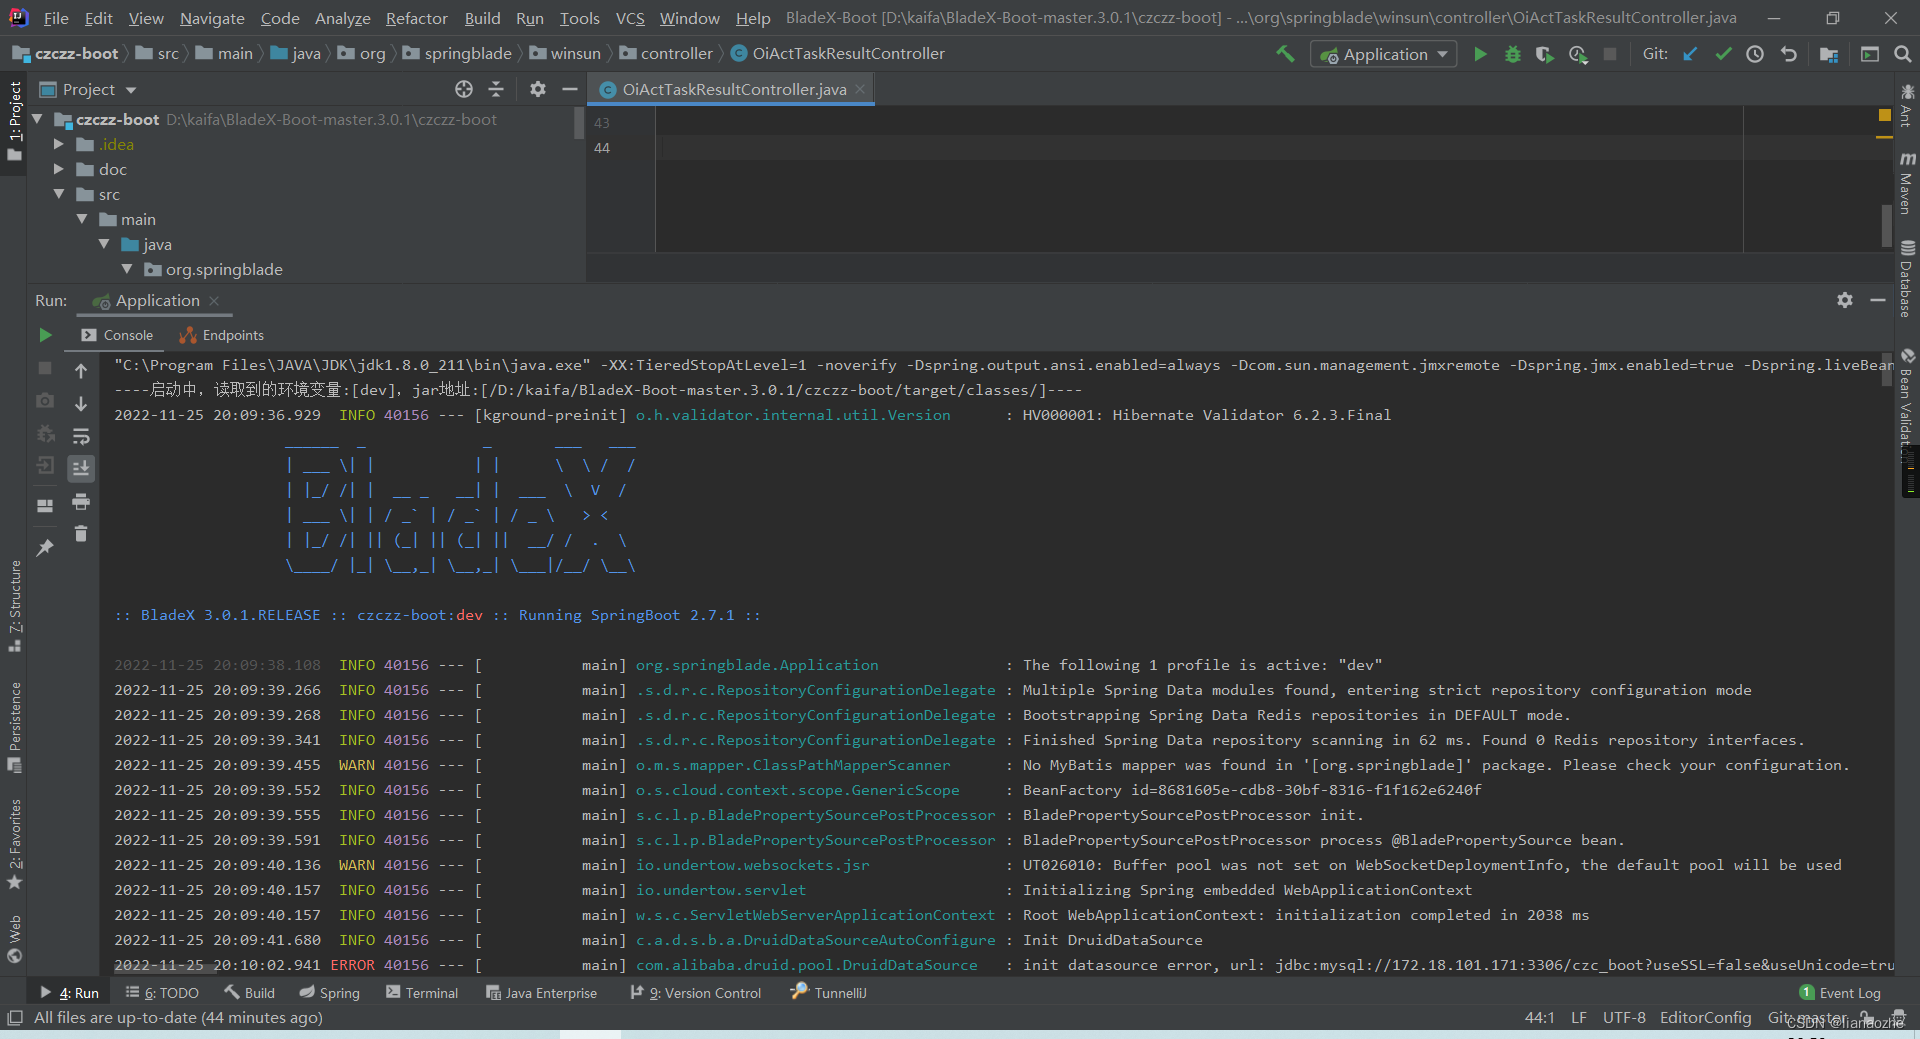
4、启动后端项目
5、测试
浏览器访问:http://localhost/czczz-admin
可以看到,访问成功了。
本篇文章到此结束!
本文转载自: https://blog.csdn.net/lianaozhe/article/details/128038718
版权归原作者 lianaozhe 所有, 如有侵权,请联系我们删除。
版权归原作者 lianaozhe 所有, 如有侵权,请联系我们删除。