第一种方式:利用ICMP
远程遥控iptables进行端口复用
缺点:如果目标在内网,你是无法直接ping到它的
创建端口复用链
iptables -t nat -N HTTP_TO_SSH
自定义了一条链条
创建端口复用规则
iptables -t nat -A HTTP_TO_SSH -p tcp -j REDIRECT --to-port 22
将自定义链条的流量转发到22端口
开启开关
iptables -t nat -A PREROUTING -p icmp --icmp-type 8 -m length --length 1139 -m recent --set --name oupeng --rsource -j ACCEPT
如果收到一个长为1139的icmp包,则将来源ip添加到loupeng的列表中
关闭开关
iptables -t nat -A PREROUTING -p icmp --icmp-type 8 -m length --length 1140 -mrecent --name oupeng --remove -j ACCEPT
如果收到到一个长为1140的icmp包,则将来源ip从oupeng列表中去掉
let’s do it
iptables -t nat -A PREROUTING -p tcp --dport 80 --syn -m recent --rcheck --seconds 3600 --name oupeng --rsource -j HTTP_TO_SSH
如果发现了syn包的来源处于letmein列表中,则将跳转到letmein链进行处理,有效时间为3600秒
可以查看一下五条链的情况:
[root@centos111 ~]# iptables -t nat -nvxL
Chain PREROUTING (policy ACCEPT 0 packets, 0 bytes)
    pkts      bytes target     prot opt in     out     source               destination
       0        0 ACCEPT     icmp --  *      *       0.0.0.0/0            0.0.0.0/0            icmptype 8 length 1139 recent: SET name: oupeng side: source mask: 255.255.255.255
       0        0 ACCEPT     icmp --  *      *       0.0.0.0/0            0.0.0.0/0            icmptype 8 length 1140 recent: REMOVE name: oupeng side: source mask: 255.255.255.255
       0        0 HTTP_TO_SSH  tcp  --  *      *       0.0.0.0/0            0.0.0.0/0            tcp dpt:80 flags:0x17/0x02 recent: CHECK seconds: 3600 name: oupeng side: source mask: 255.255.255.255

Chain INPUT (policy ACCEPT 0 packets, 0 bytes)
    pkts      bytes target     prot opt in     out     source               destination

Chain OUTPUT (policy ACCEPT 0 packets, 0 bytes)
    pkts      bytes target     prot opt in     out     source               destination

Chain POSTROUTING (policy ACCEPT 0 packets, 0 bytes)
    pkts      bytes target     prot opt in     out     source               destination
      26     1804 RETURN     all  --  *      *       192.168.122.0/24     224.0.0.0/24
       0        0 RETURN     all  --  *      *       192.168.122.0/24     255.255.255.255
       0        0 MASQUERADE  tcp  --  *      *       192.168.122.0/24    !192.168.122.0/24     masq ports: 1024-65535
       0        0 MASQUERADE  udp  --  *      *       192.168.122.0/24    !192.168.122.0/24     masq ports: 1024-65535
       0        0 MASQUERADE  all  --  *      *       192.168.122.0/24    !192.168.122.0/24

Chain HTTP_TO_SSH (1 references)
    pkts      bytes target     prot opt in     out     source               destination
       0        0 REDIRECT   tcp  --  *      *       0.0.0.0/0            0.0.0.0/0            redir ports 22
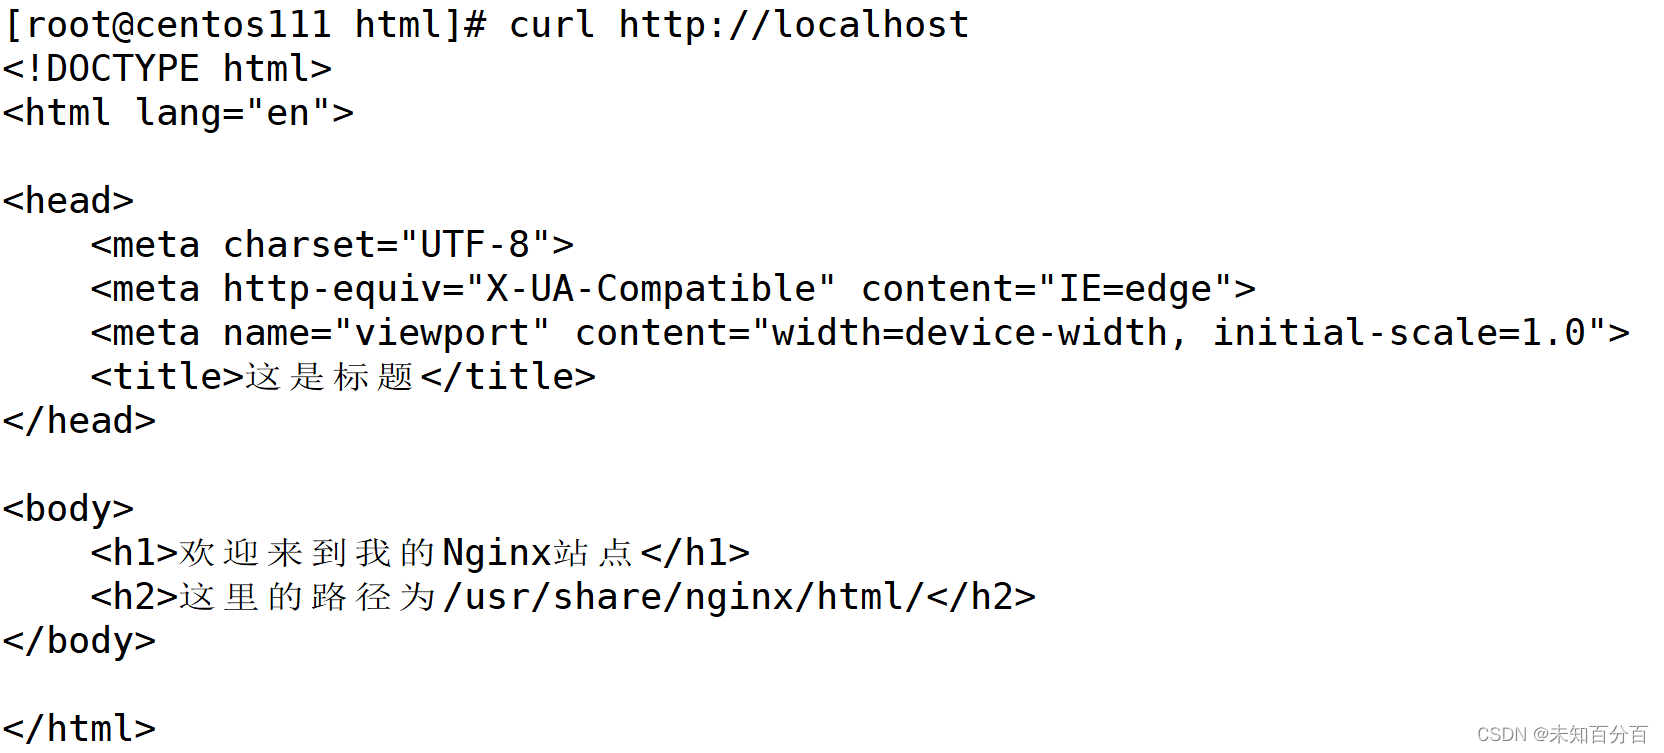
开启复用前,web是可以正常访问的:

现在我们可以尝试开启复用,即在192.168.159.201ping192.168.159.200(本机)
ping -c 1 -s 1111 192.168.159.200
向目标发送了一个长度为1111的icmp数据包(加上包头28,总长度实际为1139)

因为ip数据包=ip包头+icmp
所以这里的28个字节包括:ip包头的20字节+icmp包头的8字节
尝试使用80端口进行ssh,(这里实际访问的是22端口)

可以看到,我们成功的使用80端口实现22端口的登陆
我们可以在200上面查看一下 22端口
netstat -antp |grep 22

这里显示有两个ip地址和本主机的22端口建立了连接。
我们现在在201主机上上可以尝试访问一下80端口

可以看到访问失败了,因为我们将200主机的80端口用作22的端口了
查看nat表也可以看到规则中是1139个字节的数据包:

那现在我们关闭复用
ping -c 1 -s 1112 192.168.159.200

向目标发送了一个长度为1111的icmp数据包(加上包头28,总长度实际为1140)
在centos1上再查看一下nat表的规则

关闭复用后,我们再尝试登录

可以看到,现在如果去尝试登录就会失败!
第二种方式:利用tcp数据包中的关键字
优点:不怕目标不在内网
端口复用链
iptables -t nat -N HTTP_TO_SSH
端口复用规则
iptables -t nat -A HTTP_TO_SSH -p tcp -j REDIRECT --to-port 22
开启开关
iptables -A INPUT -p tcp -m string --string 'oupeng' --algo bm -m recent --set --name HTTP_TO_SSH --rsource -j ACCEPT
关闭开关
iptables -A INPUT -p tcp -m string --string 'close' --algo bm -m recent --name HTTP_TO_SSH --remove -j ACCEPT
let‘s do it
iptables -t nat -A PREROUTING -p tcp --dport 80 --syn -m recent --rcheck --seconds 3600 --name HTTP_TO_SSH --rsource -j HTTP_TO_SSH
开启复用,开启本机到目标80端口的流量,将转发至目标的SSH ,80将无法再被主机访问;
[root@centos222 ~]# echo oupeng | socat - tcp:192.168.159.200:80
HTTP/1.1 400 Bad Request
Server: nginx/1.20.1
Date: Sun, 19 Nov 2023 04:29:46 GMT
Content-Type: text/html
Content-Length: 157
Connection: close

<html>
<head><title>400 Bad Request</title></head>
<body>
<center><h1>400 Bad Request</h1></center>
<hr><center>nginx/1.20.1</center>
</body>
</html>
然后我们尝试使用80端口远程登录一下:
[root@centos222 ~]# ssh -p80 [email protected]
[email protected]'s password:
Last login: Sun Nov 19 12:15:29 2023 from 192.168.159.1
[root@centos111 ~]#
可以看到这里也是成功的使用80端口登录了
关闭复用,关闭后,80端口恢复正常,我们再次尝试登录
[root@centos222 ~]# echo close | socat - tcp:192.168.159.200:80
SSH-2.0-OpenSSH_7.4
Protocol mismatch.
[root@centos222 ~]# ssh -p80 [email protected]
ssh_exchange_identification: Connection closed by remote host
可以看到现在我们就无法登陆了!
第三种方式:使用SSLH工具
安装sslh工具:
yum install sslh
然后我们开启nginx/apache服务,确保它监听的是80端口
systemctl restart nginx.service
systemctl restart httpd.service
然后我们修改一下nginx配置文件中的监听端口

注:配置完成后不要重启nginx服务
下载完成sslh工具后,我们修改一下它配置文件

注意listen里面写的是监听端口,必须同步到访问的地址,protocls里面写的就是转发目标,此处仅使用了80端口和22端口,注意括号内最后一组花括号末尾无逗号否则会报错。
启动sslh服务:
[root@centos111 ~]# sslh -F/etc/sslh.cfg
sslh-fork 4ae2e62d25b9faf984a303c4bdf2b7675f4988b9 started
注:如果这里在启动时报错说这个地址已经被使用,那你可以关闭nginx/httpd服务来解决这个问题
然后我们在201主机上尝试登录200:

可以看到我们成功的利用端口复用,利用80端口登录了!
到这里三种方式都已经介绍完了
版权归原作者 未知百分百 所有, 如有侵权,请联系我们删除。