
文章目录
安装PyTorch前先看一下(最好也安装一下)安装Tensorflow这篇文章
1. 安装Xcode
通过App store安装或者使用命令
$ xcode-select --install
安装
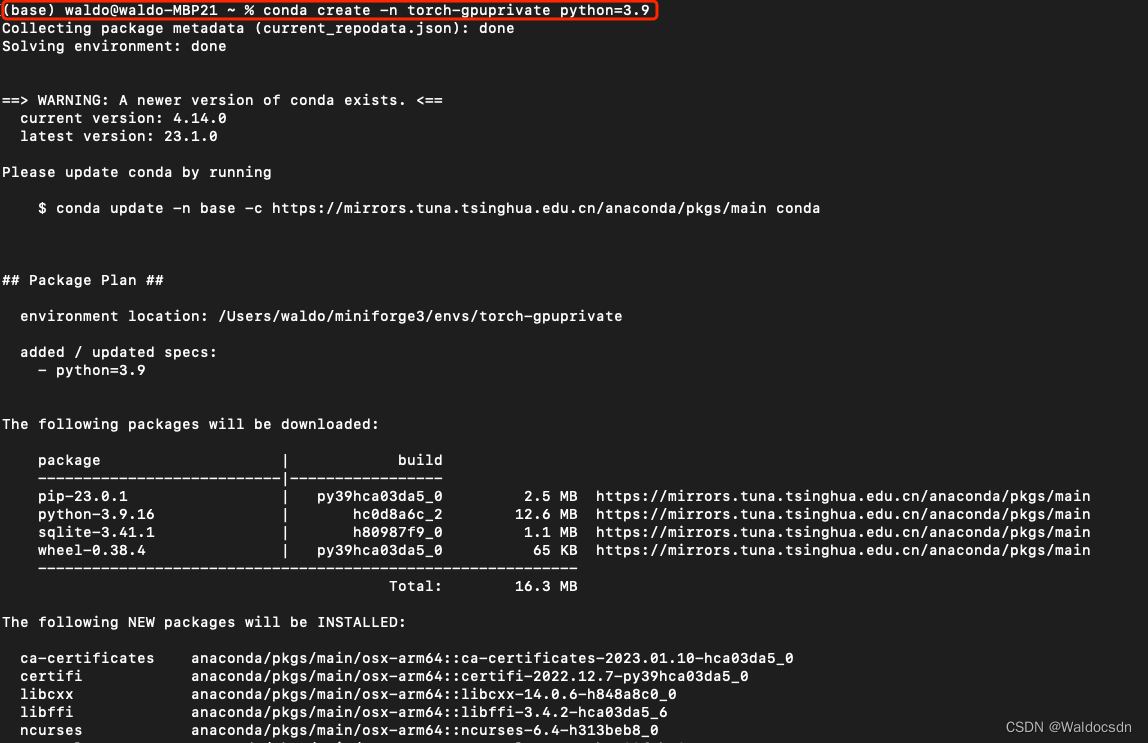
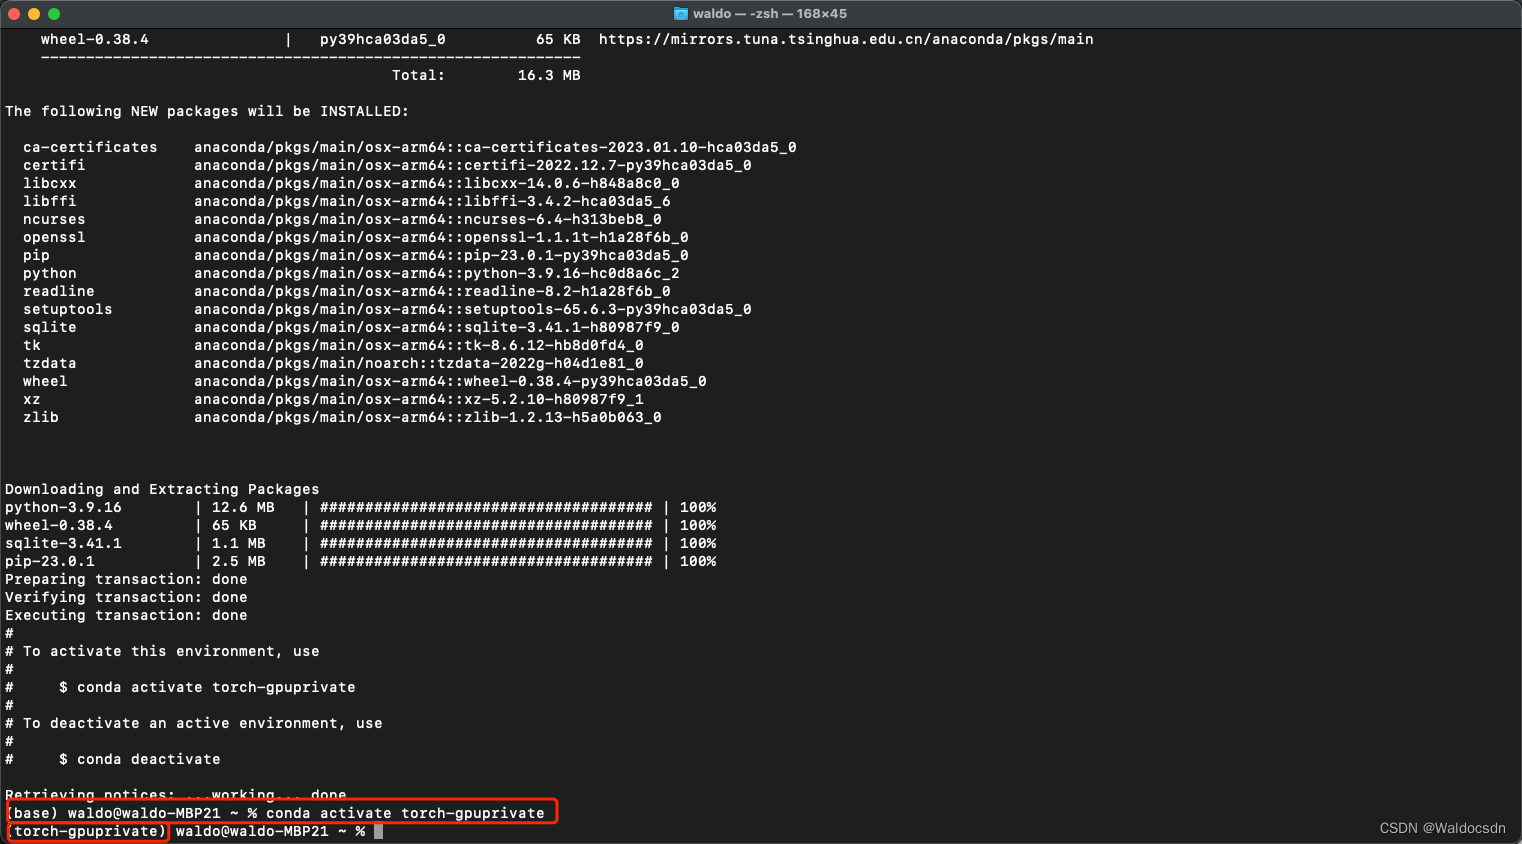
2. 新建一个conda环境
$ conda create -n torch-gpuprivate python=3.9
$ conda activate torch-gpuprivate
3. 用pip命令安装torch
Pytorch官网指导页面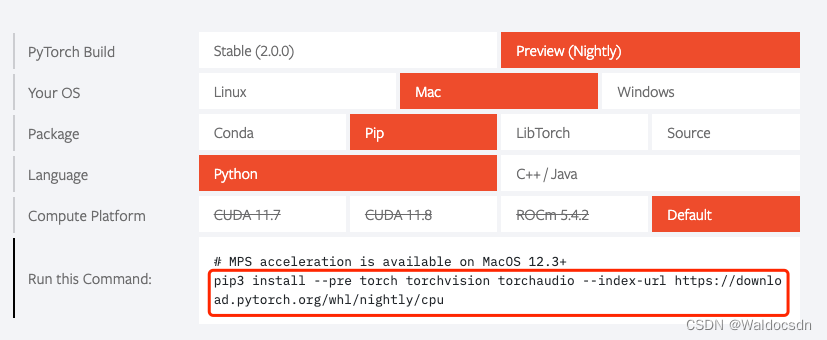
pip3 install --pre torch torchvision torchaudio --index-url https://download.pytorch.org/whl/nightly/cpu

4. 重装Numpy
通过上述方式安装的PyTorch可能自带的Numpy太低,所以重新安装Numpy:
pip uninstall numpy # 这样会移除刚刚安装的Pytorch以及一些其他的第三方库
pip install numpy
或者
conda uninstall numpy # 这样会移除刚刚安装的Pytorch以及一些其他的第三方库
conda install numpy
使用“conda list”可以查看此conda环境内的包和各个包的版本。使用“conda deactivate”可退出当前conda环境。
5. Jupyter Lab虚拟环境的配置
这一步是要将此conda环境“torch-gpuprivate”,添加进Jupyter Lab的Kernel
conda activate torch-gpuprivate //注意替换成自己的虚拟环境名

conda install ipykernel //安装ipykernel

sudo python -m ipykernel install --name torch-gpuprivate //在ipykernel中安装当前环境

conda deactivate
此时打开Jupyter Lab切换Kernel,已出现刚刚安装的“torch-gpuprivate”conda环境。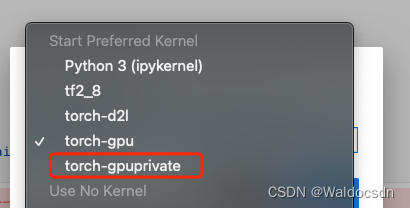
6. 环境测试代码
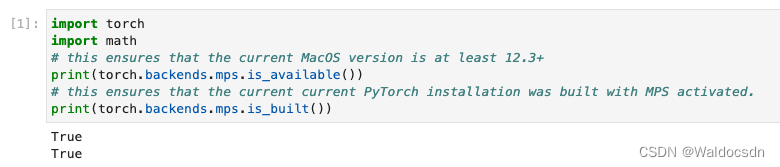
6.1 测试代码1
import torch
import math
# this ensures that the current MacOS version is at least 12.3+print(torch.backends.mps.is_available())# this ensures that the current current PyTorch installation was built with MPS activated.print(torch.backends.mps.is_built())
6.2 测试代码2
dtype = torch.float
device = torch.device("mps")# Create random input and output data
x = torch.linspace(-math.pi, math.pi,2000, device=device, dtype=dtype)
y = torch.sin(x)# Randomly initialize weights
a = torch.randn((), device=device, dtype=dtype)
b = torch.randn((), device=device, dtype=dtype)
c = torch.randn((), device=device, dtype=dtype)
d = torch.randn((), device=device, dtype=dtype)

learning_rate =1e-6for t inrange(2000):# Forward pass: compute predicted y
    y_pred = a + b * x + c * x **2+ d * x **3# Compute and print loss
    loss =(y_pred - y).pow(2).sum().item()if t %100==99:print(t, loss)# Backprop to compute gradients of a, b, c, d with respect to loss
    grad_y_pred =2.0*(y_pred - y)
    grad_a = grad_y_pred.sum()
    grad_b =(grad_y_pred * x).sum()
    grad_c =(grad_y_pred * x **2).sum()
    grad_d =(grad_y_pred * x **3).sum()# Update weights using gradient descent
    a -= learning_rate * grad_a
    b -= learning_rate * grad_b
    c -= learning_rate * grad_c
    d -= learning_rate * grad_d

print(f'Result: y = {a.item()} + {b.item()} x + {c.item()} x^2 + {d.item()} x^3')
6.3 在Mac M1中指定使用GPU加速
To run PyTorch code on the GPU, use torch.device(“mps”) analogous to torch.device(“cuda”) on an Nvidia GPU. Hence, in this example, we move all computations to the GPU:
要在 Mac M1的GPU 上运行 PyTorch 代码,使用命令
torch.device("mps")
来指定。这类似于 Nvidia GPU 上的
torch.device("cuda")
命令。具体使用方法见下图代码: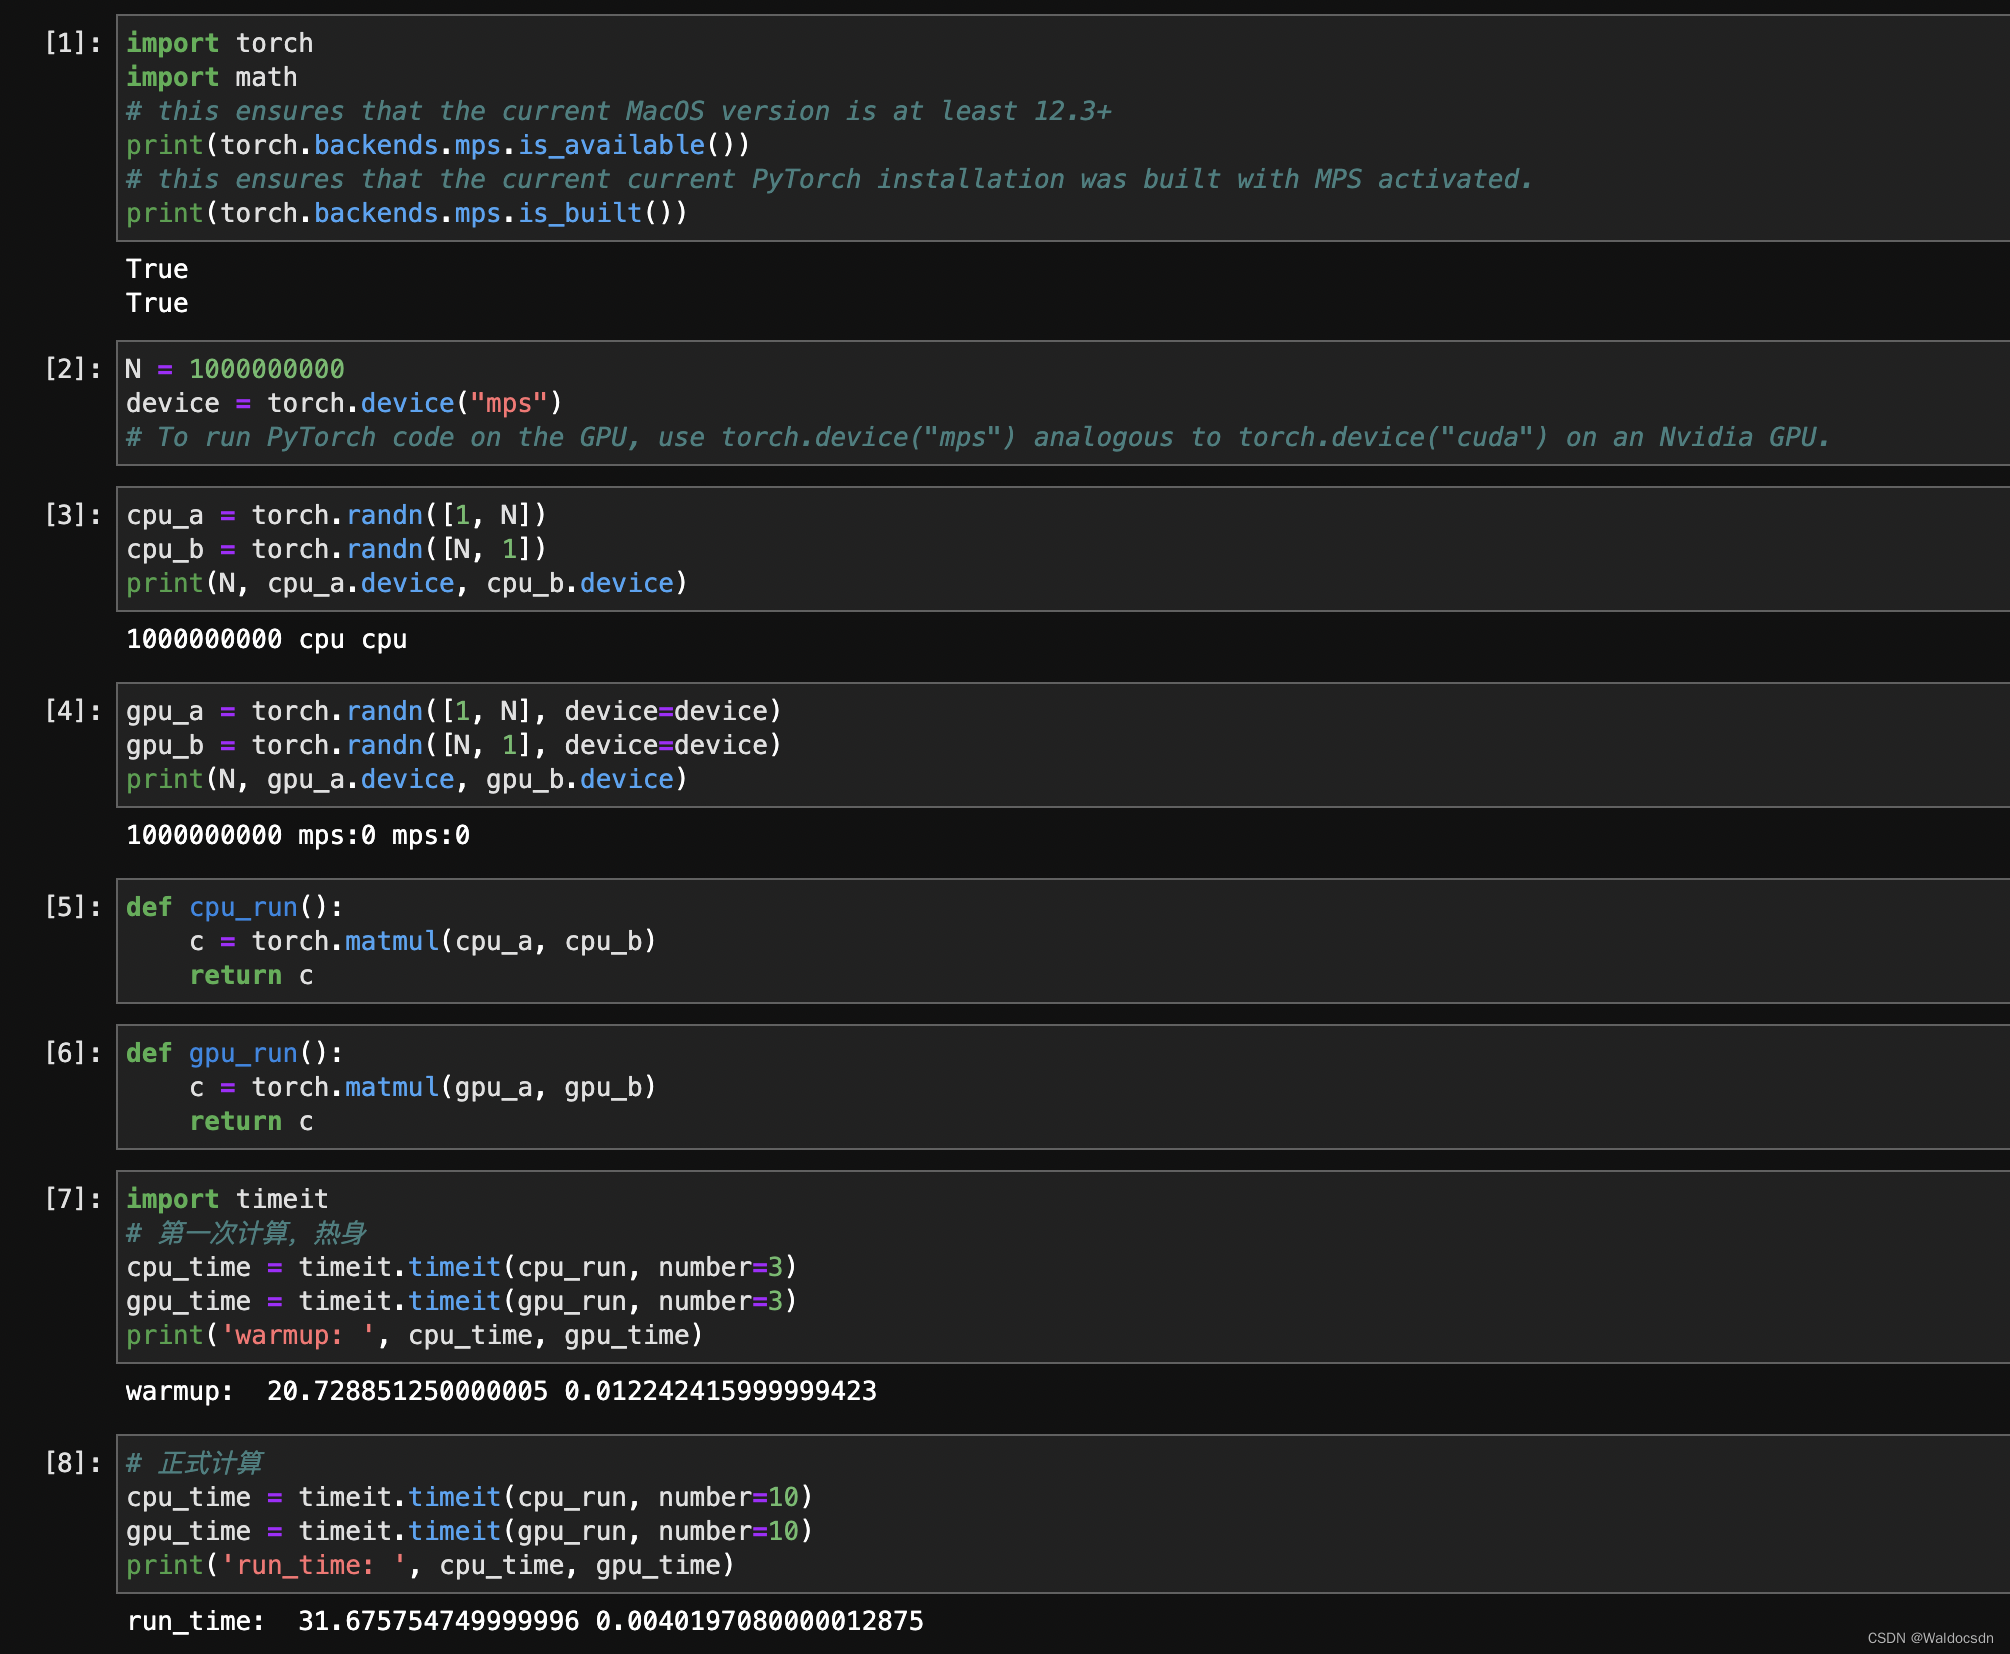
本文转载自: https://blog.csdn.net/Waldocsdn/article/details/129673645
版权归原作者 Waldocsdn 所有, 如有侵权,请联系我们删除。
版权归原作者 Waldocsdn 所有, 如有侵权,请联系我们删除。